Valve float isn’t just a high-RPM curiosity—it’s a failure point that robs power, risks engine damage, and often stems from overlooked details. As a master mechanic who’s torn down hundreds of engines showing float symptoms, I can tell you the fix rarely starts with slapping on stiffer springs. It starts with diagnosis. This guide cuts through the myths and gives you actionable steps to identify, confirm, and resolve valve float—whether you’re building a track car or troubleshooting a modified daily driver.
What Is Valve Float and Why It Matters
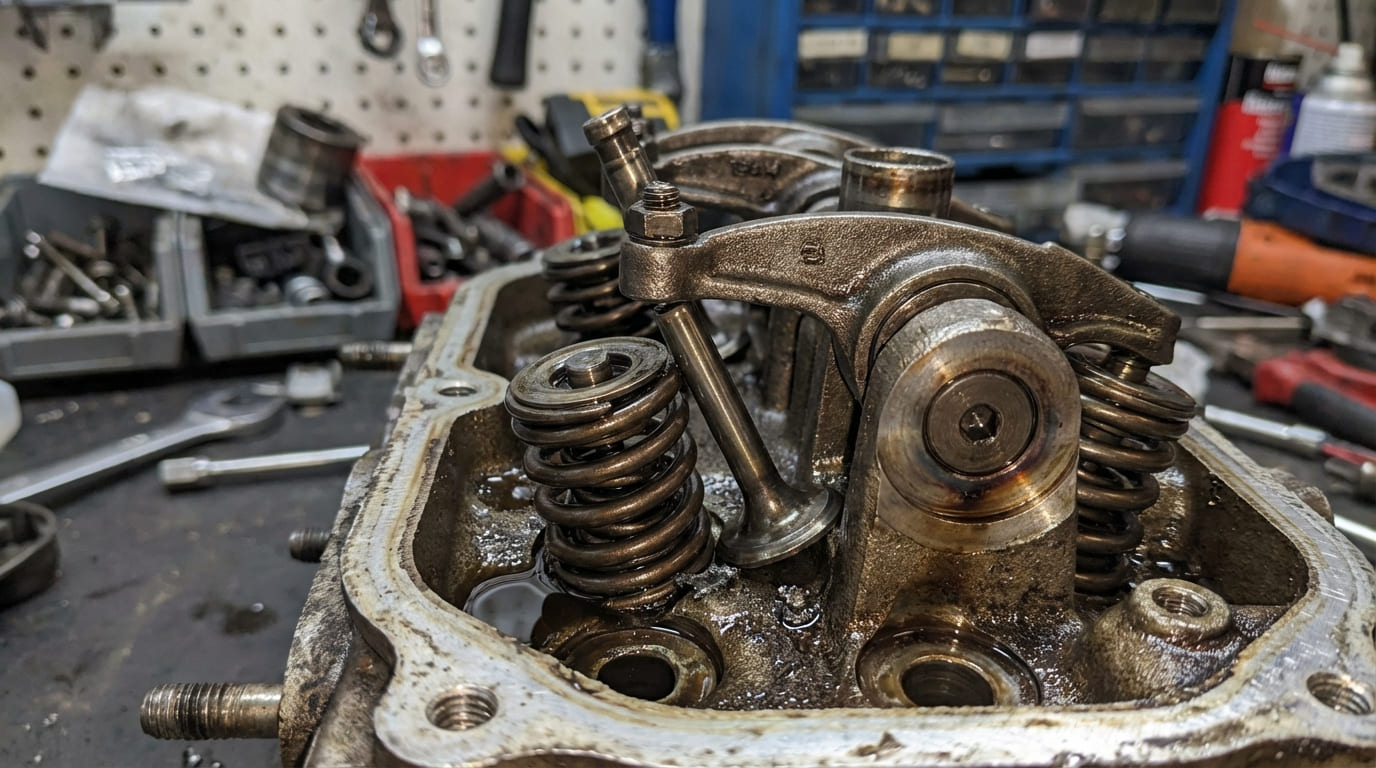
Valve float occurs when the valve train fails to follow the camshaft’s motion at high engine speeds. The valve either doesn’t close in time or bounces unpredictably, leading to loss of compression, misfires, and potential valve-to-piston contact. The result? A sudden drop in power, metallic rattling, or check engine lights at high RPM.
It’s not always the springs. In fact, I’ve seen engines with brand-new springs still float due to oil, pushrod flex, or incorrect assembly. That’s why you need a systematic approach—not guesswork.
How Valve Float Happens: Practical Breakdown
Three Real-World Causes (and How to Check Each)
Valve float isn’t one problem—it’s three common failure modes that show similar symptoms. Diagnose the right one, and you’ll save time and money.
- 1. Inertia-Induced Float (Mechanical Separation): The valve train is too heavy or the springs too weak to keep up with cam speed.
- 2. Hydraulic Lifter Float: Oil control fails in hydraulic lifters, causing collapse or pump-up.
- 3. Spring Surge (Resonance): The spring oscillates like a vibrating Slinky, losing control even with adequate pressure.
How to Check for Each Cause
Before tearing into the engine, use these diagnostics to narrow the culprit.
| Failure Type | How to Check | Tools Needed | Cost to Fix (Approx.) |
|---|---|---|---|
| Inertia-Induced Float | Measure spring seat and open pressure; verify installed height per valve. Check for excessive valve train mass (heavy retainers, thick pushrods). | Spring tester, micrometer, dial caliper | $150–$400 (springs + labor) |
| Hydraulic Lifter Float | Check oil viscosity and condition. Inspect lifters for varnish or wear. Verify lifter bore clearance. Test oil pressure at high RPM. | Oil pressure gauge, bore gauge, lifter bore cleaning kit | $100–$300 (oil, cleaning, or lifter replacement) |
| Spring Surge | Inspect for coil bind or damper wear. Listen for chatter in a narrow RPM range. Upgrade to dual springs with dampers if needed. | Valve spring compressor, dial indicator | $200–$500 (performance springs) |
In my shop, we always measure installed height on every valve—not just one or two. I’ve found 0.015″ differences between cylinders due to uneven valve job depths. That small gap drops spring pressure enough to cause float at high RPM, even with correct parts.
Step-by-Step Diagnostic Flow for DIYers
Follow this sequence before disassembly. Many “valve float” cases turn out to be fuel, ignition, or oil issues.
- Rule out fuel and ignition: Check for misfire codes (P030x), fuel pressure at high load, and spark plug condition. Use a wideband O2 sensor to verify AFR doesn’t lean out at RPM.
- Monitor oil pressure: Use a mechanical gauge to confirm pressure doesn’t drop at high RPM. Low pressure = slow lifter refill = hydraulic float.
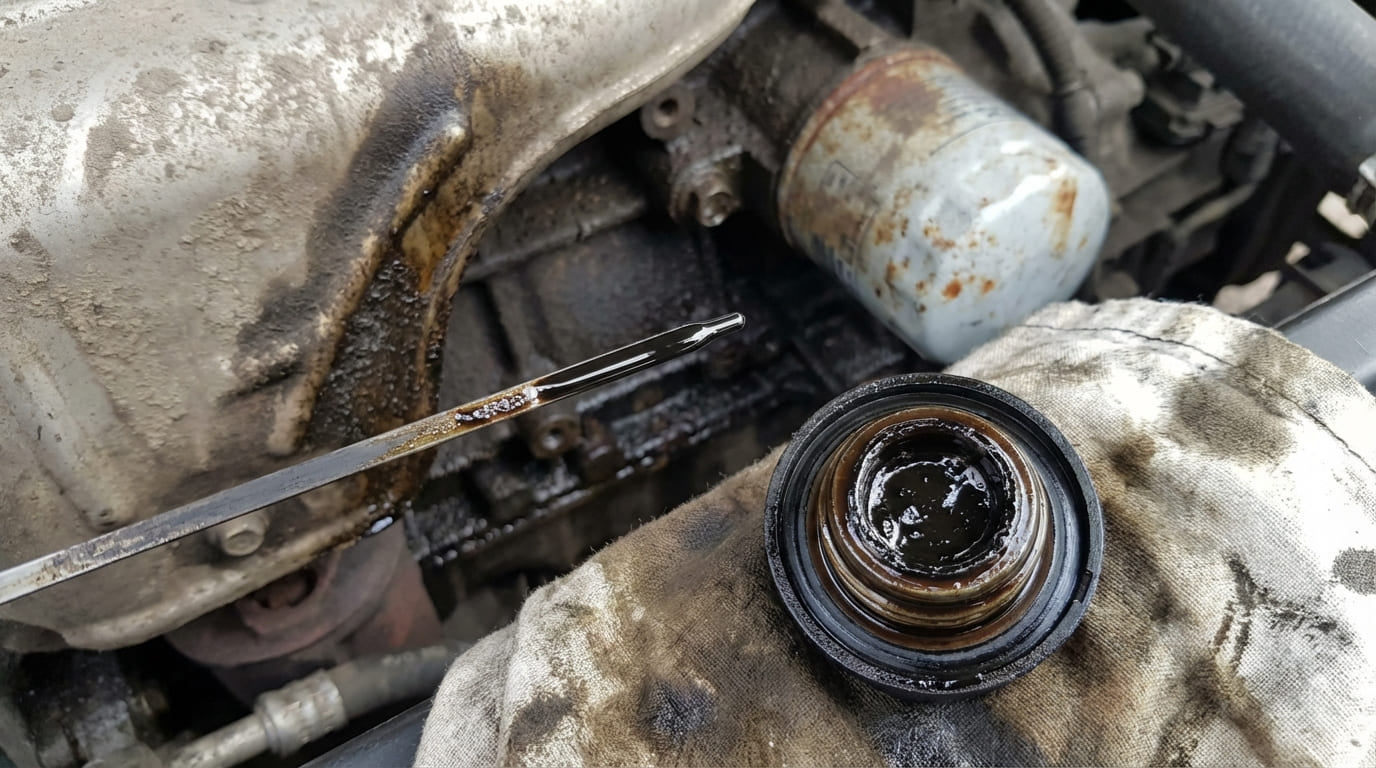
- Verify oil viscosity: If the engine runs fine cold but misfires hot, thin oil may be bleeding down lifters. Check owner’s manual or cam manufacturer specs for correct weight.
- Inspect valvetrain noise pattern: Constant chatter? Likely float. Intermittent knock? Could be piston contact or loose rockers.
- Check spring specs vs. cam requirements: Contact the cam manufacturer. They’ll provide required seat and open pressure. Compare to your springs.
I once spent two weeks chasing valve float on a 5.0L Mustang—only to find three springs were 0.015″ too tall due to inconsistent valve job depth. Always measure installed height per valve. It takes 30 extra minutes and saves a teardown.
Repair vs. Replace: When to Upgrade and When to Reuse
Not every valve float fix requires new parts. Here’s how to decide.
- Replace springs if: Pressure is below spec, coil bind is near limit, or you’ve upgraded the cam.
- Reuse springs if: They’re within spec, not heat-damaged, and the engine sees moderate RPM (under 6,000).
- Upgrade pushrods if: You’re running high-lift cams (>0.550″) or seeing flex. 3/8″ or chrome-moly rods add stiffness.
- Clean or replace lifters if: Oil is varnished, bore clearance is off, or you’ve switched to a much thinner oil.
Pushrod flex is invisible until it’s too late. On a street/strip SBC that kept losing power at 6,800 RPM, I found the 5/16″ pushrods bowing under load. Switched to 3/8″ hardened units—problem gone. Springs were fine. Always consider the entire system.
Prevention: Build Smarter, Not Just Stiffer
Stiff springs aren’t the answer. They increase wear and stress. Focus on balance.
- Reduce reciprocating mass: Lightweight titanium retainers save 20–30% over steel. Every gram saved pushes float threshold up 100–200 RPM.
- Match spring to cam: A fast-ramp cam needs high open pressure and surge control—not just seat pressure.
- Use proper oil: 10W-30 or 5W-30 is typical for performance engines. Avoid 0W-20 in high-RPM builds—it bleeds down too fast.
- Verify clearances: Check valve-to-piston and coil bind clearance during assembly. Even 0.050″ interference can cause fatigue cracks over time.
An LS owner switched to 0W-20 for better fuel economy. At high RPM, the lifters bled down and caused misfires. We reverted to 5W-30—no parts replaced, problem solved. Oil isn’t just for lubrication; it’s part of the valvetrain’s function.
Final Checklist Before You Fire It Up
Use this before closing the valve covers on any performance build.
- ✅ Measured installed height on all valves
- ✅ Verified spring pressure (seat and open)
- ✅ Confirmed oil viscosity matches cam/lifter specs
- ✅ Checked pushrod length and stiffness
- ✅ Inspected lifter bores for wear or debris
- ✅ Verified valve-to-piston clearance (minimum 0.080″ intake, 0.100″ exhaust)
Valve float isn’t a mystery—it’s a systems failure. Fix the root cause, not the symptom. And remember: the best valvetrain is balanced, not just strong.