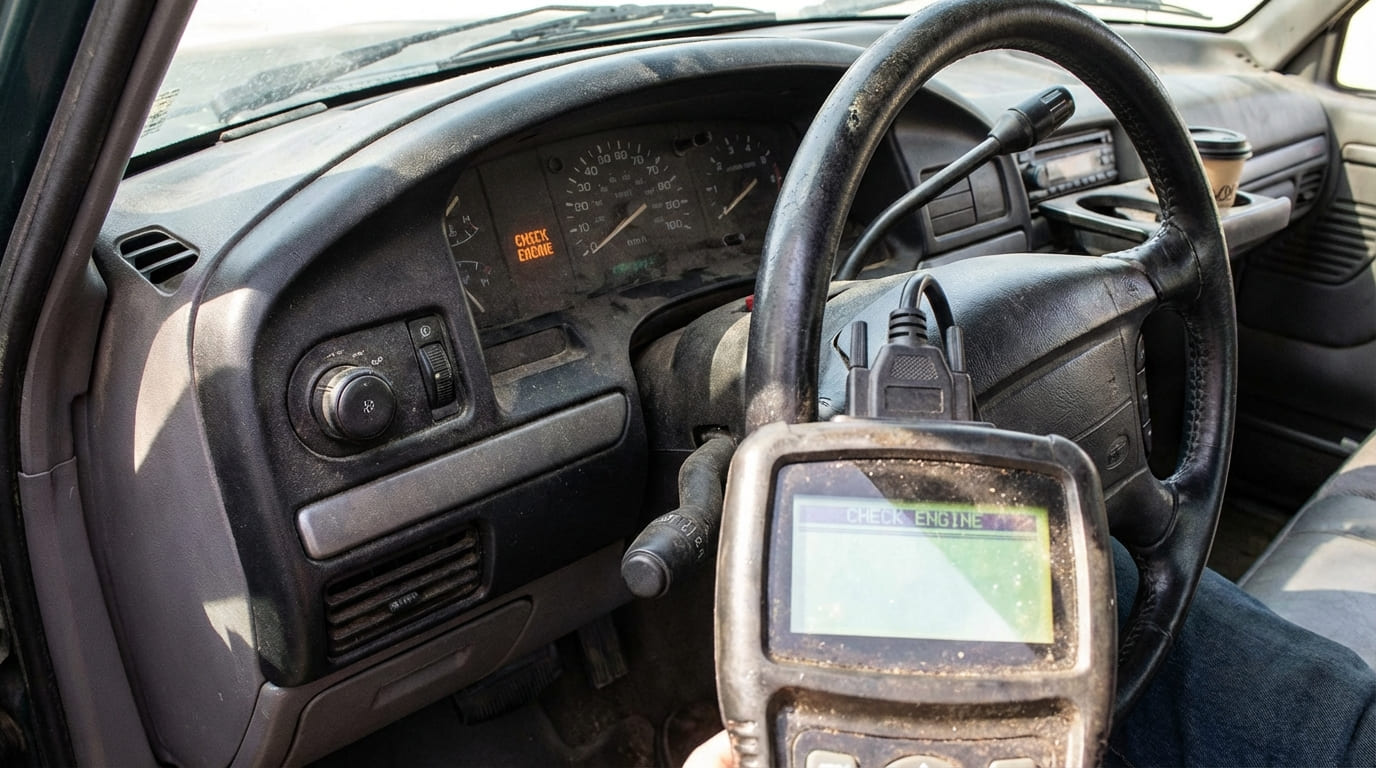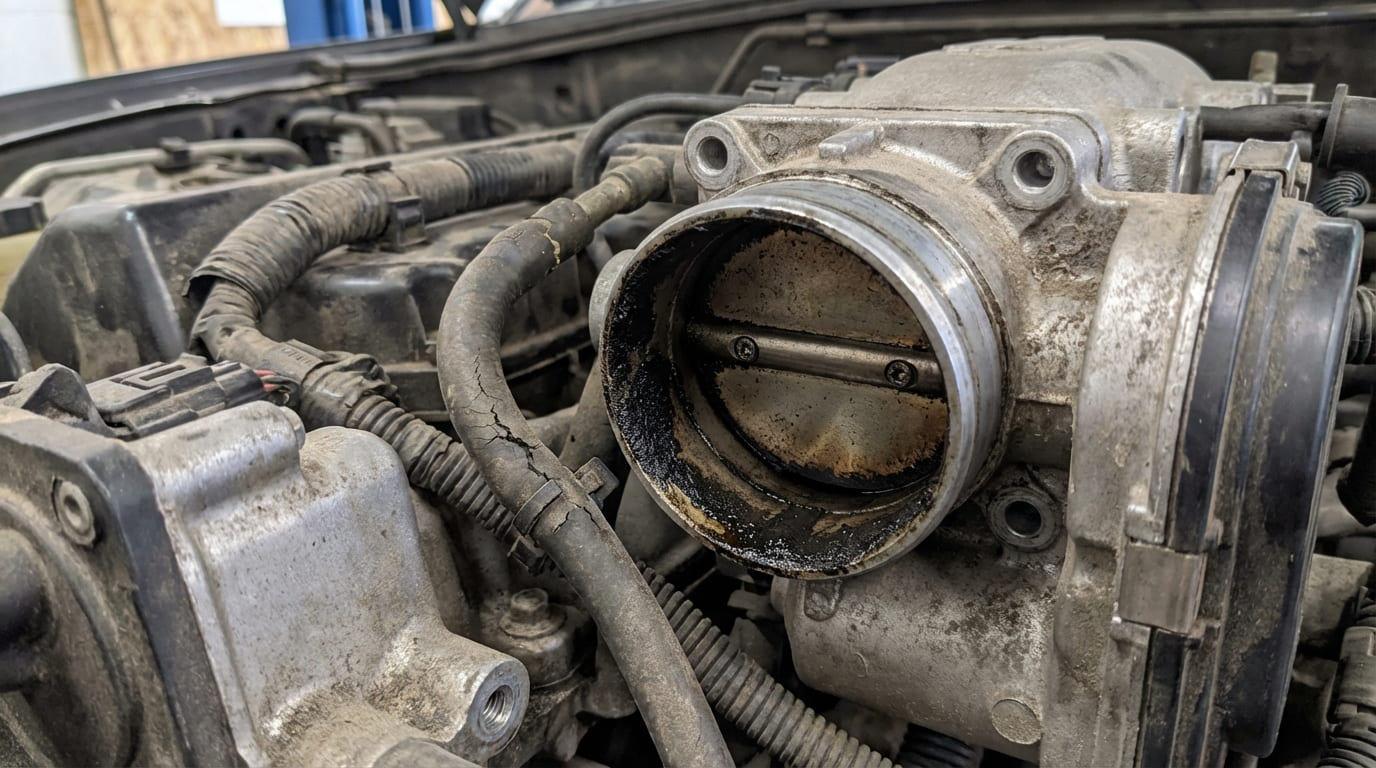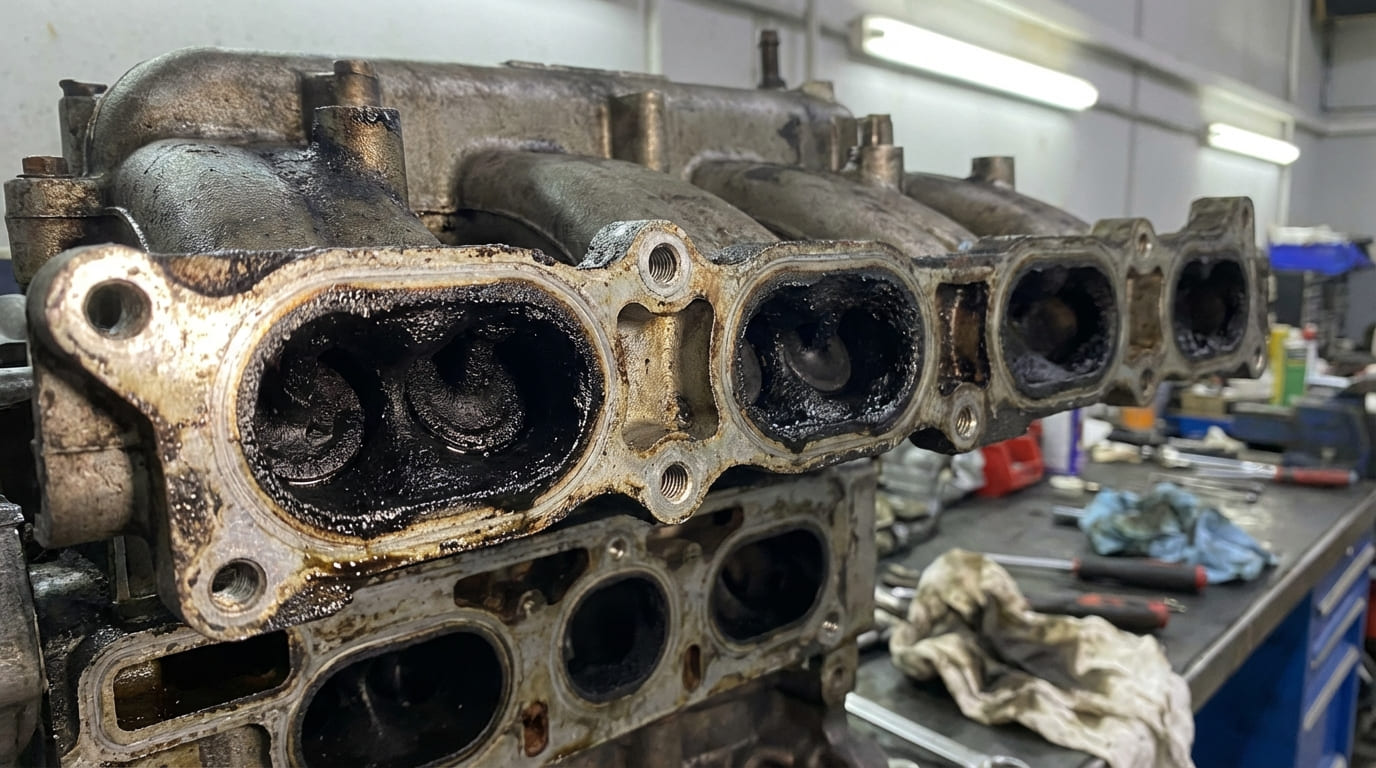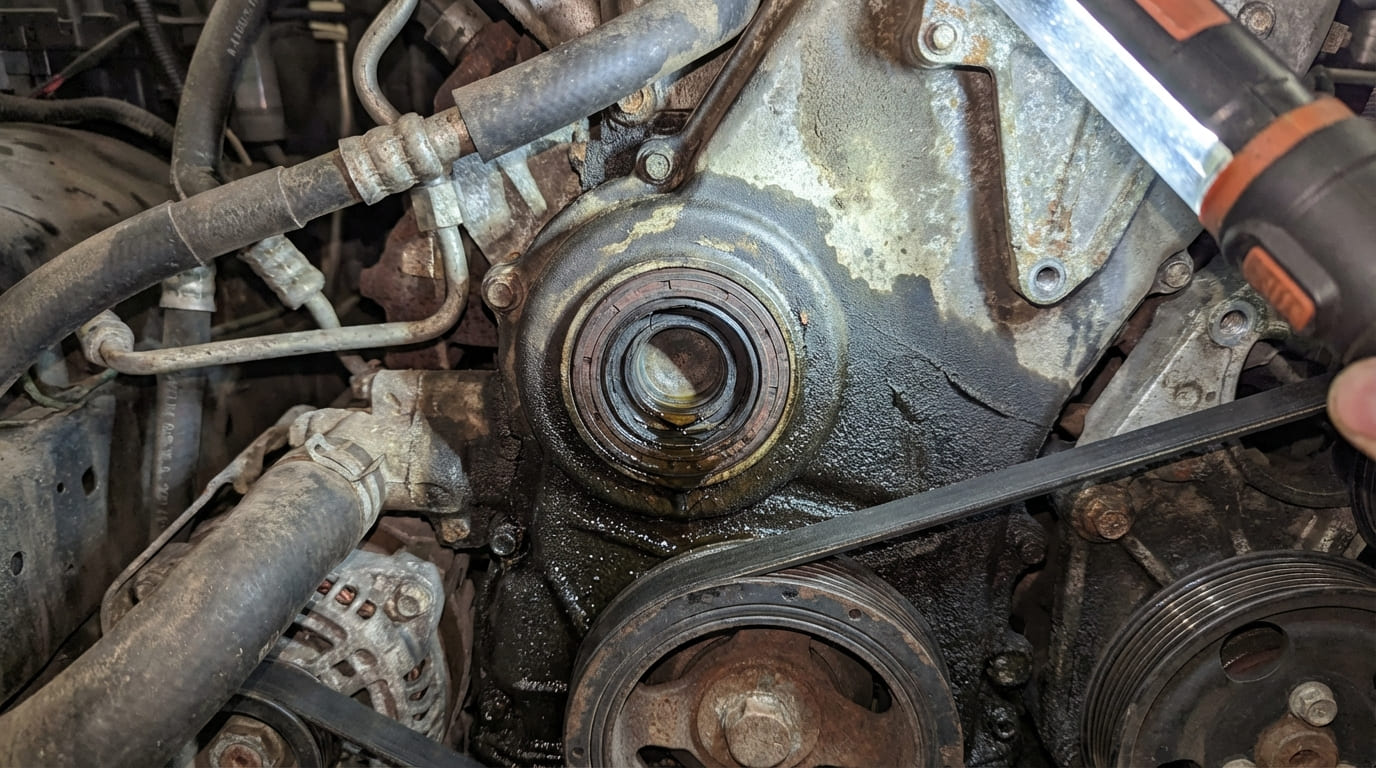
In my two decades as a shop foreman, I’ve seen more than a few oil leaks traced back to the front crankshaft seal. While it may seem like a simple component, its failure can stem from a range of mechanical, environmental, and procedural factors. More often than not, replacing the seal without addressing the root cause leads to repeat failures. This article walks through how I approach these cases—step by step—with real-world context, diagnostic nuance, and practical precautions.
Confirming a Front Crankshaft Seal Leak
Before tearing into the engine, confirm the leak is actually coming from the front crankshaft seal. Oil migrates, and what looks like a front seal leak might originate elsewhere. Start by cleaning the front of the engine with a degreaser or pressure washer. Focus on the timing cover, harmonic balancer, and crankshaft snout. Let the engine run and idle for 10–15 minutes, then inspect under good lighting. Fresh oil tracking from behind the harmonic balancer pulley outward is a strong indicator.
For ambiguous cases, use a UV dye kit. Add the dye to the engine oil, drive the vehicle under load for 50–100 miles, then inspect in a dark area with a 365–395nm UV lamp and yellow enhancement glasses. Glow at the seal lip or housing edge confirms the leak. This method has saved me from unnecessary disassembly more than once—especially when the real culprit was a porous timing cover or high-pressure oil sensor leak.
Common Causes of Front Crankshaft Seal Failure
Once the leak is confirmed, diagnose the root cause. Replacing the seal without correction guarantees repeat failure. Below are the most frequent causes, ranked by likelihood and supported by diagnostic checks.
Material Degradation and Oil Compatibility
Seals made from NBR or Viton degrade over time, especially beyond 100,000 miles. Heat cycles cause hardening and micro-cracking. Inspect removed seals under magnification—radial cracks in the lip mean age fatigue. Swollen seals point to chemical incompatibility. I once found a severely swollen seal due to 12% fuel dilution from a leaking injector. Always check oil quality and history.
Cost to replace: $50–$150 for the seal, but labor ranges $300–$700 depending on accessibility. If the engine has high mileage and no other issues, seal replacement is viable. If oil is contaminated, fix the root cause first—otherwise, the new seal will fail prematurely.
Improper Installation
This is the leading cause of early seal failure. A cocked seal creates uneven lip contact, leading to rapid wear. Check used seals for crescent-shaped wear patterns—these indicate misalignment. Dry installation is another silent killer. Always lubricate the seal lip and crankshaft snout with clean engine oil or moly-based assembly lube.
Seal depth is critical. Use a depth micrometer to verify installation. On many engines, being 0.005” too deep means the lip rides on a worn crank surface. Never tap a seal in with a hammer and pipe—use a proper driver tool. Reusing old harmonic balancer bolts is also risky; many are torque-to-yield and lose clamping force. Replace them.
Crankshaft Snout Wear
A polished groove in the crank snout is a common reason for repeat leaks. Even a 0.001” groove can defeat a new seal. Inspect with a bright light and magnifier. Measure runout with a dial indicator—anything over 0.002” TIR warrants further investigation.
Minor scratches can be polished with 2000-grit wet-dry paper, but deep grooves or pitting require a repair sleeve (Speedi-Sleeve) or crankshaft replacement. On nitrided or induction-hardened snouts, sleeves often fail to bond—replace the crank. Repair sleeves cost $30–$60 and can save hundreds in machining, but only use them on compatible materials.
Excessive Crankcase Pressure
If multiple seals (front, rear, valve cover) are leaking, suspect crankcase pressure. A clogged PCV valve or collapsed breather hose traps pressure, forcing oil out at weak points. Test PCV function by removing the oil cap at idle—if the engine runs smoother or you feel strong suction, the system is restricted.
For a definitive test, perform a blow-by measurement with a manometer. Over 1.0 kPa indicates excessive pressure. Common causes include worn piston rings, turbo over-boosting (e.g., stuck wastegate), or inadequate PCV capacity in modified engines. On high-performance builds, consider dual PCV valves or remote oil catch cans. Fixing PCV issues costs $50–$200 in parts—far cheaper than repeated seal jobs.
Harmonic Balancer Problems
A failing harmonic balancer can destroy multiple seals. If the rubber damper separates, the outer ring wobbles, beating the seal lip. Check runout with a magnetic-base dial indicator—anything beyond factory spec (typically 0.010”) means replacement. Also, verify the mounting bolt is torqued to spec and uses thread locker if required.
I’ve seen balancers loosen due to reused bolts or improper torque, walking forward and crushing the seal. A loose balancer may not show visible wobble but can still cause leaks. Replace the bolt and torque to spec—some engines require angle tightening. Balancer replacement costs $150–$400, but prevents $700+ in repeat labor.
Timing Cover or Block Defects
Casting porosity or bore damage is rare but possible. If the seal and crank are good but leakage persists, inspect the bore for gouges, corrosion, or out-of-round conditions. Minor scratches can be filled with aluminum-compatible epoxy, but deep damage requires a new timing cover ($200–$600).
Porosity in aluminum blocks is harder to detect. If suspected, pressure-test the disassembled block. Repairs are rarely cost-effective—replacement is usually the only fix.
| Symptom / Finding | Most Likely Cause(s) | Less Common But Possible Causes | Diagnostic Priority |
|---|---|---|---|
| Oil weeping at seal lip, no visible damage | Aging seal, minor crankshaft wear | Incorrect oil type, slight misalignment | Inspect crank surface, verify seal material |
| Heavy leak after recent seal replacement | Improper installation, dry lip, cocked seal | Excessive crankcase pressure, balancer wobble | Check installation depth, lubrication, runout |
| Leak with visible crankshaft groove | Crankshaft wear groove | Poor surface finish, incorrect seal material | Measure groove depth, consider sleeve |
| Leak with oil spray pattern | High crankcase pressure, PCV failure | Broken seal lip, balancer imbalance | Perform blow-by and PCV tests |
| Leak persists after multiple seal replacements | Crank or housing damage, porosity | Wrong seal type, engine misalignment | Disassemble and inspect bore, pressure test if needed |
Situation: A 2008 F-150 came in with a fresh front seal leak—replaced just 800 miles prior. Owner insisted it was “done right.”
Discovery: Upon teardown, the seal was cocked, and the crank snout had a visible groove. But the real issue? The harmonic balancer was loose—torque spec was 180 ft-lbs, but it broke free at 90. The balancer had been walking forward, crushing the seal.
Nuanced Lesson Learned: Even if the seal looks like the culprit, always verify the retention and condition of the harmonic balancer. A loose or damaged balancer can mimic seal failure and destroy multiple replacements.
Situation: A diesel pickup with consistent front seal leaks despite using OEM parts and proper technique. No crank wear, no runout.
Discovery: Blow-by test showed 2.1 kPa—double the spec. Turbocharger was over-boosting due to a stuck wastegate, increasing cylinder pressure and blow-by. The PCV system couldn’t keep up.
Nuanced Lesson Learned: High-performance or modified engines may exceed factory PCV capacity. Consider upgraded breathers or dual PCV setups when power modifications are present.
Situation: A classic muscle car with a brand-new rebuild started leaking at the front seal after 300 miles.
Discovery: The machinist had polished the crank snout to a mirror finish—too smooth. The seal lip needs a slight texture (around 20–30 microinches Ra) to retain a hydrodynamic oil film. A perfectly smooth surface actually promotes leakage.
Nuanced Lesson Learned: Surface finish matters as much as flatness and runout. Over-polishing can be just as bad as under-finishing. Always follow OEM surface roughness specs when reconditioning crankshafts.
Prevention and Best Practices
- ✅ Recommended: Use OEM or high-quality aftermarket seals. Cheap seals often swell or harden prematurely, especially with modern low-SAPS oils.
- ✅ Recommended: Clean the seal bore thoroughly and inspect for damage. Use a chamfered installation tool to avoid nicking the lip on the crank keyway.
- ✅ Recommended: Lubricate the seal lip and crankshaft snout with clean engine oil or moly-based assembly lube. Prevents dry startup damage.
- ✅ Recommended: Measure installed seal depth with a depth micrometer. Even 0.005” out of spec can cause lip misalignment.
- ⚠️ Avoid: Reusing old harmonic balancer bolts. Many are torque-to-yield and lose clamping force if reused.
- ⚠️ Avoid: Tapping seals in with a hammer and pipe. Uneven force leads to cocking. Use a proper driver set.
- ⚠️ Avoid: Assuming a new seal will fix a worn crank. If there’s a visible groove, consider a repair sleeve or crank replacement.
In my experience, front crankshaft seal failures are rarely about the seal itself. They’re symptoms of larger mechanical, operational, or procedural issues. Taking the time to inspect the crank, verify installation practices, and assess engine breathing can save hours of comebacks. Always consult the specific service manual for torque specs, runout limits, and material compatibility—what works on one engine may not apply to another.