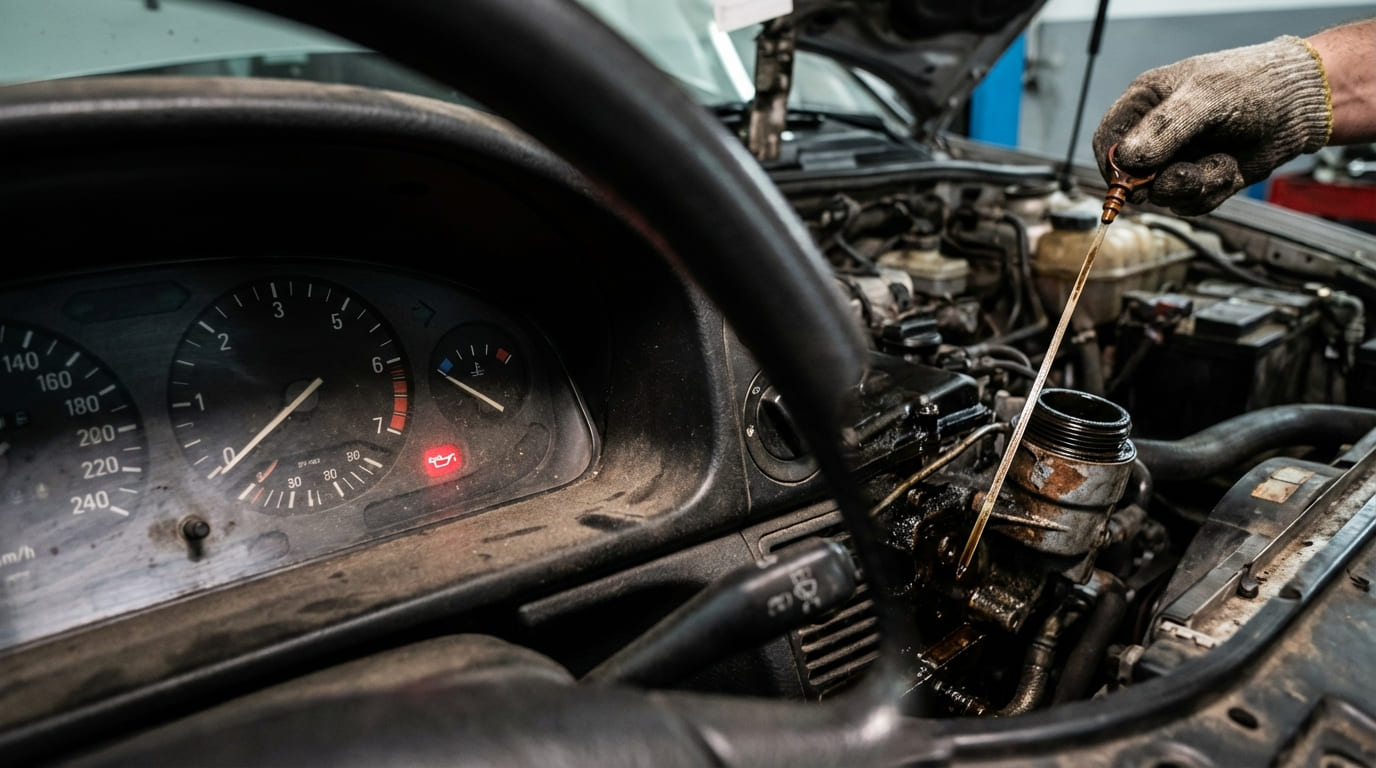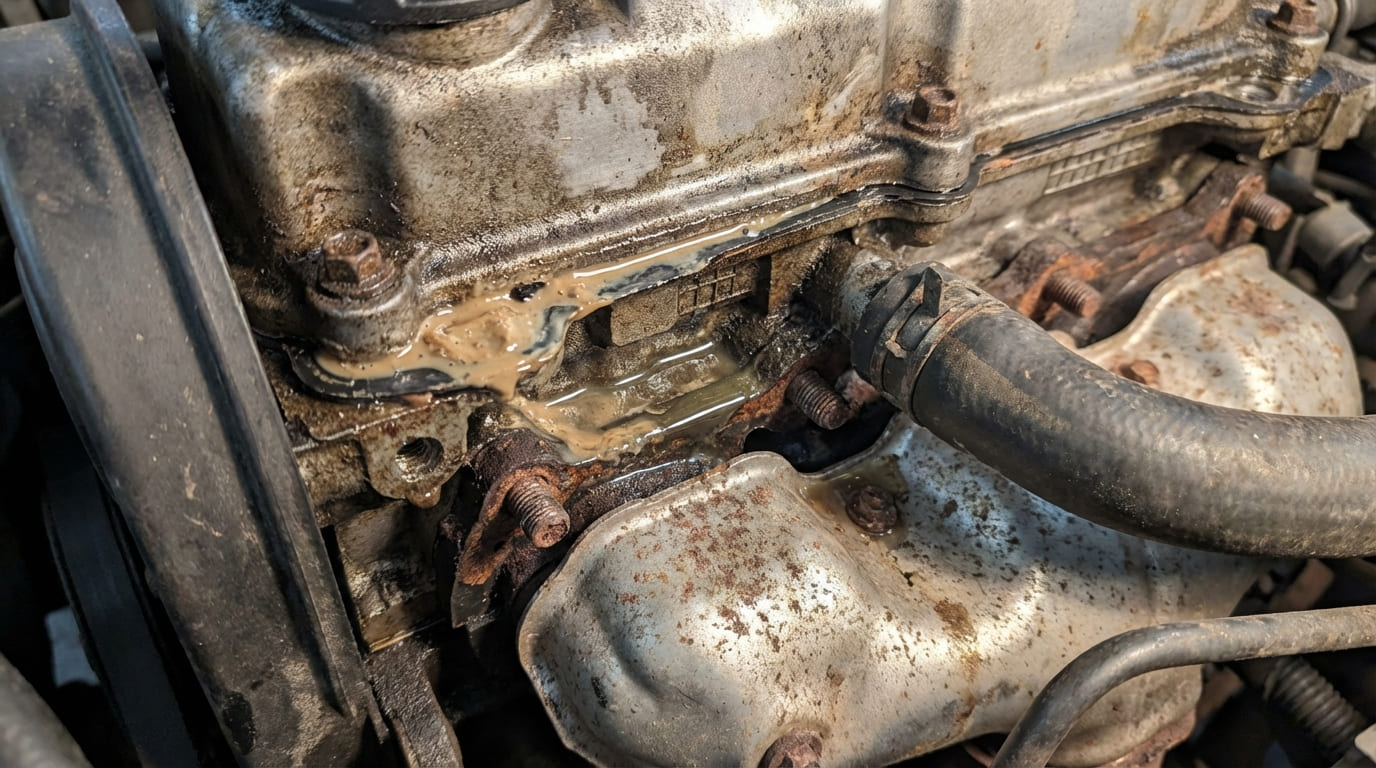
After two decades in the shop, I’ve seen more engines saved by smart diagnostics than expensive overhauls. Engine decoking—removing carbon buildup in combustion and intake areas—is one of those services that can restore performance when done right. But it’s not a fix for every rough idle or misfire. This guide cuts through the noise with real-world diagnostics, repair strategies, and cost-effective decisions every car owner should know.
What Is Engine Decoking?
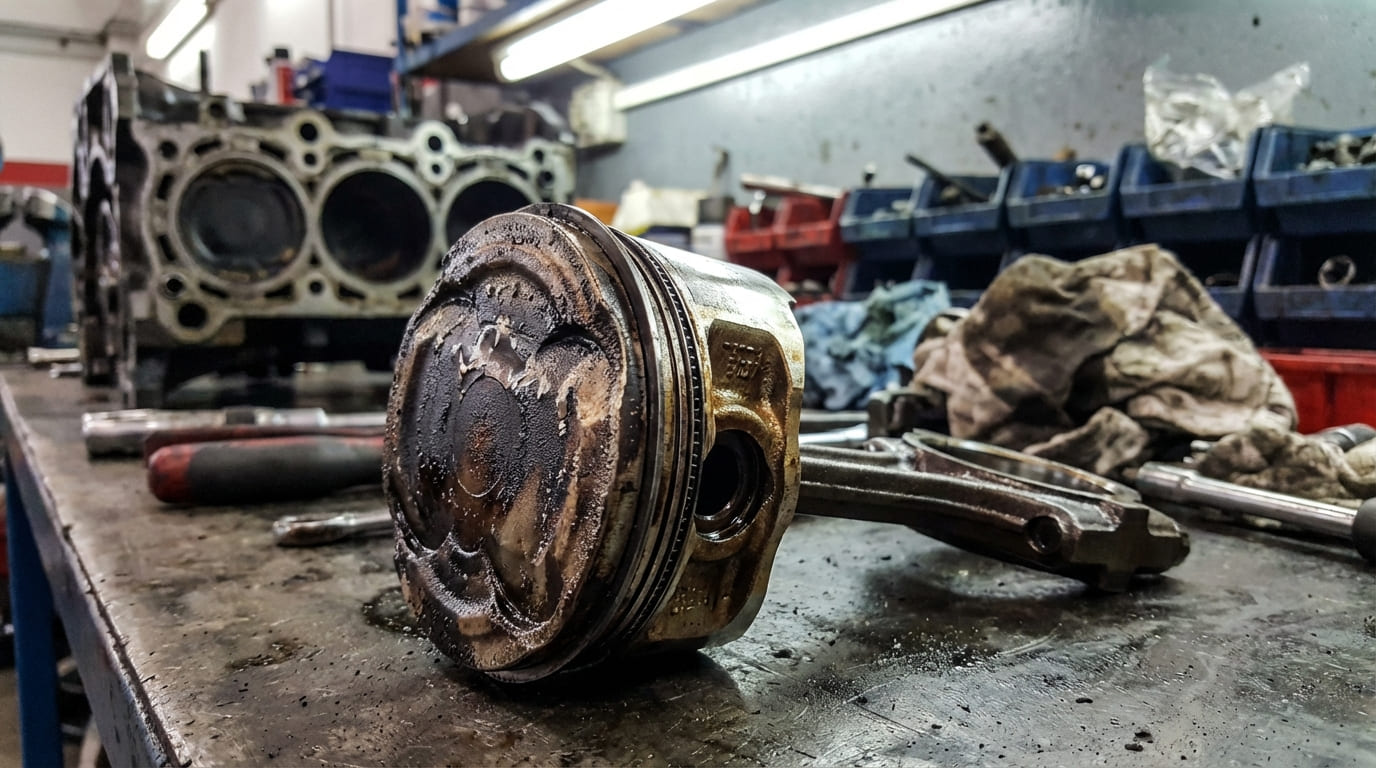
Engine decoking removes hardened carbon deposits from critical areas like intake valves, piston crowns, and combustion chambers. The goal isn’t just cleanliness—it’s restoring proper airflow, fuel mixing, and combustion. Left unchecked, carbon can cause misfires, poor fuel economy, and even engine damage.
Where Carbon Builds Up—and Why It Matters
Carbon accumulates in high-heat, low-flow zones. The most common problem areas:
- Backside of intake valves (especially in direct-injected engines)
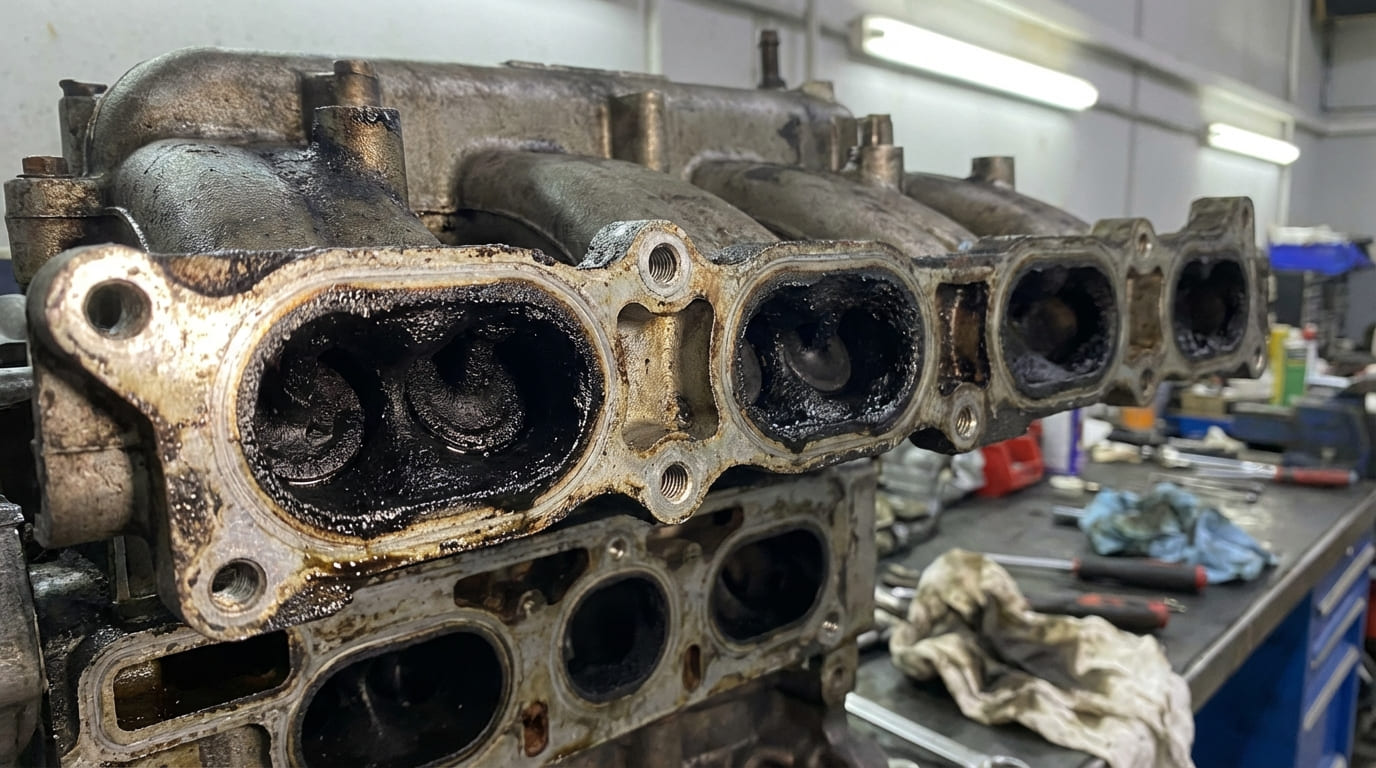
- Intake ports and manifold
- Piston tops and combustion chamber
- Fuel injector tips
- EGR passages and PCV system routes
These deposits disrupt airflow, trap heat, and can even prevent valves from sealing—leading to misfires and compression loss.
Why Carbon Builds Up: DI vs. PFI Engines
The engine type makes a big difference in where and how fast carbon forms.
Direct Injection (DI) Engines: High Risk for Intake Valve Coking
Fuel is injected directly into the cylinder, bypassing the intake valves. Without fuel washing over them, oil vapor and soot bake onto hot valve surfaces.
- PCV gases carry oil into the intake tract—common on turbocharged engines
- EGR systems recirculate soot-laden exhaust, adding to deposits
- Short trips and stop-and-go driving reduce cleaning effect of sustained heat
Port Fuel Injection (PFI) Engines: Less Prone, But Not Immune
Fuel sprays over the back of intake valves, helping keep them clean. But carbon still forms on pistons and in the chamber due to oil seepage, poor fuel, or infrequent oil changes.
How to Diagnose Carbon Buildup: Step-by-Step
Don’t guess—verify. Many symptoms overlap with coil, injector, or sensor issues. Confirm carbon before any cleaning.
Check for These Common Symptoms
If your car shows one or more of these, carbon may be involved:
- Rough or lumpy idle, especially when cold
- Intermittent misfires (P0301, P0302, etc.)
- Hesitation or stumbling under light throttle
- Gradual drop in fuel economy
- Failed emissions test (high HC)
- P0420 (catalyst efficiency) code—often secondary to misfires
Use a Borescope to See the Problem
This is the gold standard. Remove a spark plug, insert a flexible borescope, and inspect the combustion chamber and valves. Rotate the engine to open each intake valve.
Look for: thick, black, crusty deposits on the back of the intake valve or piston crown. Light soot is normal—hard, layered carbon is not.
In my shop, we always borescope before and after. It’s the only way to prove the problem and show the customer the results.
Inspect Intake Manifold (When Practical)
On many DI engines, removing the intake manifold reveals the intake ports. Heavy buildup looks like tar. This is labor-intensive, so it’s best done during scheduled service like a timing belt replacement.
Run a Leak-Down Test if Misfires Persist
Carbon can wedge between the valve and seat, preventing a seal. A compression test might look normal, but a leak-down test will show air escaping—often 20% or more on the affected cylinder.
If you hear air leaking into the intake tract, suspect intake valve carbon. If it’s going into the exhaust, the exhaust valve may be affected.
Scan for Fuel Trims
Use an OBD2 scanner to check long-term fuel trims (LTFT). Consistently high trims (+10% or more) suggest the engine is adding fuel to compensate for restricted airflow—common with carbon-clogged ports.
But don’t stop there: rule out vacuum leaks, dirty MAF sensors, and clogged fuel filters first.
Decoking Methods: What Works, What Doesn’t
Not all carbon cleaning is equal. Choose the method based on severity and engine design.
| Method | Best For | Efficacy | Risks / Limitations |
|---|---|---|---|
| Chemical (Fuel Additives) | Preventative or light deposits | Low to moderate | Limited reach; may dislodge chunks that harm catalytic converter |
| Chemical (Intake Cleaning) | Moderate intake deposits | Moderate | Requires precise solvent control; can damage sensors if misused |
| Walnut Blasting | Heavy intake valve carbon (DI engines) | High | Media can enter cylinder if valve seal fails; requires training |
| Manual Scraping | Localized, extreme buildup | High (if done carefully) | Risk of scratching valve stems or seats; very labor-intensive |
| Head Removal & Cleaning | Severe cases or post-failure repair | Very high | High labor cost ($1,500+); risk of new issues during reassembly |
Walnut blasting works—but only if the combustion chamber is sealed. I’ve seen techs skip this step and end up pulling the head to remove media. Always use positive crankcase ventilation blocking and rotate the engine to keep valves closed.
When to Recommend Decoking: Repair vs. Replace
Decoking isn’t routine maintenance. It’s a targeted fix based on symptoms and proof.
Proactive Cleaning: Worth the Investment?
For DI engines with a history of coking (e.g., BMW, Audi, Subaru, Ford EcoBoost), consider decoking between 45,000 and 60,000 miles—especially if the car is used for short trips.
Cost: $300–$600 for walnut blasting. Compare that to potential misfire repairs or poor performance—this can be a smart preventive move.
PFI engines? Skip it unless symptoms appear. The fuel wash effect keeps valves cleaner naturally.
Reactive Cleaning: Only After Diagnosis
If you’ve ruled out coils, injectors, and sensors—and borescope or leak-down test confirms carbon—then decoking is justified.
Don’t waste money on chemicals if you’ve got hard deposits. Go straight to walnut blasting or intake removal for scraping.
I once had a customer spend $400 on three different “miracle” fuel additives. A $45 borescope would’ve shown the real problem: a completely blocked intake valve. Diagnose first—always.
How to Prevent Carbon Buildup
Once you clean it, keep it clean. These steps reduce future deposits:
- Use Top Tier gasoline—it contains better detergents
- Change oil on schedule with OEM-spec synthetic oil (e.g., 0W-20, 5W-30)
- Install an air-oil separator (AOS) or catch can on turbocharged DI engines ($150–$300)
- Take the car on highway drives monthly to burn off light deposits
- Use a quality fuel system cleaner once a year (e.g., Techron, BG 44K)
How to Verify the Fix
After decoking, confirm it worked:
- Borescope again to check valve and chamber cleanliness
- Test drive: idle should be smooth, throttle response crisp
- Scan fuel trims: LTFT should drop from +15% to within ±5%
- Check misfire counters: no new misfires after a few drive cycles
- Re-run leak-down test if it was previously high
One Audi owner came back saying the car ran worse after a “carbon clean” at a quick-lube shop. We scanned it—fuel trims were still +18%. No borescope was used. They never verified the job. Always confirm with data, not just a test drive.
Carbon buildup is real, especially in modern DI engines. But it’s not the root of every drivability issue. Diagnose with a borescope and data, choose the right cleaning method, and verify the results. With the right approach, decoking can restore performance and extend engine life—without unnecessary expense.