After two decades in the shop, I’ve seen coolant leaks misdiagnosed more than almost any other issue. What looks like a blown radiator might be a $10 hose or a failing head gasket. This guide cuts through the noise with actionable diagnostics, real-world fixes, and the hard-won lessons that keep cars running and owners from wasting money.
Common Causes of Radiator Coolant Leaks
True radiator leaks stem from material failure, age, or stress. But many “radiator” leaks actually originate elsewhere. Start by isolating the source before replacing parts.
Radiator Core Leaks and Seam Failures
Pinhole leaks in the core or separation at tube-to-fin seams are usually permanent. Corrosion, poor coolant maintenance, road debris, or manufacturing flaws cause them. Aluminum cores can’t be reliably repaired; copper-brass units are rare today.
How to Check:
- Clean the radiator thoroughly—dried coolant trails point to the leak source.
- Perform a pressure test using a hand pump (e.g., Stant 12270) on the radiator neck. Pump to the cap’s rated pressure (typically 13–18 psi) and monitor for 15 minutes. A drop >2 psi indicates a leak.
- For invisible leaks, add UV dye to the coolant, run the engine to operating temperature, then inspect with a UV light. Clean oily residue first—dye sticks to grime and causes false positives.
In my shop, we never condemn a radiator without a pressure test. Too many “obvious” leaks turn out to be hoses or caps.
Seam separation from thermal cycling or engine vibration is common in short-trip vehicles. Replacement is the only reliable fix.
Radiator End Tank Leaks
Plastic end tanks crack from heat, ozone, or stress—especially at the crimp joint where plastic meets aluminum. Overtightened hose clamps can transfer force to the neck, creating hairline cracks that leak under pressure.
Cast aluminum tanks can crack from impact or develop porosity. These may pass a cold pressure test but leak when hot. Inspect with a bright light and magnification.
Some heavy-duty radiators use gaskets or O-rings between the core and tank. If the design allows disassembly, replacement seals can save the unit. Most consumer radiators are crimped and non-serviceable.
I’ve rebuilt modular radiators with replaceable tanks, but it’s rare. If it’s crimped, plan on replacement—don’t waste time on epoxy.
Inlet/Outlet Neck Leaks
Plastic necks crack from overtightened clamps. Look for bulging or stress marks at the base. Aluminum necks corrode where dissimilar metals meet, especially if old coolant wasn’t flushed. Once damaged, the radiator must be replaced.
Drain Plug and Petcock Leaks
Drain plug O-rings fail with age or improper torque. Replace the seal whenever draining coolant—it’s a $2 fix that prevents future leaks.
A stripped plug is easy to replace. Stripped threads in the radiator boss are trickier. A Helicoil can work if space allows, but most times, replacement is faster and more reliable.
Petcocks fail internally more than externally. Replace with OEM or quality aftermarket. If the petcock is molded into a plastic tank, removal can crack the housing—use proper tools and go slow.
Radiator Cap and Filler Neck Issues
A warped or corroded filler neck prevents the cap from sealing. Check flatness with a straightedge and feeler gauge—warpage over 0.003″ causes leaks. Pitting from old coolant breaks the seal.
The cap itself is often the culprit. Test every cap: it should hold within ±1 psi of its rating, and the vacuum valve must open freely to prevent hose collapse.
I test every cap that comes off. A $15 cap can mimic a $300 radiator leak—don’t skip this step.
What’s Not a Radiator Leak: Common Imposters
Before replacing the radiator, rule out these frequent mimics:
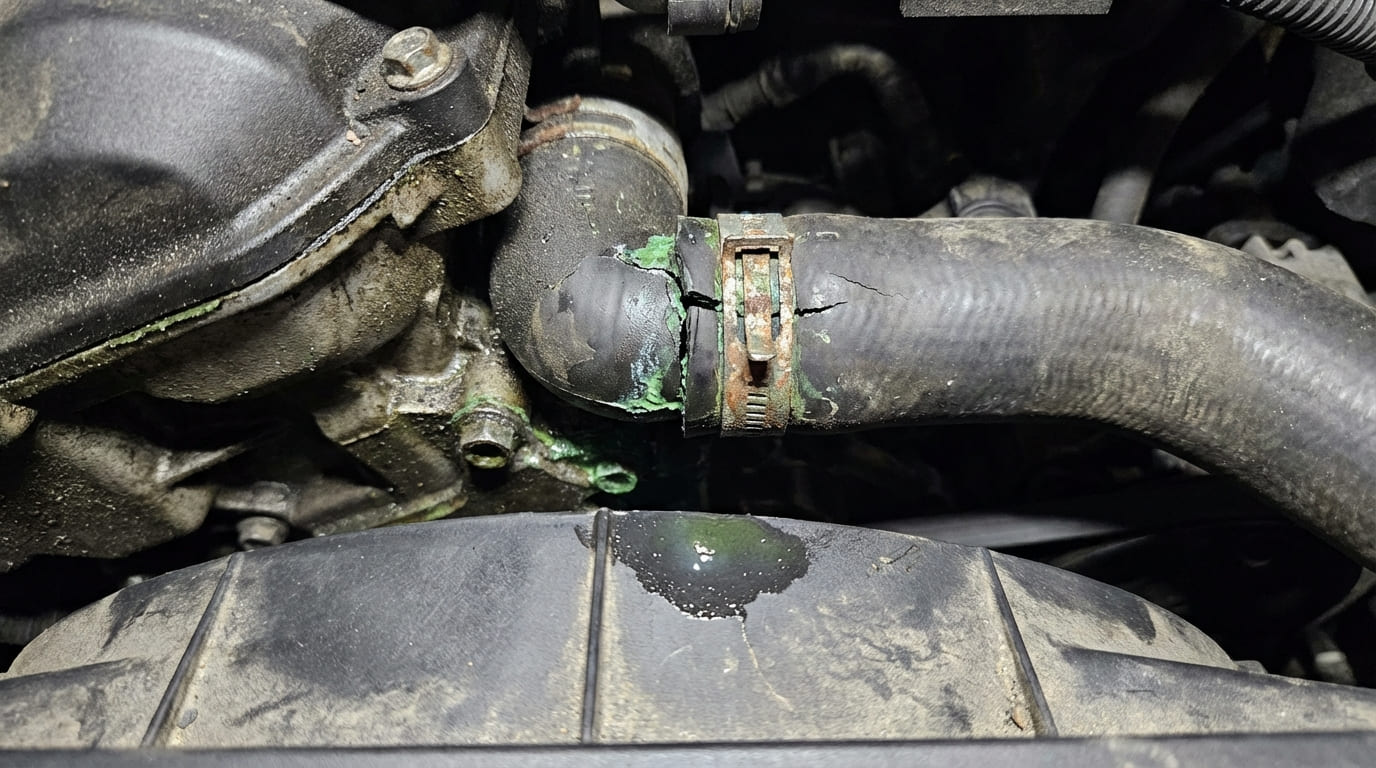
- Hose leaks: Especially the lower radiator hose, which suffers heat and vibration.
- Water pump weep hole: A drip from the front of the engine block often means a failing seal.
- Heater core: Sweet smell inside the cabin and damp floor mats. Coolant can run down firewall channels, appearing to come from the radiator.
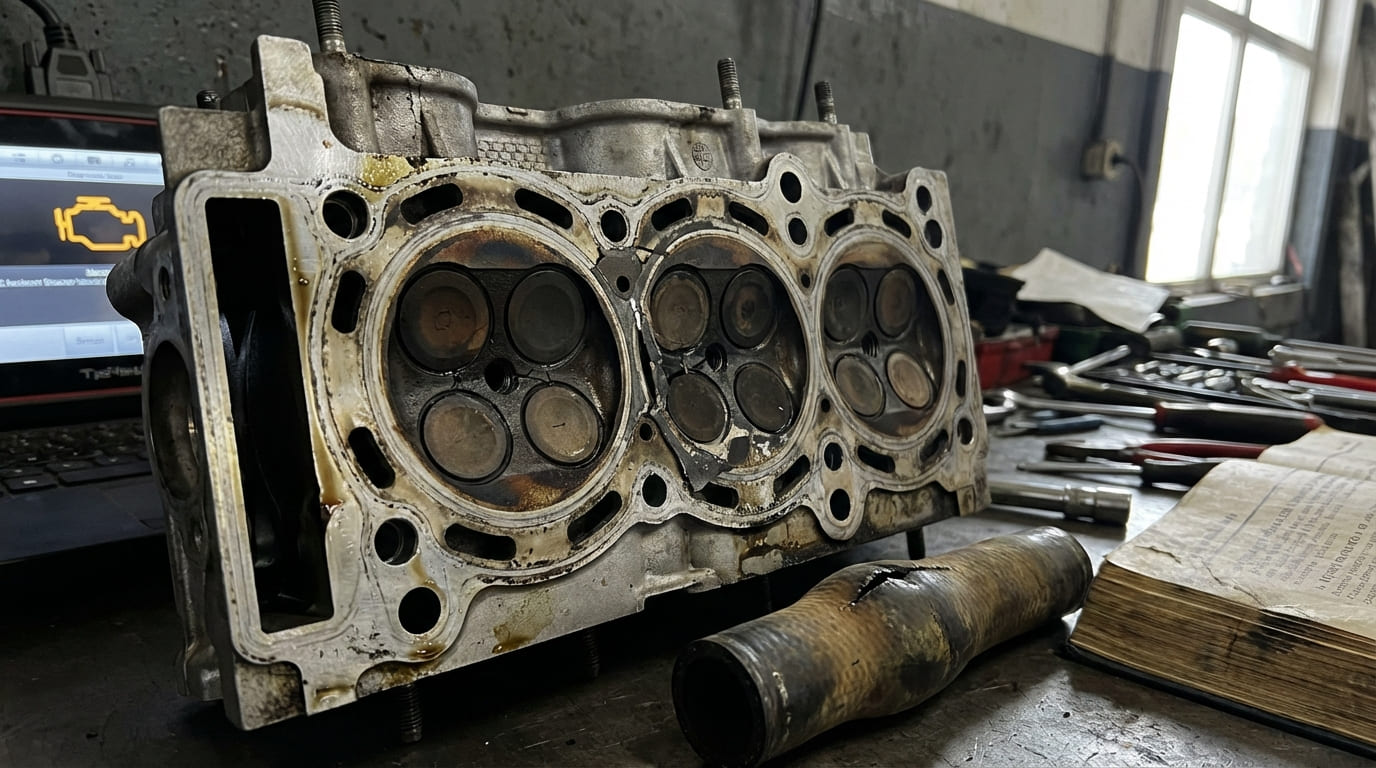
- Head gasket or block leak: Combustion gases pressurize the system, forcing coolant out at weak points like the cap or a minor flaw.
- Transmission cooler line: If the radiator houses the ATF cooler, a leak here mixes red fluid with coolant. Check ATF level and condition.
Costs and Repair vs. Replace
Repairing a radiator is rarely viable. Labor to remove, test, and reinstall often exceeds the cost of a replacement. Here’s what to expect:
| Part/Service | Avg. Cost (Part) | Avg. Cost (Labor) | Repairable? |
|---|---|---|---|
| Radiator (compact car) | $120–$200 | $150–$250 | No |
| Radiator (truck/SUV) | $200–$400 | $200–$350 | No |
| Radiator cap | $10–$25 | $0 (DIY) | Replace |
| Drain plug O-ring | $2–$5 | $0–$20 | Yes |
| Water pump | $80–$200 | $200–$400 | No |
If the radiator is over 8 years old or has 120k+ miles, just replace it. Even if the leak is minor, the rest of the unit is fatigued.
Diagnostic Decision Table
| Symptom | Most Likely Causes | Less Common But Possible | Diagnostic Next Step |
|---|---|---|---|
| Visible coolant drip at lower radiator tank | Drain plug leak, end tank crack | Lower hose leak, water pump weep | Pressure test, clean and inspect |
| Steam from front of engine, pressure loss | Radiator cap failure, core leak | Head gasket, heater hose burst | Test cap, pressure test system |
| Sweet smell inside cabin, damp floor | Heater core leak | Coolant spill during fill, A/C drain clog | Pressure test heater lines, inspect core |
| Intermittent leak only when hot | Thermal expansion of crack, cap relief | Head gasket micro-leak | Test with engine at operating temp, check for exhaust gas in coolant |
| Reddish fluid at radiator base | Transmission cooler line leak | Cross-contamination in shop, misdiagnosis | Inspect cooler lines, check ATF level and condition |
Nuanced Diagnostics from Real Cases
Situation: 2012 sedan with coolant loss and white residue on the radiator top tank. Owner used stop-leak twice. Pressure test showed 4 psi drop in 10 minutes.
Mistake: Assuming the radiator was bad.
Fix: Found a split in the upper hose under the clamp—residue hid it. Stop-leak partially sealed it, confusing the diagnosis.
Takeaway: Clean everything and isolate components. Don’t trust surface clues alone.
Situation: Pickup with coolant dripping from lower tank. Crack at plastic-aluminum joint.
Mistake: Replacing radiator without checking mounts.
Fix: Broken lower support allowed movement, stressing the tank. Replaced mount and radiator.
Takeaway: Fix the cause, not just the symptom. Otherwise, the new radiator will fail too.
Situation: SUV with bubbling in overflow tank but no visible leak. Pressure test held.
Mistake: Replacing the cap first.
Fix: Cap tested good. Combustion leak test was positive—blown head gasket pressurizing the system.
Takeaway: Not all coolant loss is external. Test for internal engine issues early.
Temporary Fixes and Prevention
Stop-leak products can seal tiny pinholes, but they risk clogging heater cores and reducing cooling efficiency. Use only to get home or to a shop—never as a permanent fix.
Epoxy patches on plastic tanks fail within weeks. I don’t recommend them, but if you must, clean and dry the area completely and use a high-temp epoxy designed for plastics.
Prevent leaks with regular maintenance:
- Flush coolant every 5 years or 100,000 miles (check your manual).
- Use OEM-specified coolant mixed 50/50 with distilled water.
- Inspect hoses, clamps, and mounts during oil changes.
- Test the radiator cap annually.
- Keep splash shields intact to protect from road debris.