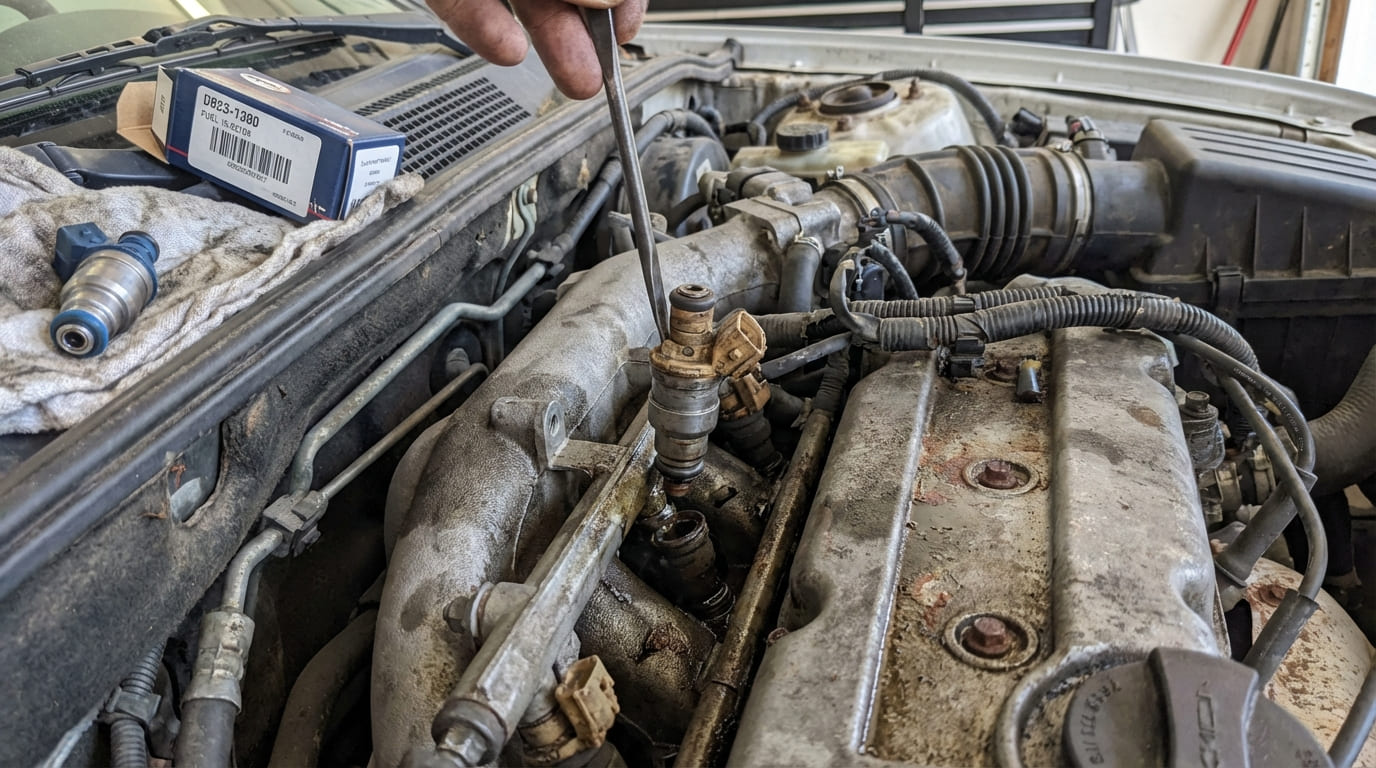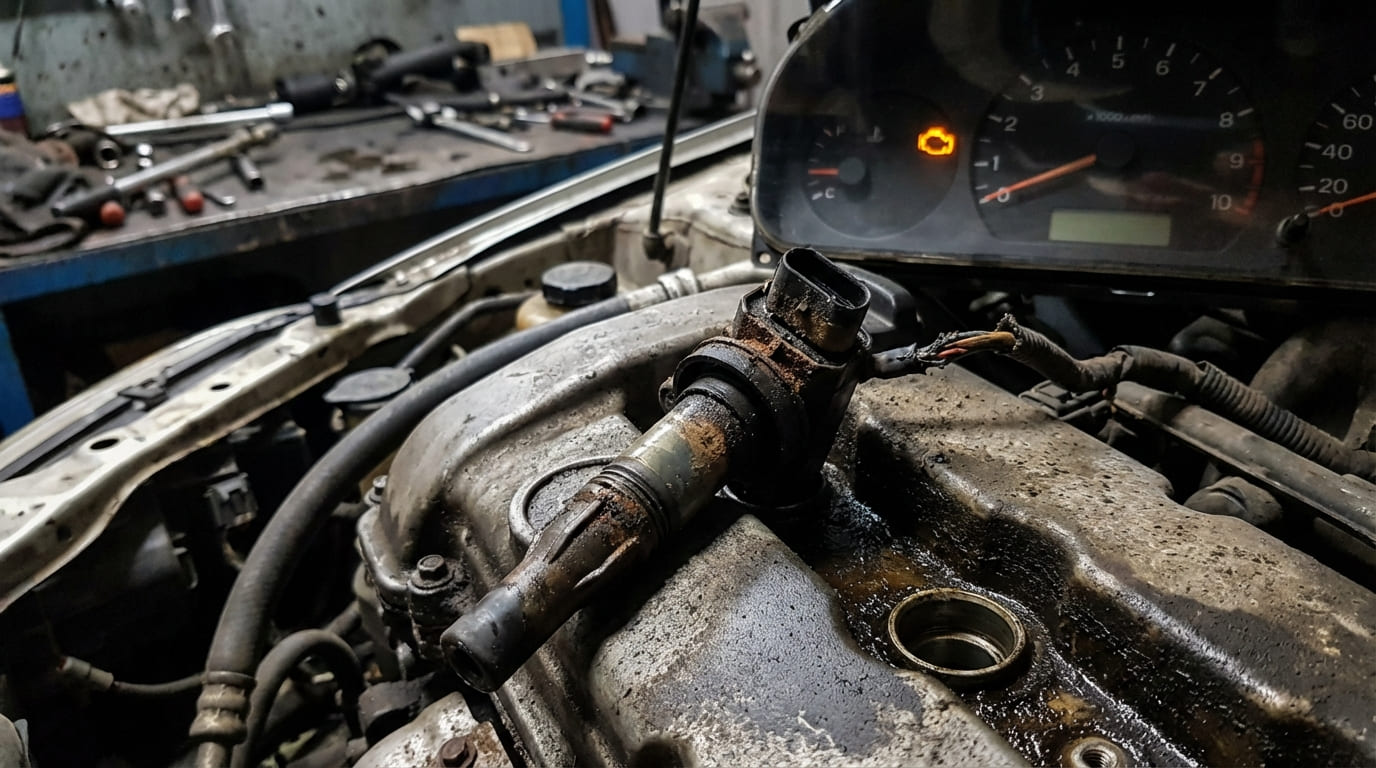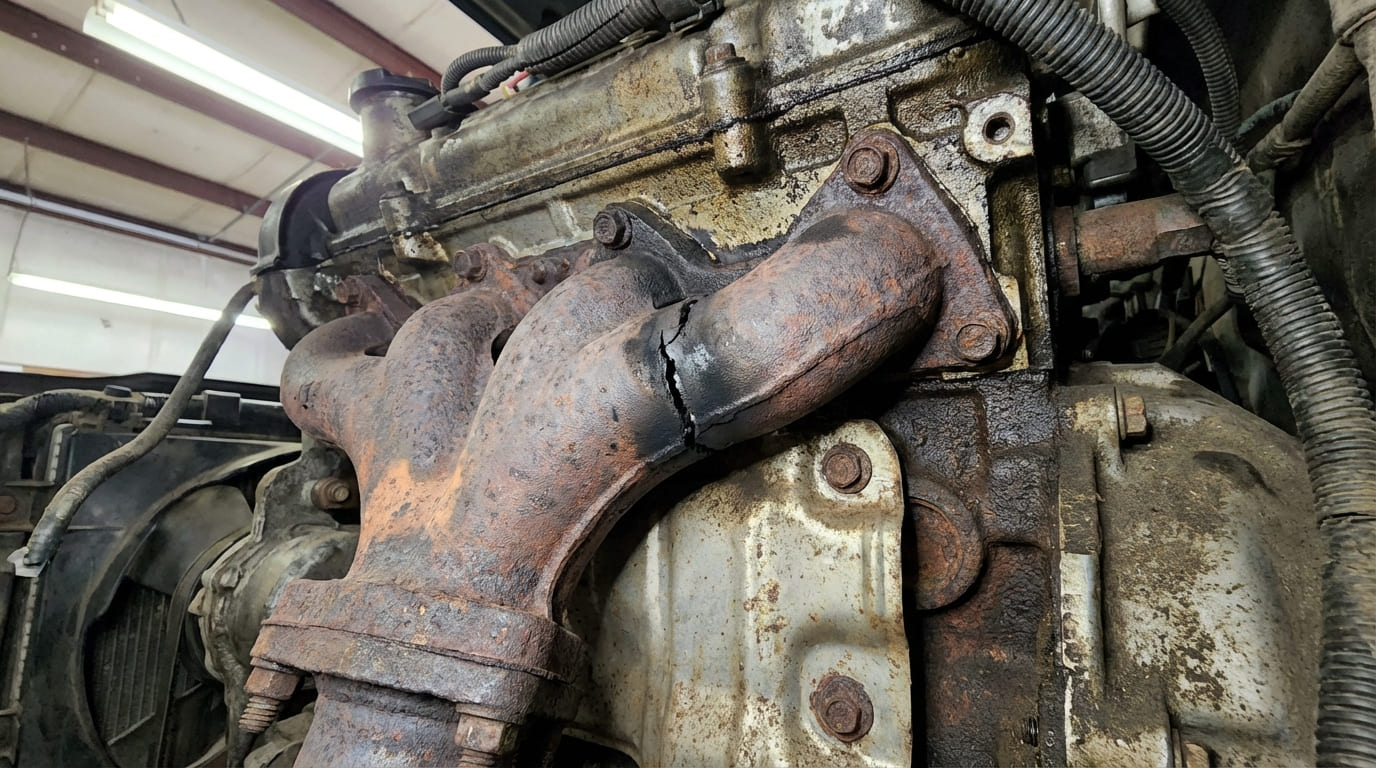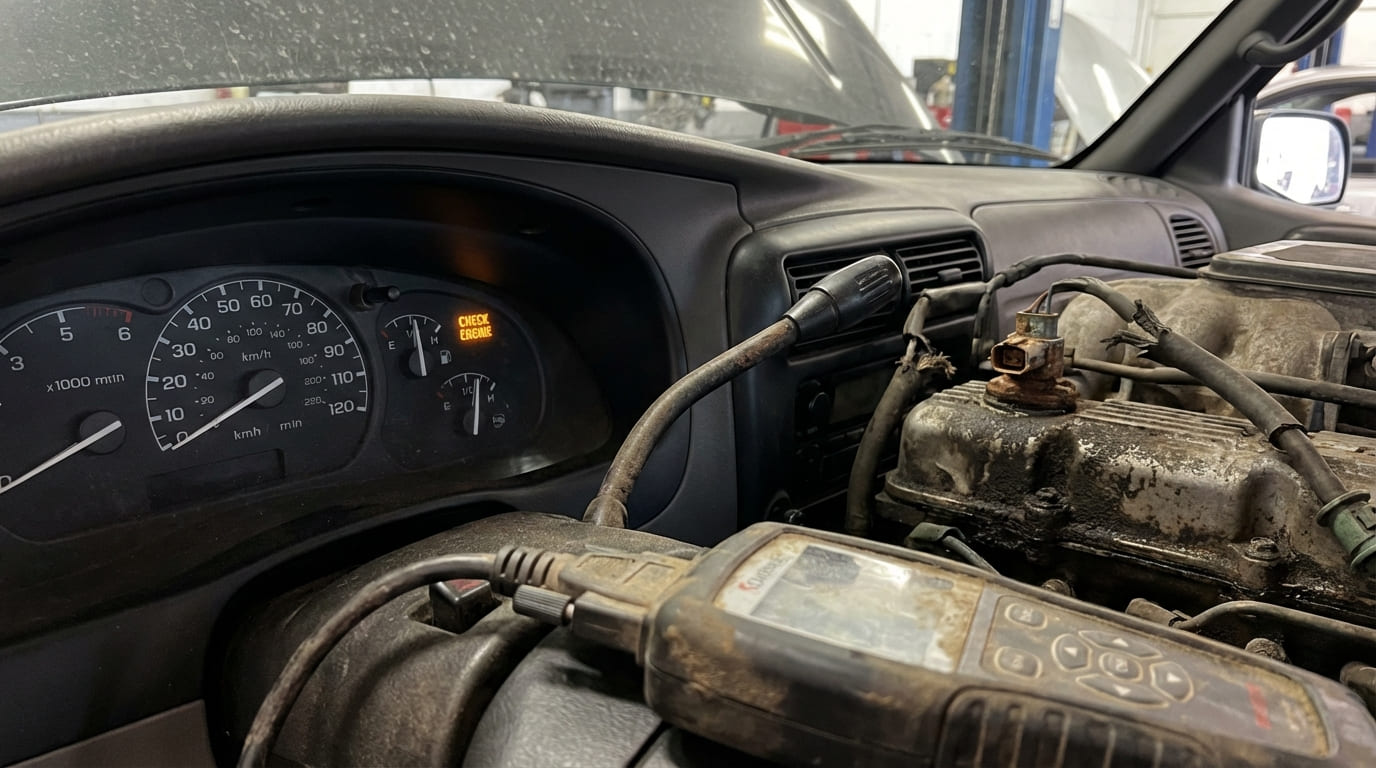
In my two decades as a shop foreman, I’ve seen more than a few Check Engine Lights (CEL) come and go—some legitimate, some misleading, and more than a few cleared too soon. While clearing a DTC might seem like a quick fix, the real value lies in understanding what triggered it and whether the reset actually resolves the issue or just hides it temporarily. Let me walk you through how we handle this in my shop, with the kind of nuance that keeps comebacks low and customer trust high.
Understanding the Check Engine Light and Diagnostic Trouble Codes
The Check Engine Light is the engine control unit’s (ECU) way of saying, “Hey, something’s outside expected parameters.” On most vehicles I see, it illuminates when a fault affects emissions, performance, or system integrity. But the light itself doesn’t tell you the cause—just that a code has been logged.
DTC Categories
- P0xxx: Powertrain (engine, transmission, drivetrain). These are the most common in my shop, especially P0171/P0174 (fuel trim) and P0300 (random misfire).
- B0xxx: Body-related systems like HVAC, airbags, or lighting. These won’t usually cause drivability issues but can set the CEL in some vehicles.
- C0xxx: Chassis systems including ABS, stability control, and steering. Some models tie these into the main warning cluster.
- U0xxx: Network communication faults between modules. In my experience, these can be tricky—often pointing to wiring, grounding, or module issues rather than sensor failures.
How to Check the Code Before Clearing
Before even thinking about clearing the light, you must read the code. Here’s how we do it in the shop:
- Plug an OBD2 scanner into the Data Link Connector (DLC), usually under the dash near the steering column.
- Turn the key to “ON” (do not start the engine).
- Read and write down all stored codes, including pending codes.
- Record freeze frame data if available—this shows engine conditions when the code was set.
- Use live data to check fuel trims, O2 sensor response, and misfire counters.
In my shop, we always write down codes and freeze frame data on a notepad—even if we have a digital scan tool. You’d be surprised how often that snapshot reveals a cold-start misfire or a momentary fuel pressure drop that points directly to the root cause.
Methods for Clearing a Check Engine Light Code
Method 1: Using an OBD2 Diagnostic Scanner
This is the only method I recommend for most DIYers and professionals. A basic scanner costs $30–$60; professional tools run $200+. The difference? Live data, bi-directional controls, and access to manufacturer-specific codes.
- Connect the scanner to the DLC.
- Turn the key to “ON” (engine off).
- Select vehicle make, model, and year if required.
- Read and record all codes and freeze frame data.
- Navigate to “Clear Codes” or “Erase DTCs” and confirm.
- Restart the engine and verify the CEL is off.
After clearing, readiness monitors reset to “Not Ready.” This matters for emissions testing. You’ll need to complete a drive cycle to reset them.
I’ve had customers buy $50 scanners that only read generic codes—missing critical manufacturer-specific faults. For long-term value, spend $100+ on a tool that reads live data and supports your vehicle’s brand. It pays for itself in one accurate diagnosis.
Method 2: Battery Disconnect (Manual ECU Reset)
This method works but comes with risks. It’s only worth considering if you don’t have a scanner or are resetting adaptations after major repairs.
- Turn off the ignition and all accessories.
- Disconnect the negative battery terminal first.
- Wait 15–60 minutes (some German cars require 30+ minutes).
- Reconnect the positive, then negative terminal.
- Start the engine and check for CEL.
Risks include loss of radio presets, clock settings, adaptive ECU memory, and potential anti-theft lockouts. You also lose freeze frame data and pending codes—critical clues for intermittent issues.
I only use battery disconnect when replacing the ECU or after a major electrical repair. Otherwise, it’s overkill and strips valuable learned data. If you must do it, label all settings—radio codes, seat positions—before you start.
When to Clear the Check Engine Light: Best Practices
Clearing the light isn’t wrong—but do it at the right time.
- After confirming a repair (e.g., replaced a faulty O2 sensor).
- To verify a fix by checking if the code returns under load.
- After replacing sensors or components that affect air/fuel metering (MAF, throttle body).
- Temporarily during diagnosis—only if you’ve recorded the original code and data.
Avoid clearing:
- Before diagnosis—it erases your only clue.
- Just to pass emissions—readiness monitors won’t be set, and the code will likely return.
- After a misfire code without checking compression or spark—internal damage could be progressing.
Best Practices Checklist
- ✅ Record all codes and freeze frame data before clearing.
- ✅ Use a scan tool with live data to monitor fuel trims, O2 sensors, and misfire counts.
- ✅ Clear codes only after verifying the repair with a test drive.
- ⚠️ Avoid clearing during diagnosis of intermittent faults.
- ⚠️ Don’t skip the drive cycle—your car won’t pass emissions without “Ready” monitors.
What Happens If You Clear Without Repair?
The light may go out—but the problem doesn’t. Unrepaired issues lead to:
- Increased fuel consumption
- Damage to catalytic converters or O2 sensors
- Loss of engine power or drivability
- Potential engine failure (e.g., from persistent misfires or low oil pressure)
Some faults, like a small vacuum leak or minor misfire, may not feel severe but can degrade components over time. Clearing the code without fixing it is like ignoring a fever—it might feel better for a day, but the infection remains.
What to Do After Clearing the Code
Clearing is step one. Verification is step two.
Check Readiness Monitor Status
After clearing, all emissions monitors are “Not Ready.” You must complete a drive cycle to reset them. Use your scanner to check status—don’t guess.
Complete the Drive Cycle
Drive cycles vary by manufacturer. A typical sequence:
- Cold start (engine below 50°F or as specified).
- Idle for 2–5 minutes.
- Drive at 45–55 mph for 5–10 minutes.
- Decelerate without braking (coast down).
- Repeat if required (some Toyotas need 2–3 cold starts).
Use your scanner to confirm all monitors are “Ready” before emissions testing.
Monitor for Code Return
Don’t assume it’s fixed because the light stayed off. Drive under real-world conditions:
- Highway speeds
- Stop-and-go traffic
- Hard acceleration
- Cold starts
Recheck for pending codes every 24 hours. Some faults take multiple drive cycles to register.
Situation: A 2016 Honda Accord came in with a P0420 code—catalyst efficiency below threshold. Owner had cleared it twice already with a cheap scanner.
Initial Assumption: Failing catalytic converter, which isn’t uncommon at 120k miles.
Deep Dive: After confirming the code returned, I checked live data. Upstream and downstream O2 sensors were reacting almost identically—suggesting the cat wasn’t storing oxygen. But before quoting a $1,200 replacement, I inspected the long-block. Found a slight external oil leak near the exhaust manifold. Turns out, it was burning oil just enough to foul the sensors and skew readings.
Nuanced Lesson Learned: Not every P0420 means a bad cat. Small secondary issues—like oil or coolant entering the exhaust—can mimic catalyst failure. Always rule out contributing factors before replacing expensive components.
Situation: A Ford F-150 with a recurring P0171 (System Too Lean) had the MAF sensor replaced, codes cleared, and light returned in two days.
Initial Assumption: Bad fuel pump or clogged injectors.
Discovery: After checking fuel pressure and trims, I found the short-term fuel trim was pegged at +25% at idle. That’s high. A smoke test revealed a small vacuum leak at the PCV hose connection—barely audible. Replaced the hose, cleared the code, and completed a drive cycle.
Nuanced Lesson Learned: Lean codes often lead you toward fuel delivery, but in modern engines, air leaks—even tiny ones—can have an outsized impact due to precise air/fuel targets. Always consider unmetered air before condemning fuel components.
Situation: A BMW 328i had a U0121 (Lost Communication with ABS Module) code. Previous shop cleared it, but it came back within a week.
Initial Assumption: Faulty ABS module or wiring.
Discovery: After checking power and ground, I monitored CAN bus signals. Voltage was unstable. Further inspection revealed a corroded ground point under the driver’s side strut tower—a common spot on these models. Cleaned and sealed it, cleared the code, and no recurrence after three weeks.
Nuanced Lesson Learned: Network codes can be misleading. They often point to communication issues, but the root cause might be something as simple as a bad ground. Diagnose the circuit, not just the code.
Common Codes and What They Really Mean
| Symptom / Code Type | Most Likely Causes | Less Obvious Possibilities | Probability (Based on Field Data) |
|---|---|---|---|
| P0300 (Random Misfire) | Ignition coils, spark plugs, fuel injectors | Vacuum leak, low compression, cam timing off | ~70% ignition-related, ~30% mechanical/vacuum |
| P0171/P0174 (Lean Condition) | MAF sensor contamination, vacuum leaks | Fuel pump pressure drop, exhaust leak pre-O2 sensor | ~60% air intake issues, ~25% fuel, ~15% exhaust |
| P0420 (Catalyst Efficiency) | Aged or damaged catalytic converter | Oil/coolant contamination, faulty O2 sensors, rich fuel mixture | ~50% cat failure, ~50% secondary causes |
| U0xxx (Network Codes) | Module power/ground issues, wiring damage | Software glitches, ECU reflash needed, poor terminations | ~75% electrical, ~25% software/configuration |
Final Tips to Keep the Light Off
The goal isn’t just to clear the code—it’s to solve the problem.
- Use OEM-spec or better replacement parts—especially for sensors and gaskets.
- After repair, complete a proper test drive under load.
- Monitor live data to confirm normal operation.
- Check readiness monitors before emissions testing.
One final note: while generic procedures exist, the real accuracy comes from the factory service manual. I’ve seen tolerances for injector sealing washers vary between model years on the same engine family. What’s acceptable on one might cause a leak on another. Always consult the specific service data before calling a job complete.