In my shop, one of the most common calls I get isn’t about rough idling or power loss. It’s: “The check engine light came on, but the car drives perfectly.” That doesn’t mean there’s no problem. More often than not, the engine control module (ECM) has detected a fault subtle enough that the driver won’t feel it, but significant enough to trigger a diagnostic trouble code (DTC). Over two decades of diagnostics, I’ve learned that these “silent” CELs often point to developing issues that, if ignored, can snowball into expensive repairs.
Step 1: Pull and Analyze Diagnostic Trouble Codes (DTCs)
The first move is non-negotiable: connect an OBD2 scanner to the data link connector (DLC), usually under the dash near the steering column. Pull both stored and pending codes. Don’t skip the freeze frame data — it captures engine load, RPM, coolant temp, and other conditions at the moment the fault was logged. That context can help distinguish an intermittent glitch from a real trend.
Even if the car runs smooth, the DTCs are your roadmap. They won’t always tell the full story, but they’re the best starting point. I’ve seen too many techs jump to parts swapping before reading the codes — a waste of time and money.
Most Common Causes and How to Diagnose Them
Emissions System Faults
Emissions-related codes are the top cause of a check engine light with no drivability symptoms. These systems are sensitive and monitored constantly, even when engine performance feels normal.
Evaporative Emission (EVAP) System Leaks
Codes like P0440, P0442, or P0455 indicate a fuel vapor leak. The system seals the fuel tank and routes vapors to the engine. A small leak won’t affect power or idle, but it will fail emissions testing.
How to Check:
- Inspect the gas cap first. Remove it and check the rubber O-ring for cracks, hardening, or debris. Even OEM caps lose sealing ability over time.
- Reinstall and torque to spec (usually hand-tight plus 1/4 turn). Clear the code and drive for a few days.
- If the code returns, perform a smoke test. Most repair shops charge $75–$150, but it’s the only reliable way to find small hose leaks, cracked canisters, or vent solenoid failures.
Repair vs Replace: A gas cap costs $15–$35. Hoses or solenoids run $50–$120 in parts. Smoke testing is worth every dollar — guessing on EVAP leaks leads to wasted parts.
In my shop, we always replace the gas cap during EVAP diagnostics if it’s over 3 years old. It’s a known wear item and a common failure point. Treat it like a filter — cheap insurance.
Oxygen Sensor Issues
Codes like P0133 (slow response) or P0135 (heater circuit) often appear without drivability issues. The engine computer adjusts fuel trims to compensate, masking inefficiency.
How to Check:
- Use live data to monitor upstream O2 sensor voltage. On a warmed-up engine at idle, it should cross 0.45V at least 5 times per minute. Sluggish response indicates contamination or aging.
- Compare upstream and downstream sensors. If both oscillate rapidly, the catalytic converter may be underperforming.
- Check fuel trims. Long-term trims over +10% or below -10% suggest the sensor is struggling to maintain balance.
Repair vs Replace: O2 sensors cost $80–$250 each, depending on position and vehicle. Avoid cheap aftermarket sensors — they fail early and cause false readings. OEM or NTK/Denso equivalents are worth the price.
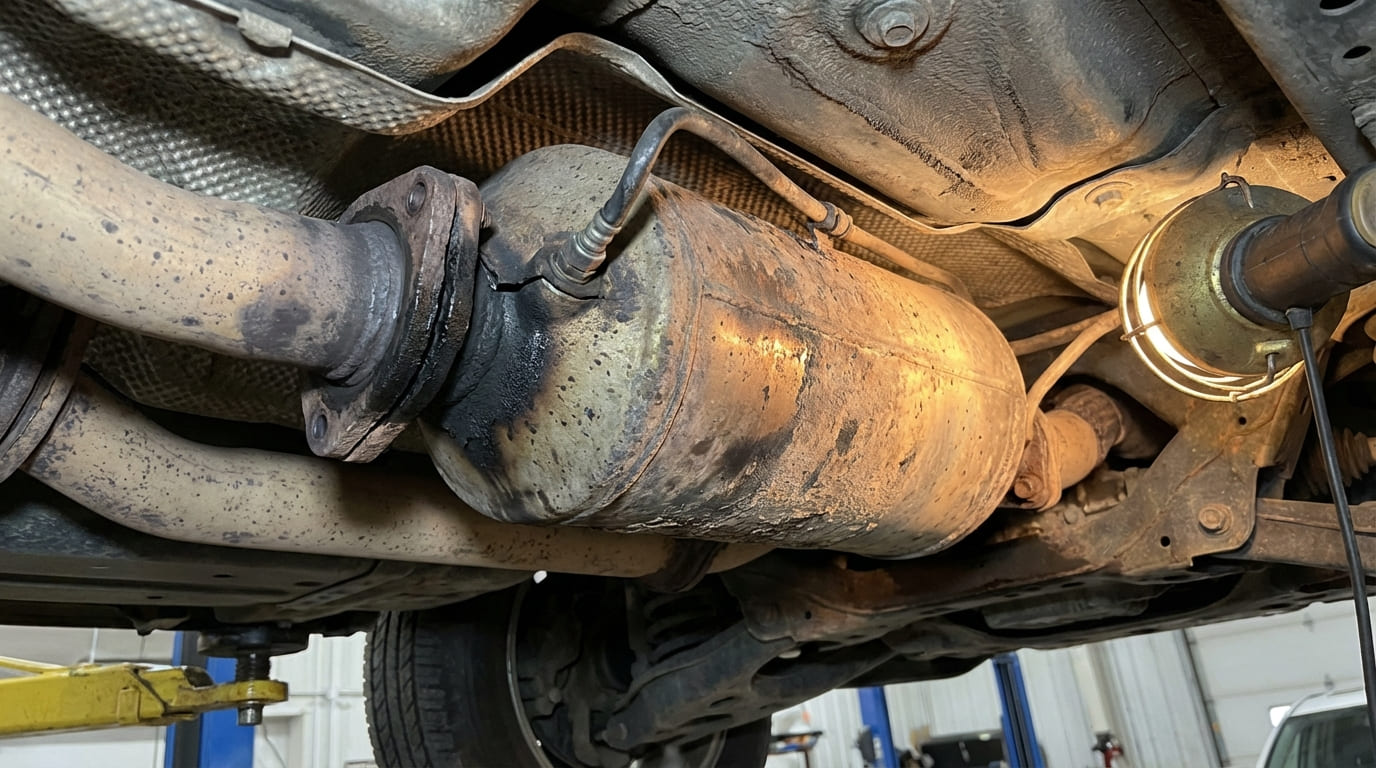
Catalytic Converter Efficiency (P0420/P0430)
These codes don’t always mean the cat is clogged or dead. Efficiency is calculated by comparing upstream and downstream O2 sensor signals.
How to Check:
- Monitor both O2 sensors in live data. A healthy cat shows a stable downstream sensor. If it mirrors the upstream, efficiency is low.
- Rule out a faulty upstream sensor first — a lazy O2 sensor can mimic a bad cat.
- Check for past misfires or oil consumption, which can coat the catalyst over time.
Repair vs Replace: Cats cost $500–$2,000+ to replace. Before spending that, verify the issue. A failing O2 sensor is far cheaper to fix. Also, some vehicles allow reflash updates to reset catalyst monitors — check for TSBs.
On high-mileage vehicles, I always check spark plugs and oil consumption history before condemning a cat. Burning oil or chronic misfires are usually the root cause.
Engine Performance Sensors
Minor sensor faults can trigger the CEL without affecting driveability thanks to the PCM’s ability to adapt.
Mass Air Flow (MAF) Sensor Problems
Codes like P0101, P0102, or P0103 indicate airflow miscalculation. The PCM compensates with fuel trims, so the car may feel fine.
How to Check:
- Monitor MAF readings in live data. At idle, a 2.0L engine should read 2–4 grams per second (g/s). At 3,000 RPM under load, expect 25–35 g/s.
- If readings are out of range but the car runs well, the PCM is adapting. Clean the sensor with MAF-specific cleaner — no rubbing alcohol.
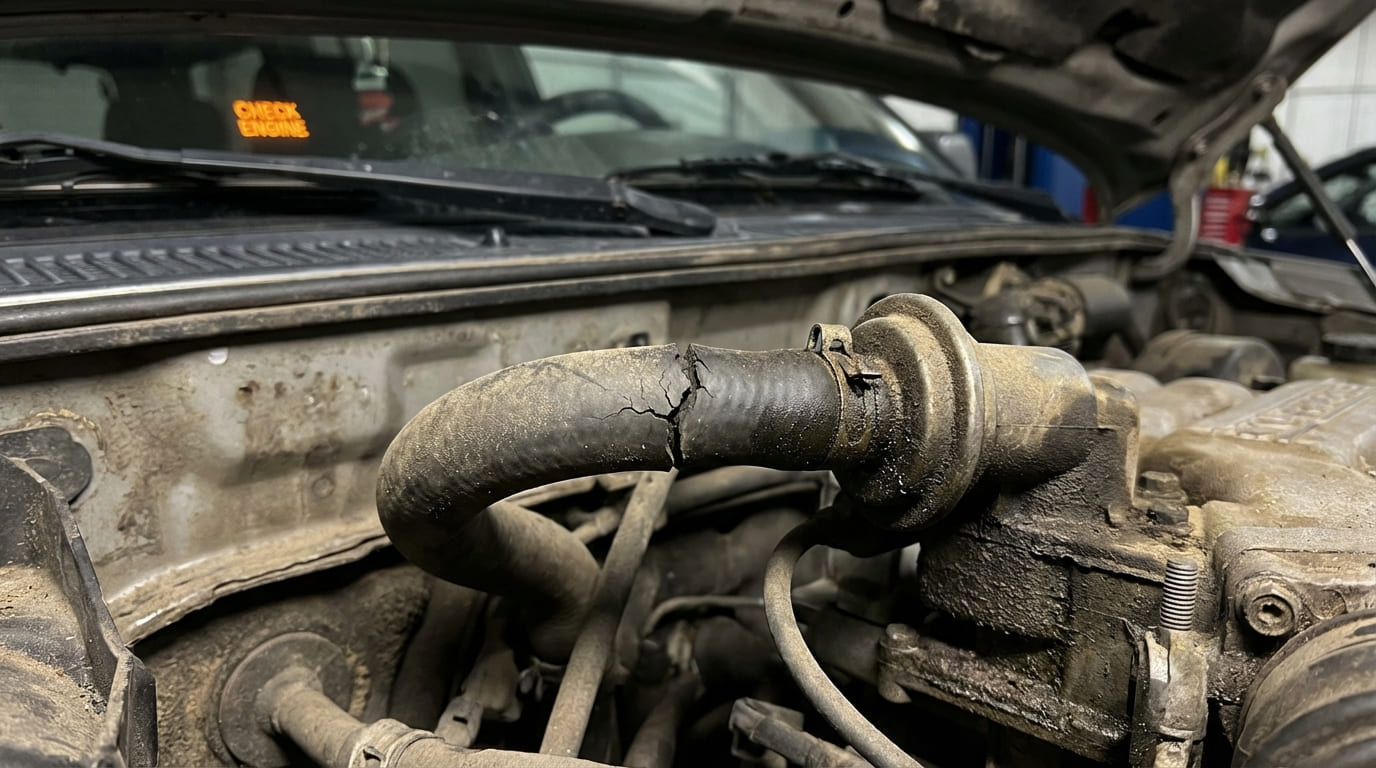
- If the problem persists, inspect for air leaks downstream of the MAF. Even a small unmetered air leak skews readings.
Repair vs Replace: Cleaning costs nothing. MAF sensors run $100–$300. Avoid aftermarket units — they often lack proper calibration.
Intermittent Misfires (P0300–P0308)
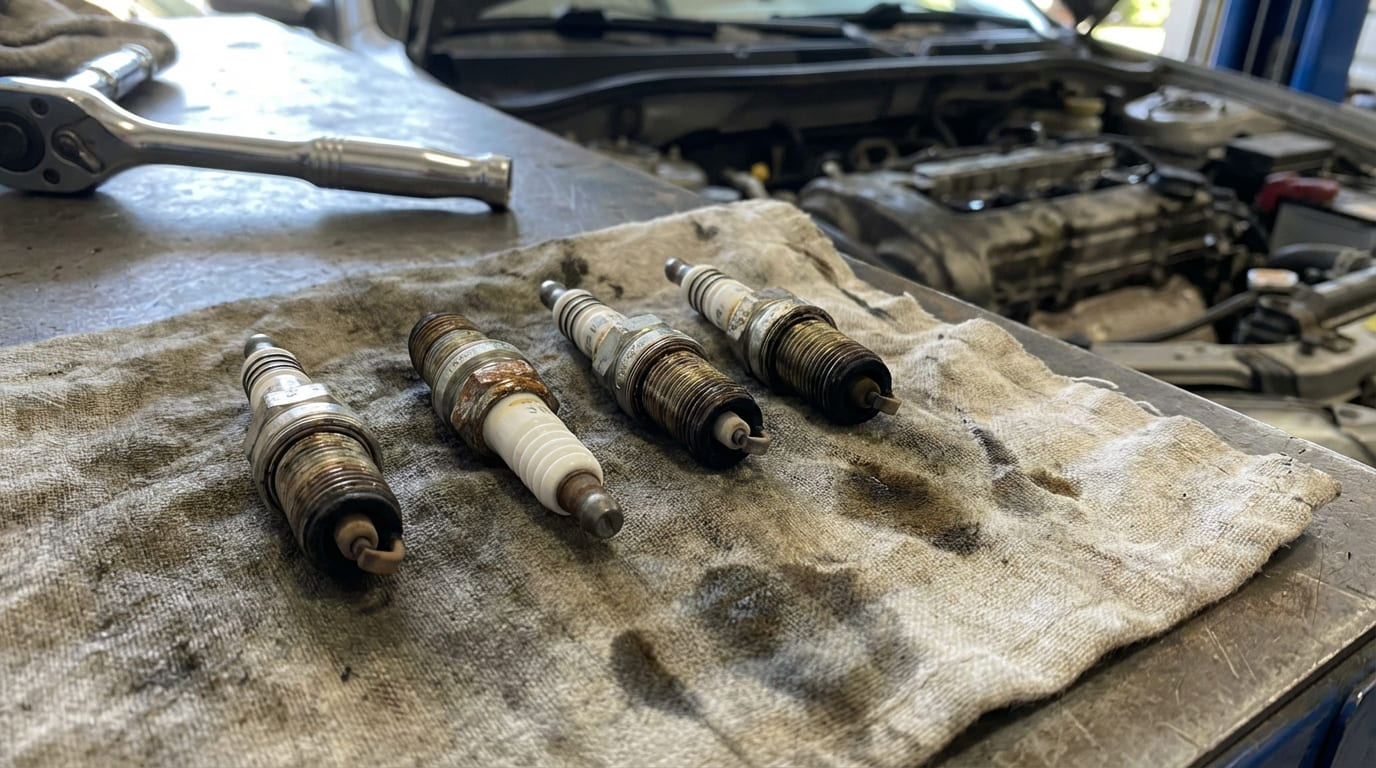
A single-cylinder misfire code without roughness usually means the issue is minor or intermittent — a worn plug, weak coil, or carbon-fouled injector.
How to Check:
- Check misfire counters in live data. If one cylinder has hundreds of misfires and others zero, that’s your target.
- Swap the coil from the misfiring cylinder to another. Clear codes and test drive. If the misfire follows the coil, replace it.
- If it stays on the same cylinder, inspect the spark plug for carbon tracking or gap wear. Perform a compression test — even a 10–15 psi drop can trigger the code.
Repair vs Replace: Plugs cost $20–$50. Coils run $75–$150. Injectors can be $200+ each. Start with the cheapest, most common fixes.
In my shop, we always inspect spark plugs under UV light. Carbon tracking on the ceramic insulator isn’t always visible in daylight — but it kills performance over time.
Transmission and Speed Sensor Issues
Transmission-related codes can appear without shift problems, especially if the fault is minor or intermittent.
Input/Output Speed Sensor Discrepancies (P0715, P0720)
These sensors monitor gear engagement. A mismatch triggers a code, but the TCM may still shift normally within tolerance.
How to Check:
- Monitor both sensor readings in live data. At a steady speed in a fixed gear, the values should align with known gear ratios.
- Inspect wiring near the transmission. Look for chafed insulation or corroded connectors — common on older vehicles.
- Check for metallic debris on the sensor tip. It can interfere with signal without fully failing.
Repair vs Replace: Sensors cost $40–$100. Wiring repairs are minimal labor if caught early. Delaying can lead to harsh shifts or limp mode.
Electrical and Wiring Faults
Loose connectors or internal wire breaks cause intermittent codes that come and go.
How to Check:
- Perform a wiggle test. With live data running, gently move connectors and harnesses near suspect sensors. Watch for signal dropouts.
- Check for stored codes at -40°F or 300°F — these usually indicate an open or shorted circuit.
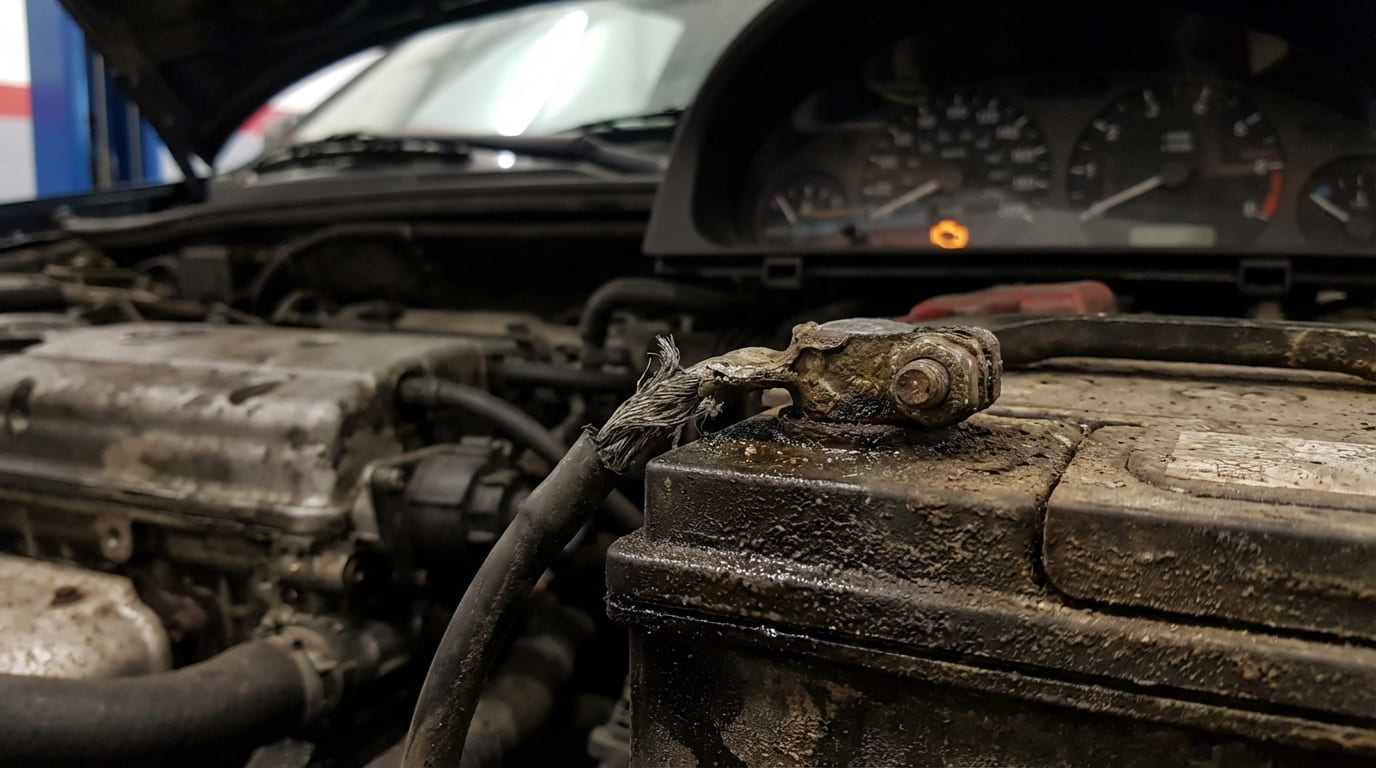
- Inspect ground points. Corroded or loose grounds cause erratic sensor readings.
I’ve diagnosed more “ghost” codes from bad grounds than any other single issue. Clean the engine-to-chassis ground strap with a wire brush — it takes 5 minutes and solves so many mysteries.
Best Practices: What to Do (and Not Do)
- ✅ Do: Clean threaded bolt holes with a bottoming tap before installing sensors. Debris can prevent proper grounding or seating.
- ✅ Do: Record freeze frame data before clearing codes. It’s often the only clue to an intermittent fault.
- ✅ Do: Perform a full drive cycle after repairs. Some monitors won’t reset unless specific speed, load, and temperature conditions are met.
- ⚠️ Don’t: Replace parts based solely on a code. A P0442 means “small EVAP leak,” not “replace the purge valve.”
- ⚠️ Don’t: Use non-OEM gas caps. Many don’t seal to factory pressure specs and cause repeat EVAP codes.
- ⚠️ Don’t: Ignore pending codes. They’re early warnings — address them before they become stored DTCs.
Diagnostic Priority and Cost Guide
| Symptom / Code | Most Likely Cause | Less Common But Possible | Diagnostic Priority | Typical Repair Cost |
|---|---|---|---|---|
| P0442 (Small EVAP Leak) | Loose or faulty gas cap | Cracked hose, vent solenoid leak | High — check cap first, then smoke test | $15–$150 |
| P0133 (Slow O2 Response) | Aging or contaminated sensor | Exhaust leak, wiring issue | Medium — verify with live data | $80–$250 |
| P0420 (Catalyst Efficiency) | Normal aging or past engine issue | Failing upstream O2 sensor | Medium — rule out sensor issues first | $500–$2,000+ |
| P0301 (Cylinder 1 Misfire) | Worn spark plug or weak coil | Injector clog, compression loss | High — check plug/coil, monitor counters | $20–$150 |
| P0720 (Output Speed Sensor) | Sensor failure or wiring damage | Internal transmission wear | Medium — inspect wiring before sensor | $40–$100 |
Real-World Diagnostics: Lessons from the Bay
Situation: A 2016 Honda Accord came in with a P0442 code. Owner said it drove perfectly, gas mileage unchanged. Gas cap was OEM and appeared tight.
Initial Assumption: Probably a small EVAP hose leak — common on that model.
Discovery: Smoke test showed no leaks in lines or canister. But when I removed the gas cap and inspected the sealing surface, I found a tiny crack in the rubber O-ring. The cap looked fine, but it wasn’t sealing under vacuum.
Nuanced Lesson Learned: Visual inspection isn’t always enough. Even OEM parts wear. Always test the cap’s seal or replace it as a known variable in EVAP diagnostics.
Situation: 2012 Ford F-150 with P0171 (System Too Lean). No drivability issues, fuel trims were +18% at idle.
Initial Assumption: Vacuum leak or dirty MAF.
Discovery: MAF cleaned, no change. Smoke test showed nothing. Then I checked the fuel pressure — it was at the low end of spec. A fuel pump weak under load wasn’t delivering enough pressure, but the PCM compensated enough to mask symptoms.
Nuanced Lesson Learned: Lean conditions aren’t always from air leaks. Fuel delivery issues can mimic them. Always verify fuel pressure before condemning sensors.
Situation: 2014 Toyota Camry with P0302. No rough idle, no power loss. Plug and coil from cylinder 2 looked fine.
Initial Assumption: Intermittent coil failure.
Discovery: Misfire counter spiked only during cold starts. After swapping coils, the misfire stayed on cylinder 2. Compression test showed 10 psi lower than others. A slight valve seat recession — not enough to cause noise, but enough to trigger the ECM.
Nuanced Lesson Learned: Not all misfires are ignition-related. Even minor mechanical issues can register. Always consider compression, especially on high-mileage engines.
The check engine light isn’t just for broken-down cars. In my experience, it’s often the first whisper of a problem that won’t announce itself until it’s too late. The absence of drivability issues doesn’t mean the system is healthy — it might just mean the PCM is doing its job too well, masking faults that will eventually overwhelm its ability to compensate.
Before reaching for the code reader’s “clear” button, take a step back. Record the data, check the context, and treat the code as a clue — not a verdict. The real answer is rarely in the code itself, but in what the code points you to when you dig deeper.
And one last thing: always, always consult the specific service manual for your vehicle. The values and procedures I’ve mentioned are typical, but not universal. What’s acceptable on a 3.5L V6 might be out of spec on a 2.0L turbo. Trust your tools, but verify with the factory data.