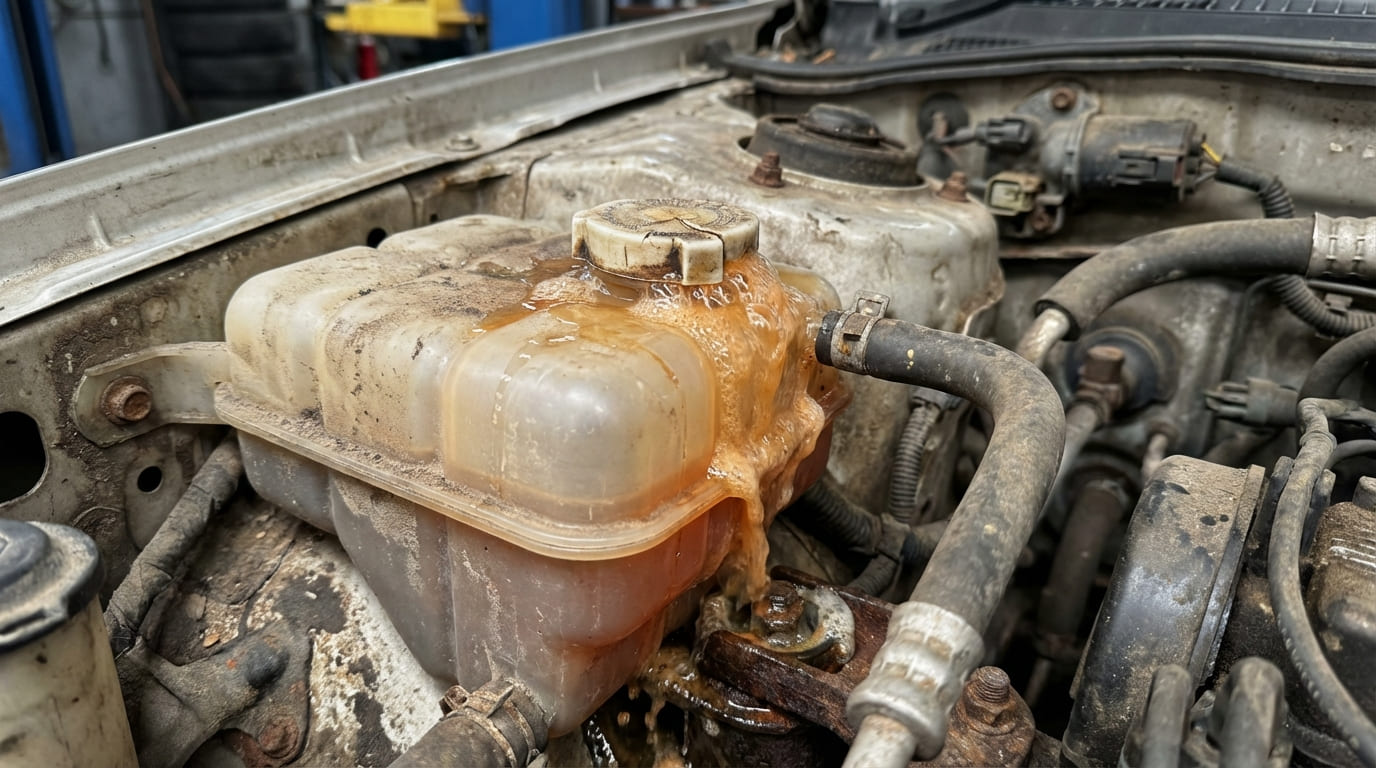
When coolant bubbles, foams, or shoots out of the overflow tank, it’s more than just messy—it’s a red flag. As a master mechanic, I’ve seen this symptom misdiagnosed too many times. The key is to systematically rule out causes, starting with the most common and least invasive. This guide walks you through real-world diagnostics, repair logic, and expert insights to get it right the first time.
1. Combustion Gas Entry Into Cooling System
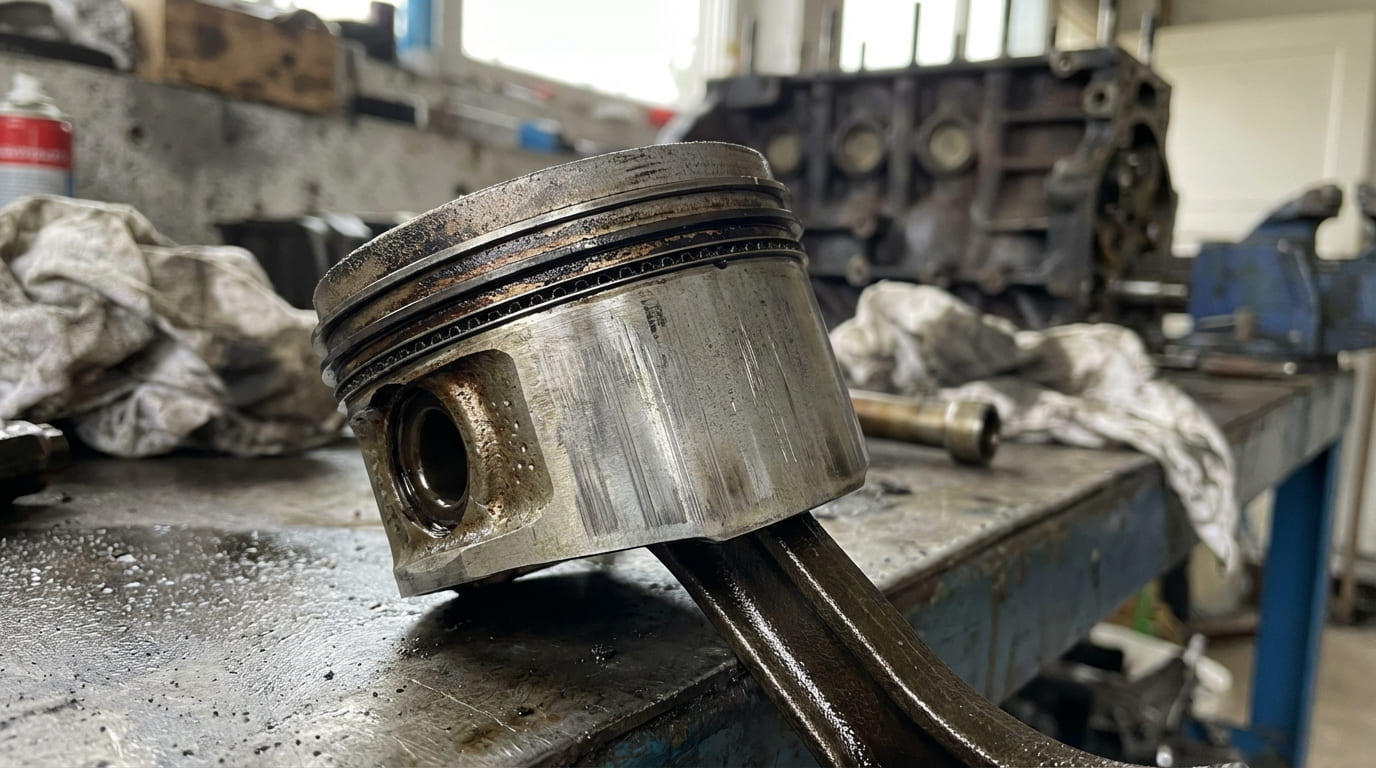
If coolant is violently expelled or foams like a boiling pot—especially under load—combustion gases are likely entering the cooling system. This isn’t always a blown head gasket, but it does mean high-pressure exhaust is bypassing engine seals. The gases rise to the highest point: the overflow tank.
How to Check for Combustion Gas
Use multiple tests to confirm. No single method is foolproof.
- Cooling System Pressure Test (Static): With the engine cold, pressurize the system to 15–18 psi (OEM spec). A steady drop indicates a leak—but not necessarily combustion. No drop doesn’t rule out a crack that only opens when hot.
- Combustion Leak Detector (Chemical Block Test): At operating temperature, draw air from the radiator neck through a blue testing fluid. A color change to yellow (gasoline) or green (diesel) confirms CO₂ from exhaust gases. This test is affordable and reliable for DIYers.
- Exhaust Gas Analyzer (EGA): Insert a 5-gas probe into the radiator neck. CO₂ above 0.04% is not ambient air. Readings over 1% are strong evidence of combustion leakage—even if the pressure test passed.
- Cylinder Leak-Down Test: Pressurize each cylinder at TDC. If you hear air bubbling into the radiator, you’ve found the source. Over 10% leakage across multiple cylinders with audible flow into coolant means the head or block is compromised.
Common Causes and Repair Decisions
Even with confirmed gas entry, pinpointing the source matters. Repair cost and viability vary widely.
| Root Cause | Typical Cost (Parts + Labor) | Repairable? | DIY Feasibility |
|---|---|---|---|
| Head Gasket Failure | $800–$2,000 | Yes | Pro-only |
| Cracked Cylinder Head | $1,200–$2,500 | Yes (if repairable) | Pro-only |
| Cracked Block or Porosity | $2,500+ | Rarely | No |
| Wet Liner Seal Failure (Diesel) | $1,800–$3,000 | Yes | Specialty shop |
In my shop, we never replace a head gasket without checking deck flatness and warpage. Even a 0.003″ warp on aluminum heads can cause repeat failure. Always use new torque-to-yield bolts and follow the factory sequence.
2. Cooling System Overheating (True Boiling)
Overheating causes coolant to boil and expand, forcing it into the overflow tank. Unlike combustion gas, this is a circulation or heat rejection issue. The fix is often simpler and cheaper.
How to Diagnose Overheating
Start with data, not guesswork.
- Monitor Coolant Temperature: Use an OBD2 scanner to read live ECT data. Sustained temps over 230°F or sudden spikes indicate overheating. Cross-check with an infrared thermometer on the thermostat housing and radiator inlet—sometimes the sensor lies.
- Dynamic Pressure Test: Run the engine with a pressure tester attached. The system should build and hold pressure. If it doesn’t, the cap may be faulty or a leak is preventing pressurization—both lower the boiling point.
Most Common Causes and Fixes
Overheating is rarely one failure. It’s usually a chain of small issues.
| Potential Cause | Diagnostic Clue | Repair Likelihood | Complexity |
|---|---|---|---|
| Faulty Thermostat (stuck closed) | Upper hose hot, lower hose cold | High | DIY-feasible |
| Water pump impeller failure | Reduced flow, noise, cold heater core | High | Pro-only (timing access) |
| Clogged radiator | Poor heat dissipation, visible debris | Moderate | DIY to Pro |
| Fan clutch or relay failure | Fan doesn’t engage when hot | High | DIY-feasible |
| Airflow blockage | Dirt-packed condenser, bent fins | High | DIY-feasible |
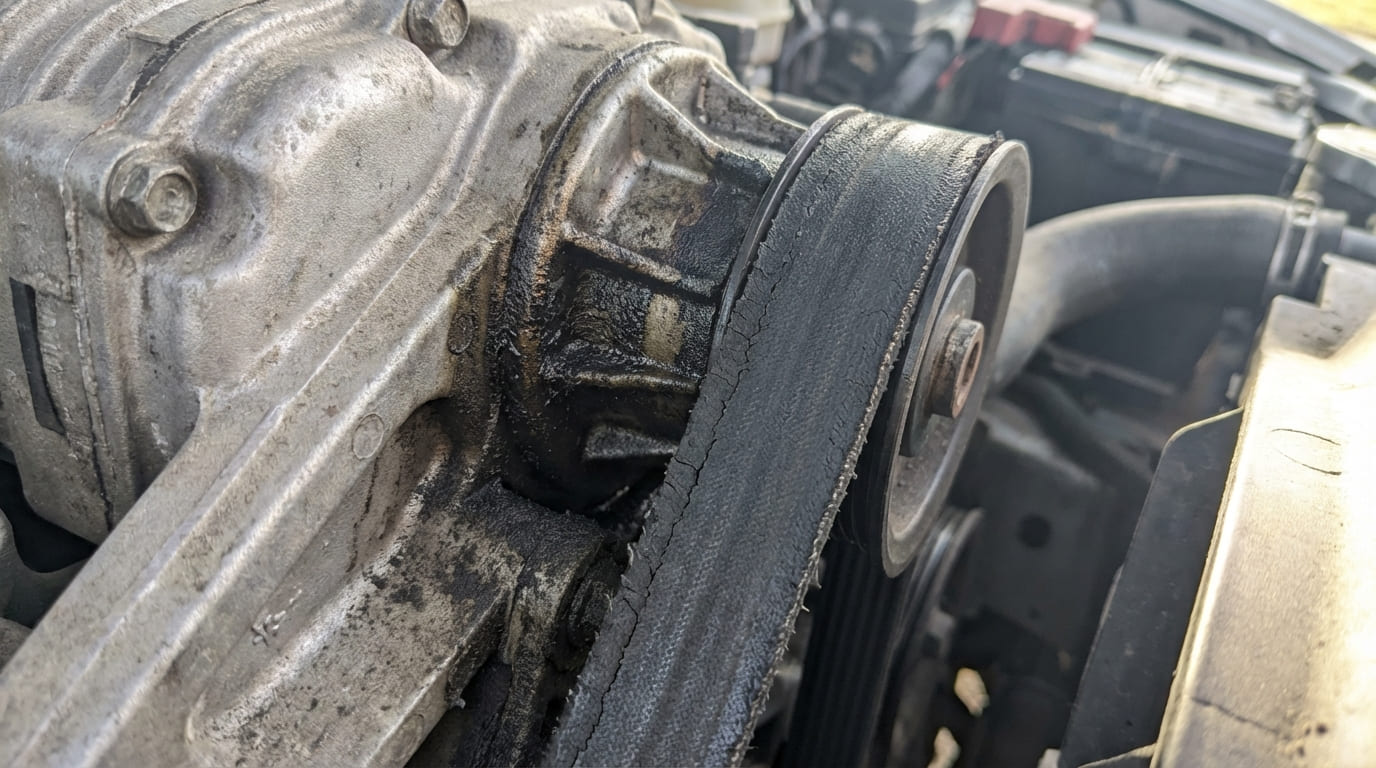
| Drive belt slippage | Squealing, glazed belt | Moderate | DIY-feasible |
Always inspect the radiator fins from the front and back. I’ve seen trucks with clean front grilles but completely clogged AC condensers behind them—killing airflow. Use a garden hose to flush from the engine side out.
3. Air Entrainment in the Cooling System
Trapped air expands when heated, pushing coolant into the overflow. As the system cools, it sucks air back in—creating a cycle of bubbling and fluctuating levels. Common after coolant changes or pump replacement.
How to Diagnose Air in the System
- Bleeding with Spill-Free Funnel: Attach a spill-free funnel to the radiator neck. Fill the system and run the engine with the heater on max. If bubbles persist beyond 10–15 minutes, air is trapped or being introduced.
- Static Pressure Test: A slow pressure drop with no visible leak suggests a small external leak that draws air in during cooldown—common at hose connections or degas bottle fittings.
Common Sources and Fixes
- Improper Bleeding: Many modern vehicles require vacuum filling or have high-point bleed screws. Consult the service manual. Some BMWs and Audis trap air without a scan tool to activate the electric pump.
- External Leaks on Suction Side: A failing water pump seal or cracked hose can pull air in as the system cools. No puddle? No problem? Think again.
- Loose Connections: Heater hoses, degas bottle fittings, and thermostat housing bolts are common culprits. Recheck all clamps after any coolant work.
In my shop, we leave the spill-free funnel on for 20 minutes after the thermostat opens. If bubbles stop and the level stabilizes, the system is clean. If it keeps bubbling, we’re dealing with either a leak or combustion gas.
4. Coolant Contamination
Contaminated coolant can foam, gel, or lose heat transfer ability—mimicking a head gasket failure. Always inspect the fluid before tearing into the engine.
How to Diagnose Contamination
- Visual Inspection: Pull coolant into a clear jar. Milky appearance = oil. Rainbow sheen = oil. Sludge or grit = corrosion or mixing incompatible coolants.
- Coolant Test Strips: Check pH (should be 8.5–10.5), freeze point, and inhibitor levels. Acidic coolant (below 7.5) is actively corroding your system.
Root Causes and Solutions
- Oil in Coolant: Could be head gasket, cracked head, or failed oil cooler. Check the oil dipstick—if it’s milky, the problem is bidirectional.
- Transmission Fluid in Coolant: Points to a failed transmission cooler inside the radiator. Flush both systems and replace the radiator.
- EGR Cooler Failure (Diesel): A failed EGR cooler dumps exhaust gas into the coolant. Combustion test will be positive, but no external leak. Requires EGR cooler replacement.
- Wrong Coolant Type: Mixing OAT (orange) and IAT (green) coolants can form gel. Always use distilled water and the type specified on the reservoir cap or in the owner’s manual.
I once diagnosed a “blown head gasket” that turned out to be a $12 radiator cap. Always rule out the cheap fixes first. A $50 chemical test can save you $2,000 in unnecessary repairs.
5. Cooling System Component Failure
Sometimes the engine is fine—the support components aren’t. These are often overlooked but easy to fix.
Key Components to Test
- Radiator Cap: If it won’t hold pressure, the boiling point drops. Test with a cap tester or replace with OEM-spec. Never downgrade the pressure rating.
- Coolant Hoses: Internal collapse isn’t visible. Squeeze when cold—soft or spongy means degradation. Some hoses bulge under pressure, restricting flow.
- Reservoir Tank: Cracks, split overflow nipples, or loose hose fittings can cause air ingress or coolant loss. Inspect carefully, especially on older plastic tanks.
Recommended vs. Avoid
- ✅ Use a spill-free funnel during refills—it makes bleeding air much easier.
- ✅ Replace coolant hoses in sets if one fails—others are likely fatigued.
- ✅ Clean spark plug hole threads before reinstalling—debris can cause thread galling and inaccurate torque.
- ⚠️ Avoid reusing torque-to-yield head bolts unless the manual explicitly allows it—stretch is part of their design.
- ⚠️ Avoid mixing coolant types without verifying compatibility—can cause gel or sludge.
- ⚠️ Avoid assuming a pressure test failure means a head gasket—rule out cap, hoses, and bleed issues first.
Situation: A 2012 Ford F-150 came in with coolant bubbling and a misfire. Owner assumed head gasket.
Discovery: Block test negative. Leak-down showed 8% on cylinder 3, but no air in radiator. Found a cracked intake manifold with coolant passage—common on that model.
Lesson: Not all coolant issues come from the head. Intake manifolds with coolant channels can fail and mimic gasket symptoms—always verify.
Situation: A Subaru with overheating and foaming coolant. Owner replaced thermostat twice.
Discovery: ECT read normal, but IR showed hot spots. Head gasket test positive. Teardown revealed 0.004″ block warp—beyond spec. Prior repair ignored torque sequence.
Lesson: Even new parts fail if installed wrong. Flatness and torque procedure matter as much as part quality.
Situation: A diesel pickup losing coolant. No visible leaks. Combustion test positive.
Discovery: Leak-down quiet. No cracks. Traced to failing EGR cooler—coolant was pushed into exhaust, not the other way.
Lesson: Positive combustion test doesn’t always mean head/block failure. Component-specific leaks like EGR or oil coolers need targeted checks.