Superchargers deliver impressive power gains, but they’re complex mechanical systems that can develop issues over time. As a master mechanic and automotive editor, I’ve seen nearly every failure mode—from simple leaks to catastrophic internal damage. This guide cuts through the noise and gives you a clear, actionable breakdown of the most common supercharger problems, how to diagnose them, and whether to repair or replace.
How to Identify Supercharger Problems
Start by categorizing the symptoms. Most supercharger issues fall into four buckets: noise, boost irregularities, performance loss, and leaks. Use this framework to narrow down the cause before tearing into anything.
Noise: Whine, Rattle, or Grinding
A whining noise that rises with engine RPM is normal to a degree—superchargers are inherently loud. But if the whine becomes shrill or new, suspect bearing wear. A rattle at idle—especially in Eaton M-series superchargers—often points to a worn rotor coupler. Grinding noises are rare but serious, usually indicating advanced bearing failure or metal-on-metal contact.
How to Check: Use a mechanic’s stethoscope on the snout and rear housing while the engine idles. Listen for localized noise. If you hear grinding or excessive whine, drain the oil and inspect for metal flakes. Presence of metal means internal damage.
Low, No, or Excessive Boost
Low or no boost is one of the most common complaints. Causes range from simple intake leaks to internal rotor wear. Overboost is less common but dangerous—it can lead to detonation and engine damage. It’s often caused by a stuck bypass valve or faulty boost control solenoid.
How to Check: Connect a scan tool and monitor live boost pressure and actuator position. Command the bypass valve open and closed using bidirectional controls. If boost doesn’t respond, test the solenoid and vacuum lines (if applicable). Always perform a smoke test first to rule out leaks.
Loss of Power or Hesitation
Don’t assume power loss means the supercharger is failing. Ignition misfires, fuel delivery issues, or exhaust restrictions can mimic supercharger problems. Focus on data: check long-term fuel trims, spark plugs, and ignition coils before blaming the blower.
How to Check: Run a wide-open throttle (WOT) pull while logging timing and air/fuel ratio. If the engine retards timing due to knock, the issue may be heat soak or poor fuel quality—not mechanical failure.
Oil or Coolant Leaks
Oil weeping from the snout seal is common on high-mileage units, but active dripping means the seal is failing. Oil in the intake tract can cause misfires and carbon buildup. Coolant leaks are rarer but critical—especially in superchargers with integrated intercoolers. Coolant in the cylinders can cause hydrolock.
How to Check: Inspect the intercooler outlet and throttle body for oily residue or coolant droplets. Check the supercharger oil level—if it’s low and you see external leaks, the seals are likely bad. For coolant, pressure-test the intercooler circuit at 15 PSI and look for drops.
External Checks Before Opening the Unit
Never disassemble a supercharger without ruling out external issues. Many “blown supercharger” diagnoses turn out to be simple fixes.
Drive Belt and Tension
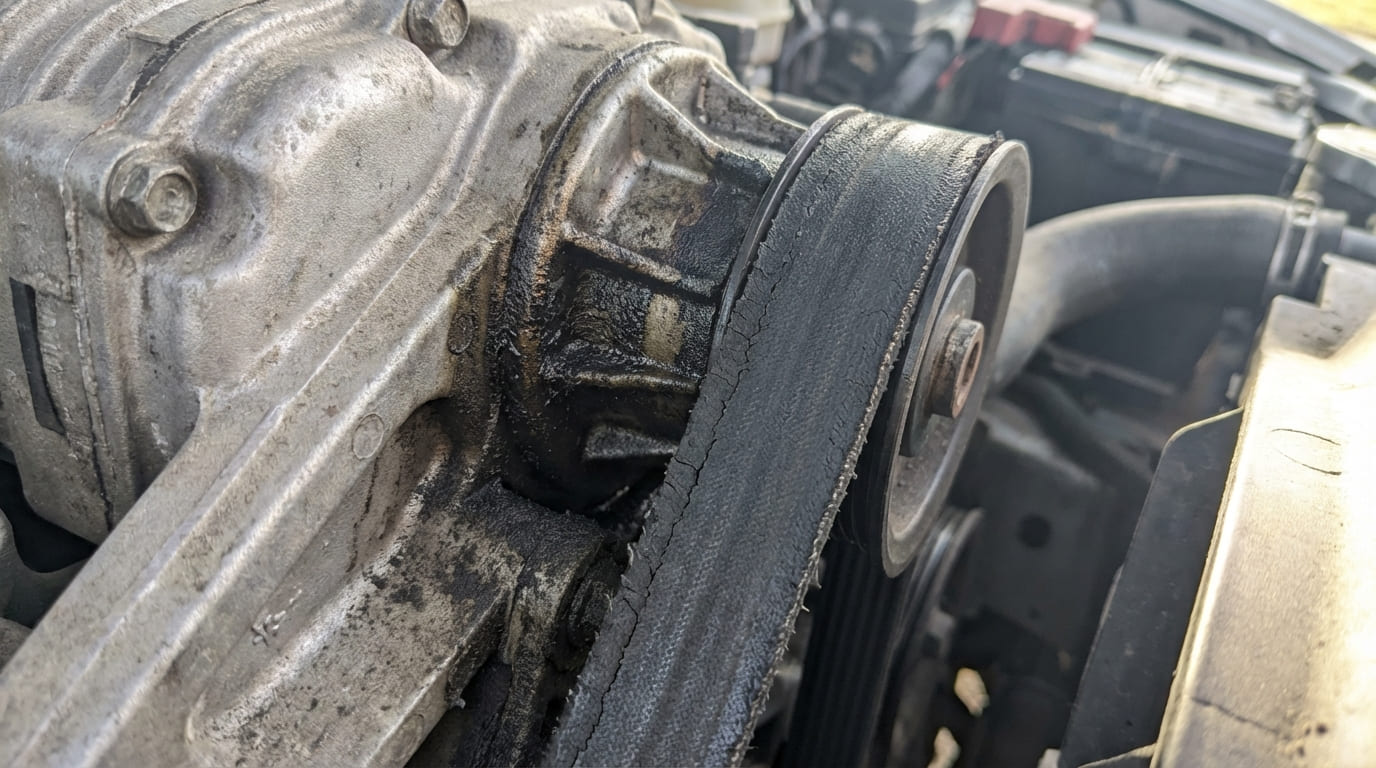
A glazed, cracked, or loose belt can slip under load, causing temporary boost loss. Misaligned pulleys accelerate wear and create noise that sounds like internal failure.
How to Check: Inspect the belt for wear. Use a tension gauge—most GM LS-based systems require 180–200 lbs. Refer to the factory manual for exact specs. Replace the tensioner if it’s weak or noisy.
Intake and Charge Piping
Even a small leak downstream of the supercharger can kill boost. Split silicone couplers, loose clamps, or cracked intercooler tanks are common culprits.
How to Check: Perform a smoke test at 15 PSI. Watch for bubbles or smoke escaping. Pay close attention to couplers after the intercooler—they’re heat-stressed and prone to failure.
Bypass Valve and Actuator
The bypass valve regulates boost by recirculating air. If it’s stuck open, you’ll get low boost. Stuck closed? Risk of overboost. The actuator (vacuum or electronic) controls it.
How to Check: For vacuum actuators, use a hand pump to apply 10 inHg. It should hold vacuum. For electronic types, use a scan tool to command movement and watch feedback. No movement? Check wiring and power before replacing.
Internal Failures: What Goes Wrong Inside
When external causes are ruled out, it’s time to look inside. These are the most common internal failures—and what they mean for repair.
Rotor Bearing Wear
The front snout bearing takes the most load. When it wears, you get a rising whine and possible oil leakage. Excessive shaft play leads to rotor contact and catastrophic failure.
How to Check: Measure axial play (should be under 0.005”) and radial play (under 0.010”) with a dial indicator. Metal in the oil? Bearing is failing. If the housing is scored, replacement is cheaper than rebuild.
In my shop, we always inspect the oil during routine service. A few metallic specks aren’t alarming, but a silver sludge means the bearings are breaking down—shut it down before it seizes.
Rotor Coupler Failure (Eaton M-series)
The rubber or polyurethane coupler between the input shaft and rotors wears out. Symptoms: rattle at idle, slight boost loss. It’s a known weak point on older Eaton units.
How to Check: Remove the snout and rotate the input shaft by hand. If the rotors don’t turn immediately—or there’s more than 1/8 turn of free play—the coupler is bad.
Repair vs Replace: Coupler replacement costs $200–$400 in parts and labor. Much cheaper than a full rebuild. Do it before the coupler fails completely and damages the rotors.
Rotor Coating Damage
Modern rotors have a thin polymer coating to maintain tight clearances. When it wears or chips, efficiency drops and boost suffers.
How to Check: Use a borescope through the throttle body. Look for flaking, scoring, or visible gaps between rotors and housing. Clearance should be 0.004”–0.008”—any more, and efficiency plummets.
Repair vs Replace: Coating damage usually means a rebuild or replacement. Rebuilding costs $800–$1,500. For older units, replacement with a remanufactured core ($1,200–$2,000) is often more reliable.
Internal Oil Seal Failure
Failed seals allow oil to enter the intake tract. This causes fouled plugs, carbon buildup, and potential misfires.
How to Check: Remove the intake hose and inspect the throttle body and intercooler for oil. Check oil level—if it’s dropping, the seal is leaking. A scored shaft means the whole unit may need replacement.
Repair Tip: Always replace both front and rear seals during disassembly. One fails, the other is close behind.
Bypass Valve Mechanical Issues
Carbon buildup or broken springs can prevent the valve from sealing. Even if the actuator moves, the valve itself might be stuck.
How to Check: Remove the valve and inspect the flap and spring. Clean carbon with brake cleaner. If the spring is weak or broken, replace the assembly.
We’ve seen plastic actuators warp from heat—valve moves on scan tool, but physically sticks. Always verify actual movement, not just electrical signal.
Intercooler Core Leak (Integrated Units)
Some superchargers, like those on GM LT4 engines, have liquid intercoolers built into the housing. A leak here mixes coolant with intake air—a recipe for engine damage.
How to Check: Pressure-test the cooling side at 15 PSI. Use a borescope to look for coolant pooling in the charge path. UV dye helps catch intermittent leaks.
Repair vs Replace: These cores are usually non-serviceable. Rebuilds exist but are risky. Replacement is safest. Expect $2,000–$3,500 for parts and labor.
Diagnostic Decision Table
| Symptom | Most Likely Causes | Less Common But Possible | Recommended First Step |
|---|---|---|---|
| High-pitched whine increasing with RPM | Rotor bearing wear, normal operation | Drive belt slip, pulley misalignment | Stethoscope test, inspect belt and tension |
| Rattle at idle | Rotor coupler wear (Eaton M-series) | Loose mounting bolts, harmonic vibration | Remove snout, check coupler play |
| Low boost pressure | Intake leak, rotor wear, bypass valve stuck open | Boost control solenoid fault, sensor error | Smoke test, verify actuator function |
| Oil in intake tract | Internal oil seal failure | Overfilled supercharger, crankcase ventilation issue | Check oil level, inspect seal area |
| Coolant loss with white smoke | Intercooler core leak (integrated units) | Head gasket, intake manifold gasket | Pressure test cooling circuit, borescope intake |
Best Practices: Do and Don’t
- ✅ Recommended: Clean all mounting surfaces and bolt threads with a wire brush and tap before reassembly. Dirty threads can throw off torque values and lead to uneven clamping force.
- ✅ Recommended: Use a calibrated torque wrench and follow the OEM sequence when reinstalling the supercharger. I’ve seen warped snouts from crisscross patterns done too aggressively.
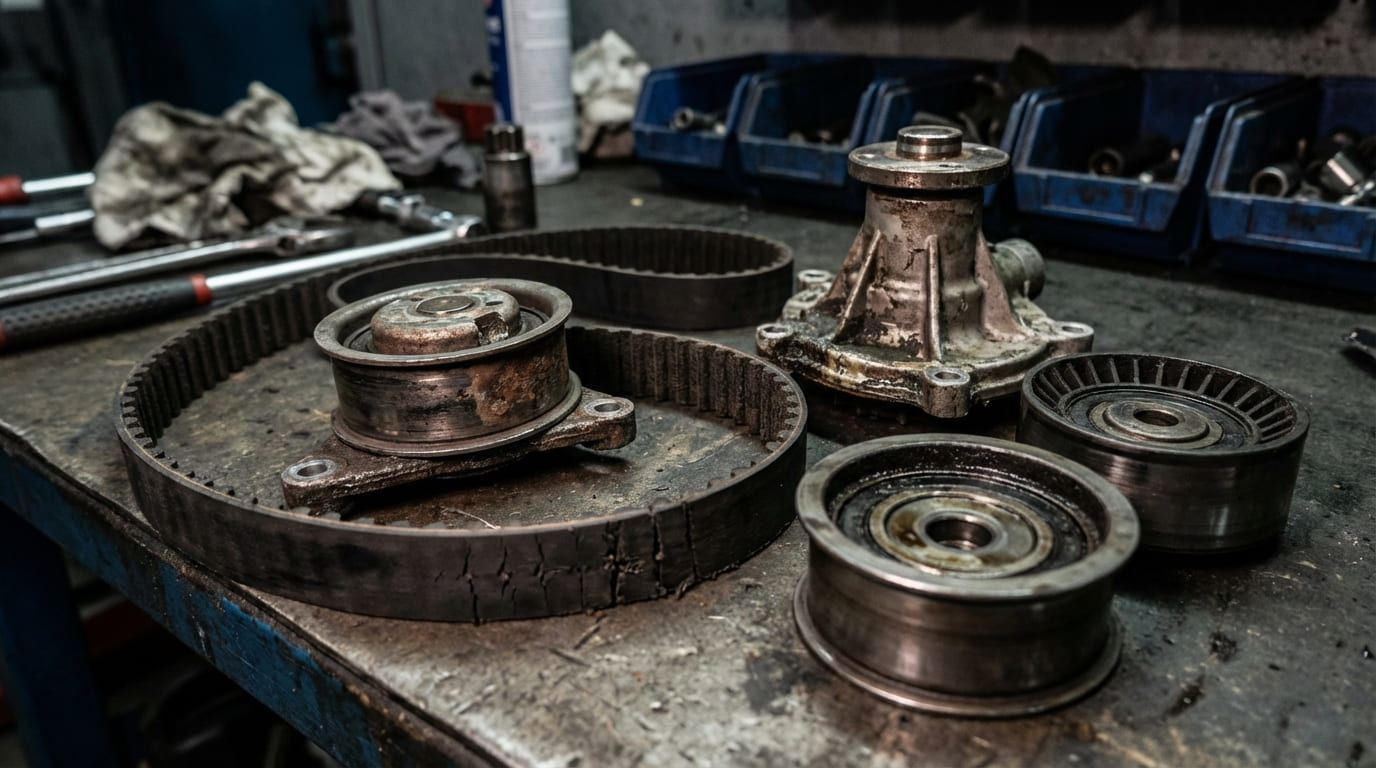
- ✅ Recommended: Replace the drive belt and tensioner when installing a new or rebuilt unit. Old belts can introduce vibration and premature wear.
- ⚠️ Avoid: Reusing torque-to-yield (TTY) bolts unless the factory explicitly allows it. These bolts stretch during installation and lose clamping force when reused.
- ⚠️ Avoid: Overfilling the supercharger with oil. Too much oil can aerate and cause seal blowout. I always refer to the dipstick or fill plug level—never guess.
- ⚠️ Avoid: Running the engine without verifying boost system integrity. A major leak can cause a lean condition and damage pistons or valves.
Situation: A 2012 Camaro SS came in with low boost and a slight rattle at idle. The owner had already replaced the bypass valve and boost sensor.
Initial Assumption: I thought the rotors might be worn due to the age and mileage (98k).
Deep Dive/Discovery: After a smoke test showed no leaks, I pulled the snout and found the rotor coupler had nearly 1/4 turn of free play. The rotors themselves looked pristine.
Nuanced Lesson Learned: Don’t assume performance loss always means internal rotor damage—sometimes it’s a simple, serviceable part like the coupler that’s robbing efficiency and causing noise.
Situation: A 2008 Super Duty with a Whipple supercharger was consuming oil. The customer reported blue smoke under acceleration.
Initial Assumption: I suspected a failed crankcase vent system was pushing oil into the intake.
Deep Dive/Discovery: After ruling out PCV issues, I drained the supercharger oil and found metal flakes. Upon disassembly, the front bearing was disintegrated. The shaft had scored the housing, making repair impractical.
Nuanced Lesson Learned: Oil consumption can originate from multiple sources—always isolate the system and verify the source before tearing into major components.
Situation: A 2015 CTS-V had intermittent overboost codes. The bypass valve tested fine on the bench.
Initial Assumption: I thought the boost control solenoid was sticking.
Deep Dive/Discovery: After swapping the solenoid with no change, I monitored live data and noticed the actuator position sensor was erratic. The valve moved freely by hand, but the sensor’s internal contacts were worn.
Nuanced Lesson Learned: Even if a mechanical component moves freely, the electronic feedback system can still be the root cause—diagnose the entire control loop, not just the actuator.
Every supercharger system has its own failure tendencies. Always consult the factory service manual for torque specs, fluid types, and diagnostic procedures. What works on one model may not apply to another. When in doubt, trust data over assumptions.