Yes, a faulty crankshaft position sensor (CKP) can prevent an engine from starting — especially on modern fuel-injected vehicles. When the sensor fails completely, the engine control module (ECM) receives no signal indicating crankshaft position or speed. Without this data, the ECM cannot trigger spark or fuel injection, resulting in a no-start condition. The engine will crank normally, but there’s no combustion. However, not every CKP-related no-start means the sensor itself is bad. Wiring issues, mechanical faults, or even incorrect replacement parts can mimic a failed sensor. The key is systematic diagnosis.
How the CKP Sensor Affects Engine Starting
The ECM uses the CKP sensor to determine:
- When to fire the spark plugs
- When to open fuel injectors
- Whether the engine is actually rotating
- If synchronization with the camshaft (via CMP sensor) is valid
If the CKP signal is missing or erratic during cranking, the ECM typically disables spark and fuel to prevent damage. This results in a “crank-no-start” with no spark, no injector pulse, and often no fuel pump run-up. However, partial failures may allow starting under certain conditions — like when cold — making diagnosis trickier.
Step-by-Step Diagnosis: Is It Really the CKP Sensor?
Before replacing any part, verify the problem through a structured process. Many technicians replace the CKP sensor on assumption, only to find the real issue lies elsewhere.
Step 1: Confirm Basic Electrical Conditions
Start with fundamentals that affect sensor operation:
- Ensure battery voltage stays above 9.6V during cranking. Low voltage can cause false sensor faults.
- Scan for diagnostic trouble codes (DTCs). Common codes include P0335 (CKP Circuit Malfunction), P0336 (Range/Performance), or P0337 (Low Input).
- Even without codes, a drifting sensor may still be faulty — especially in older vehicles with aging components.
In my shop, we always check battery health first. A weak battery can mimic a CKP failure because the sensor signal collapses under load. Don’t skip this step.
Step 2: Test for Spark, Fuel, and Injector Pulse
Determine if all three critical systems are down:
- Spark: Use a spark tester at a plug wire or coil. No spark? Check both CKP and CMP inputs.
- Fuel pressure: Connect a gauge or listen for fuel pump prime. No pressure rise during cranking suggests ECM isn’t enabling the pump.
- Injector pulse: Use a NOID light or oscilloscope. No pulse across all injectors points to missing CKP/CMP signal.
If all three are absent, the ECM likely isn’t receiving a valid crankshaft position signal. If only one system is down, look elsewhere (e.g., ignition coil, fuel pump relay).
Step 3: Test the CKP Sensor Based on Type
There are two main types — test accordingly.
Inductive (2-wire) Sensors:
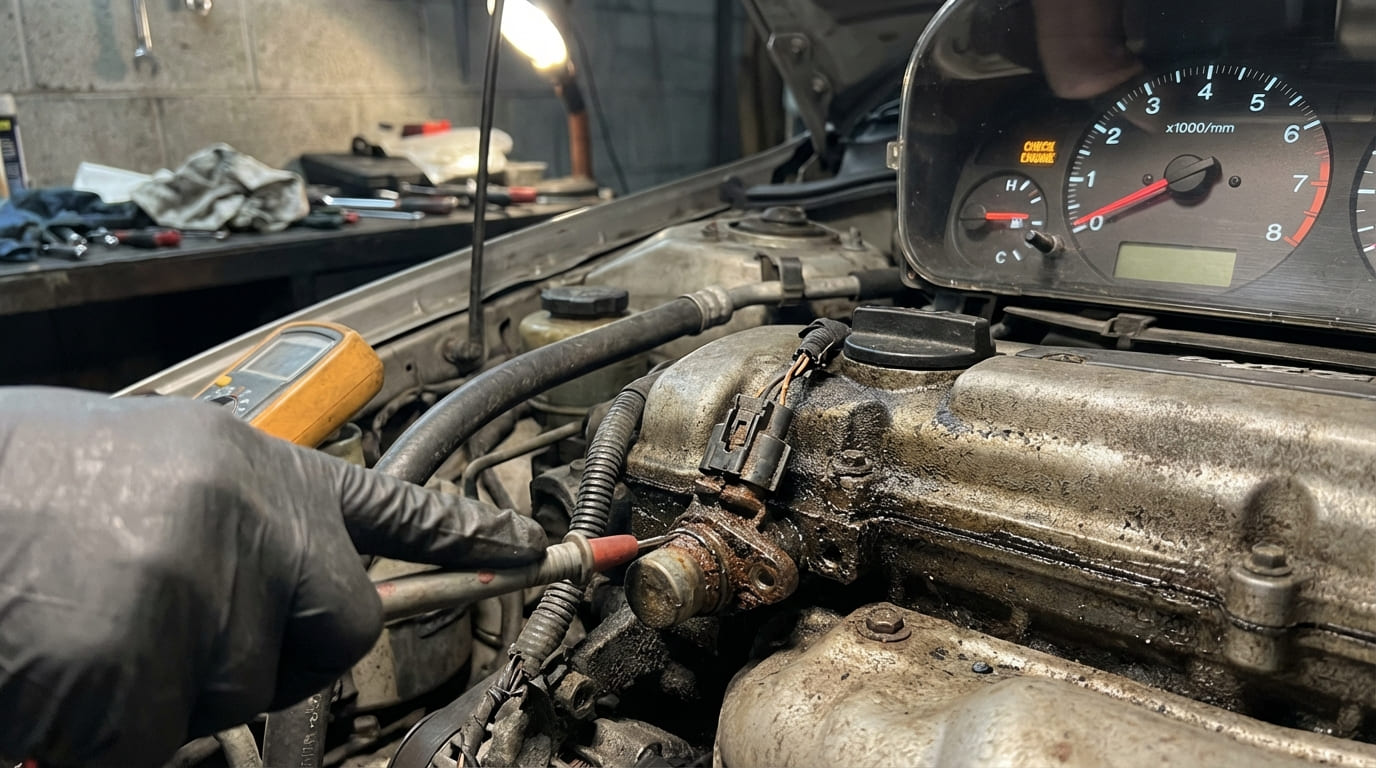
- Check resistance with a multimeter — typically 500–2,500 ohms (refer to specs).
- Measure AC voltage while cranking — aim for at least 200mV.
- Best method: Use an oscilloscope to view the sine wave. Look for consistent amplitude and shape.
Hall Effect (3-wire) Sensors:
- Verify 5V or 12V reference voltage at the connector.
- Confirm ground continuity.
- Monitor the signal wire with a lab scope or logic probe — should switch cleanly between high and low.
Never rely solely on resistance checks. I’ve seen inductive sensors read perfect ohms but fail to generate voltage under cranking load. Always test dynamically.
Step 4: Inspect Sensor Installation and Reluctor Wheel
Even a new sensor won’t work if the physical setup is wrong.
- Clean the sensor bore and mounting area. Oil sludge or metal debris can alter the air gap.
- Use a non-magnetic feeler gauge to verify air gap if specified (typically 0.5–1.5mm).
- Inspect the reluctor wheel (tone ring) for damaged, missing, or misaligned teeth.
On a 2005 Camry I once diagnosed, the P0335 code kept returning after sensor replacement. Turns out the previous mechanic installed a crank gear with the wrong tooth count. Always verify reluctor wheel integrity — it’s not just about the sensor.
Common Mistakes and Mimicking Conditions
Many issues look like CKP failure but aren’t. Use this table to differentiate:
| Symptom Pattern | Most Likely Causes | Key Differentiators |
|---|---|---|
| No spark, no injector pulse, no fuel pump run-up | CKP failure (60%), CMP failure (20%), ECM fault (10%), wiring damage (10%) | Check both CKP and CMP signals; verify power and ground at connectors |
| Intermittent no-start, worse when hot | Failing CKP (50%), wiring short (30%), ECM thermal fault (15%), poor ground (5%) | Test while hot; inspect wiring near exhaust for chafing |
| Starts but dies immediately | CKP signal dropout (40%), immobilizer (30%), cam/crank sync error (20%), vacuum leak (10%) | Check security light; scan for P0016 or P0008 codes |
| Rough idle with misfires | Weak CKP signal (30%), coil failure (50%), fuel issue (20%) | Scope CKP under load; compare cylinder contribution |
Real-World Diagnostic Lessons
Situation: 2007 Honda Accord 2.4L — cranks, no start, no spark, no codes. CKP sensor tested good on bench.
Root Cause: Timing belt wasn’t turning. Sheared woodruff key on crankshaft.
Lesson: A working CKP sensor only confirms crankshaft rotation — not camshaft sync. On interference engines, always verify mechanical timing if sensor checks out.
Situation: 2012 Ford F-150 5.0L — intermittent no-start, worse when hot. Two CKP sensors already replaced.
Root Cause: Chafed signal wire near exhaust manifold. Shorted when hot.
Lesson: Intermittent electrical faults require testing under real conditions. Don’t assume the sensor is faulty just because the symptom matches.
Situation: 2005 Toyota Camry — P0335 code, replaced sensor twice, code returns.
Root Cause: Incorrect crankshaft gear installed — three consecutive teeth missing.
Lesson: The reluctor wheel must match the factory design. Aftermarket or incorrect parts can cause undiagnosable issues.
Repair vs. Replace: Cost and Viability
CKP sensors typically cost $30–$120. OEM parts are recommended for Hall effect sensors, especially on GM, Ford, and Toyota engines where aftermarket units have higher failure rates.
Labor ranges from 0.5 to 2 hours depending on location (some are accessible from the top, others require exhaust or transmission work).
Before replacing:
- Confirm the fault with testing — don’t guess.
- Inspect wiring and connectors — repair is cheaper than replacement.
- Check for TSBs (Technical Service Bulletins) — some models have known issues with harness routing or sensor design.
I’ve replaced zero CKP sensors for electrical failure when the real issue was a broken 5V reference from the ECM. Always test power and ground first — saves time, money, and comebacks.
Final Advice
A faulty CKP sensor can definitely prevent engine start — but so can wiring faults, mechanical damage, or incorrect parts. Don’t replace the sensor on suspicion. Test the signal, verify the circuit, inspect the reluctor wheel, and rule out ECM or synchronization issues first.
Every vehicle model has unique tolerances and failure patterns. Always consult the factory service manual for specifications on air gap, resistance, and waveform patterns. What works for one engine may not apply to another.