Testing spark plug wires properly means combining safety, visual checks, electrical testing, and dynamic evaluation. Misfires, rough idle, and poor fuel economy often trace back to failing wires. This guide gives you the exact steps I use in my shop—whether you’re a DIYer with a multimeter or a pro with a scope.
Ignition System High Voltage Safety Protocol
Before touching any component, understand: secondary ignition systems generate over 40,000 volts. That’s enough to stop your heart or cause severe burns. I’ve seen techs thrown across bays from accidental contact. Respect the voltage.
Personal Protective Equipment (PPE) and Preparation
- Insulated gloves (1000V rated): Use Class 0 rubber gloves with leather protectors. Not optional for live testing.
- Safety glasses: Arcing can eject molten metal. Always wear eye protection.
- Disconnect battery negative terminal: For resistance testing. Prevents backfeed and protects ECUs.
- Engine off for static tests, running only for leakage/waveform checks: Never probe live circuits without full PPE and focus.
- Use insulated tools only: Even a chipped screwdriver can conduct. Keep a dedicated set for ignition work.
In my shop, we treat every wire as live until proven dead. One quick zap can ruin your day—and your tools.
Visual Inspection of Spark Plug Wires
This catches 60% of failures. It’s fast, free, and often definitive. Start here before pulling out meters or scopes.
How to Check
- Remove each wire using a proper puller or by gripping the boot—never yank the wire.
- Run the wire through your fingers, checking for hard spots, soft spots, or bulges.
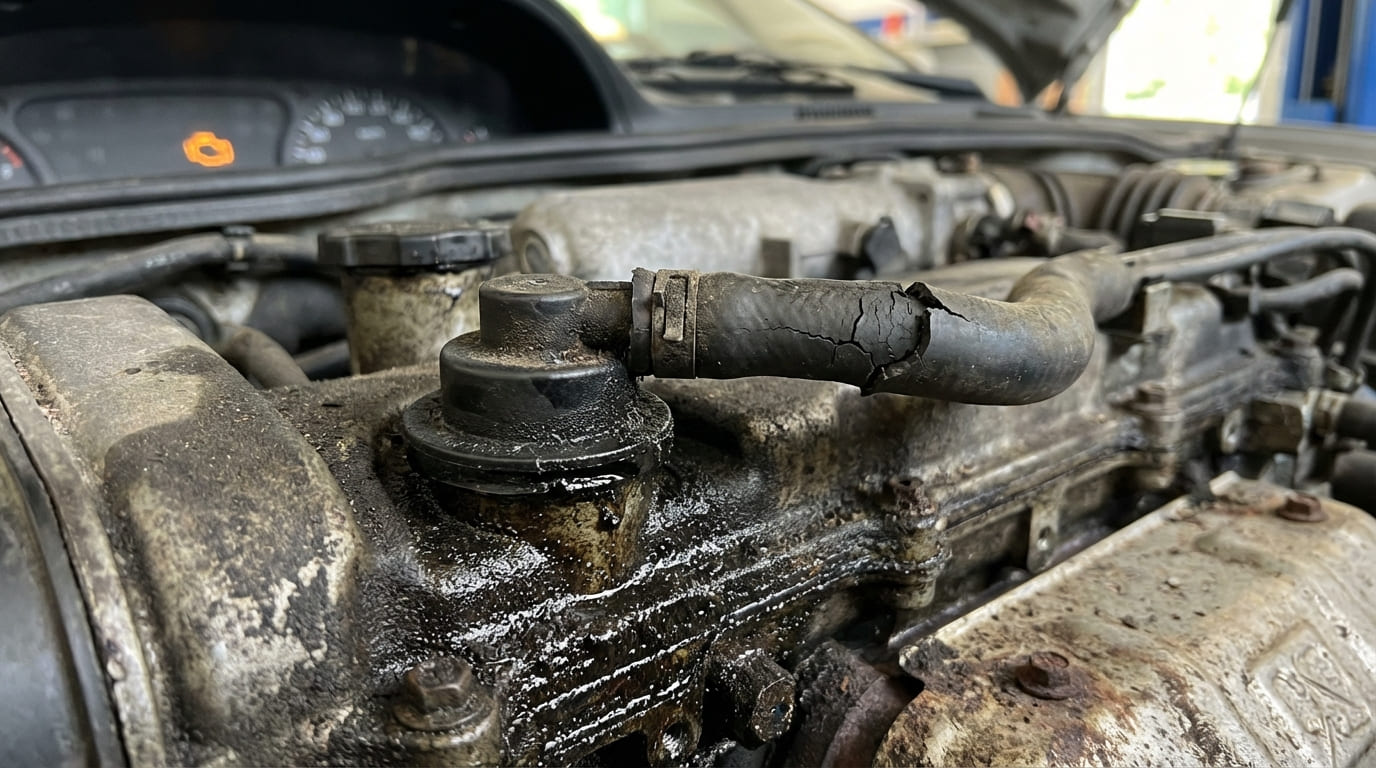
- Inspect both boots for cracks, brittleness, white powder (corrosion), or carbon tracking (black webbing inside).
- Wiggle terminals slightly—any movement means a failed crimp.
Pass/Fail Criteria
- FAIL: Cracks, burns, melting, abrasions, rodent damage.
- FAIL: Carbon tracking, heavy grease buildup (traps moisture), corroded terminals.
- FAIL: Loose or wobbly terminals.
- PASS: Flexible, clean, intact insulation and tight terminals.
I once diagnosed a #4 misfire just by smell—burnt insulation near the exhaust manifold. Trust your senses.
Electrical Resistance Testing [DIY-Feasible]
This test confirms continuity and resistance. It’s the most accessible method for DIYers and reveals internal breaks or degradation.
Tools Needed
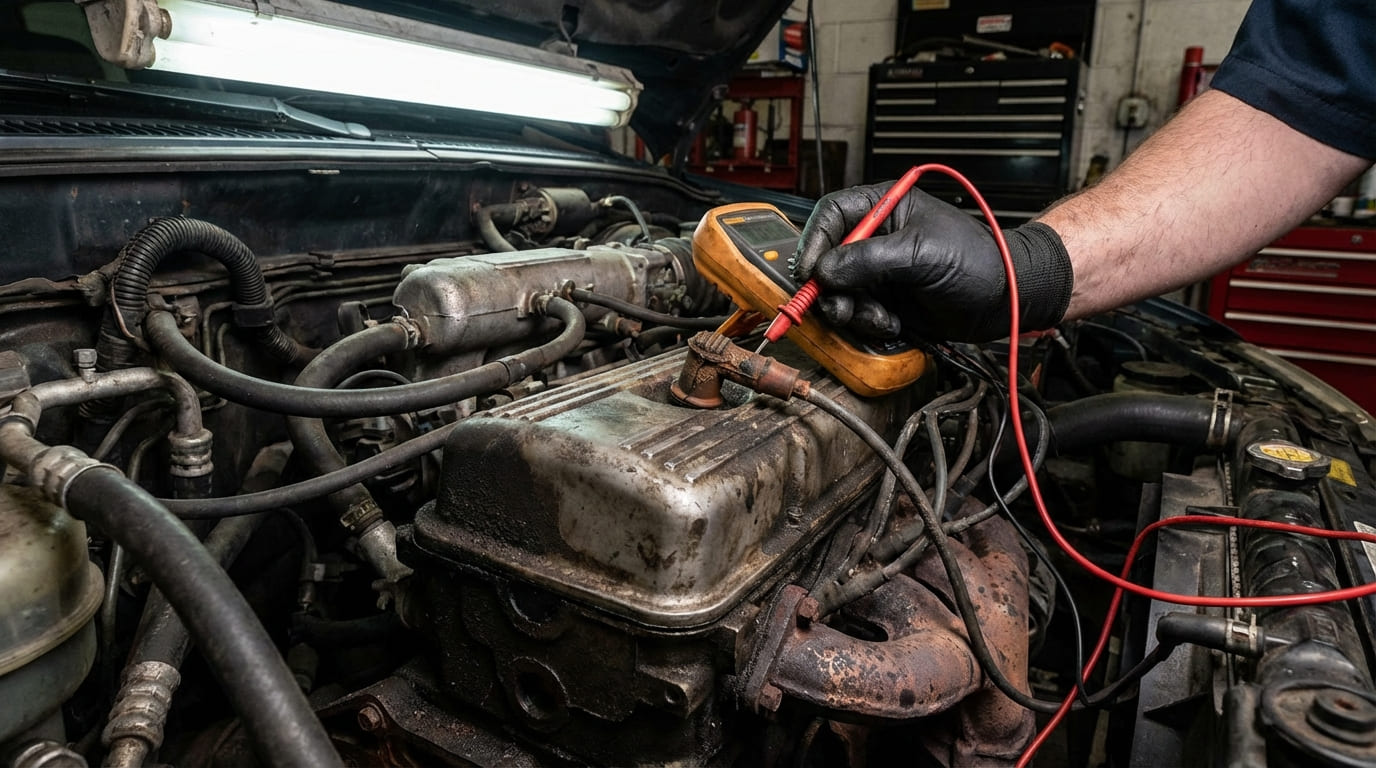
- Digital multimeter (DMM) with Ohm function (20kΩ range).
- Clean contact probes—dirty tips give false readings.
How to Check
- Ensure engine is off and cool.
- Disconnect both ends of the wire.
- Set DMM to Ohms (20kΩ range).
- Touch metal terminals at each end—ensure metal-to-metal contact.
- Gently flex the wire while watching the reading. Look for fluctuations.
Pass/Fail Criteria
- OEM Specification: Always check the service manual. Example: Toyota may specify 7,500 Ω/ft ±15%, while older GMs allow up to 15kΩ/ft.
- General Guideline (if spec unknown):
- Carbon core wires: 5,000–15,000 Ω per foot.
- Spiral core (low-resistance): 500–1,500 Ω per foot.
- FAIL: Infinite resistance (OL)—open circuit.
- FAIL: Fluctuating reading when flexed—intermittent break.
- FAIL: More than 20% resistance difference between same-length wires.
I’ve seen meters read “good” on a wire until I flexed it—then it jumped from 8kΩ to OL. Always test under movement.
Leakage (Arcing) Test [PRO-Only]
This dynamic test reveals insulation breakdown under real voltage and moisture. Risky—only for experienced techs with proper safety gear.
How to Check
- Run engine at idle in a dark, well-ventilated area.
- Use a spray bottle with plain tap water—minerals help conductivity.
- Mist wires lightly—do not soak.
- Watch for blue sparks, especially near boots, brackets, or sharp edges.
- Listen for snapping or cracking sounds.
- Monitor RPM—if it dips when misting a cylinder, that wire is leaking.
Pass/Fail Criteria
- FAIL: Visible arcing, audible crackling, or engine stumble.
- PASS: No reaction—water beads and runs off cleanly.
I use this test when a misfire only happens in rain. It replicates real-world conditions better than any meter.
Waveform Analysis [PRO-Only]
The gold standard. Shows how the wire performs under load. Requires a lab scope and high-voltage probe.
How to Check
- Use an inductive pickup on each wire—non-invasive and safe.
- Set scope to 20–50kV vertical, 2–5ms horizontal.
- Idle engine and capture all cylinders.
- Compare waveforms side by side.
Pass/Fail Criteria
- Firing Line: 5–20kV normal. Over 25kV suggests high resistance (wire, plug gap, or lean condition).
- Spark Line: Should last 1.0–2.0ms. Short burn? Could be failing coil—or energy leaking through bad wire insulation.
- Coil Oscillations: 3–5 rings after spark. Fewer? Check wire insulation first—poor dielectric can bleed energy.
- Waveform Consistency: All cylinders should mirror each other. “Hash” (noise) on one? Likely EMI from cracked boot.
Waveforms don’t lie. I’ve cleared misfire codes after replacing wires that tested “in spec” on resistance—but looked like a lightning storm on scope.
Best Practices: Do and Don’t
- ✅ Clean spark plug and coil terminals with a small wire brush before installing new wires—corrosion adds resistance.
- ✅ Apply dielectric grease sparingly inside boots—it seals moisture but too much traps heat.
- ✅ Route wires exactly as OEM—crossing wires can cause cross-fire on wasted-spark systems.
- ⚠️ Never replace just one wire—others are near failure. I guarantee a comeback if you do.
- ⚠️ Avoid generic “performance” wires—some suppress too much RFI and reduce spark energy on DIS systems.
- ⚠️ Don’t over-tighten boots—can crack plug insulators or damage coil towers.
Real-World Case Studies
Situation: 2003 Honda Accord, P0302 misfire. Plug and coil replaced—no fix.
Diagnosis: Resistance test passed (14kΩ), but mist test showed faint arcing near valve cover. Micro-crack in insulation from heat cycling.
Lesson: Resistance tests miss insulation breakdown under load. Always combine tests.
Situation: 1998 Ford F-150, rough idle, no codes.
Diagnosis: All wires under 1kΩ. But waveform showed erratic spark duration. One boot had hidden internal corrosion.
Lesson: Intermittent faults hide from meters. Waveform analysis catches instability.
Situation: 2010 Subaru Outback, P0300. Misfire returned after plug/coil swap.
Diagnosis: Wire routed over turbo downpipe. Heat degraded insulation despite low mileage.
Lesson: Routing matters. Even OEM wires fail if exposed to excessive heat.
Comparison of Testing Methods and Diagnostic Value
| Test Method | What It Detects | Limitations | Typical Use Case |
|---|---|---|---|
| Visual Inspection | Physical damage, corrosion, carbon tracking | Misses internal breaks or insulation faults under load | First step, quick screening |
| Resistance Test | Conductor continuity, resistance per foot | Doesn’t test insulation at high voltage | DIY-friendly, aging wires |
| Leakage (Mist) Test | External arcing, insulation faults | Risky—can damage electronics if overdone | Intermittent misfires, moisture-related issues |
| Waveform Analysis | Dynamic performance, spark duration, EMI | Requires expensive tools and training | Pro shop, hard-to-diagnose cases |
Replacement Considerations
Spark plug wires are not repairable. Once the conductor breaks or insulation fails, replacement is the only fix. Treat them as maintenance items—like air filters.
- Replace as a complete set, especially on engines over 100,000 miles.
- Match OEM specs—don’t assume “lower resistance” or “higher performance” is better.
- Apply dielectric grease as a thin film—excess causes heat buildup.
- Label wires during removal to avoid mix-ups—routing errors cause cross-fire.
- After install, clear codes and road test under load—highway acceleration, not just idle.
Typical lifespan: 60,000–100,000 miles. But environment matters more than mileage. Heat, ozone, and vibration degrade wires faster than age. I’ve seen garage-kept classics fail at 30k miles from ozone cracking.
No single test catches every fault. I always combine visual, resistance, and dynamic checks. If you’re guessing, you’re wasting time and parts.
Always consult the service manual for resistance specs, routing diagrams, and plug torque. What works on a Jeep 4.0L won’t apply to a Subaru 2.5L. When in doubt, match OEM part numbers.