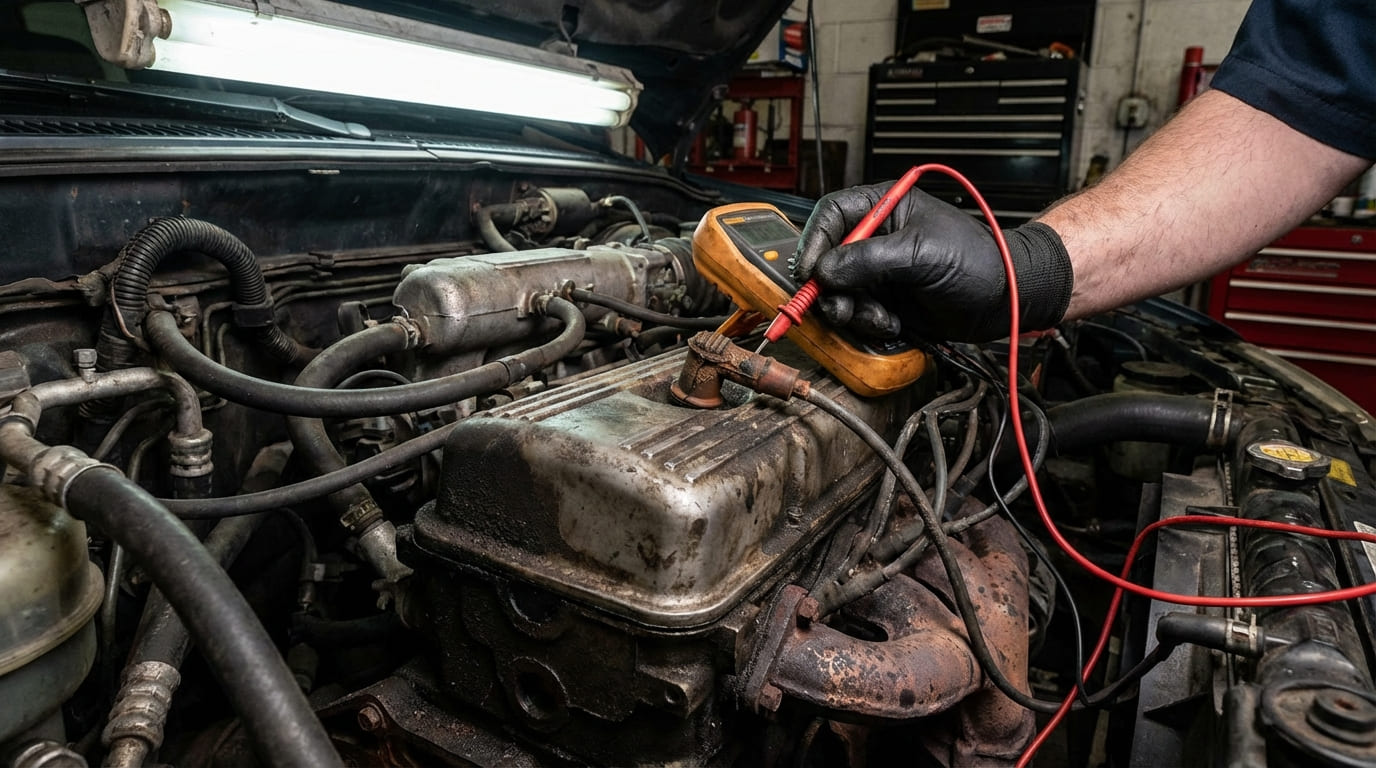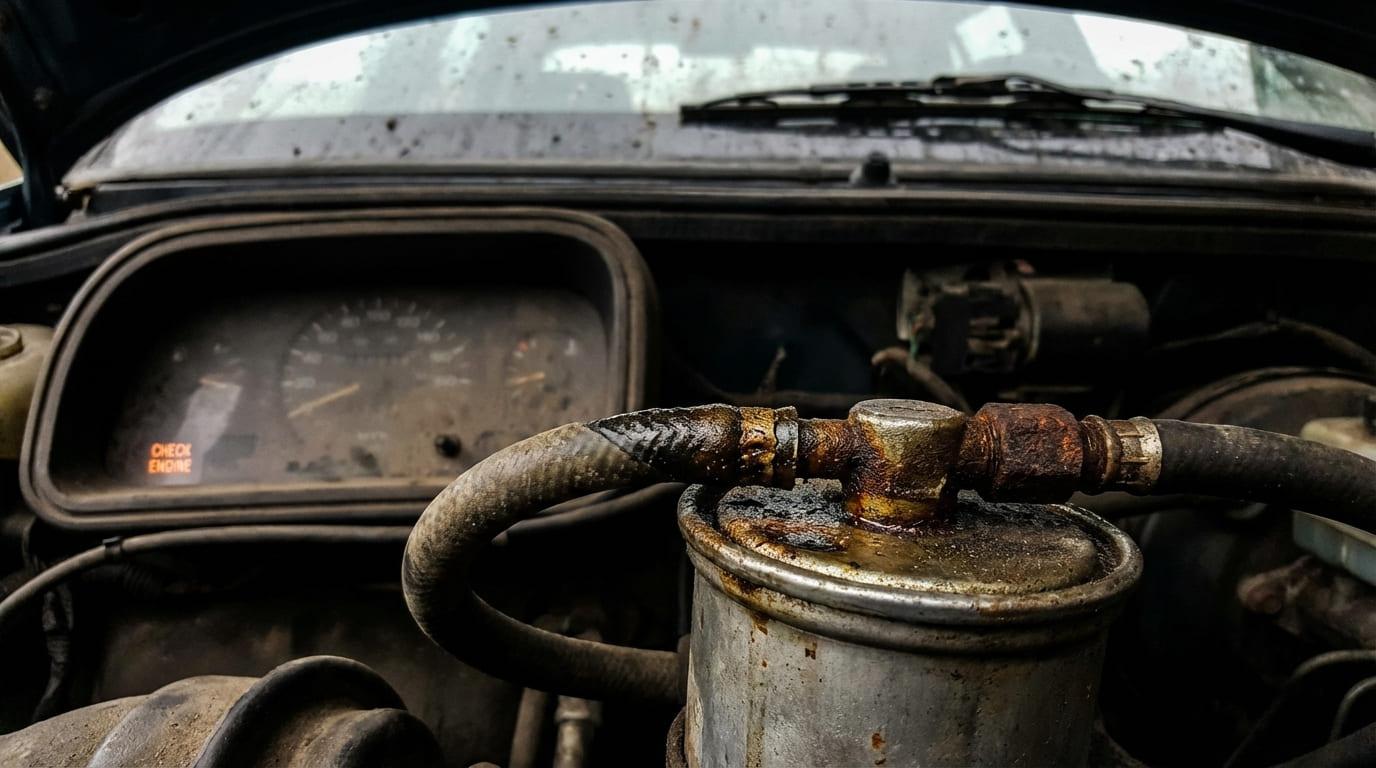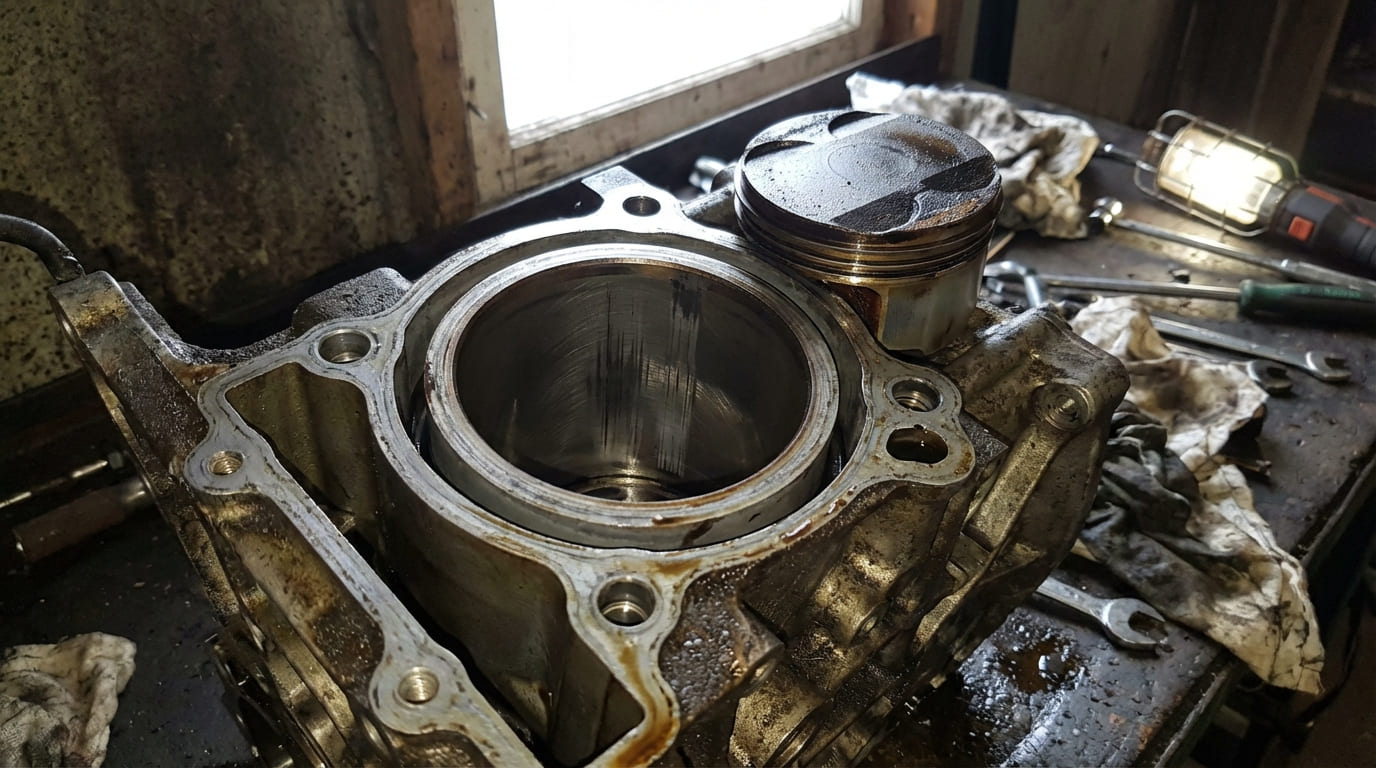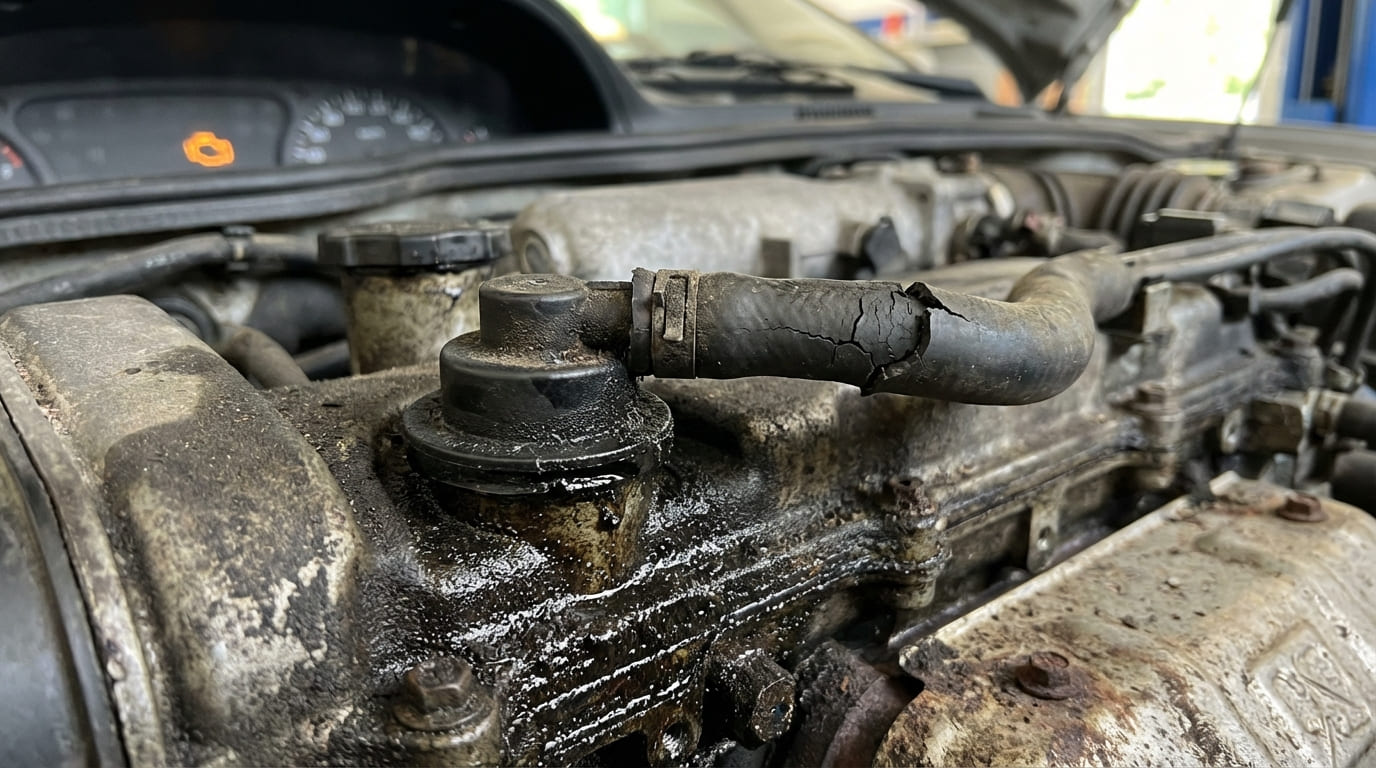
In my shop, I’ve seen more than a few engines come in with oil leaks, sludge buildup, or rough idles—issues that trace back to something as small as the PCV valve. It’s not glamorous, but it’s one of those components that, when working right, you never notice. When it fails? That’s when things go sideways. Let me walk you through what it actually does, how to diagnose problems, and the real-world steps you should take—whether you’re changing oil or chasing a stubborn leak.
What the PCV Valve Actually Does
The Positive Crankcase Ventilation (PCV) valve manages pressure and contamination inside your engine. It’s not just an emissions part—it’s a critical player in engine health. Here’s what it handles every time you start the car:
- Regulates crankcase pressure to protect seals
- Recirculates harmful blow-by gases back into the intake to burn them
- Prevents oil from turning into sludge by removing moisture and fuel vapors
- Stops oil from being forced into the air filter or intake tract
When the PCV system fails, you don’t always get a check engine light. But you will see oil spots under the car, rough idle, or blackened spark plugs. The good news? It’s one of the cheapest and easiest systems to maintain—if you know how to test it.
How to Diagnose PCV Valve Problems
Don’t guess. Test. A bad PCV valve mimics other issues like vacuum leaks or failing sensors. Use these proven checks:
Step-by-Step Diagnosis
1. Visual Inspection
Start with the hoses. Look for:
- Soft, swollen, or collapsed hoses (common in V6/V8 engines)
- Oil pooled in the air filter box
- Sludge on the oil filler cap or dipstick
If you see oil in the air filter, the system is likely blocked—not necessarily the valve itself.
2. Vacuum Test (Engine Running)
With the engine warm and idling:
- Locate the PCV valve (usually in the valve cover or connected via hose)
- Remove it from the valve cover, keeping the hose attached
- Place your finger over the end
You should feel strong, steady vacuum. If there’s none, check for:
- Blocked hose
- Clogged intake manifold port
- Valve stuck open
Intermittent hissing or weak suction means the valve is sticky or worn.
3. Shake Test (Valve Removed)
Shake the valve. Most traditional plunger-type valves will rattle. No sound? It’s likely stuck.
In my shop, we never trust the shake test alone. Some modern valves use diaphragms and don’t rattle—but still work. Always cross-check with vacuum test and vehicle history.
4. Smoke Test (For Persistent Leaks)
If you’re chasing oil leaks or vacuum issues, a smoke test can reveal hidden cracks in hoses, warped valve covers, or tiny leaks in the breather system. This is especially useful on engines with plastic valve covers that warp over time.
What Happens When the PCV Fails
A failed PCV system causes real damage. Here’s what to watch for and what’s likely causing it:
| Symptom | Most Likely Cause | Less Common But Possible |
|---|---|---|
| Oil in air filter housing | PCV valve stuck closed or hose collapsed | Excessive blow-by (worn rings), overfilled oil, failed oil separator baffle |
| Rough idle, lean codes (P0171/P0174) | PCV valve stuck open (acts like vacuum leak) | Cracked hose, intake gasket leak, faulty MAF or O2 sensor |
| Oil leaks from valve cover, rear main, or dipstick | Blocked PCV system causing pressure buildup | Overfilled oil, wrong viscosity, worn seals |
| Sludge under oil cap or in rocker arms | Clogged PCV or short-trip driving (moisture not burning off) | Infrequent oil changes, coolant leak, wrong oil type |
Repair vs Replace: Cost and Practical Advice
The PCV valve itself is cheap—$15 to $50 depending on the vehicle. Labor is minimal if you do it yourself. But don’t just swap the valve and call it done.
Here’s what actually works:
- Replace hoses with the valve. They degrade and collapse internally. Cost: $10–$20 for a kit.
- Use OEM-specified valves. Aftermarket ones often flow too much or too little. I’ve seen cheap valves cause rough idle within weeks.
- Clean the intake port and grommet. Sludge buildup prevents a seal. Use brake cleaner and a small brush.
- Never reuse old rubber seals. They harden and crack, creating vacuum leaks.
- Check valve orientation. Some valves have arrows. Install backward, and you’ll have issues immediately.
In my shop, we see more “bad PCV valves” that were actually just clogged hoses or dirty ports. Always inspect the entire system—valve, hoses, ports, and separator—before replacing anything.
Real-World Case Studies
Situation: 2012 F-150 with rear main seal leak—replaced six months prior. Owner blamed the mechanic.
Discovery: PCV hose was collapsed inside. No vacuum. Pressure built up and pushed oil past the new seal.
Fix: Replaced hose and valve. Leak stopped. Lesson: Pressure kills seals—even new ones.
Situation: 2008 Camry with P0171 (lean code). MAF and intake gaskets replaced—no fix.
Discovery: PCV valve stuck open. Introduced unmetered air like a vacuum leak.
Fix: OEM PCV valve installed. Code cleared, idle smoothed. Lesson: Include PCV in lean condition diagnostics.
Situation: Subaru with oil in air filter. Valve rattled and had vacuum.
Discovery: Cracked oil separator baffle in valve cover—a known issue on Boxer engines.
Fix: Replaced valve cover assembly. Lesson: The PCV valve is only as good as the system around it.
Final Recommendations
Replace the PCV valve every 50,000 miles or with every other oil change. It’s cheap insurance. But more important: treat it as part of a system, not a standalone part.
Always:
- Inspect hoses for internal collapse
- Check for oil in the air filter
- Verify vacuum at idle
- Use OEM or high-quality replacement parts
- Inspect the valve cover baffle on engines prone to sludge (Subarus, older BMWs, some Fords)
The PCV system is simple—but ignoring it can cost you big. A $20 valve can save you a $1,500 oil leak repair. Test it, replace it, and move on. Your engine will thank you.