In my 20+ years turning wrenches in independent shops and dealer environments, one job that shows up regularly—especially on V6 and V8 engines—is intake manifold gasket replacement. It’s not a job most customers look forward to, and for good reason: labor can quickly dominate the bill. But like any repair, understanding the variables helps make smarter decisions. Let me walk you through what really drives cost, how to diagnose properly, and where cutting corners can backfire.
Overall Cost Range
Total cost for intake manifold gasket replacement typically ranges from $300 to $1,200. On high-complexity or forced-induction engines, it can exceed $1,500. The spread reflects engine design, labor time, and whether upper, lower, or both gaskets are replaced. Labor usually accounts for 70–80% of the total.
Cost by Engine Type
| Engine Type | Labor Hours | Parts Cost | Total Cost Range |
|---|---|---|---|
| I4 (Inline 4-cylinder) | 2–3 | $40–$80 | $300–$500 |
| V6 | 4–6 | $60–$120 | $500–$900 |
| V8 | 6–8 | $70–$150 | $900–$1,200 |
| Turbo/Supercharged | 7–10+ | $150–$300 | $1,200–$1,800+ |
Hourly labor rates vary: $90–$130 at independents, $120–$180 at dealers. Urban areas typically charge more. Parts cost includes gasket set and basic seals—OEM kits cost 20–40% more than aftermarket but often include updated designs.
Labor: The Real Cost Driver
Labor isn’t just about swapping a gasket. You’re disassembling a dense network of sensors, coolant lines, vacuum hoses, and electrical connectors. One mistake can lead to a no-start or drivability issue.
Typical Labor Scenarios
- Upper intake gasket only: 3–5 hours. Common on V6 engines with two-piece intake systems.
- Lower intake (plenum) gasket: 5–7 hours. Requires coolant system drain, thermostat housing removal, and often fuel rail or coil access.
- Upper and lower combined: 7–9 hours. Recommended on high-mileage engines to avoid repeat labor.
Engines with valley-mounted components (PCV, injectors, sensors) or integrated coolant passages (GM LS, Ford Modular) take longer. Always ask if the quote includes coolant refill and bleeding—some shops charge extra.
Parts and What to Replace While You’re In
The gasket set is rarely the expensive part. But skipping related components can lead to comebacks. In my shop, we always replace these when the manifold is off:
- Throttle body gasket
- Fuel injector O-rings
- PCV valve and hose
- Coolant (50/50 mix)
- Vacuum lines (especially if cracked or brittle)
- Thermostat and housing gasket (if opened)
- Spark plugs (on V6/V8 with coil-on-plug)
These add $100–$250 in parts but save $300+ in future labor. Use premium aftermarket (Fel-Pro, Mahle) or OEM gaskets—economy sets often fail within a year on high-heat engines.
In my shop, we always use OEM gasket kits on GM 3800, Ford 4.6L, and Toyota 3MZ-FE engines. These platforms have known gasket issues, and OEM kits include revised sealing designs that aftermarket brands don’t always replicate.
How to Check: Diagnose Before You Disassemble
Don’t assume it’s the intake gasket. Misdiagnosis leads to wasted money. Confirm with these steps:
Step-by-Step Diagnosis
- Scan for codes: Look for P0171/P0174 (lean), P0300–P0308 (misfires), or coolant-related codes. Use live data to check fuel trims—LTFT +15% or higher at idle suggests a vacuum leak.
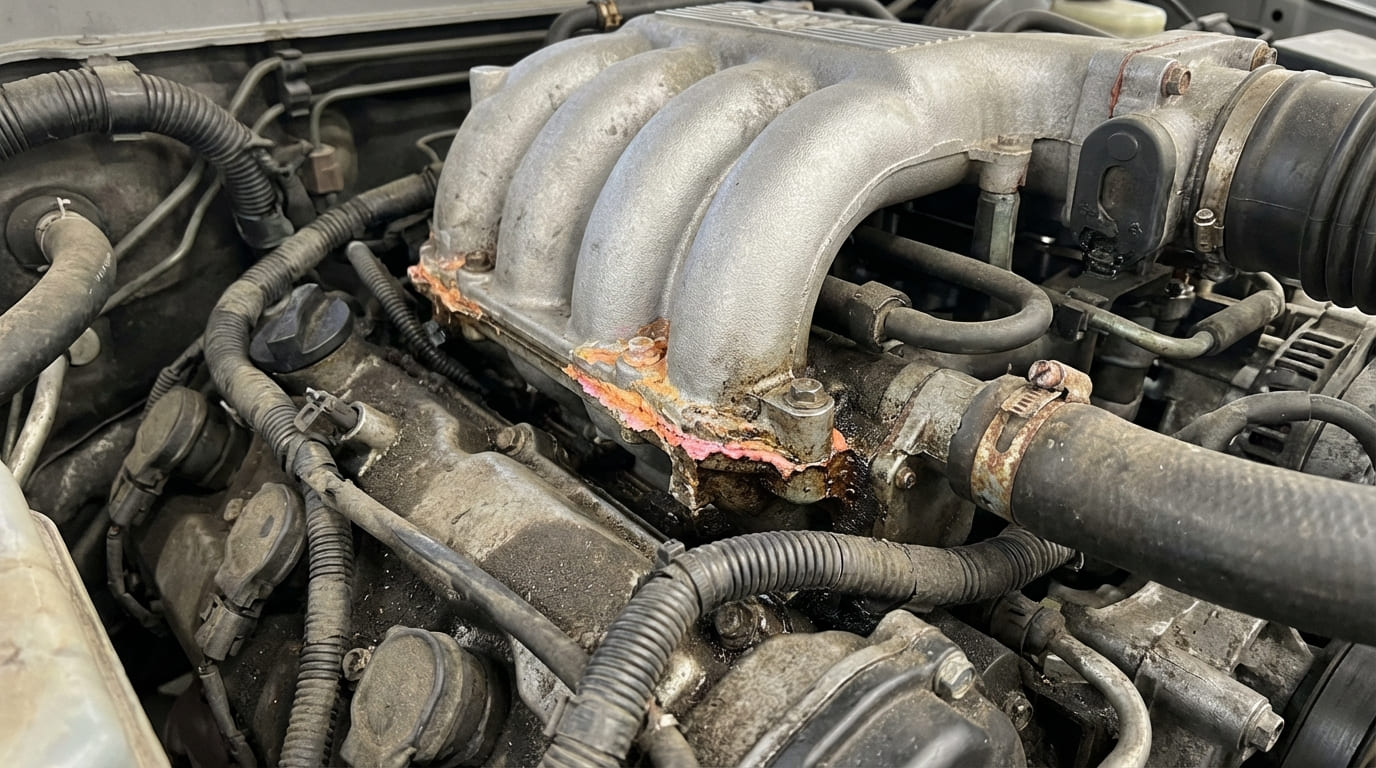
- Visual inspection: Remove the engine cover. Look for white crust (dried coolant) at manifold ends or valley. Check for oil seepage—some intake gaskets seal oil galleries.
- Smoke test: Pressurize the intake system with a smoke machine. Focus on manifold seams, end rails, and plenum gasket areas. Open the throttle body slightly—some leaks only appear under vacuum.
- Cooling system pressure test: Pressurize to 15 psi. If pressure drops with no external leak, suspect internal coolant loss—could be intake or head gasket.
- Block test (for combustion gases): If coolant is contaminated, test for exhaust gases. A positive result usually means head gasket—but some intake gaskets (e.g., GM 3800) seal near cylinder bores and can allow cross-leakage.
If all signs point to the intake gasket, proceed. If not, check injector seals, EGR passages, or cracked manifolds before disassembly.
DIY: Is It Worth It?
This is feasible for intermediate to advanced DIYers on I4 or older V8 engines. Modern transverse V6 engines with tight packaging are much harder.
What You’ll Need
- Torque wrench (critical for aluminum manifolds)
- Factory service manual (for torque specs and sequence)
- Gasket scraper (plastic or brass—never steel on aluminum)
- Coolant drain pan and refill funnel
- Vacuum pump or coolant bleed funnel (to remove air pockets)
- Labeling system (for vacuum lines and connectors)
In my shop, we always clean intake bolt threads with a tap before reassembly. Corrosion or debris can cause false torque readings and lead to leaks. It takes 10 minutes but prevents 90% of comebacks.
Key Risks and How to Avoid Them
- Surface prep: Any leftover gasket material or debris will cause a leak. Clean both manifold and head surfaces with brake cleaner and a plastic scraper.
- Torque sequence: Follow OEM pattern—usually starts in the center and works outward. Skipping this can warp the manifold.
- Dropping tools: Cover intake ports with rags. A socket in cylinder #1 can ruin your week.
- Reusing TTY bolts: Most torque-to-yield bolts must be replaced. Check the service manual—reusing them risks under-clamping and leaks.
- RTV misuse: Only use RTV where specified. Many modern gaskets have pre-applied sealers or form-in-place beads.
What Happens If You Wait?
Minor leaks may seem tolerable, but internal failures escalate quickly:
- Internal coolant leak: Can cause overheating, head warping, or hydro-lock. I’ve seen bent rods from coolant pooling in a cylinder overnight.
- Vacuum leak: Lean combustion increases exhaust temps—this can melt catalytic converters ($1,000+ repair).
- Coolant in oil: Forms sludge fast. Bearing damage follows.
- External leaks: Coolant on belts causes slippage; oil on exhaust manifolds is a fire hazard.
I’ve had customers try to “drive it until it quits.” On a 2007 Chevy Impala 3.9L, that turned a $600 repair into a $3,000 engine rebuild. Coolant leaked into the crankcase, wiped out the bearings, and scored the crankshaft. Don’t wait on internal leaks.
Smart Repair vs. Costly Mistakes
| Practice | Recommended? | Why |
|---|---|---|
| Use OEM gasket kit | Yes | Updated materials and design for known failure points |
| Replace fuel injector O-rings | Yes | Cheap insurance—prevents future fuel leaks |
| Re-torque intake bolts after 50 miles | No | Modern gaskets and TTY bolts are designed for one-time torque |
| Use RTV on gasket seams | Only if specified | Excess RTV can break off and clog oil passages |
| Replace TTY bolts | Yes | They stretch during initial torque—reusing risks under-clamp |
Real-World Diagnostics: Case Studies
2005 Buick Lacrosse 3.8L V6: Coolant loss, P0171, sweet exhaust smell. Block test negative. Pressure test showed internal leak. Removed upper intake—found coolant pooled in valley. Gasket failed at rear coolant passage. Lesson: On 3800 engines, intake gasket failures mimic head gasket symptoms. Always inspect the valley first.
2010 Ford Fusion 3.0L V6: Rough idle, STFT +22%. Smoke test initially clean. Repeated with throttle slightly open—smoke erupted at lower intake end seals. Gasket had shrunk. Lesson: Some vacuum leaks only appear under load. Test in multiple throttle positions.
2008 Toyota Sienna 3.5L V6: Oil in coolant. Head gaskets replaced—problem returned in 3 months. Found failed oil passage seal in intake manifold gasket. Common on this engine if torque sequence ignored. Lesson: Oil-coolant mixing isn’t always a head gasket. Trace fluid paths before disassembly.
Every engine is different. Always consult the factory service manual for torque specs, sequence, and gasket replacement guidelines. What works on one engine can cause failure on another. The key is methodical diagnosis, clean work, and respect for OEM procedures.