In my shop, intake manifold gasket leaks are one of those issues that show up regularly—sometimes as a simple fix, other times as a symptom of something much deeper. Over the years, I’ve learned that while replacement is straightforward in theory, the root cause isn’t always the gasket itself. What follows is a breakdown based on real-world patterns I’ve seen across domestic and import engines, from high-mileage four-cylinders to performance V8s. If you’re chasing a leak, this guide will help you diagnose the true cause and avoid repeat repairs.
Material Degradation and Age
All gaskets degrade over time due to heat, pressure, and exposure to fluids. Most modern intake gaskets use rubber, cork, silicone, or composites—each with different lifespans. On average, expect 80,000 to 120,000 miles before age-related failure becomes likely, though harsh conditions can shorten that.
Thermal Cycling and Chemical Exposure
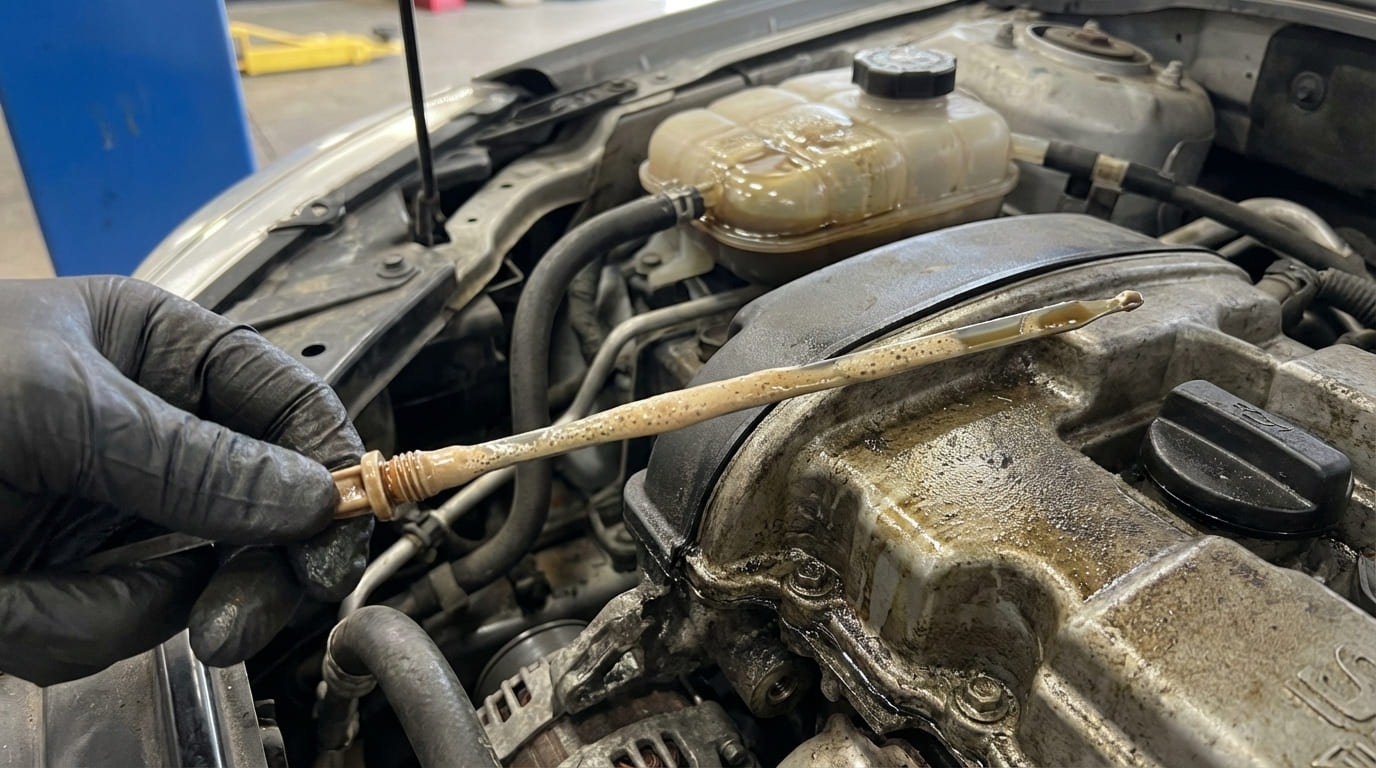
Engines heat up and cool down, causing the intake manifold and cylinder head to expand and contract at different rates—especially in aluminum-over-iron designs. This constant movement fatigues the gasket, leading to hardening, cracking, or loss of sealing force. Coolant, oil, and fuel vapors accelerate this breakdown. Glycol-based coolant can swell or embrittle rubber seals; oil from the PCV system can gum up gasket material, particularly at the rear of the intake.
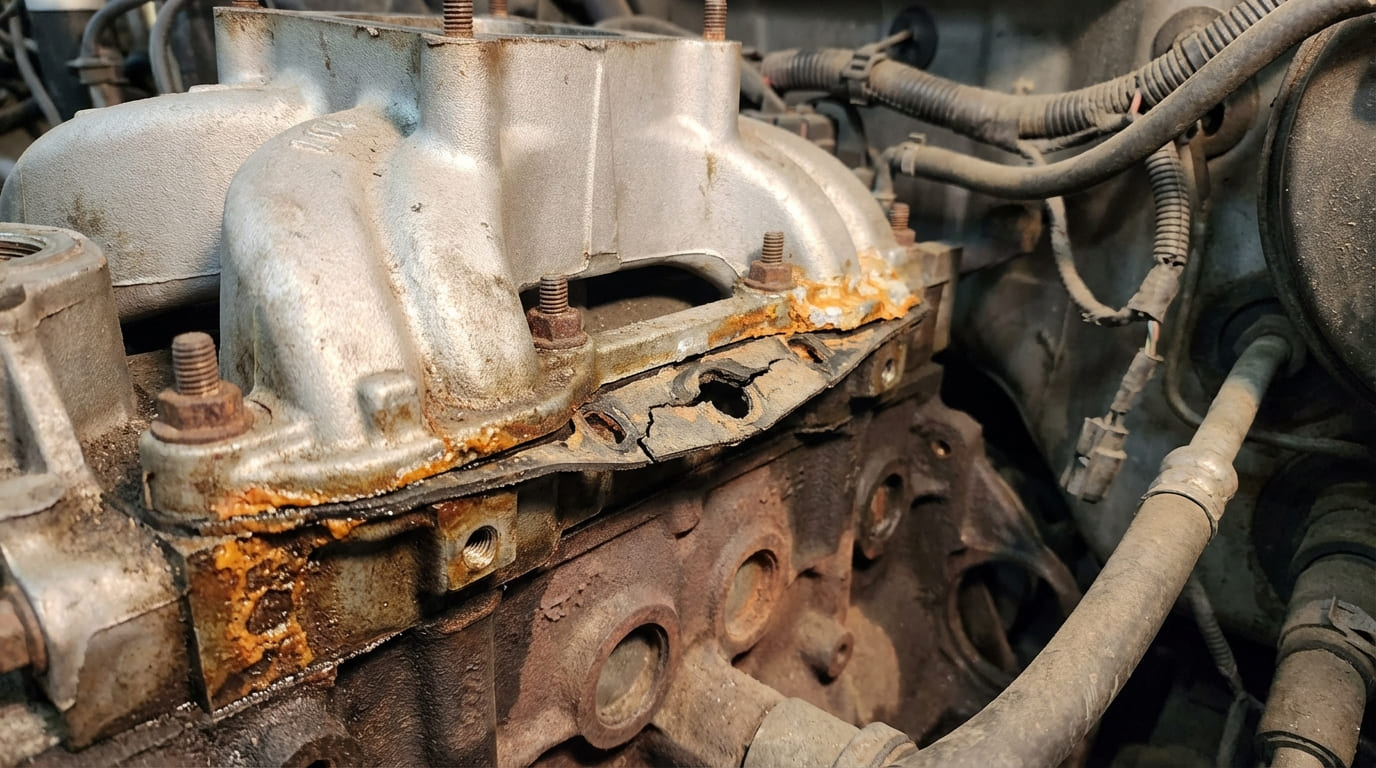
How to check: Remove the manifold and inspect the gasket. Look for cracks, swelling, or areas where the material has turned to sludge. If the gasket shows uneven damage, suspect chemical exposure or overheating.
In my shop, we always inspect the old gasket closely. If it’s uniformly worn, age is likely the culprit. But if one section is swollen or eroded, trace the fluid path—coolant or oil contamination is probably to blame.
Manufacturing Defects
Factory flaws in gaskets—like voids in sealing beads or inconsistent thickness—are rare but possible. These may not fail immediately but can lead to early leaks. A visual inspection of the old gasket can reveal if the defect was present from installation.
Improper Installation
I’d estimate at least a third of recurring intake leaks stem from installation errors. Even experienced techs can miss critical details that compromise the seal.
Torque and Alignment Issues
Under-torquing allows movement under vacuum or coolant pressure; over-torquing can warp aluminum manifolds or crush gaskets. Always use a calibrated torque wrench and follow the OEM sequence—typically a crisscross pattern in multiple passes. For example, Ford and Honda engines often require three progressive torque steps.
How to check: If diagnosing a recent repair, verify torque specs and sequence. Use a thread chaser to clean bolt holes and apply a drop of oil to TTY (torque-to-yield) bolts for accurate clamping.
Contaminated or warped sealing surfaces are a major cause of failure. Old RTV, carbon, or oil residue prevents full contact. Clean surfaces with a plastic scraper and brake cleaner—never use metal tools that can gouge aluminum. After cleaning, check flatness with a straight edge and feeler gauge. Most manufacturers allow no more than 0.002″ to 0.004″ deviation across the surface.
In my shop, we never skip the flatness check. I’ve seen engines with perfect gaskets leak simply because the manifold was warped from a prior over-torque event.
Component Warpage or Damage
Sometimes the gasket is fine—the parts it seals are the problem.
Intake Manifold and Cylinder Head Warpage
Overheating or improper torque can warp the manifold or cylinder head. Plastic composite manifolds (common on GM and Ford engines) are especially prone to heat-induced distortion. Aluminum heads warp more easily than cast iron, especially after severe overheating.
How to check: Use a precision straight edge and feeler gauge on both the manifold and head. If warpage exceeds 0.002″, resurfacing or replacement is needed. For plastic manifolds, even slight bowing in the center can break the seal.
Cylinder Block Porosity
Rare but serious, casting voids in the block can allow coolant or oil to seep into the gasket area. This often appears as a slow, intermittent leak that defies standard fixes.
How to check: Pressure test the cooling system with UV dye. If dye appears near the intake gasket but no crack is visible, suspect block porosity. Repair options are limited—most require block replacement or specialized welding.
Systemic Issues That Cause Repeated Failure
Replacing the gasket without fixing underlying problems leads to repeat leaks. Always rule these out.
Cooling System Over-pressurization
If combustion gases enter the cooling system—due to a head gasket breach or cracked head—pressure can force coolant past the intake gasket. A faulty radiator cap can mimic this by not venting properly.
How to check: Perform a cooling system pressure test (hold 15–18 psi for 10+ minutes). Also, use a chemical block tester (combustion leak tester) to detect hydrocarbons in the coolant.
PCV System Malfunction
A clogged PCV valve or hose increases crankcase pressure, forcing oil past seals—including the intake gasket. This is often misdiagnosed as a gasket failure.
How to check: Pull the oil cap at idle. If it’s hard to remove or you feel strong pressure, the PCV system is restricted. Test vacuum at the valve cover: most engines should show 1–3 inHg at idle. Replace the PCV valve—it’s cheap and often overlooked.
I’ve saved customers hundreds by checking the PCV first. A $15 valve can prevent a $300 gasket job from failing in six months.
Types of Leaks and How to Diagnose Them
Identifying the leak type directs you to the root cause.
| Leak Type | Symptoms | Most Likely Causes | Diagnostic Confidence |
|---|---|---|---|
| Coolant Leak | External drips, overheating, sweet smell, white exhaust smoke | Gasket failure, manifold warpage, coolant over-pressure | High — pressure test usually confirms |
| Vacuum Leak | Rough idle, lean codes (P0171/P0174), hissing noise | Gasket misalignment, cracked manifold, improper torque | Medium to High — smoke test is reliable |
| Oil Leak | Oil drips, burning smell, low oil level | PCV issues, gasket degradation, surface contamination | Medium — often requires dye or extended run test |
Best Practices and Cost Considerations
Repair costs vary widely: $200–$600 for parts and labor on most 4-cylinders, $500–$1,200 on V6/V8 engines due to complexity. Plastic manifolds often require full replacement—no repair. Replacing just the gasket is viable only if the manifold and head are undamaged.
- ✅ Recommended: Clean bolt threads with a tap and blow out holes with compressed air. Dirty threads cause false torque readings.
- ✅ Recommended: Use new bolts, especially torque-to-yield (TTY) fasteners. Reusing them risks insufficient clamping.
- ✅ Recommended: Apply RTV only where specified. Over-application can break off and clog oil passages.
- ⚠️ Avoid: Skipping the torque sequence. Always follow OEM pattern—center to ends, crisscross, in stages.
- ⚠️ Avoid: Assuming the new gasket is flawless. Inspect it for gaps, bubbles, or misaligned seals.
- ⚠️ Avoid: Ignoring the PCV system during replacement. Replace the valve and inspect hoses—it’s cheap insurance.
Real-World Case Studies
Situation: A 2010 Toyota Camry had a coolant leak and overheating six months after a gasket replacement.
Discovery: Pressure and UV dye tests revealed a hairline crack in the plastic intake manifold—only visible when hot.
Lesson: Plastic manifolds can crack near coolant elbows. Always heat-soak the engine before testing.
Situation: A 2005 Ford 4.6L V8 had recurring vacuum leaks and lean codes after gasket replacement.
Discovery: A warped upper plenum—caused by over-torqued bolts—was leaking at the rear. The gasket was intact.
Lesson: Aluminum and composite manifolds are easily distorted. Use a torque wrench and never “snug” by feel.
Situation: A 2012 Honda Accord burned oil along the intake seam.
Discovery: The PCV valve was clogged. High crankcase pressure pushed oil past multiple seals.
Lesson: Oil at the intake doesn’t always mean a bad gasket. Check ventilation first.
Intake manifold gasket leaks are rarely just about the gasket. Always inspect the entire system—surfaces, fasteners, fluids, and ventilation. Diagnose the why, not just the where. That’s how you fix it right the first time.