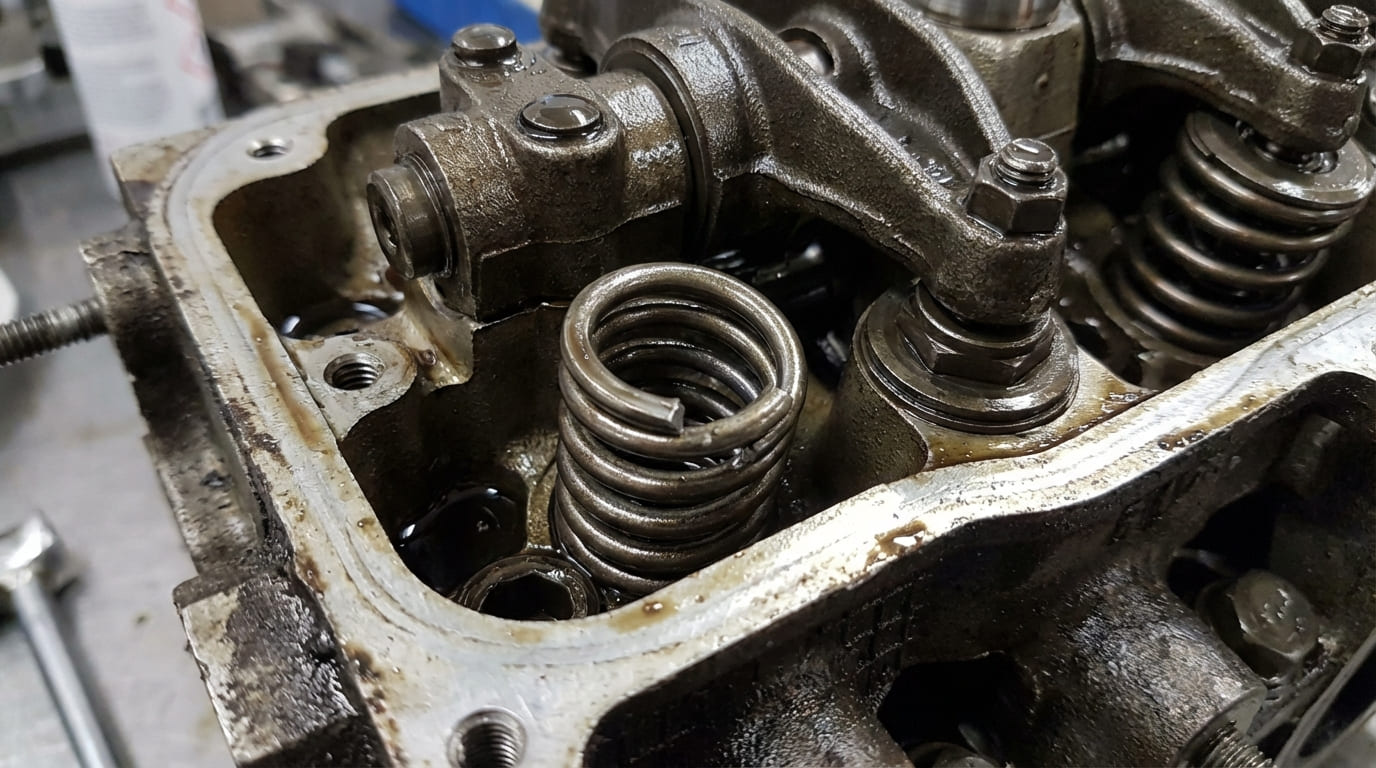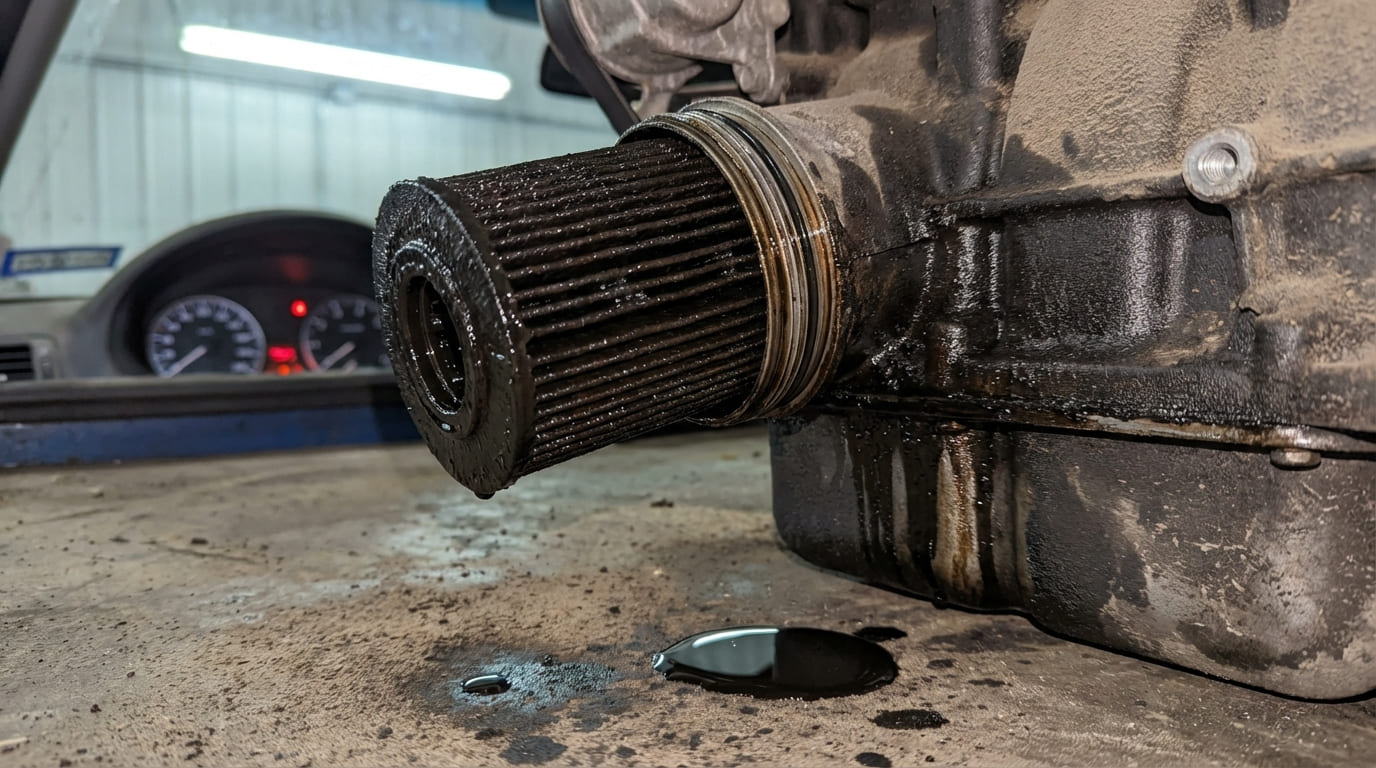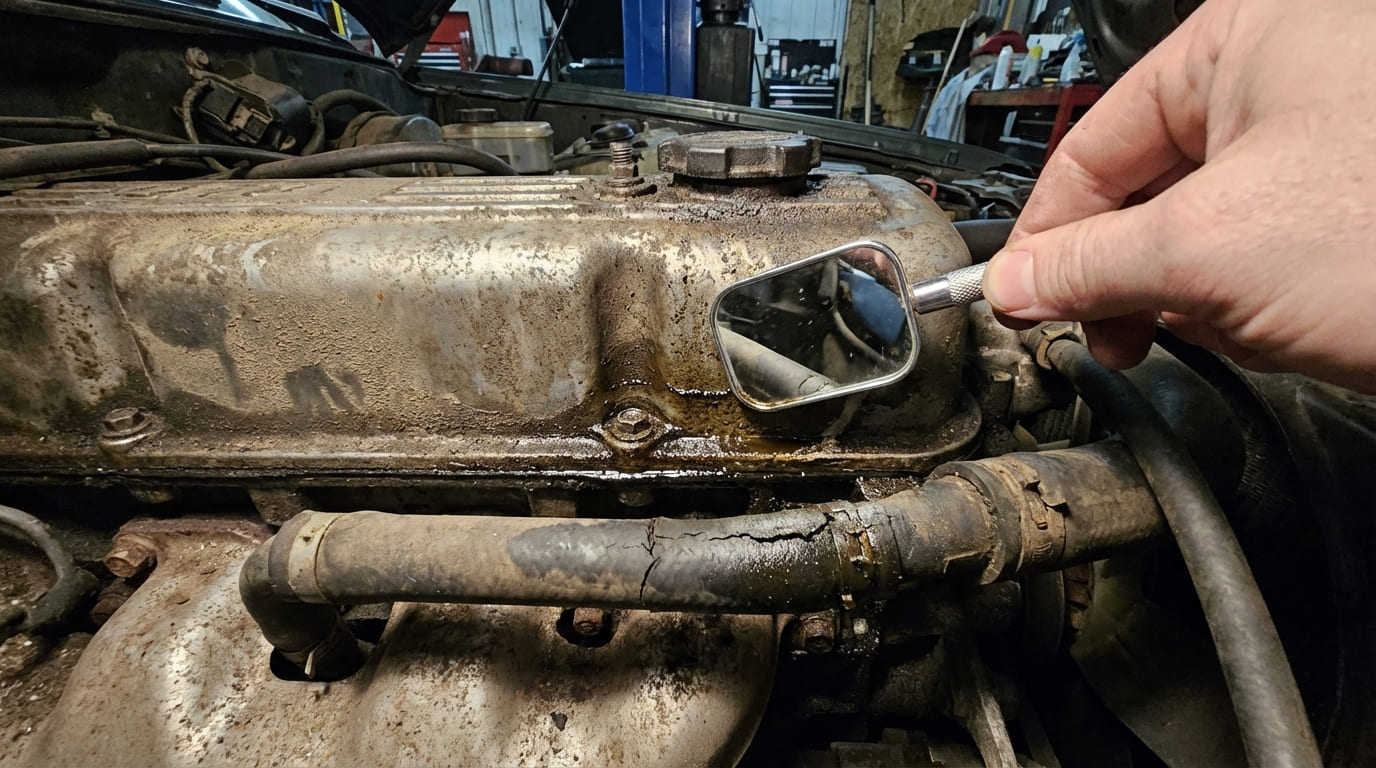
In my shop, oil weeping around the valve cover is one of the most frequent complaints I hear from both customers and junior techs. It’s easy to jump to conclusions—many assume it’s just a worn gasket and call it a day. But after two decades under the hood, I’ve learned that oil on the valve cover can be the symptom of something much more nuanced. The real skill lies in distinguishing between a simple fix and a deeper mechanical issue. Let’s walk through what I’ve seen, tested, and confirmed over thousands of repairs.
Primary Sources of Oil Accumulation on Valve Cover Exterior
When oil appears on or near the valve cover, start with the most common sources. Always verify the actual origin—oil trails can mislead. Clean the engine first, then inspect under operating conditions.
Valve Cover Gasket Leakage
The gasket is the usual suspect, but not every leak means replacement. Degradation, improper installation, or external forces can all contribute.
- Gasket material degradation: Rubber and cork gaskets harden over time due to heat cycling. Modern engines often use RTV silicone at corners—any contamination (oil, dirt) during assembly compromises the seal.
- Improper torque on fasteners: Over-torquing warps aluminum or plastic covers; under-torquing leaves gaps. Most bolts require 8–12 Nm (71–106 in-lbs), but always consult the service manual—some are as low as 5 Nm.
How to Check: Clean the area with degreaser, run the engine to operating temperature, then inspect. Fresh seepage indicates active leakage. Use UV dye and a black light for confirmation—fluorescent trails show the exact path.
In my shop, we always loosen bolts slightly before re-torquing in the correct sequence—center to outer edges. Skipping this risks uneven clamping, especially on long covers.
Spark Plug Tube Seal Leakage
On DOHC and many modern engines, spark plug tubes pass through the valve cover. Internal rubber seals degrade and allow oil into the wells, which then leaks externally.
- Aftermarket seals often fail prematurely under high oil temperatures.
- Oil pooling in the spark plug wells—even without external gasket seepage—is a red flag.
How to Check: Remove ignition coils and inspect each well. If oil is present below the gasket line, replace the tube seals. Some require special tools to press out and in.
Oil Filler Cap and PCV System Leaks
These small components are often overlooked, yet they sit directly on the valve cover and can mimic a gasket leak.
- Filler cap seal: The rubber gasket can compress permanently or crack. Ensure the cap is fully seated—some twist-to-lock and won’t seal if threads are dirty.
- PCV grommet or hose: If the PCV valve mounts into the cover, a cracked grommet or collapsed hose can vent oil mist directly onto the cover.
How to Check: Remove the cap and inspect the seal. Clean threads on both cap and cover. For PCV, disconnect hoses and blow through them—any restriction means replacement. Shake the PCV valve; if it doesn’t rattle (and isn’t damped), it’s likely stuck.
Camshaft Position Sensor and VVT Solenoid O-rings
These components often thread into the valve cover or head above it. Failed O-rings leak oil that runs down and appears to come from the gasket.
- The cam sensor O-ring is small and easily damaged during installation.
- VVT solenoids, especially on the rear of the head, can drip unnoticed.
How to Check: Inspect the base of the sensor or solenoid. Wipe clean, run engine, and watch for fresh seepage. Replacement O-rings are usually included in repair kits ($15–$30).
Secondary Sources That Mimic Valve Cover Leaks
Oil on the valve cover doesn’t always mean the cover is the source. Trace the highest point of wetness—gravity hides the real culprit.
Camshaft Seal Leakage
A failed front or rear camshaft seal drips oil onto the head or timing cover, which then flows to the valve cover area.
- Common on transverse engines where oil runs rearward or downward.
- Leaks here often require timing cover removal—labor-intensive but necessary if confirmed.
How to Check: Look for oil above the valve cover gasket line—near the timing cover or rear of the head. Clean thoroughly and recheck after a test drive.
Cylinder Head Casting Porosity
Rare, but possible—microscopic pores in older aluminum heads can weep oil slowly to the surface.
- Only consider this after ruling out all gaskets, seals, and pressure issues.
- Pressure testing the head is the only reliable method, but results can be inconclusive.
Situation: A 2014 V6 had oil pooling on the rear of the valve cover. First shop replaced the gasket twice—same problem returned within weeks.
Discovery: After cleaning and UV dye test, I traced the source to the rear camshaft seal. The oil was running down from the timing cover area, not the gasket.
Nuanced Lesson Learned: Just because oil is on the valve cover doesn’t mean the cover is leaking. Always trace the highest point of wetness before disassembling.
Internal Engine Pressure: The Hidden Cause of Recurring Leaks
A gasket may fail not because it’s worn—but because it’s overwhelmed. Excess crankcase pressure forces oil past even perfect seals.
Clogged or Failed PCV System
The PCV system vents crankcase pressure. If blocked, pressure builds and pushes oil out at the weakest point—often the valve cover.
- Clogged PCV valve: Can’t rattle? Likely stuck. But some modern valves are damped—check service manual.
- Collapsed or sludged hoses: Exterior may look fine, but interior can be 80% blocked.
How to Check: Perform a crankcase vacuum test. At idle, most engines should show 0.5–1.5 inches of water vacuum. Near zero or positive pressure means restriction. Replace PCV valve and hoses as a set—cost: $25–$60.
Excessive Blow-by from Engine Wear
Worn piston rings or cylinder walls allow combustion gases into the crankcase. No PCV system can handle that volume.
- Compression test: Healthy engines show 150–200 psi with less than 10–15% variation.
- Leak-down test: If air escapes through the oil filler cap, blow-by is excessive.
Situation: A high-mileage 4-cylinder was leaking at the front corner of the valve cover. Tech replaced gasket and cap—no fix.
Discovery: Crankcase vacuum test showed near-zero vacuum. PCV hose was collapsed internally. Replacing the entire PCV system stopped the leak.
Nuanced Lesson Learned: Chronic leaks after gasket replacement often point to pressure issues, not sealing ones. Don’t ignore the ventilation system.
Diagnostic and Repair Best Practices
Accurate diagnosis saves time and money. Follow these steps before disassembly.
Clean First, Then Test
You can’t diagnose a leak on a dirty engine. Degrease thoroughly, rinse, and dry with compressed air. I tell my junior techs: “If you can’t see it clean, you can’t fix it right.”
Verify After Repair
After any fix, clean the area again. Run the engine to temperature, drive it, then re-inspect. For PCV work, recheck crankcase vacuum to confirm the system is balanced.
Repair vs. Replace: Component Guide
| Component | Recommended Action | DIY Feasibility | Notes |
|---|---|---|---|
| Valve cover gasket | Replace with OEM-spec part | DIY-FEASIBLE | Use RTV only where specified. Torque to spec in proper sequence. |
| Warped valve cover | Replace | PRO-ONLY | Plastic covers are especially prone. Flatness tolerance typically <0.1mm (0.004"), but verify per manual. |
| PCV valve/hoses | Replace as a set | DIY-FEASIBLE | Even if one part looks good, age and heat affect the whole system. |
| Excessive blow-by | Engine overhaul or replacement | NON-REPAIRABLE | No quick fix. Address root cause: rings, cylinders, or both. |
Best Practices: Do and Avoid
- ✅ Recommended: Clean bolt threads with a tap before installing. Oil or debris in threads can throw off torque readings by up to 20%.
- ✅ Recommended: Use a torque wrench and follow the OEM sequence. Most overtightening happens when techs “snug it” with an impact gun.
- ⚠️ Avoid: Reusing torque-to-yield (TTY) bolts unless the manual allows it. These stretch and lose clamping force.
- ⚠️ Avoid: Applying excessive RTV. A 1/8″ bead is enough. Too much can squeeze into the valvetrain and cause damage.
Situation: A customer insisted the valve cover was warped after a DIY gasket replacement. Claimed the new gasket didn’t seal.
Discovery: The cover was flat within spec. Issue was mismatched gasket thickness—aftermarket version was 0.5mm thicker, preventing full bolt engagement.
Nuanced Lesson Learned: Not every failure is mechanical. Component compatibility and proper assembly matter as much as condition.
When diagnosing oil on the valve cover, I always remind my team: the leak point isn’t always the source. Take your time, use the right tools, and consult the factory service manual for torque specs, flatness limits, and PCV system operation. What’s true for one engine may not apply to another—even within the same brand.