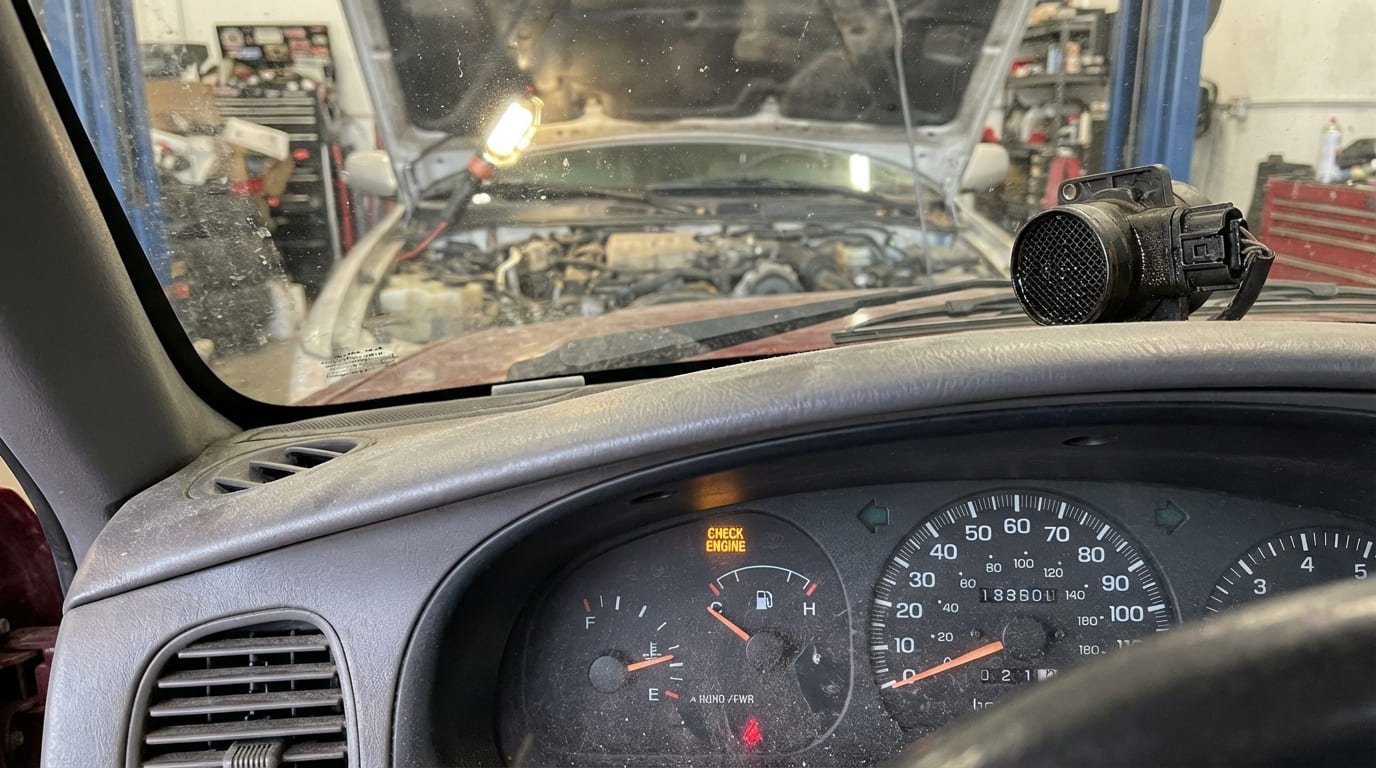
The Mass Airflow (MAF) sensor is critical for proper air-fuel mixture control. When it fails, performance, fuel economy, and emissions suffer. This guide cuts through theory and delivers actionable diagnostics, repair insights, and real-world lessons every DIYer and technician needs. We’ll cover symptoms, how to test, common pitfalls, and whether to clean, repair, or replace.
How to Check for MAF Sensor Problems
Before replacing parts, confirm the issue. The MAF is often blamed incorrectly. Follow this diagnostic sequence to avoid costly mistakes.
Step 1: Read Trouble Codes and Monitor Live Data
Use an OBD2 scanner with live data capability. Look for these common codes and what they really mean:
| Code | Description | Most Likely Causes (in order) |
|---|---|---|
| P0100 | MAF Circuit Malfunction | Wiring damage, poor connector, internal failure |
| P0101 | MAF Range/Performance | Contaminated sensor, vacuum leak, air restriction |
| P0102 | MAF Low Input | Short to ground, open circuit, clogged intake |
| P0103 | MAF High Input | Short to power, oil contamination, modifications |
| P0104 | MAF Intermittent | Loose connector, cracked housing, wiring fault |
| P0171 / P0174 | System Too Lean | Vacuum leak, under-reporting MAF, O2 sensor |
| P0172 / P0175 | System Too Rich | Over-reporting MAF, leaking injectors, fuel pressure |
Don’t assume the MAF is bad just because it’s in the code description. Many of these point to vacuum leaks or fuel system issues that mimic MAF failure.
Step 2: Perform a Visual Inspection
Inspect the MAF sensor and surrounding components:
- Check for cracks in the MAF housing or intake tube.
- Look for oil residue on the sensing element—common with oiled air filters.
- Examine the wiring harness for chafing, especially near sharp edges or the exhaust manifold.
- Ensure the electrical connector is fully seated and free of corrosion.
- Verify the air filter is clean and properly installed.
In my shop, we always unplug the MAF sensor temporarily as a quick test. If the engine runs better, the MAF is likely faulty. If it runs worse or stalls, the issue may be elsewhere—like a vacuum leak the PCM was compensating for.
Step 3: Analyze MAF Live Data
Use your scan tool to monitor MAF readings in grams per second (g/s):
- Idle: 2–6 g/s (4-cyl), 3–8 g/s (6-cyl), 4–10 g/s (8-cyl). Check service manual for exact specs.
- WOT Snap Test: Quickly open and release the throttle. The MAF should spike smoothly and return to idle value. Lagging or flatlining indicates a failing sensor.
- Rule of Thumb: At redline, MAF should read ~0.8–1.2 g/s per liter of engine displacement.
Also monitor fuel trims:
- STFT and LTFT consistently above +15%: Likely lean condition (vacuum leak or weak MAF).
- Below -15%: Likely rich condition (contaminated MAF or fuel system issue).
Step 4: Conduct a Smoke Test
Unmetered air from vacuum leaks is the #1 mimic of MAF failure. A smoke test downstream of the MAF will reveal leaks in intake boots, PCV lines, brake booster, or throttle body gaskets. Fix leaks before replacing the MAF.
Step 5: Voltage Test (Analog MAF Only)
If your vehicle uses an analog MAF (not digital), use a multimeter to backprobe the signal wire:
- Idle: 0.5–1.5V
- WOT: 4.0–4.8V
Erratic or out-of-range voltage suggests a wiring or sensor issue. Note: Many modern vehicles use digital MAF sensors—live data is required instead.
Symptoms and What They Really Mean
Engine Performance Issues
Rough idle, hesitation, power loss, surging, and hard starts are common with MAF failure—but rarely exclusive to it. Here’s how to interpret them:
- Rough Idle: Often caused by vacuum leaks or contaminated MAF. Check for RPM fluctuations > ±75 RPM.
- Hesitation on Acceleration: Suggests airflow miscalculation. Confirm with WOT snap test. Rule out fuel pump, filter, or throttle position sensor.
- Power Loss: Can feel like “running out of breath.” Verify with MAF g/s readings at load. Consider catalytic converter blockage or turbo boost leaks.
- Engine Surging: Often from intermittent wiring or loose connectors. Perform a wiggle test on the harness while monitoring live data.
- Hard Starting: Cold or hot start issues may stem from incorrect fuel trim. But check coolant temp sensor and fuel pressure first—common culprits.
Fuel Economy and Emissions
Drivers often notice fuel economy drops before other symptoms. Here’s what to look for:
- Decreased MPG: A 20–30% drop (e.g., 28 → 20 MPG) often points to a rich condition. Over-reporting MAF is one cause, but so are leaking injectors or a failed fuel pressure regulator.
- Black Smoke: Indicates unburned fuel. Check fuel pressure and injectors before blaming the MAF.
- Fuel Smell: Raw gasoline odor suggests rich mixture. Test for stuck-open EVAP purge valve or O2 sensor failure.
I once diagnosed a vehicle with poor fuel economy and P0172 (too rich). The owner had replaced the MAF twice. Turned out the fuel pressure regulator was stuck, pushing 80 psi instead of 55. Always test fuel pressure before replacing sensors.
Common Causes of MAF Failure
Understanding root causes prevents repeat failures:
- Contamination: Oil from aftermarket air filters, dirt, or road grime coats the sensing element. Most common cause.
- Electrical Faults: Shorts, opens, or degraded circuitry—especially in high-heat or humid environments.
- Physical Damage: Impact during air filter changes or corrosion in salty climates.
- Aging: Gradual decline in accuracy after 100,000+ miles. No moving parts, but the element wears.
Repair vs Replace: Cost and Viability
Before spending money, consider:
- Cost to Clean: $0–$15 (MAF cleaner spray). Safe and effective for contamination.
- Cost to Replace: $120–$350 (OEM or quality aftermarket). Avoid cheap no-name brands—they fail quickly.
- DIY Time: 10–20 minutes. No programming needed on most vehicles.
Try cleaning first if the sensor isn’t physically damaged. If symptoms return within weeks, replace it.
In my shop, we clean the MAF with CRC MAF Sensor Cleaner only. Never use carb cleaner, brake cleaner, or compressed air—they destroy the delicate wire. One spray, let it dry, reinstall. That’s it.
Best Practices Checklist
- ✅ Inspect air filter and intake path for leaks or blockages before replacing MAF.
- ✅ Use live data to verify MAF readings match expected values.
- ✅ Perform a smoke test to rule out vacuum leaks.
- ✅ Clean with MAF-specific cleaner only—never touch the sensing element.
- ⚠️ Avoid replacing the MAF without checking fuel pressure and O2 sensor data.
- ⚠️ Don’t assume a new MAF fixes the problem—verify with live data after installation.
Real-World Case Studies
Situation: 2012 Ford F-150 with P0171 and P0101. Two MAFs already replaced.
Fix: Smoke test revealed a cracked intake boot. Unmetered air caused lean codes. MAF was fine.
Lesson: Air path integrity is more important than sensor readings. Always test for leaks.
Situation: 2008 Honda Accord with P0103. Owner cleaned MAF with carb cleaner.
Fix: Hot wire was damaged. Replacement required.
Lesson: Improper cleaning destroys sensors. Use only MAF-safe products.
Situation: 2015 Toyota Camry with P0104 (intermittent). No visible damage.
Fix: Connector was loose. Secured with dielectric grease and zip tie.
Lesson: Wiggle the harness and connector under load. Intermittent issues love to hide there.
The MAF sensor is a frequent scapegoat because its data affects so many systems. But replacing it without diagnosis wastes time and money. Focus on verification: check for leaks, test fuel pressure, inspect wiring, and use live data. When in doubt, consult the factory service manual—OEM specs beat generic advice every time.