A complete engine rebuild restores an engine to like-new condition by replacing worn internal and external components, performing precision machining, and reassembling to factory tolerances. This guide covers exactly what’s involved—what gets replaced, what gets machined, and what you need to know before deciding whether to rebuild or replace. Whether you’re a DIYer or evaluating a shop quote, this breakdown gives you the practical knowledge to make informed decisions.
What a Complete Engine Rebuild Actually Means
A true complete engine rebuild goes beyond replacing just the obvious worn parts. It involves full disassembly, inspection, machining, and reassembly with new critical components to restore compression, oil pressure, and overall reliability. The goal is an engine that performs as well as new, with longevity close to the original design life.
Short Block vs. Long Block vs. Complete Rebuild
Understanding these terms helps avoid confusion when discussing cost and scope:
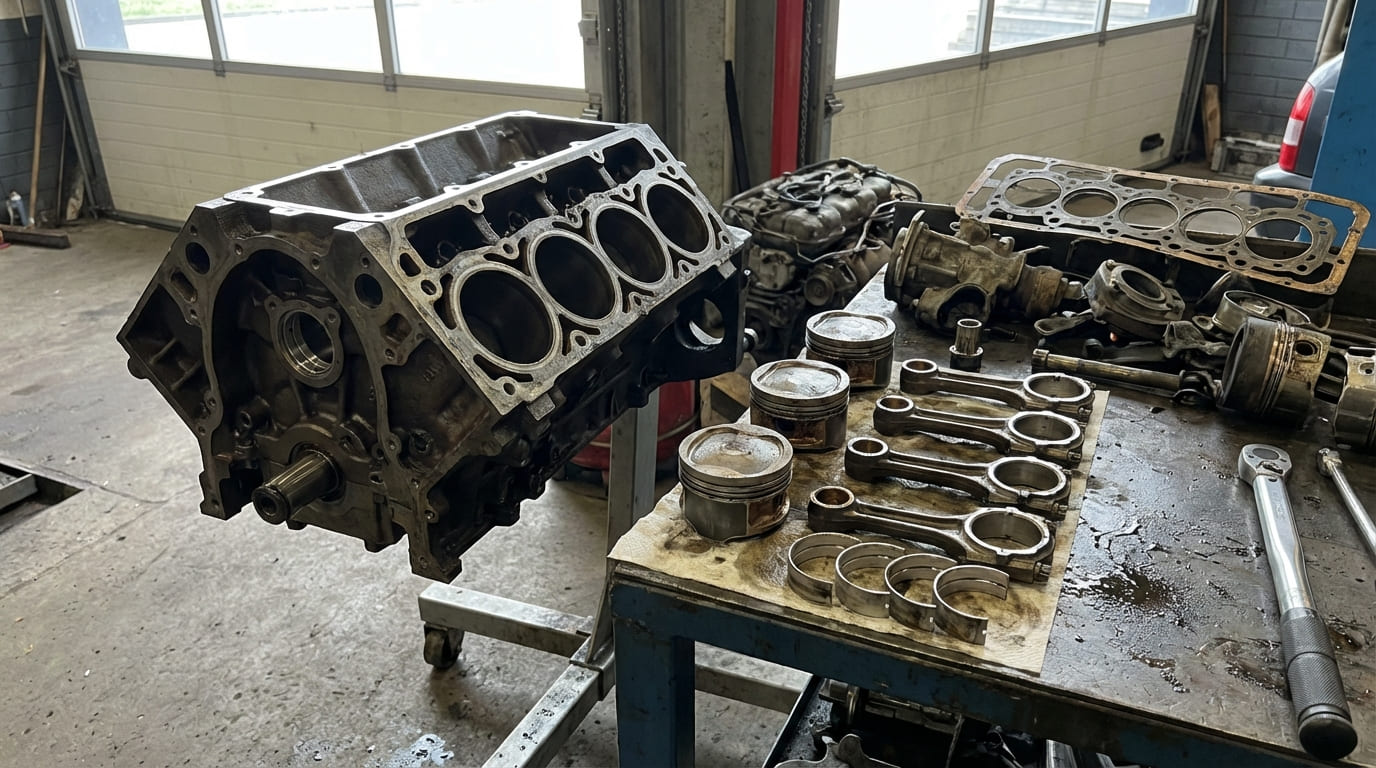
- Short Block: Cylinder block, crankshaft, rods, pistons, bearings, and rings. Does not include cylinder heads or valvetrain.
- Long Block: Short block plus cylinder heads, valvetrain, timing set, and often the oil pump. Lacks external accessories like manifolds and water pump.
- Complete Rebuild: A long block with all necessary external components installed and tested—ready to bolt into the vehicle with minimal additional work.
Even a “complete” rebuild typically excludes accessories like the alternator, starter, fuel injectors, and A/C compressor. These are serviced separately.
Core Components Replaced or Reconditioned
Internal Engine Components
These are the heart of the rebuild and are almost always replaced or machined:
- Pistons and Rings: Always replaced. Ring end gap must be set per bore size and manufacturer spec.
- Crankshaft: Inspected for taper, out-of-round, and cracks. Ground to undersize if needed and polished.
- Connecting Rods: Checked for alignment and big end bore condition. Rod bolts are usually replaced, especially torque-to-yield (TTY) types.
- Main and Rod Bearings: Always replaced. Clearance checked with Plastigauge or micrometer.
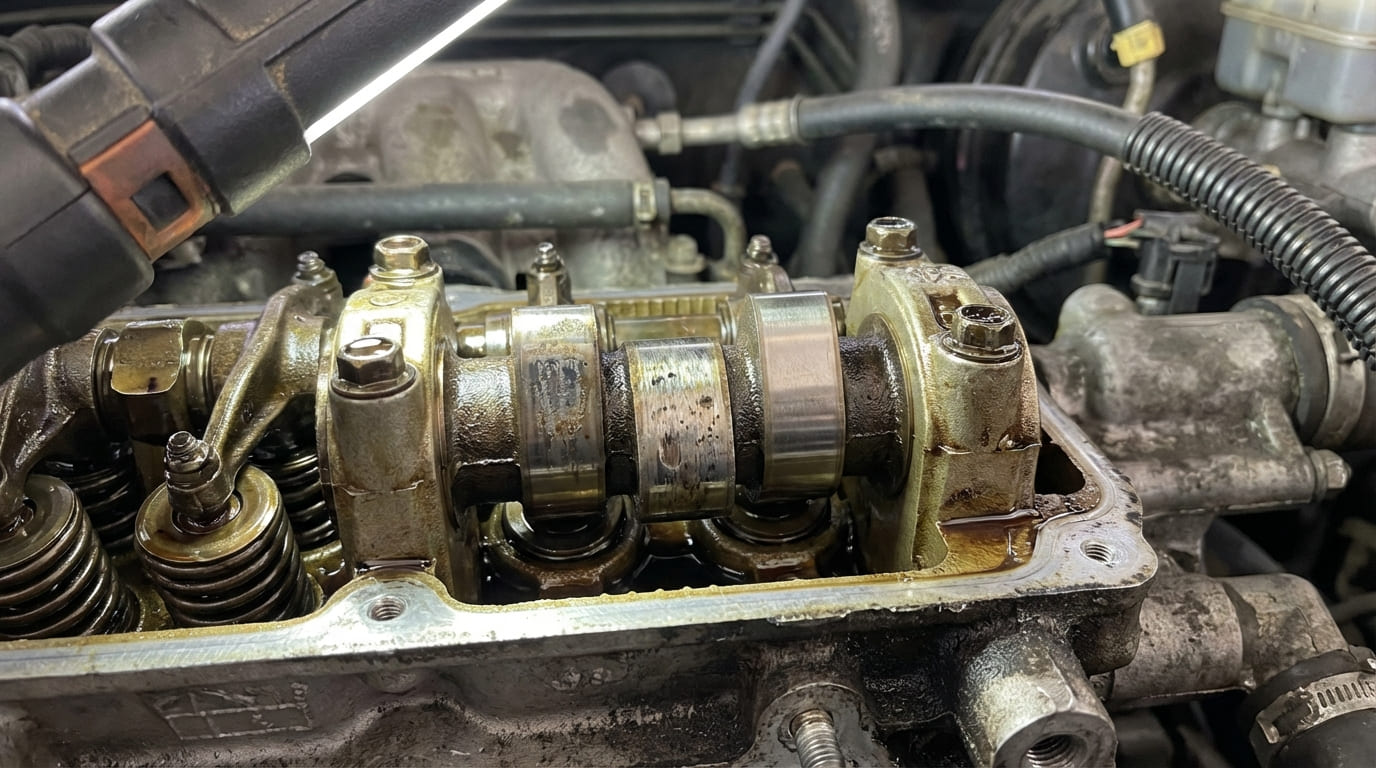
- Cylinder Heads: Valve guides and seats replaced or reconditioned. Valves lapped or replaced. Springs tested for pressure and height.
- Valve Stem Seals: Always replaced. Positive seals are preferred over umbrella types for oil control.
- Timing System: Chain, gears, guides, and tensioners replaced as a set—critical on interference engines.
- Oil Pump: Always replaced. Even slight wear can cause low oil pressure post-rebuild.
In my shop, we never reuse oil pumps—even if they look good. Debris from the old engine can damage internal gears, and flow efficiency drops with wear. Replacing it costs less than a comeback.
Gaskets and Seals
A full gasket set is mandatory. Critical seals include:
- Head gaskets (MLS or composite, depending on engine)
- Intake and exhaust manifold gaskets
- Valve cover gaskets
- Front and rear main seals
- Timing cover gasket
- Oil pan gasket
Use a small bead of RTV silicone at corners where dissimilar materials meet (e.g., aluminum head to iron block) to prevent weepage.
Essential Machining Operations
Machining ensures proper fit, sealing, and longevity. Never skip these steps on a true rebuild:
Cylinder Block
- Hot Tank Cleaning: Removes oil sludge, carbon, and debris.
- Crack Inspection: Dye penetrant or Magnaflux for ferrous blocks.
- Bore Honing: Creates crosshatch pattern (45°–60°) for ring seating. Target surface finish: 20–30 microinches Ra.
- Boring (if needed): If wear exceeds 0.0015″ out-of-round or 0.0015″ taper, bore to next oversize (e.g., +0.030″).
- Deck Surfacing: Ensures flatness (max 0.002″ for iron, 0.0015″ for aluminum).
Crankshaft
- Grind journals if wear exceeds 0.0015″ taper or out-of-round.
- Re-polish to mirror finish to reduce stress risers.
- Check for straightness (runout < 0.001").
- Balance with flywheel and harmonic balancer as a unit.
I’ve seen engines vibrate at highway speeds because the harmonic balancer wasn’t included in the balancing process. Always balance the entire rotating assembly together—crank, rods, pistons, flywheel, and balancer.
Connecting Rods
- Check for twist and stretch with a rod aligner.
- Resize big end if bore is out-of-round (>0.001″).
- Replace rod bolts unless manufacturer allows reuse and stretch is within spec.
- Weight-match rods and pistons to reduce internal vibration.
Cylinder Heads
- Pressure test for cracks—especially on engines with overheating history.
- Replace valve guides using proper reamers for correct clearance.
- Perform 3- or 5-angle valve job for optimal sealing.
- Resurface head deck to ensure flatness and prevent head gasket failure.
External Components Included in a Complete Rebuild
A complete rebuild includes all parts needed for the engine to function once installed:
- Oil pan (cleaned, checked for warpage)
- Timing cover (inspected for cracks)
- Valve covers (reconditioned or replaced)
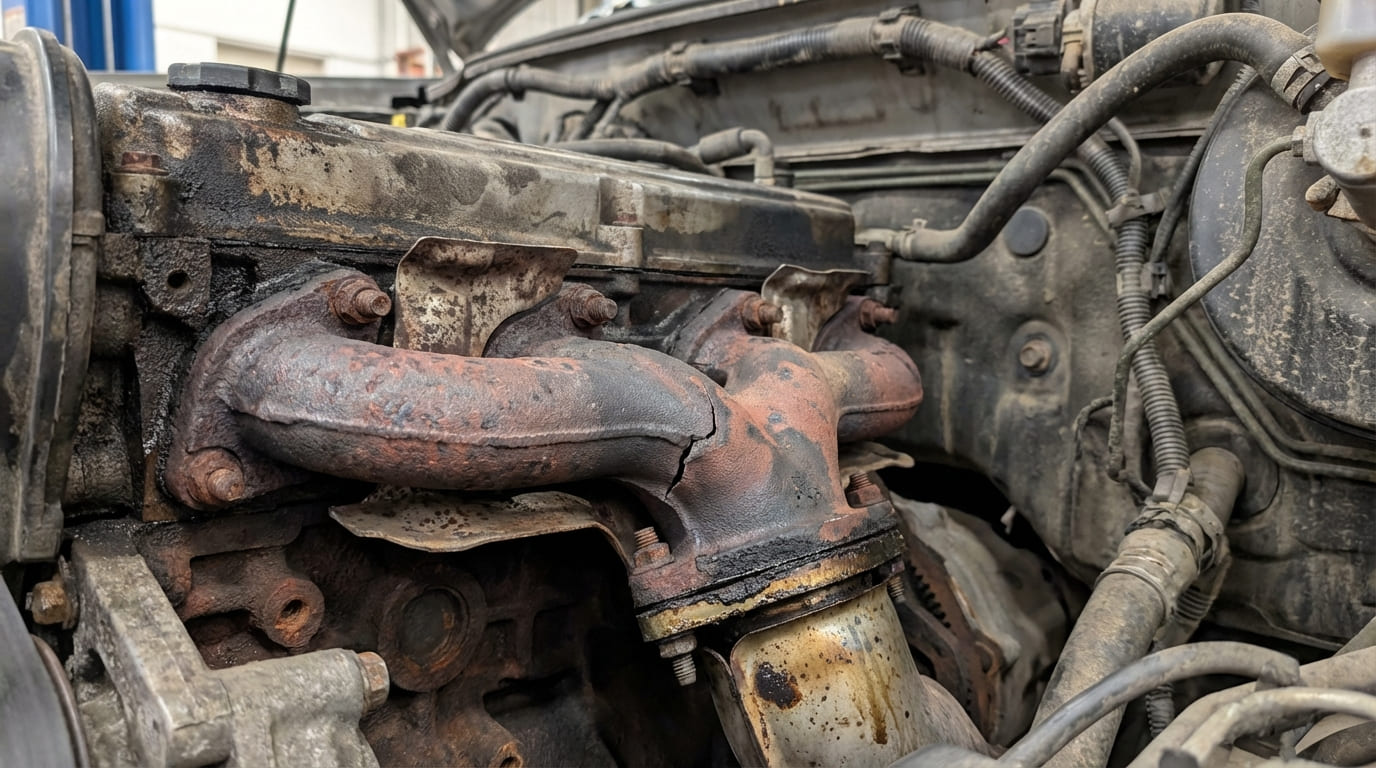
- Intake and exhaust manifolds (checked for cracks, carbon buildup)
- Water pump (replaced)
- Thermostat (replaced)
- Distributor or cam sensor (if applicable)
Excluded: Alternator, starter, power steering pump, A/C compressor, fuel injectors, ignition coils, ECU. These are part of the vehicle’s accessory systems and are not considered engine-core components.
When Is an Engine Not Worth Rebuilding?
Rebuilding isn’t always cost-effective. Consider these red flags:
| Component | Problem | Repairable? | Cost vs. Replace |
|---|---|---|---|
| Block | Crack in main web or cylinder wall | Rarely—welding is risky and expensive | Scrap block; replace engine |
| Bore | Wear > 0.040″ over standard | No—insufficient material for safe bore | Replace block or engine |
| Crankshaft | Deep scoring, runout > 0.002″ | Only if undamaged base and no prior grind | Regrind: $150–$300; new crank: $400–$800 |
| Head | Crack in combustion chamber or between valves | Weld/epoxy often fails under heat | Replace head or engine |
If the block is cracked in a load-bearing area, or the bore is beyond 0.040″ over, I tell customers to consider a used or remanufactured engine. The labor cost alone makes rebuilding uneconomical.
How to Verify Rebuild Quality
Pre-Assembly Checks
Before final assembly, verify:
- Main and rod bearing clearance: 0.0015″–0.0025″ (use Plastigauge or micrometer)
- Piston-to-wall clearance: 0.001″–0.003″ (aluminum expands more)
- Valve-to-piston clearance: Use clay and dial indicator if modifying cam or pistons
- All threads cleaned with bottoming tap—debris causes false torque readings
- All fasteners torqued to spec with correct lubrication (oil, dry, or assembly lube)
Post-Assembly Testing
After installation:
- Prime oil system before startup—use a drill-driven priming tool to ensure oil reaches all galleries.
- Check oil pressure at idle and 2,000 RPM with a mechanical gauge.
- Perform compression test after break-in: All cylinders within 10% of each other.
- Leak-down test: Identifies ring, valve, or head gasket issues. Air through tailpipe = exhaust valve; through intake = intake valve; through oil cap = rings.
Always pre-lube the valvetrain—pour assembly lube into the lifters and rockers. Dry startup can destroy a fresh rebuild in seconds.
Best Practices: Do This, Avoid That
- ✅ Do: Use new TTY bolts. Reused ones often fail to achieve proper clamp load.
- ✅ Do: Clean all block and head threads with a bottoming tap.
- ✅ Do: Follow break-in procedure: No sustained load, vary RPM for first 500 miles.
- ⚠️ Avoid: Skipping the break-in. New rings won’t seat, leading to oil consumption.
- ⚠️ Avoid: Assuming a new head gasket fixes coolant loss. If the deck isn’t flat, it’ll fail again.
- ⚠️ Avoid: Using an uncalibrated torque wrench. One builder’s 70 ft-lbs might be 85—enough to strip threads or spin bearings.
Common Problems After Rebuild and How to Diagnose Them
| Symptom | Most Likely Causes | Diagnostic Steps |
|---|---|---|
| Low compression in one cylinder | Worn rings, burnt valve, head gasket leak | Leak-down test; listen for air at tailpipe, intake, or radiator |
| Oil consumption (no external leaks) | Worn valve guides/seals, worn rings, PCV issue | Blue smoke at startup = valve seals; under load = rings |
| Knocking from lower end | Bearing wear, crank misalignment, low oil pressure | Check oil pressure; inspect pan for debris; measure bearing clearance |
| Overheating after rebuild | Air in cooling system, bad thermostat, improper head gasket install | Bleed system; test thermostat; check for combustion gases in coolant |
Real-World Lessons from the Shop
Situation: 5.7L V8 with white smoke and coolant loss. Assumed head gasket.
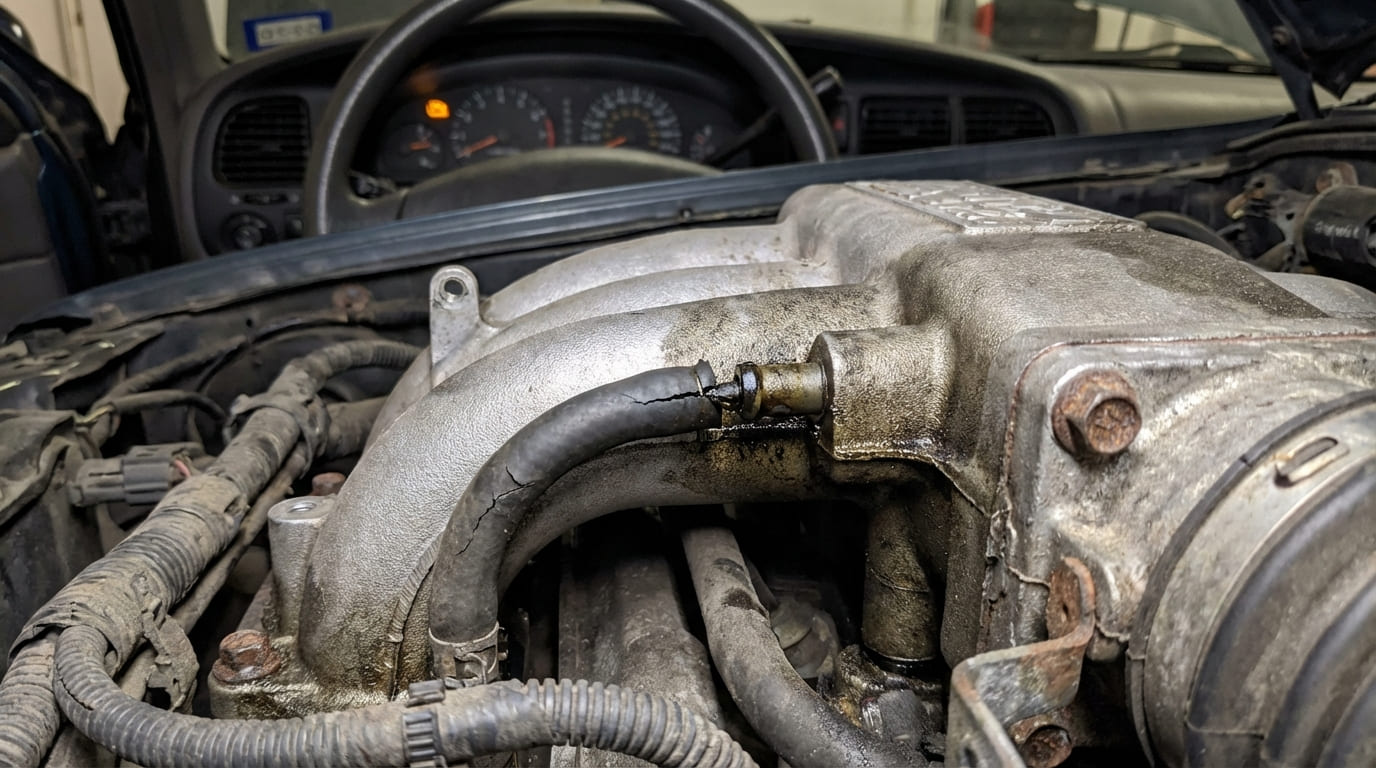
Discovery: Intake manifold had a cracked coolant passage—common on older plastic intakes.
Lesson: White smoke doesn’t always mean head gasket. Inspect the intake manifold, especially on engines with internal coolant routes.
Situation: Rebuilt 4-cylinder developed knock after 1,000 miles.
Discovery: Over-torqued rod bolt stretched beyond spec. Torque wrench wasn’t calibrated.
Lesson: Torque specs are only as good as your tool. Calibrate your wrench regularly.
Situation: High-mileage inline-6 had low oil pressure after rebuild.
Discovery: Main bearing clearances at top end of spec + worn oil pump relief valve.
Lesson: Tolerances stack. In worn blocks, use undersize bearings to bring clearance back to nominal.
A complete engine rebuild is a precision job—not just an assembly task. Every measurement, torque spec, and machining step matters. Always consult the factory service manual for your specific engine. What works for a small-block V8 may not apply to a modern aluminum 4-cylinder. When done right, a rebuild can deliver 100,000+ miles of reliable service. When corners are cut, it leads to comebacks and costly failures.