Camshaft wear is often mistaken for simpler issues like bad spark plugs or fuel injectors. But when ignored, it can lead to catastrophic engine damage. This guide cuts through the noise and gives you the diagnostic steps, repair logic, and real-world tips to identify and address camshaft wear before it kills your engine.
How to Diagnose a Worn Camshaft: A Step-by-Step Approach
Don’t guess—verify. Camshaft symptoms overlap with ignition, fuel, and exhaust problems. Use this process to isolate the issue:
- Scan for trouble codes (P030X misfires, P0340/P0341 cam sensor codes).
- Check for rough idle, power loss, ticking noise, or increased fuel consumption.
- Perform a compression test—cylinders should be within 10–15% of each other.
- Follow with a leak-down test—if leakage exceeds 20%, suspect valve timing or sealing issues.
- Inspect oil and filter for metallic debris.
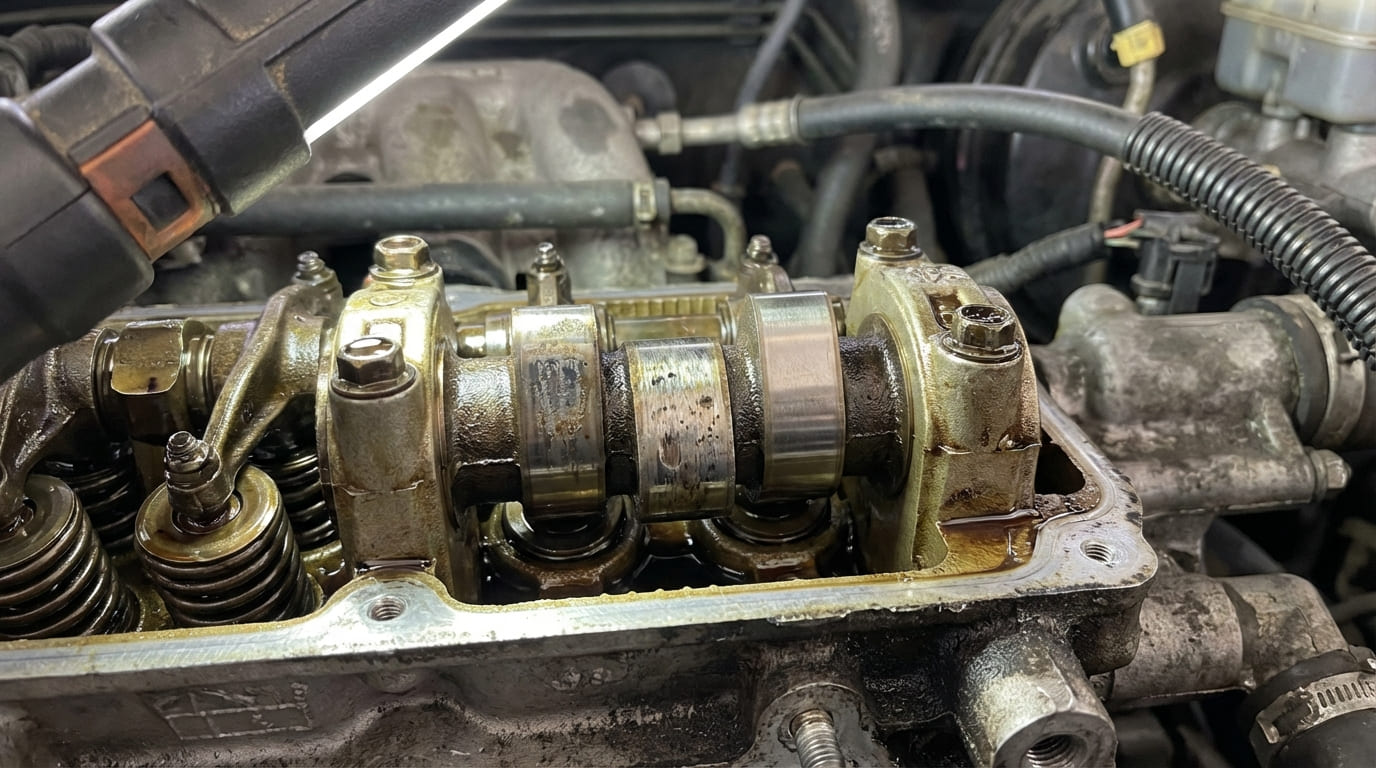
- Use a stethoscope or borescope to check valvetrain noise and lobe condition.
- Measure cam lobe lift and journal wear if the engine is disassembled.
Key Symptoms and How to Check Them
1. Misfires and Rough Idle
A shuddering engine at idle or random misfires often point to ignition or fuel issues—but when misfires persist after replacing coils and injectors, suspect cam lobe wear. Reduced valve lift prevents proper cylinder sealing, leading to weak combustion.
How to Check: Use an OBD2 scanner to identify the misfiring cylinder. Run a cylinder contribution test. If one cylinder is weak, perform a compression test. Low compression? Do a leak-down test. If air escapes past the exhaust or intake valve, and the valves are properly adjusted, worn cam lobes are likely.
2. Loss of Power and Poor Acceleration
The engine may start fine but feel sluggish under load. Drivers describe it as “no get-up-and-go.” This mimics clogged catalytic converters or dirty MAF sensors, but when airflow readings are normal and fuel trims are high, camshaft timing or lift issues are suspect.
How to Check: Log MAF and MAP sensor data during a road test. Compare to a known-good vehicle. If airflow is low despite good throttle response, check valve timing. On engines with variable valve timing (VVT), inspect solenoids and oil control valves first—these fail more often than the cam itself.
3. Increased Fuel Consumption
Fuel trims over +10% LTFT indicate the engine is adding fuel to compensate for lean combustion. While vacuum leaks are common culprits, inefficient combustion due to poor valve timing can also cause this.
How to Check: Calculate actual MPG over a fixed route. If fuel economy drops more than 15%, and other systems check out, consider cam wear—especially on high-mileage engines with flat tappet or high-lift cams.
4. Ticking or Tapping Noises
A rhythmic tick from the valve cover area often gets blamed on lifters. But if the noise persists after warm-up and doesn’t change with oil pressure, it may be worn cam lobes.
How to Check: Use an automotive stethoscope on the valve cover above each cylinder. If noise is localized, remove the valve cover and inspect rocker arms and pushrods. On OHC engines, use a borescope to examine cam lobes for flattening or pitting.
5. Grinding or Scraping Noises
This indicates metal-to-metal contact—often from failed cam bearings or a warped shaft. Immediate shutdown is critical.
How to Check: Test oil pressure with a mechanical gauge. Low pressure? Drain oil and inspect the filter. Cut it open and look for metal flakes. Fine gray powder suggests lifter wear; larger flakes may come from cam lobes or bearings.
6. Check Engine Light with Camshaft Codes
Codes like P0340 (cam sensor circuit) or P0341 (incorrect signal) don’t always mean a bad cam. Wiring issues, poor grounds, or a slipped timing chain can trigger them.
How to Check: Use a lab scope to view the cam sensor waveform. If the signal is clean but timing is off, suspect physical cam wear or a stretched timing chain. If the signal is erratic, check wiring and the reluctor wheel.
7. Metallic Debris in Oil or Filter
Any metal in the oil demands investigation. The type and size of debris help pinpoint the source.
How to Check: Cut open the oil filter and lay out the pleats under light. Use a magnet—iron particles stick, aluminum doesn’t. Send oil for analysis if unsure. Elevated iron and chromium? Likely cam or lifter wear.
Root Causes of Camshaft Wear
Camshafts don’t wear out on their own. Something caused it. Fix the cause—or the new cam will fail too.
- Insufficient Lubrication: Low oil level, wrong viscosity, or clogged oil galleries starve the cam. Most common in engines with extended oil change intervals.
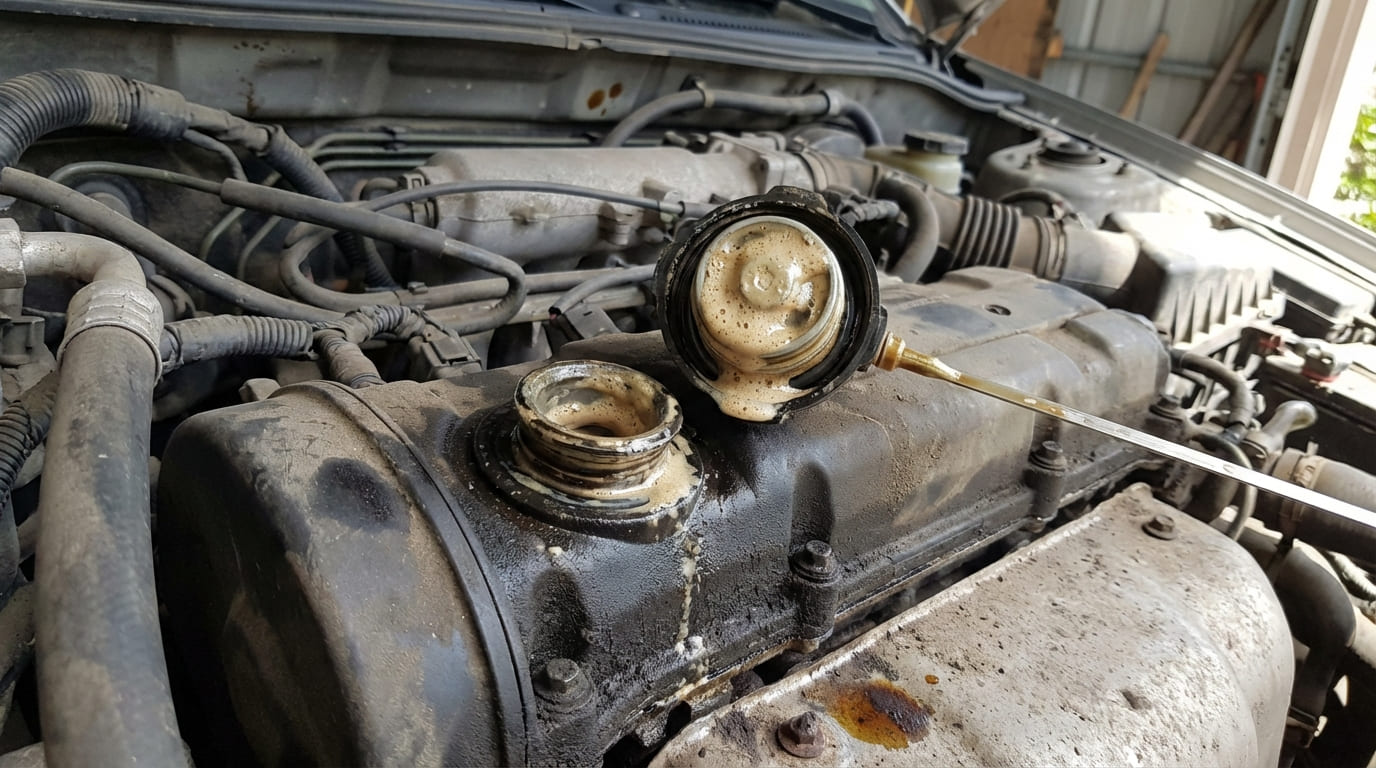
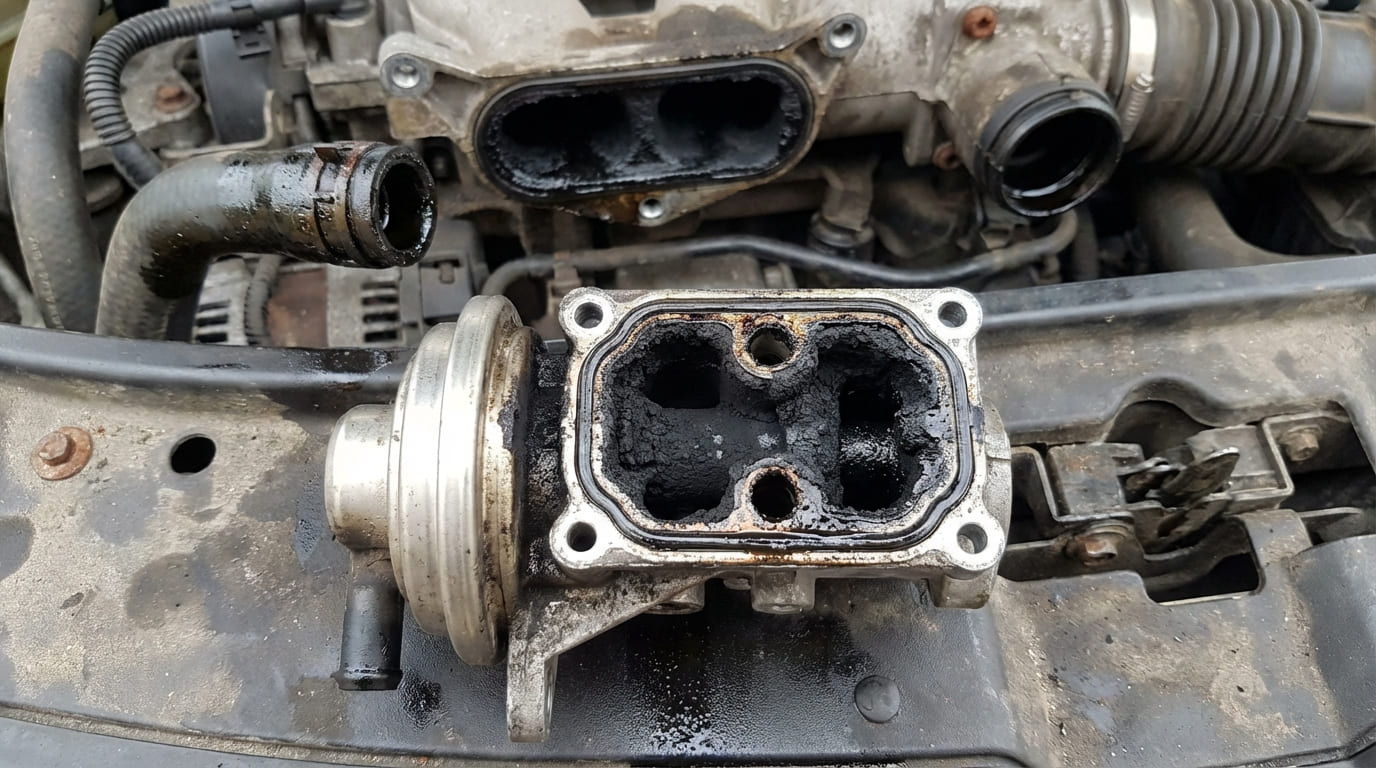
- Contaminated Oil: Coolant, fuel, or dirt in oil destroys film strength. A failed EGR cooler or head gasket can introduce coolant—leading to sludge and rapid wear.
- Manufacturing Defects: Rare, but uneven heat treatment can cause premature lobe wear. Metallurgical testing confirms this.
- Excessive Valve Spring Pressure: Aftermarket springs over 15% above OEM specs increase load on flat tappet cams, accelerating wear.
- Poor Break-in: Flat tappet cams need proper break-in—varying RPM, no long idling, and correct break-in oil. Skipping this leads to “cam lobe wipe” in under 1,000 miles.
In my shop, we always inspect oil passages with a bore light after removing the cam. A clogged gallery behind the timing cover is a silent killer—and the reason many “new cam” jobs fail in under 10,000 miles.
Confirming Camshaft Wear: Physical Inspection and Measurement
Once the engine is apart, verify wear with precise measurements.
Visual Inspection
Look for pitting, scoring, or a “dished” center on the lobe—signs of metal-to-metal contact. On flat tappet cams, a shiny, worn spot larger than 80% of the lobe base circle means replacement.
Cam Lobe Lift Measurement
Use a dial indicator on the lifter or rocker arm. Rotate the crankshaft slowly and record maximum lift. Compare to OEM specs. A loss of 0.005″ to 0.010″ is often the service limit.
Journal Diameter and Runout
Measure each journal with a micrometer at multiple points. Taper or out-of-round beyond 0.001″ means replacement. Check runout by placing the cam in V-blocks and using a dial indicator—more than 0.002″ is unacceptable.
Oil Pressure Test
Use a mechanical gauge at idle and 2,000 RPM. Low pressure won’t fix the cam—but it explains why it wore out. Rule out oil pump or main bearing wear.
Repair vs. Replace: Cost and Viability
Camshaft replacement is labor-intensive. Here’s how to decide:
| Scenario | Labor Hours | Parts Cost | Repair Viable? |
|---|---|---|---|
| Single cam replacement (OHC) | 6–8 | $150–$400 (cam), $50–$100 (lifters) | Yes, if engine is otherwise healthy |
| DOHC engine with timing job | 10–14 | $300–$800 (cams), $200–$400 (timing kit) | Only if vehicle has long-term value |
| Engine with collateral damage (bent valves, damaged pistons) | 15+ | $1,500+ | No—replace engine with remanufactured unit |
If labor costs exceed $1,200 and the car is worth less than $5,000, I recommend a remanufactured long-block. It’s faster, more reliable, and often cheaper in the long run.
What to Do (and Not Do) During Camshaft Replacement
- ✅ Replace lifters with the cam: Reusing old lifters on a new cam causes rapid wear due to mismatched profiles.
- ✅ Clean all oil passages: Use a brush and compressed air. Debris in the cam feed line kills new components.
- ✅ Use break-in oil for flat tappet cams: Synthetic oil lacks the ZDDP needed for proper seating. Use a dedicated break-in oil and change it at 500 miles.
- ⚠️ Avoid reusing torque-to-yield bolts: These stretch during installation. Reusing them risks head gasket or timing cover leaks.
- ⚠️ Don’t skip timing chain replacement: A worn chain can throw off cam timing and destroy a new cam in weeks.
- ⚠️ Don’t ignore valve-to-piston clearance: Especially on modified engines. Check with clay or a feeler gauge to avoid contact.
Real-World Case Studies
Situation: 2005 V6 pickup with P0303 misfire. Coils and injectors replaced—no fix.
Discovery: Compression was 110 psi on cylinder 3 (others 160+). Leak-down showed 45% exhaust leakage. Cam inspection revealed a wiped exhaust lobe.
Lesson: Misfires aren’t always ignition-related. Always test compression and leak-down before replacing parts.
Situation: Ticking noise returned after two lifter replacements.
Discovery: Cam lobes were pitted. Oil analysis showed high chromium. Clogged oil galley behind timing cover was the root cause.
Lesson: Fix the oil flow problem, not just the symptoms. Clean every passage before reassembly.
Situation: Rebuilt engine failed at 800 miles. Cam lobes wiped, lifters collapsed.
Discovery: Builder used synthetic oil and didn’t prime the lifters. No break-in procedure.
Lesson: Flat tappet cams demand proper break-in. Skipping it voids any warranty on parts.
Preventing Future Camshaft Wear
Prevention is cheaper than repair. Follow these steps:
- Change oil on time, every time. Use the OEM-specified viscosity and API rating.
- For high-mileage or performance engines, run oil analysis every 10,000–15,000 miles.
- During rebuilds, follow strict break-in: 20 minutes of varying RPM (1,500–3,000), no extended idling, oil change at 500 miles.
- Inspect cooling system regularly. Coolant in oil is a fast track to cam failure.
Final Diagnostic Table: Symptoms and Likely Causes
| Symptom | Most Likely Causes (Descending Probability) | Less Common But Possible Causes |
|---|---|---|
| Rough idle + misfire codes | Worn cam lobe, faulty injector, ignition coil failure | Intake manifold leak, EGR valve stuck open |
| Tick-tock noise at idle | Hydraulic lifter leak-down, worn rocker arm pivot | Cam lobe wear, low oil pressure |
| Power loss + high fuel trims | Cam wear, MAF sensor contamination, exhaust restriction | VVT solenoid failure, timing chain stretch |
| Metal flakes in oil filter | Cam/lifter wear, spun bearing, turbo shaft wear | Transmission cooler leak into oil, machining debris |
Camshaft wear is complex, but diagnosable. Use a methodical approach, verify with multiple tests, and always address the root cause. Replace components in sets, follow break-in procedures, and never skip oil maintenance. Do that, and you’ll avoid repeat failures and costly comebacks.