Yes — a head gasket can fail without any sign of engine overheating. As a master mechanic, I’ve seen this in daily drivers, high-mileage sedans, and even turbocharged performance engines. Overheating is just one of several failure paths. The real danger lies in the subtle symptoms that mimic other issues, leading to misdiagnosis and delayed repairs. Catching these early can prevent catastrophic engine damage.
Head gaskets seal combustion, coolant, and oil passages between the cylinder head and block. When failure occurs in a localized area — such as between a cylinder and coolant jacket — the engine may run at normal temperature because the thermostat, water pump, and radiator are still functioning. But internal leaks are already compromising performance and longevity.
How to Diagnose a Non-Overheating Head Gasket Failure
Start with a symptom-based approach. Use the table below to guide testing. Never rely on a single test — combine visual inspection, pressure checks, and chemical analysis for confirmation.
| Symptom | Most Likely Cause | Also Consider | Diagnostic Next Step |
|---|---|---|---|
| Bubbling coolant, normal temp | Combustion-to-coolant leak | Intake manifold gasket leak (EGR passage), cracked head | Block test, pressure test |
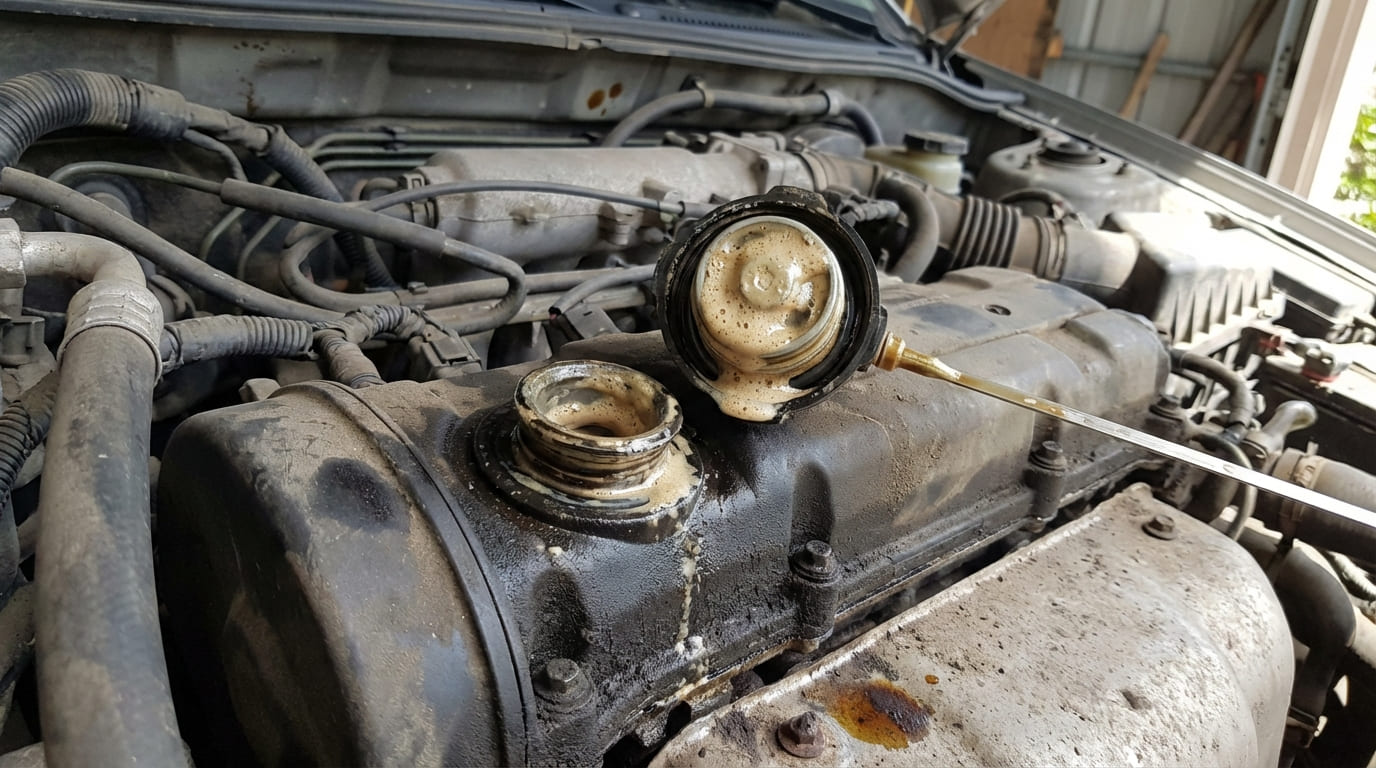
| Oil filler cap with milky film | Coolant-to-oil leak | Short-trip condensation, PCV issue | Oil analysis, pressure test |
| Dipstick pops out under load | Combustion-to-crankcase leak | Severe ring wear, clogged PCV | Leak-down test, crankcase pressure |
| External coolant leak at head corner | Head gasket external breach | Warped head, loose head bolt | UV dye, bolt torque check |
| Rough idle, low compression on two adjacent cylinders | Head gasket between cylinders | Valve train issue, cracked head | Leak-down test, borescope |
Key Failure Modes and How to Check Them
Combustion Gas Leaking into Coolant
This is one of the most common non-overheating failures. Exhaust gases pressurize the cooling system, but the engine temperature stays normal because coolant flow isn’t restricted.
How to Check:
- Run the engine with the radiator cap off (only when cold). Look for steady bubbling in the coolant — not just during warm-up.
- Feel the upper radiator hose after a few minutes of running. If it becomes rock-hard quickly, combustion pressure is likely entering the system.
- Perform a chemical block test: draw coolant vapor into a testing tube with UV-sensitive fluid. A color change from blue to yellow confirms hydrocarbons.
Cost to diagnose: $50–$150 at a shop. DIY kits cost $20–$40. A false positive can occur with an overheated intake gasket, so verify with a pressure test.
In my shop, we always run a block test before pulling a head. I’ve saved customers thousands by ruling out gasket failure when the real issue was a cracked plastic coolant elbow.
Combustion Gas Leaking into Oil Passages or Crankcase
This forces high-pressure exhaust into the oil system, increasing crankcase pressure. It’s often mistaken for worn piston rings.
How to Check:
- Remove the oil filler cap while the engine is running under load. If it’s repeatedly blown off or you feel strong pulsations, combustion gases are likely entering.
- Perform a crankcase pressure test. Use a manometer at the oil filler neck. Over 1.5 inches of water column at idle on a turbo engine is a red flag.
- Do a leak-down test. If air escapes through the PCV valve or oil breather, suspect gasket or ring failure.
Repair vs Replace: If the head and block are flat and undamaged, a gasket replacement costs $800–$1,800 (labor-heavy). If rings are worn, consider full rebuild vs used engine swap.
Coolant Leaking into Oil
This is dangerous. Coolant emulsifies oil, reducing lubrication and risking bearing failure.
How to Check:
- Inspect under the oil filler cap and on the dipstick. A thick “milkshake” appearance means significant mixing. A tan or gray film may indicate early-stage leakage.
- Check oil level. If it’s rising without adding oil, coolant is getting in.
- Test coolant for oil contamination — a slimy film on the radiator surface is a clue.
- Send an oil sample for lab analysis. Elevated sodium, potassium, or boron confirms coolant ingress.
Cost note: Internal coolant leaks often require head gasket replacement — $1,000–$2,500. If heads are cracked or warped, add $300–$600 per head for resurfacing or replacement.
Not every milky residue means a blown gasket. I’ve seen minivans with short-trip duty cycles develop condensation that clears after a 30-minute highway drive. Rule out driving pattern before tearing into the engine.
External Head Gasket Leaks
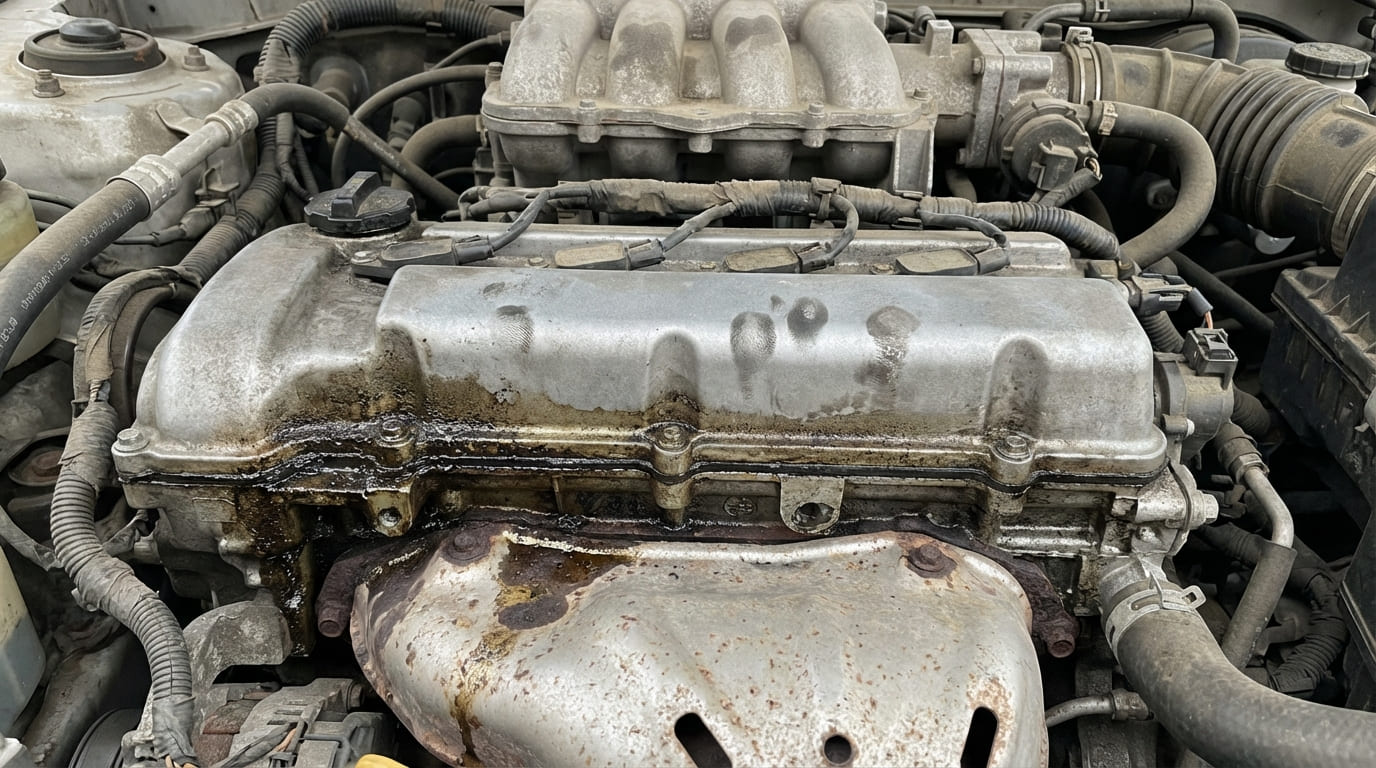
Some failures leak to the outside — often at the front or rear of the head. These are easily confused with water pump, intake, or valve cover leaks.
How to Check:
- Clean the engine thoroughly and run it until warm.
- Use a flashlight and mirror to inspect the head-to-block seam, especially near cylinder corners.
- Add UV dye to the coolant or oil. Use a black light to trace the leak source.
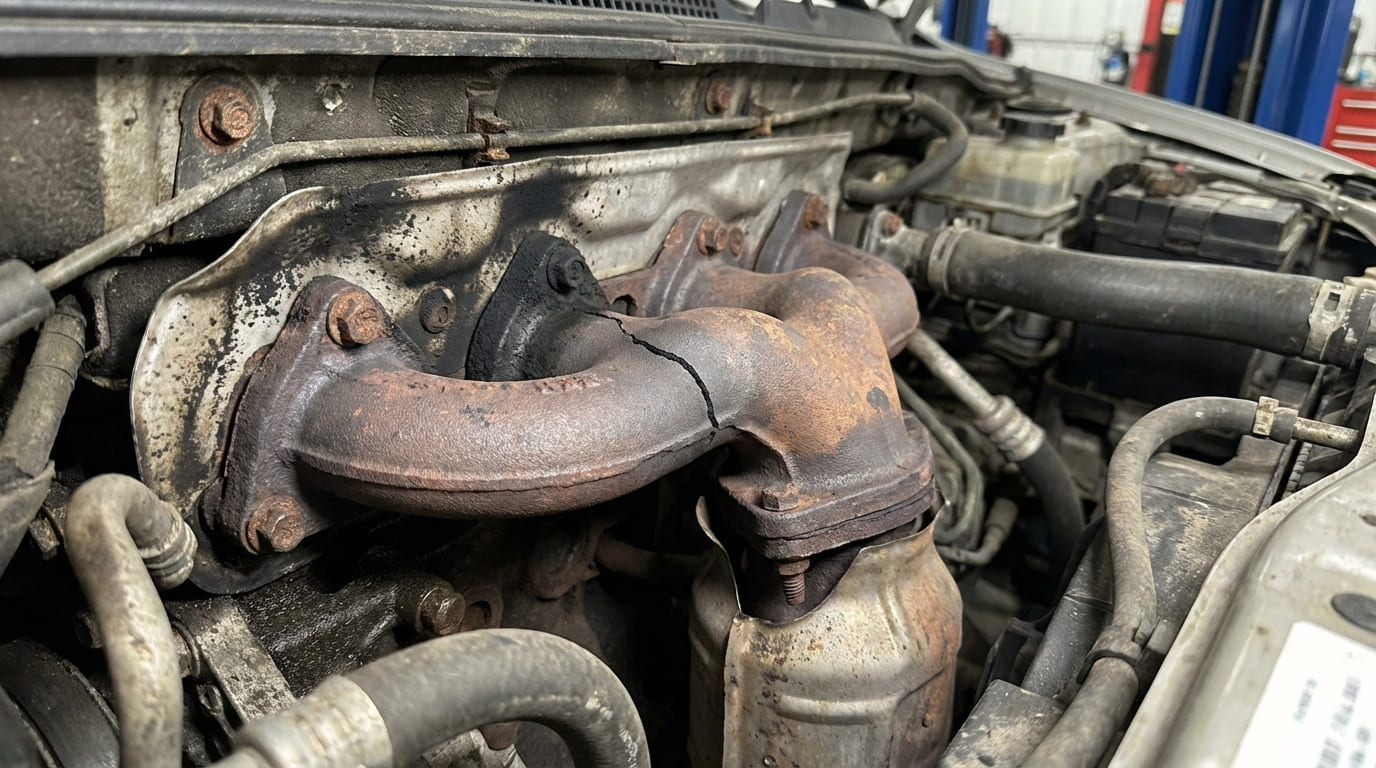
On V6 engines, the rear lower corner is a known weak point. Coolant drips onto the exhaust manifold and evaporates, leaving only a white mineral trail. UV dye makes this visible.
Leak Between Adjacent Cylinders
This disrupts compression balance but doesn’t affect cooling. Results in misfires, rough idle, and power loss.
How to Check:
- Perform a compression test. Look for two adjacent cylinders with low and similar readings.
- Follow with a leak-down test. If air is heard escaping into the neighboring cylinder’s spark plug hole, the gasket or head is breached.
- Use a borescope to inspect combustion chambers for erosion or carbon tracking between cylinders.
This type of failure is common in engines with improper torque sequences or stretched head bolts.
Root Causes of Failure Without Overheating
Over years of teardowns, I’ve found these recurring causes:
- Thermal cycling: Short trips prevent the engine from reaching stable temperature, causing repeated expansion and contraction that fatigues the gasket.
- Improper head bolt torque: Skipping steps, using dirty threads, or reusing torque-to-yield (TTY) bolts incorrectly leads to uneven clamping and localized failure.
- Surface finish issues: A head or block that’s flat but too rough (over 50 RA) won’t seal, even with a new gasket.
- Detonation: Chronic knocking from low-octane fuel or timing issues creates pressure spikes that crush fire rings.
Best Practices for Repair and Prevention
- ✅ Clean head bolt threads with a bottoming tap. Even minor debris increases friction, leading to under-torqued bolts.
- ✅ Use a calibrated torque wrench and follow factory torque sequence and angle specs. For TTY bolts, replacement is usually required — check the manual.
- ✅ Check head and block flatness in six directions (vertical, horizontal, diagonal). Cast iron: 0.003″ max; aluminum: 0.002″ max.
- ⚠️ Don’t assume the gasket is the root cause. A warped head or cracked block will kill the next gasket too.
- ⚠️ Avoid stop-leak products. They may temporarily seal micro-leaks but can clog oil galleries or heater cores.
- ⚠️ Never skip surface finish inspection. A resurfaced head that’s too smooth (below 20 RA) can also cause sealing failure.
Situation: A 2012 F-150 had white exhaust smoke and bubbling coolant. Replaced the head gasket — symptoms returned in three weeks.
Deep Dive: Found a 0.004″ warp in the block deck near cylinder 4. A prior exhaust manifold bolt overtorque had distorted the casting.
Lesson: The gasket wasn’t the problem — it was the victim. Always check for mechanical distortion before reassembly.
Situation: A Subaru had coolant in oil, no overheating. Gaskets replaced twice with no fix.
Deep Dive: Heads had hairline cracks between coolant and oil passages. Dye penetrant confirmed casting flaws.
Lesson: Replacing gaskets won’t fix cracked metal. Inspect heads for cracks before final assembly.
Situation: A Honda Accord had bubbling coolant and a cylinder 2 misfire. Block test positive.
Deep Dive: After gasket replacement, failure returned. Borescope revealed a crack in the cylinder head — not the gasket.
Lesson: A positive block test doesn’t equal a bad gasket. Cracks in the head or block mimic the same symptoms.
Diagnosing a head gasket failure without overheating demands a systematic approach. Skip the guesswork. Use multiple tests, inspect component condition, and respect factory specs. A proper fix may cost more upfront, but it prevents repeat labor and engine destruction down the road.