When it comes to engine longevity and reliability, few components are as critical as the timing system. The choice between a timing chain and a timing belt isn’t just about durability—it’s about understanding how each fails, how to catch problems early, and how to avoid costly engine damage. As a master technician, I’ve seen both systems succeed and fail under real-world conditions. This guide cuts through the theory and delivers what you need: diagnostics, repair realities, cost breakdowns, and field-tested tips.
Durability: Which Lasts Longer?
Timing chains are generally more durable than belts. Built from steel and lubricated by engine oil, chains resist stretching and environmental wear better than rubber belts. Most manufacturers design chains to last the life of the engine—150,000 to 300,000 miles—provided maintenance is consistent. But that doesn’t mean they’re indestructible. In practice, chain systems often fail due to tensioners or guides, not the chain itself.
Timing belts, made of reinforced rubber, degrade over time regardless of mileage. Heat, ozone, and contamination accelerate aging. Most require replacement every 60,000 to 100,000 miles or 5–7 years. A belt can look fine but be dangerously brittle. I’ve pulled belts off 8-year-old cars with no visible cracks but zero flexibility—ready to snap.
In my shop, we’ve seen more belt failures due to age than chain failures due to wear. But when chains do fail, the repair is far more expensive. The real difference isn’t in the component—it’s in how you maintain it.
How to Diagnose Timing System Problems
Early diagnosis saves engines. Here’s how to spot trouble before it’s too late.
Timing Chain: How to Check
If you hear a metallic rattle on cold start that fades after a few seconds, suspect the chain system. But don’t assume it’s the chain. First, scan for DTCs like P0016 or P0017—these indicate cam-to-crank timing misalignment. Use an OBD2 scanner to check camshaft position deviation. More than 5–8 degrees off spec (depending on make) suggests stretch or VVT issues.
Next, pull the oil cap and use a borescope if possible. Some engines allow a view of the chain near the cam sprocket. Look for slack or guide debris. On others, remove the valve cover to inspect the tensioner. If it’s fully extended, the chain may be worn. But don’t overlook oil quality—sludge or low pressure can collapse a hydraulic tensioner even on a good chain.
Timing Belt: How to Check
Belt issues are easier to confirm visually. Remove the inspection cover (if equipped) and examine the belt closely. Look for:
- Cracks on the teeth or backside
- Glazing (shiny, hardened surface)
- Rounded or frayed teeth
- Contamination from oil or coolant
Spin the idler and tensioner pulleys by hand. Any grinding or resistance means bearing failure. Even if the belt looks okay, dry or stiff idlers are a ticking time bomb.
On a 2008 import with 92k miles, the belt looked fine—until we flipped it. Micro-cracks on the backside and rounded teeth meant imminent failure. The car was daily-driven in cold weather with short trips—perfect for moisture buildup and rubber fatigue. We caught it just in time.
Failure Modes and What to Do
Understanding how each system fails helps prioritize repairs.
| Symptom | Most Likely Cause | Less Common But Possible Causes | Diagnostic Next Step |
|---|---|---|---|
| Cold-start rattle, clears in 5 sec | Worn chain tensioner or guide | Exhaust manifold heat shield, starter engagement | Stethoscope check, OBD2 live data |
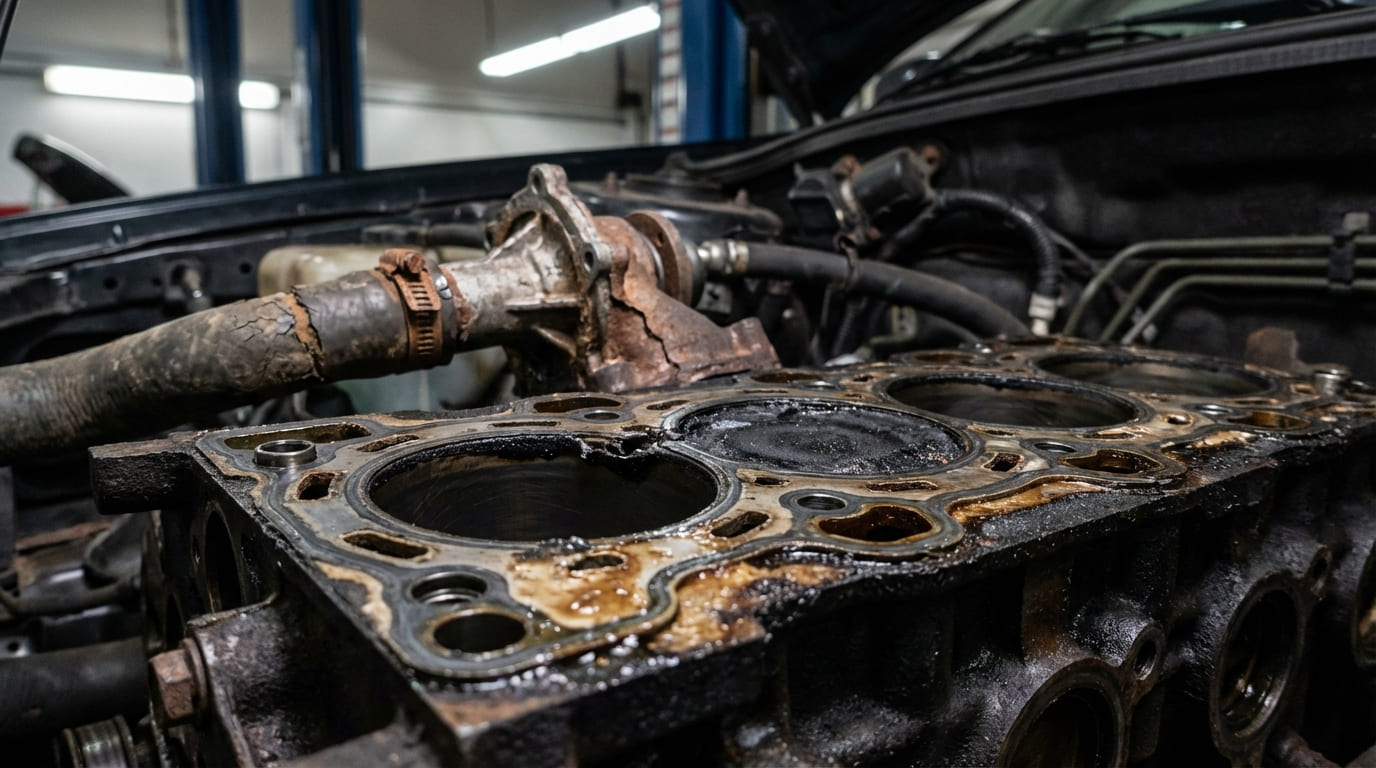
| White smoke + coolant loss | Head gasket failure | Intake manifold gasket leak (aluminum V6), cracked head | Coolant pressure test, block test, borescope |
| P0016/P0017 codes | Chain stretch or VVT solenoid issue | Camshaft actuator failure, oil passage restriction | Scan tool analysis, oil flow test, mechanical timing check |
| Engine won’t start, no cam movement | Timing belt failure | Broken camshaft, stripped cam sprocket | Visual belt inspection, hand-crank rotation test |
A 2015 turbo-four came in with a P0016 code and grinding noise. We expected chain stretch. Instead, the left bank guide was shattered, and sludge had seized the tensioner. Root cause? Extended oil changes. Cleaned the galleries, replaced guides and tensioner, and enforced strict oil changes. No issues in 3 years.
Repair Costs and Practical Advice
Cost isn’t just about parts—it’s labor, risk, and what else you should replace.
Timing Chain System: What to Expect
Chain replacement is a major job. On most modern engines, expect to remove the radiator, AC lines, or even the engine mount. Labor often takes 10–15 hours. Parts include chain, sprockets, tensioners, and multiple guides—all costly.
| Component | Average Cost |
|---|---|
| Labor (12 hours) | $1,200–$1,800 |
| Chain kit (chain, guides, tensioners) | $400–$800 |
| Cam sprockets (if worn) | $100–$300 |
| Total | $1,500–$4,000+ |
Repair vs. replace? If the engine is otherwise healthy and you plan to keep the car, fix it. But if the car is high-mileage with other issues, consider if the investment makes sense.
Timing Belt System: What to Expect
Belt jobs are less invasive. Labor: 4–8 hours. The kit—belt, tensioner, idlers, water pump—costs $200–$400. Total repair: $500–$1,500.
But skip it, and an interference engine can suffer bent valves, damaged pistons, and $4,000+ in repairs. I’ve seen customers save $800 on a belt change and lose a $6,000 engine. Not worth it.
Always replace the water pump and idlers during a belt job. They’re driven by the same belt and often fail soon after. The extra $100 now prevents a tow later.
Noise, Performance, and Real-World Behavior
Chains are noisier—especially on cold start. That metallic rattle is often normal if it clears quickly. But if it lasts or worsens, suspect tensioner or guide wear. Belts run quieter but can develop a whine if tensioned too tight or a slap if loose.
Performance-wise, chains maintain better timing accuracy over time—until they stretch. On VVT engines, even slight chain elongation can disrupt cam phasing, hurting fuel economy and low-end power. Belts stretch slightly too (0.5% over life), but it’s usually within spec.
Maintenance: The Real Key to Longevity
No timing system lasts without care. Follow these rules:
- Change oil on time, every time. Use the OEM-specified viscosity. Poor oil is the #1 cause of chain tensioner failure.
- Inspect the timing belt at every major service if accessible. Some engines have a window in the cover.
- Replace all related parts during a belt job: tensioner, idlers, water pump.
- Never reuse torque-to-yield (TTY) bolts. They stretch during installation and lose clamping force.
- Don’t ignore cold-start noises. A brief rattle may be normal, but persistent noise needs investigation.
- Stick to OEM or high-quality aftermarket parts. I’ve seen cheap tensioners fail in under 20k miles.
A 2012 V6 came in with a cold-start rattle and P0017. The owner replaced the VVT solenoid—no fix. We found the tensioner was extended, but oil analysis showed high silicon—dirt contamination. The root cause? Clogged oil passage to the cam actuator. Cleaned the gallery, replaced the solenoid with OEM, and the code never returned. Lesson: Not every P0017 is a stretched chain.
The truth is, neither chains nor belts are universally “better.” Chains last longer but cost more to fix. Belts are cheaper to maintain but fail catastrophically if ignored. The deciding factor isn’t the component—it’s your maintenance habits. Always follow the manufacturer’s service schedule, use quality parts, and investigate symptoms early. One hour of diagnosis can save you thousands in engine repairs.