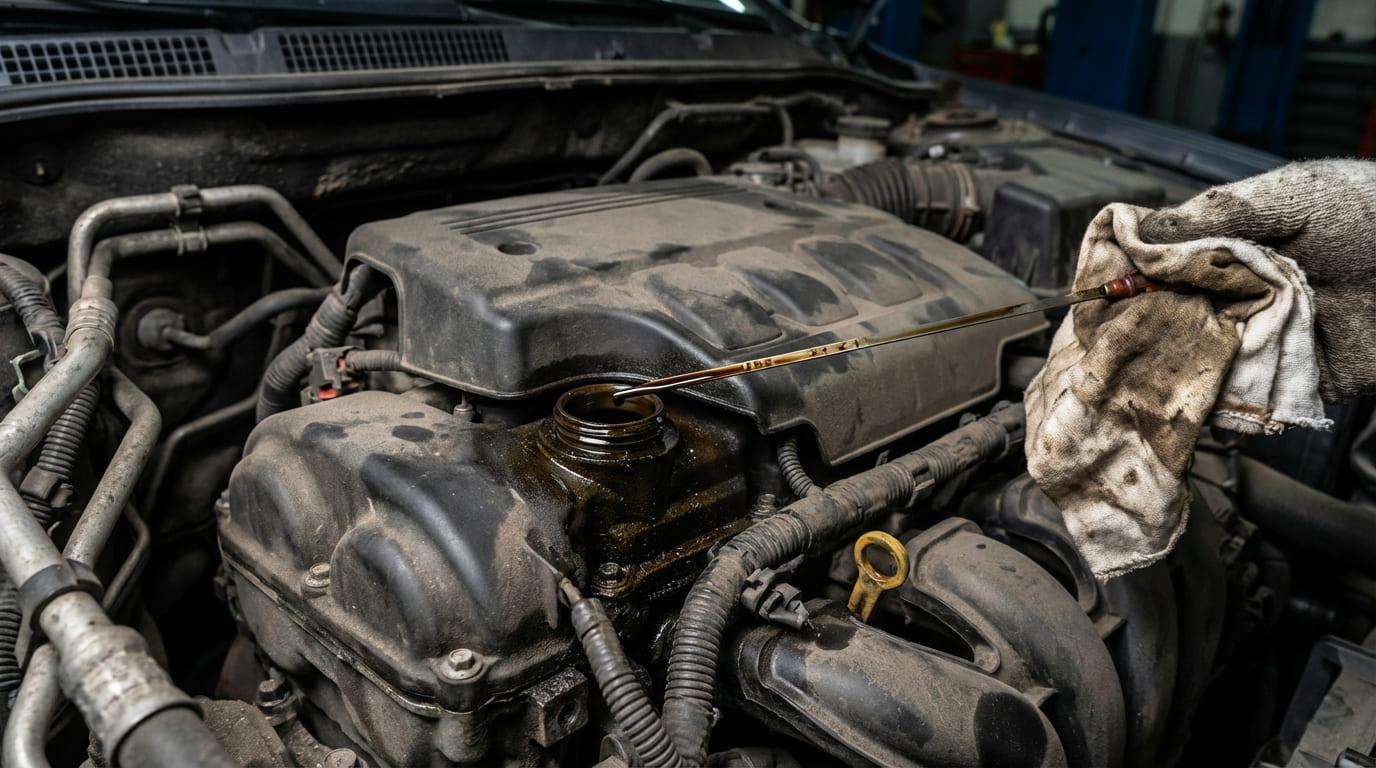
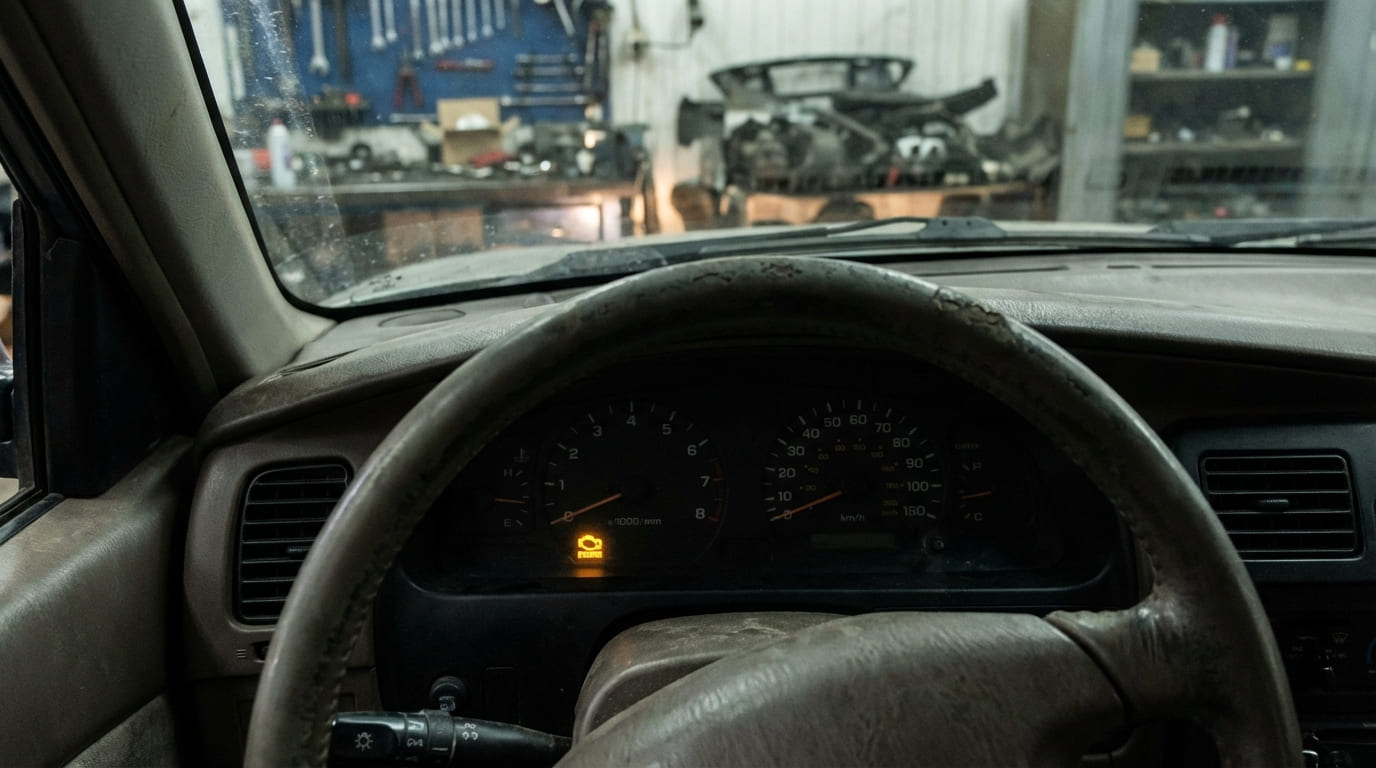
As a master mechanic with 20 years in independent and dealership shops, I’ve seen countless water pumps replaced unnecessarily. Overheating, noise, and coolant leaks often point elsewhere. This guide delivers a step-by-step, non-invasive diagnostic process to confirm water pump issues—without removing the pump. You’ll learn how to verify leaks, assess bearing health, check coolant flow, and avoid common misdiagnoses.
Step 1: Assess Symptoms and Rule Out Common Mimics
Before testing, understand that water pump failure shares symptoms with other cooling system problems. Always rule out the most common culprits first.
Key Symptoms and What They Really Mean
Overheating: Most often caused by a stuck thermostat, failed cooling fan, or airlock—not pump failure. Confirm thermostat operation and fan activation before blaming the pump.
Coolant leak at front of engine: A weep hole leak strongly suggests pump seal failure, but thermostat housing, timing cover, or hose leaks can look identical. Visual confirmation is critical.
Whining or grinding noise with RPM: Bearings in the pump, alternator, tensioner, or AC compressor can all make similar sounds. Never rely on ears alone—use tools to isolate.
Poor heater output or cold lower radiator hose: Indicates poor circulation. But a stuck thermostat or trapped air is far more likely than a failed impeller.
In my shop, we never replace a water pump based on a single symptom. We test the entire cooling system. Over 60% of “bad pump” diagnoses I’ve reviewed were actually airlocks or thermostat issues.
Step 2: Check for Coolant Leaks Without Disassembly
Visual Inspection and Pressure Testing
Start with a cold engine. Use a flashlight and inspection mirror to examine the water pump’s weep hole—typically a small hole at the bottom of the pump housing. Wetness, crusty residue, or fresh drips here confirm internal seal failure.
Next, perform a cooling system pressure test:
- Attach a pressure tester to the radiator or coolant reservoir (after engine cools).
- Pump to the cap’s rated pressure (usually 13–18 psi).
- Wait 15–20 minutes. A drop in pressure with visible weep hole leakage confirms pump seal failure.
If pressure drops but no external leak is visible, suspect a head gasket or internal leak—not the pump.
UV Dye Test for Hidden Leaks
When the leak isn’t obvious:
- Add UV-compatible coolant dye to the system.
- Run engine to operating temperature, then cool down.
- Scan the front engine with a UV light and wear yellow glasses.
A bright glow at the pump weep hole or gasket surface confirms the leak source. This method prevents unnecessary pump replacement when the real issue is a nearby hose or housing.
I’ve saved customers hundreds by using UV dye. One “bad pump” turned out to be a $12 hose clamp leaking at the thermostat housing.
Step 3: Diagnose Bearing and Pulley Issues
Manual Rotation Test (Belt Removed)
Remove the serpentine belt and rotate the water pump pulley by hand:
- Feel for roughness, grinding, or excessive play (axial or radial).
- Compare to alternator or AC compressor pulley for baseline smoothness.
Any wobble or gritty resistance suggests bearing wear. However, some ceramic-bearing pumps feel slightly rough even when functional. Excessive play—more than 1/16 inch—is a failure indicator.
Stethoscope Test (Engine Running)
With engine running, use a mechanic’s stethoscope:
- Touch the probe to the water pump housing.
- Compare sound to alternator, tensioner, and AC compressor.
If the growl or whine is loudest at the pump and increases with RPM, bearing failure is likely. But if noise is equal across components, suspect the belt or tensioner.
In my shop, we always use a chassis ear or stethoscope. I once replaced a customer’s “noisy pump” only to find the idler pulley was the real culprit. Now I test every accessory before pulling parts.
Step 4: Evaluate Coolant Flow and Impeller Function
Radiator Hose Temperature Check
After engine reaches operating temperature:
- Both upper and lower radiator hoses should be hot and firm.
- If upper hose is hot but lower is cool or soft, flow is restricted.
First, confirm thermostat is open (upper hose hot = thermostat likely open). If flow remains blocked, suspect airlock, clogged radiator, or impeller damage.
Visual Flow Check (If Radiator Cap Is Accessible)
On older or service-friendly vehicles:
- Remove radiator cap when cold.
- Start engine and let it warm up.
- Watch coolant in the fill neck after thermostat opens (around 195°F).
You should see swirling or movement. No flow with a hot upper hose suggests impeller slip or failure—common in plastic-impeller pumps on high-mileage vehicles.
Always burp the system before concluding impeller failure. Modern engines trap air easily. Open bleed valves or loosen heater hoses to release air first.
Infrared Thermometer Test
Use an IR thermometer to scan:
- Upper radiator inlet hose
- Lower radiator outlet hose
- Multiple points across the radiator face
Expect a 20–30°F drop from inlet to outlet with good flow. If temperatures are uniform and high, flow is minimal—possible pump issue. Cold spots across the radiator suggest internal clogging, not pump failure.
OBD2 Live Data: Coolant Temperature Sensor (CTS)
Monitor CTS data with a scan tool:
- Normal: Steady climb to 195–215°F, then stabilization.
- Erratic swings: Rapid cooling followed by overheating suggest poor circulation (air pocket or slipping impeller).
But a faulty CTS or thermostat can mimic this. Cross-check with physical hose and radiator temps.
Repair vs Replace: Cost and Viability
Water pump replacement costs vary widely:
| Vehicle Type | Pump Cost | Labor Cost | Typical Total |
|---|---|---|---|
| Domestic V6 (e.g., GM, Ford) | $60–$120 | $200–$400 | $260–$520 |
| Import 4-Cylinder (e.g., Honda, Toyota) | $80–$150 | $300–$600 | $380–$750 |
| Timing Belt-Integrated Pump | $100–$200 | $500–$900 | $600–$1100 |
If the pump is driven by the timing belt, replace both at the same time—even if the pump shows no failure. Labor is 80% of the cost; skipping the pump now risks a repeat job later.
I always recommend a timing belt service kit (belt, tensioner, idlers, pump) when the cover is off. It’s a $200–$300 add-on that prevents a $900 repair down the road.
Best Practices and Final Tips
- ✅ Always pressure test before assuming a leak is from the pump.
- ✅ Use a stethoscope to isolate noise—don’t guess.
- ✅ Bleed the cooling system thoroughly before diagnosing flow issues.
- ⚠️ Never replace a pump based on mileage alone. Some last 200,000 miles; others fail at 60,000.
- ⚠️ Always check coolant condition. Sludge or gel indicates neglect and will kill a new pump fast.
- ⚠️ Follow torque specs. Over-tightening pump bolts cracks aluminum housings—especially on imports.
Diagnostic Decision Table
| Symptom | Most Likely Cause | Action |
|---|---|---|
| Leak at weep hole + pressure loss | Failed pump seal | Replace pump, flush system |
| Grinding noise, worst at pump housing | Bearing failure | Replace pump, inspect belt components |
| Cool lower hose, hot upper hose | Stuck thermostat or airlock | Replace thermostat, bleed system |
| No flow at radiator neck, hot upper hose | Impeller failure or airlock | Bleed system first, then suspect pump |
| Overheating, normal hoses, good level | Fan failure or head gasket | Check fan operation, test for combustion gas in coolant |
The water pump is often the scapegoat. Test the whole system. A $30 pressure test or $20 UV dye can save you a $600 unnecessary repair. Always verify, never assume.