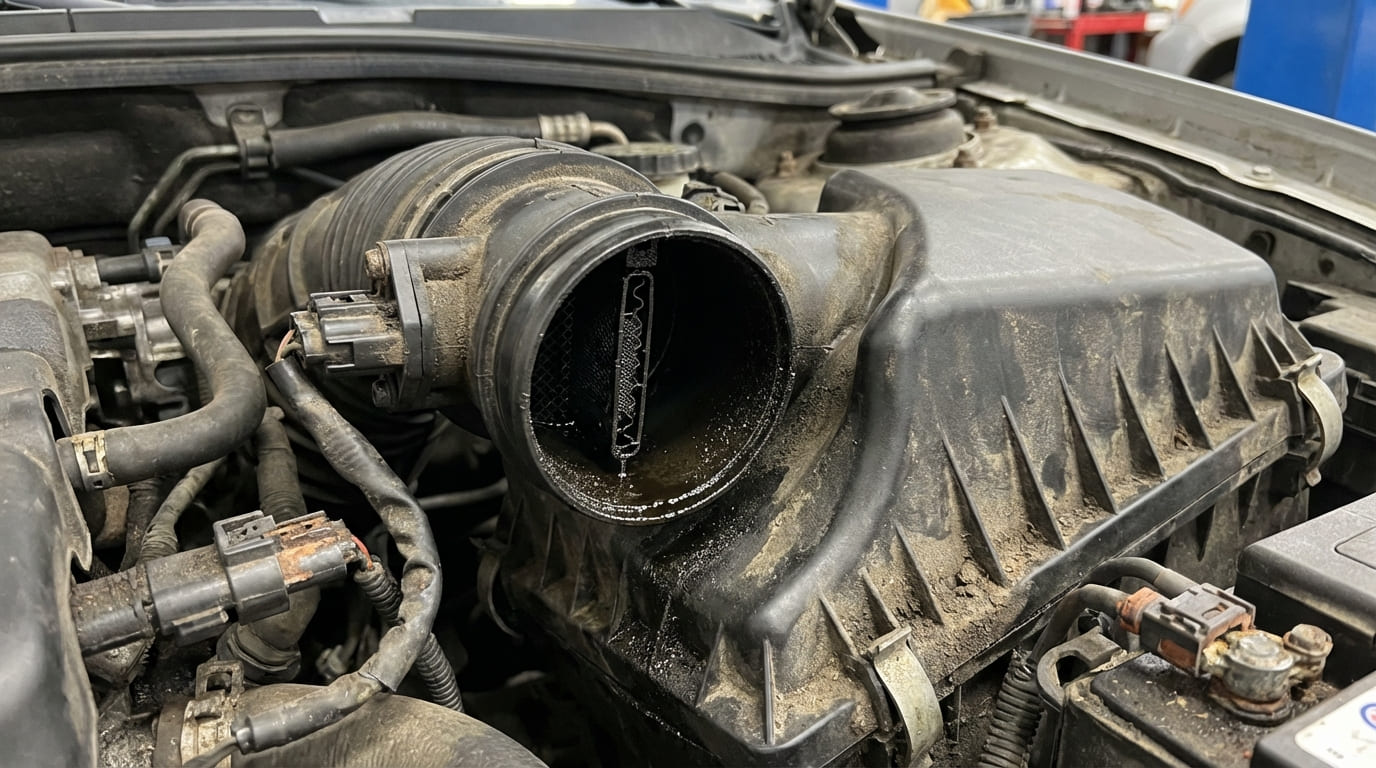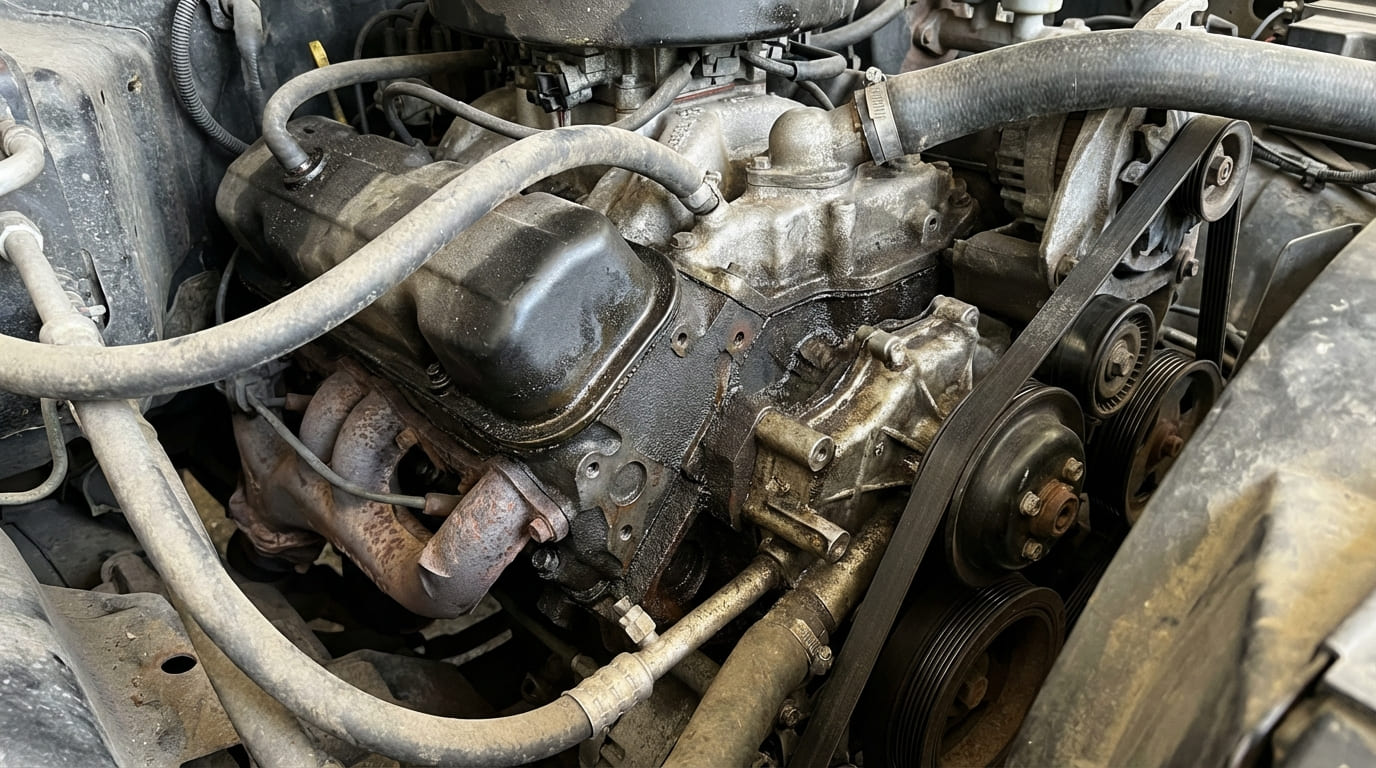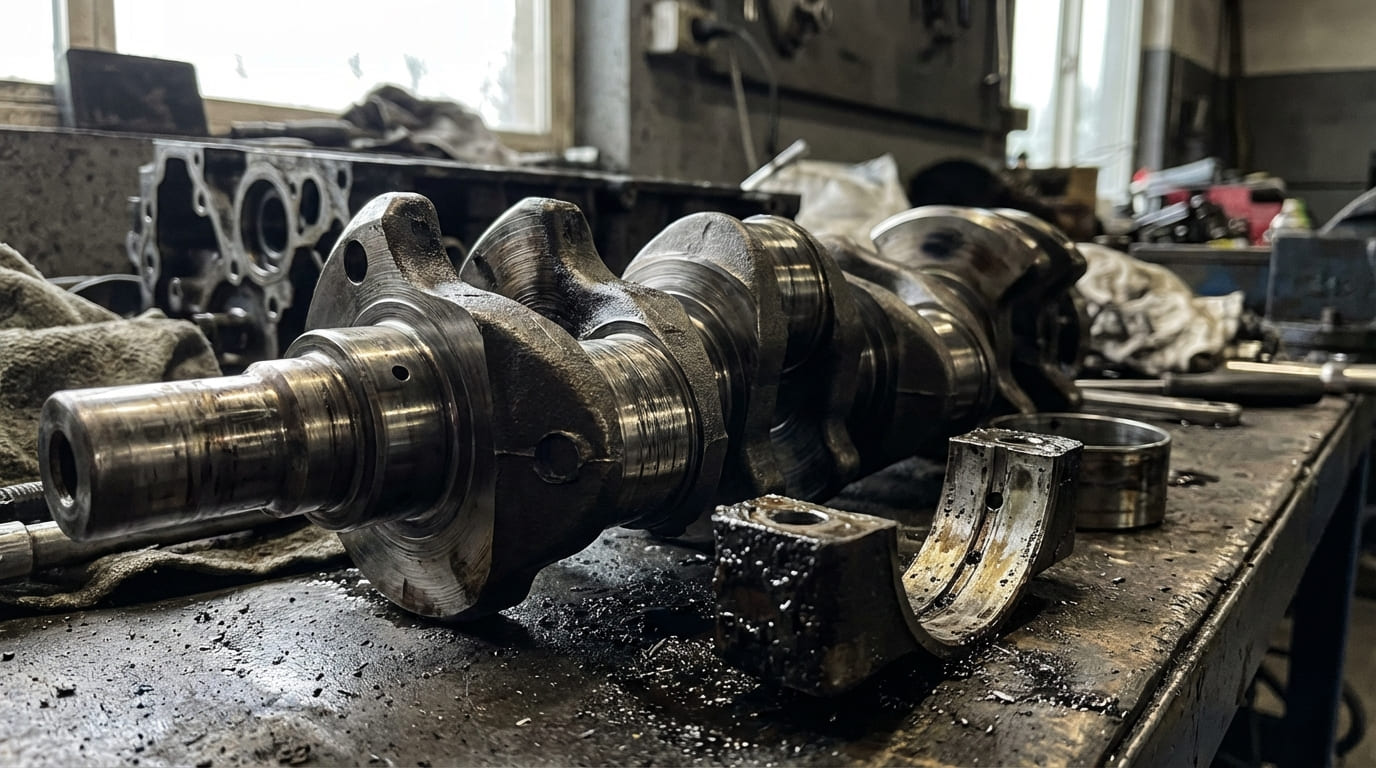
After two decades in the shop, I’ve seen crankshaft failures from every angle. What causes wear isn’t just one thing—it’s usually a chain of failures in lubrication, contamination, load, or assembly. This article cuts to what matters: how to spot it, diagnose it, fix it, and avoid it. If your engine’s heartbeat is off, the crankshaft often tells the real story. Let’s get into what actually causes wear—and what to do about it.
Inadequate Lubrication: The Most Common Killer
Lubrication failure starts silently. When the oil film between the crank journal and bearing breaks down, metal rubs metal. Friction spikes, heat builds, and wear begins. It’s rarely sudden—more like a slow death over months or years.
How to Check for Lubrication Issues
Start with the basics: oil level, viscosity, and change interval. But go deeper—oil pressure at hot idle is a key indicator. Use a mechanical gauge to confirm readings; faulty senders are common. If pressure drops when hot, suspect worn bearings, a failing pump, or clogged passages.
- Check oil condition: sludge, varnish, or milky appearance indicate contamination or moisture.
- Verify oil filter is OEM-spec and replaced every change—cheap filters collapse and starve oil flow.
- Inspect oil pump pickup screen during pan removal. Debris here means internal wear or contamination.
In my shop, we always measure bearing clearances with Plastigage or a bore gauge when diagnosing low oil pressure. You can’t fix what you don’t measure. Even with good pressure, excessive clearance can hide behind a high-volume pump.
Contamination: Invisible Damage from Inside the System
Dirt, metal shavings, coolant, or fuel in the oil act like grinding paste. They score bearings first, then embed and cut into the harder crankshaft journals. The damage accelerates fast once started.
How to Diagnose Contamination
Remove the oil filter and cut it open. Look for metal flakes, sand, or gel-like sludge. Check the oil pan for debris—use a magnet to separate ferrous particles.
Oil analysis is one of the best early warnings. Rising iron, copper, or lead levels signal bearing or crank wear. A spike in silicon? That’s dirt ingress. High glycol? Coolant leak. Fuel dilution shows as low viscosity and high volatility.
- Common sources: failed turbo, cracked head, blown head gasket, poor air filter maintenance, or dirty assembly during rebuild.
- Always flush the oil system if contamination is found—just replacing oil isn’t enough.
I once traced a destroyed crank to casting sand left in a new long-block. The engine had perfect oil changes, but the damage was internal from day one. Always flush new or rebuilt engines before startup.
Excessive Load and Mechanical Stress: When Power Breaks Parts
Detonation, over-revving, or engine modifications without proper upgrades overload the crank. This leads to fatigue cracks, spalling, or journal flaking. Even stock engines suffer if components like rods or mains are misaligned.
How to Identify Load-Related Wear
Inspect journals for spalling (surface flakes) or micro-cracking. These are signs of fatigue, not just wear. Check connecting rods for bends—use a rod vise and dial indicator. Measure main bearing bore alignment with a straight edge and feeler gauge if block warpage is suspected.
- Performance engines need balanced rotating assemblies—mismatched pistons, rods, or flywheels create harmonic stress.
- Detonation damage often shows as cracked ring lands or broken piston skirts, but crank journals may have pitting or discoloration from shock loading.
Never assume a knock is just “bad bearings.” I’ve seen harmonic balancer failures mimic rod knock. Always verify with a stethoscope and load test.
Corrosion: The Hidden Enemy in Short-Trip Driving
Moisture from incomplete warm-ups condenses in the crankcase. It mixes with combustion acids—especially from sulfur in fuel—and corrodes journal surfaces. Coolant leaks add glycol, which breaks down into corrosive sludge.
How to Detect Corrosion
Look for rust-colored pitting or etching on journals, especially near oil passages. Check for musty oil smell or thick, jelly-like deposits. Coolant in oil may not look obvious—perform a block test or pressure test the cooling system.
- Short-trip drivers need more frequent oil changes—moisture never burns off.
- Oil analysis showing high TBN depletion or water content confirms corrosion risk.
Manufacturing and Assembly Defects: Rare but Critical
Subsurface cracks, poor heat treatment, or rough journal finishes can cause early failure. These defects often appear under load after thousands of miles.
How to Inspect for Defects
Use magnetic particle inspection (MPI) for ferrous cranks or dye penetrant for non-magnetic ones. Check fillet radii—stress concentrates there. Verify surface finish with a profilometer if rebuilding; aim for 10–16 microinches Ra.
- Never reuse torque-to-yield (TTY) bolts—they lose clamping force.
- Clean main cap threads with a tap before installation. Dirt causes false torque readings and uneven clamping.
In my shop, every reground or used crank gets MPI. I’ve caught micro-cracks that looked fine to the eye. One crank failed after 10k miles—turned out the fillet radius was undersized during grinding. Stress cracked it right at the edge.
Types of Crankshaft Wear and What They Mean
Wear patterns tell the story. Here’s what to look for during teardown:
- Scoring: Deep, straight grooves. Caused by debris or improper bearing installation.
- Pitting: Small, shallow holes. Could be corrosion, fatigue, or cavitation.
- Galling: Metallic transfer between journal and bearing. Sign of dry start-up or misalignment.
- Spalling: Surface flakes peeling off. Points to subsurface fatigue—common in high-load or poorly heat-treated cranks.
- Taper and Out-of-Round: Measure with a micrometer at three lengths and four clock positions. Service limit is typically 0.0002″ (0.005 mm), but check factory specs—performance engines are tighter.
Always measure journal diameter before deciding on repair or replacement. If it’s already undersize, polishing may push it beyond limits.
Repair vs. Replace: Cost and Viability
Not every worn crank needs replacement. Here’s the real-world logic:
| Condition | Repair Option | Cost Range | When to Replace |
|---|---|---|---|
| Light scoring, no taper | Polishing | $100–$200 | If journal is near undersize limit |
| Measurable wear, within material | Grinding to undersize (0.010″, 0.020″) | $200–$400 | If cracks or heat checking present |
| Cracked, spun bearing, twisted | None—unsafe | N/A | Always replace |
| Heat-treated forged crank | Polish or grind if undamaged | $150–$350 | If fillet radius damaged |
Grinding requires matching undersize bearings. Verify straightness after grinding—use a V-block and dial indicator. Runout should be under 0.001″.
I’ve seen techs polish a crank smooth and call it good—only to have it fail in 5k miles. If the journal is tapered or the fillet radius is damaged, it’s not safe. Measure everything.
Symptoms and Diagnosis: Actionable Steps
Don’t guess—diagnose. Here’s what to do when crank wear is suspected:
| Symptom | Most Likely Causes | Less Common But Possible | Diagnostic Next Step |
|---|---|---|---|
| Low oil pressure at hot idle | Worn main/rod bearings, low oil level, worn oil pump | Clogged pickup screen, incorrect oil viscosity | Measure bearing clearances, inspect pump, verify oil grade |
| Knocking from lower engine | Excessive bearing clearance, spun bearing | Loose flywheel, cracked flexplate | Stethoscope test, check endplay, inspect cap torque |
| Excessive iron in oil analysis | Crankshaft journal wear, gear train wear | Cam lobe spalling, piston skirt wear | Disassemble and inspect crank, check other wear metals |
| Journal scoring | Abrasive contamination, debris during assembly | Oil starvation causing bearing disintegration | Clean system, inspect filter, verify oil flow |
Situation: A 2012 diesel pickup came in with low oil pressure and a faint knock. Owner swore the oil was changed religiously. Discovery: Main bearings were wiped, journals scored. Metal in the pickup screen traced to a failing turbo. Nuanced Lesson: Contamination isn’t always external. Always inspect the entire oil path.
Situation: A rebuilt V8 developed rod knock after 8,000 miles. Builder used all new parts. Discovery: Journal had 0.0008″ taper—crank was reground but not checked for straightness. Nuanced Lesson: Never assume a reground crank is straight. Measure it.
Situation: High-mileage sedan had steady oil pressure but failed emissions with high HC. Teardown revealed pitted journals. Discovery: Tiny head gasket seep introduced coolant over years. Nuanced Lesson: Corrosion is slow. Oil analysis can catch it early.
Prevention: The Real-World Checklist
Most crankshaft wear is preventable. Stick to these proven steps:
- ✅ Check oil level monthly—don’t wait for changes.
- ✅ Use OEM-specified oil viscosity. In extreme climates, consider a synthetic.
- ✅ Change oil and filter on schedule. In severe service (towing, short trips, dust), halve the interval.
- ✅ Clean main cap bolt threads before installation—dirt causes false torque.
- ✅ Never reuse TTY bolts—they stretch permanently.
- ⚠️ Avoid over-torquing main caps—can distort block and crush bearings.
- ⚠️ Never ignore coolant in oil—even a small leak degrades oil fast.
In my shop, we treat every crankshaft like a patient with a history. The wear patterns, driving conditions, and maintenance matter. Always verify with measurement. Always trace contamination. And always consult the factory service manual—what works for one engine may destroy another.