The mass airflow (MAF) sensor measures the amount of air entering the engine and sends this data to the engine control unit (ECU). This information is critical for calculating the correct fuel delivery, ignition timing, and emissions control. When the MAF fails or gives inaccurate readings, drivability suffers—expect rough idle, poor fuel economy, hesitation, or stalling. As a master mechanic, I’ve seen countless misdiagnoses where the MAF was replaced unnecessarily. This guide cuts through the noise with actionable diagnostics, real-world fixes, and proven testing methods.
How the MAF Sensor Works: Types and What Fails
There are three main types of MAF sensors, each with distinct failure modes. Knowing which your vehicle uses determines how you test and repair it.
Hot Wire MAF
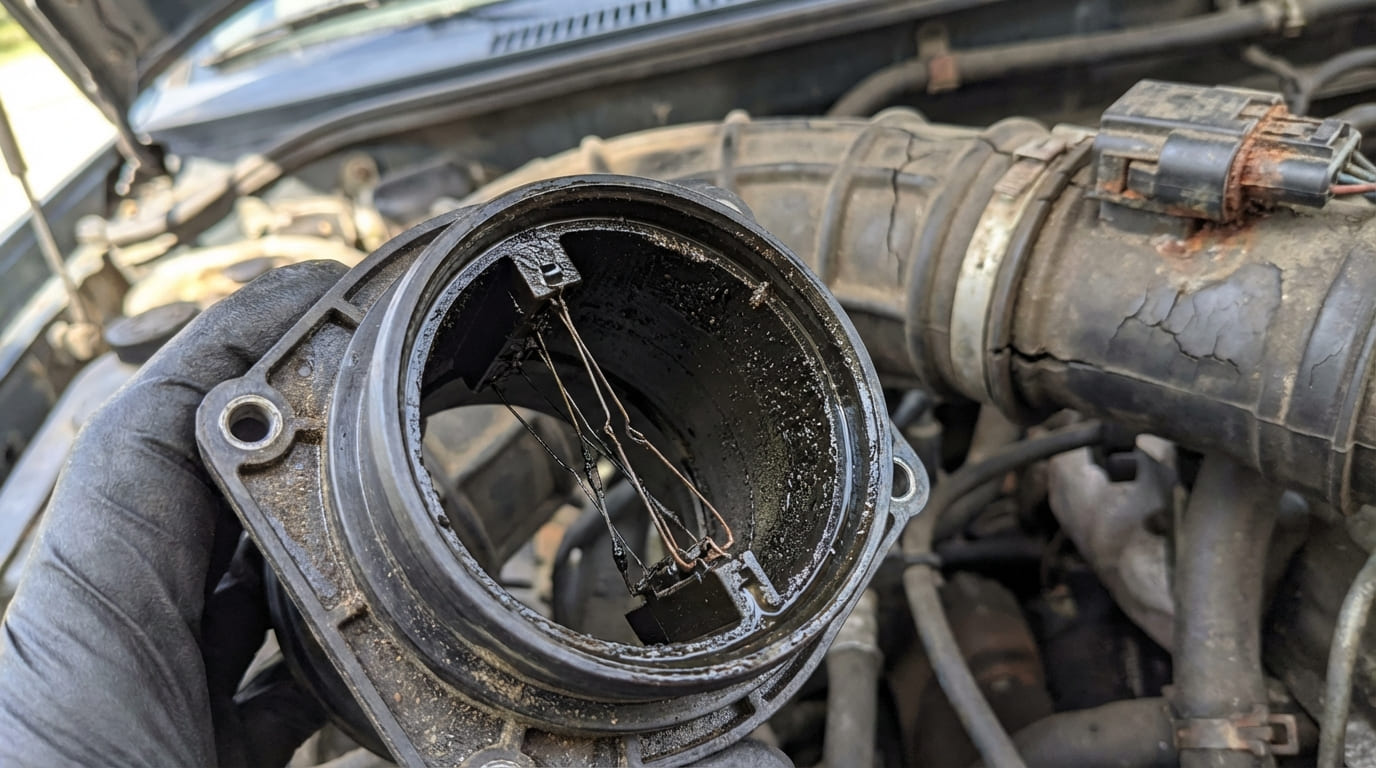
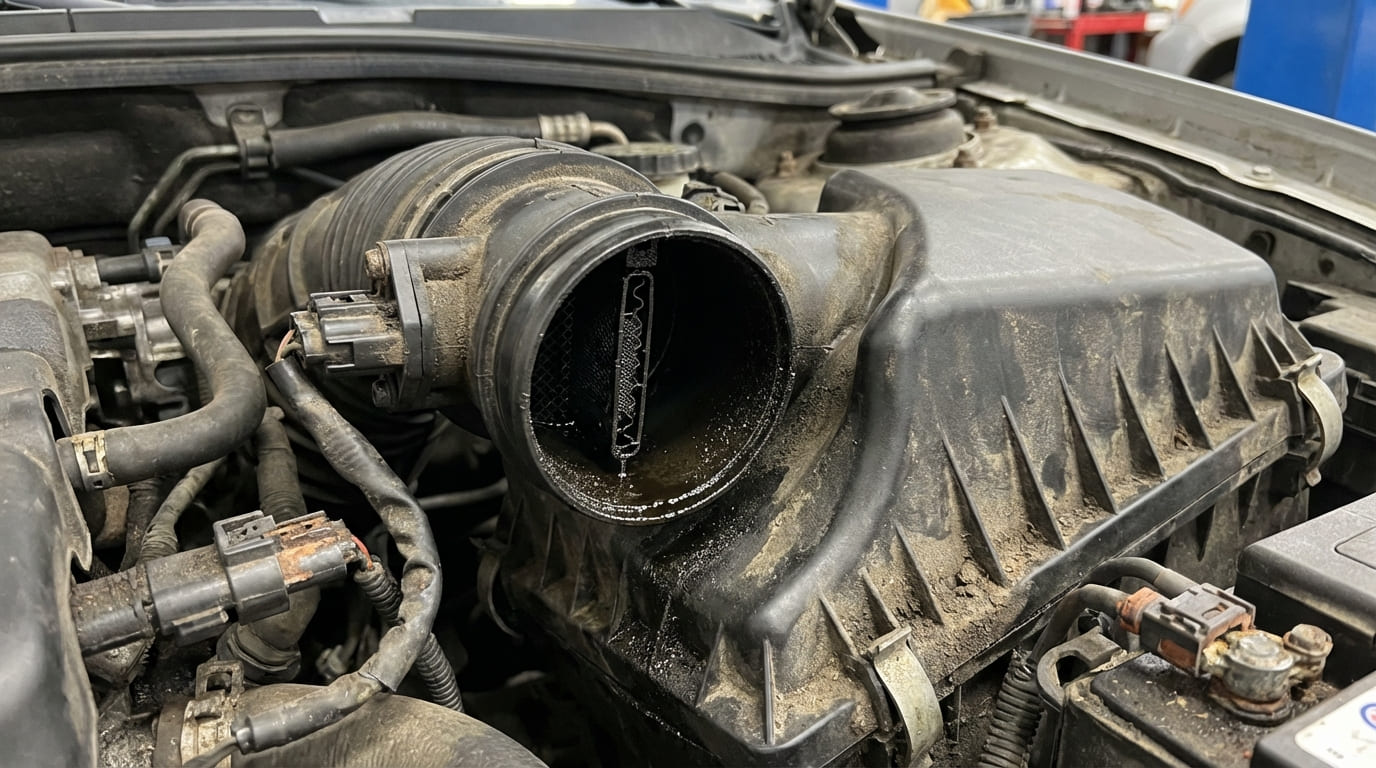
Most common from the late 1990s onward. A heated platinum wire cools as air flows past; the current needed to keep it hot correlates to air mass. Contamination is the #1 killer—oil from reusable air filters, dirt, or improper cleaners coat the wire and insulate it, causing low airflow readings.
Many have a burn-off cycle at shutdown (briefly superheating the wire), but it can’t clear heavy buildup. Never touch the wire—skin oils cause permanent damage.
Hot Film MAF
Uses a ceramic substrate with a metallic film instead of a wire. More durable and common in modern European and Asian vehicles. Less prone to physical damage and contamination, but still vulnerable to electrical faults and intake leaks.
Karman Vortex MAF
Found on older Toyotas, Nissans, and Lexuses (1980s–early 2000s). Measures vortex frequency behind a “bluff body” using ultrasonic or pressure sensors. Rare today due to cost and complexity. Diagnose with a lab scope—look for erratic frequency output.
In my shop, we always start with a visual inspection of the sensing element before any electronic testing. On hot wire sensors, even a slight discoloration or film on the wire means contamination. Clean it properly—or replace it if damaged.
How to Diagnose a Bad MAF Sensor
Don’t guess—verify. Follow this diagnostic sequence before replacing anything.
Step 1: Check for Trouble Codes and Fuel Trims
Scan for codes like P0101 (MAF performance), P0102 (low flow), or P0103 (high flow). Then monitor fuel trims:
- Long-term fuel trim above +20%: Engine running lean—unmetered air or weak MAF signal.
- Long-term fuel trim below -20%: Engine running rich—MAF overreporting airflow.
If trims are extreme, the MAF is suspect—but not necessarily faulty.
Step 2: Inspect the Intake System for Leaks
Unmetered air bypassing the MAF causes lean conditions and false low readings. Check:
- Intake boots for cracks or loose clamps (especially near throttle body).
- PCV hose connections.
- Perform a smoke test if leaks are suspected.
A split boot downstream of the MAF lets air in without being measured—classic cause of P0171/P0174 with low MAF readings.
Step 3: Test the MAF Signal
Use a scan tool or multimeter depending on output type.
| Signal Type | Normal Range | Testing Method |
|---|---|---|
| Analog Voltage | 0.5V (idle) to 4.5V (WOT) | Back-probe with multimeter; watch for smooth rise with RPM |
| Digital Frequency | 150 Hz (idle) to 10,000 Hz (WOT) | Use scan tool or oscilloscope; check for dropouts under load |
If voltage/frequency is stuck, erratic, or maxed out, suspect contamination, wiring, or ECU issues.
Step 4: Inspect Wiring and Connector
Disconnect the MAF and examine pins for corrosion, bent contacts, or heat damage. Check for:
- Frayed or chafed wires near the harness.
- Proximity to ignition coils or alternator—induced noise can corrupt signal.
- Poor grounds. Test ground resistance at the ECU side.
I once fixed a “flashing CEL under boost” issue by relocating the MAF signal wire away from the coil pack harness. The sensor wasn’t bad—electrical noise was fooling the ECU. Always rule out wiring before replacing parts.
Can You Clean a MAF Sensor?
Yes—but only if it’s a hot wire or hot film type, and only with proper cleaner.
- Use only MAF-safe cleaner (e.g., CRC MAF Cleaner). No carb cleaner, brake cleaner, or compressed air.
- Remove the sensor, spray gently onto the element, let dry completely.
- Reinstall and clear codes. Retest.
If cleaning doesn’t restore performance, replace it.
Replace vs Repair: Cost and Viability
MAF sensors rarely repair internally. Replacement is usually the only option.
| Option | Cost Range | Notes |
|---|---|---|
| OEM MAF Sensor | $120–$300 | Best match for calibration; recommended for driveability-sensitive vehicles |
| Aftermarket MAF Sensor | $60–$150 | Quality varies. Some lack proper calibration—expect P0101 returns |
| Used OEM (Junkyard) | $40–$100 | Risk of contamination or hidden damage; only use if tested |
On performance or modified vehicles, stock MAFs can hit their limit. If you’ve added a turbo, cold air intake, or tune, the ECU may lose signal at high airflow. Consider a larger-bore MAF or speed-density conversion if drivability suffers under load.
Common Mistakes to Avoid
- ❌ Replacing the MAF without checking for intake leaks—leads to comebacks.
- ❌ Using carb cleaner or touching the sensing element—destroys the sensor.
- ❌ Ignoring service bulletins—some models have updated MAF calibrations or revised parts.
- ❌ Assuming a new MAF is good—some aftermarket units are mis-calibrated out of the box.
Final Diagnostic Checklist
Before replacing the MAF, confirm:
- Air filter is clean and properly seated.
- No cracks or leaks in intake ducting downstream of MAF.
- Connector is clean, tight, and undamaged.
- Signal matches expected values for RPM and load.
- Fuel trims normalize when MAF is unplugged (ECU defaults to speed-density).
The MAF sensor is often the scapegoat. In my 20 years, less than 40% of replaced MAFs were actually defective. Most issues trace back to leaks, contamination, or electrical faults. Test the system—not just the part.