Engine mounts are critical for isolating vibration, supporting powertrain weight, and controlling movement. When they fail, it affects drivability, safety, and component lifespan. As a master technician, I’ve seen thousands of failed mounts—most due to preventable causes. This guide cuts through the noise, focusing on real-world diagnostics, root causes, and repair strategies that work.
How to Check for Engine Mount Failure
Diagnosis starts with observation and simple tests. Don’t jump to replacement—find the cause first.
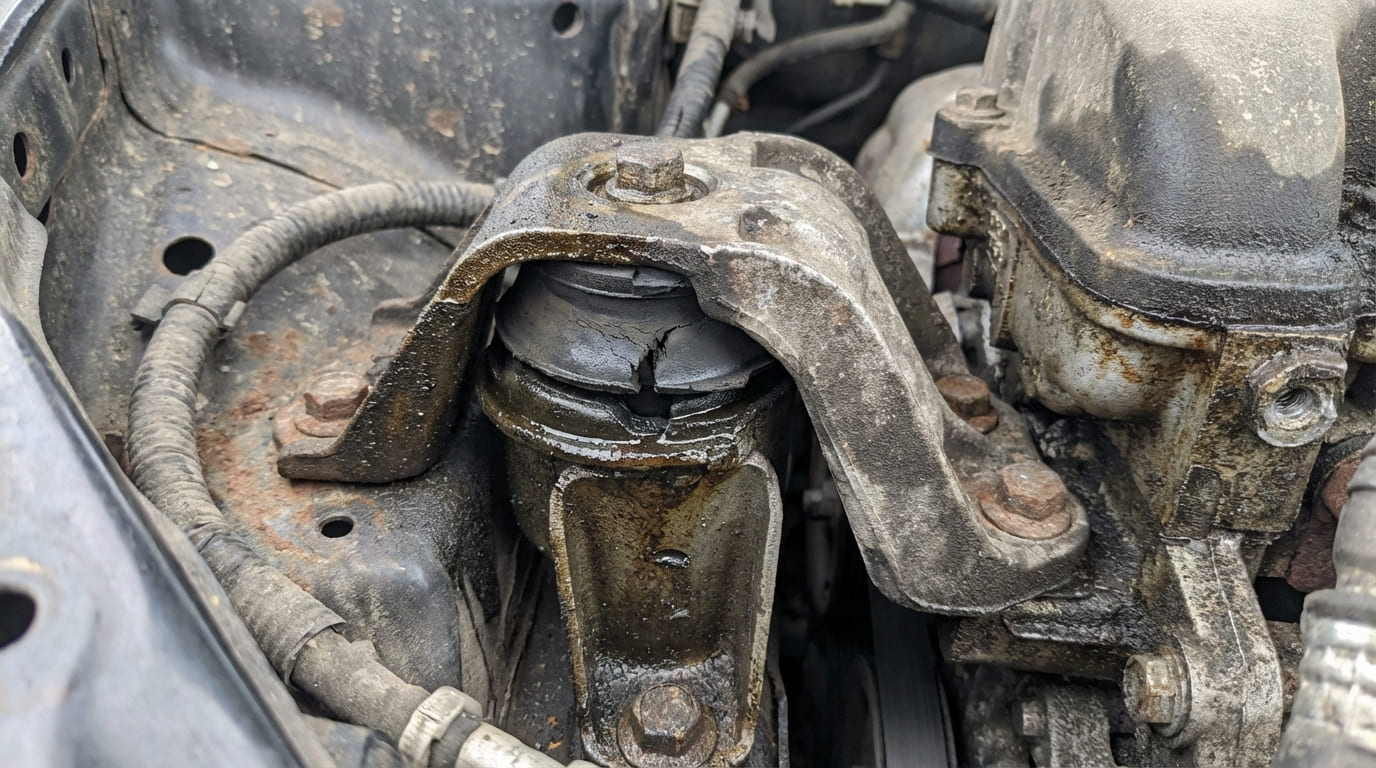
- Visual Inspection: Look for cracks, fluid leaks, separation between rubber and metal, or corrosion. Shine a light from different angles; use a mirror for rear or top-mounted units.
- Pry Bar Test: With the vehicle safely lifted and transmission in neutral, apply gentle pressure to the engine near each mount using a long pry bar. Excessive movement (more than 5–10mm depending on model) indicates failure. Note: Some movement is normal—compare to known-good vehicles if unsure.
- Idle Test: Observe engine movement at idle in Park/Neutral and while shifting into Drive/Reverse. A healthy mount keeps movement minimal. Excessive rocking or clunking is a red flag.
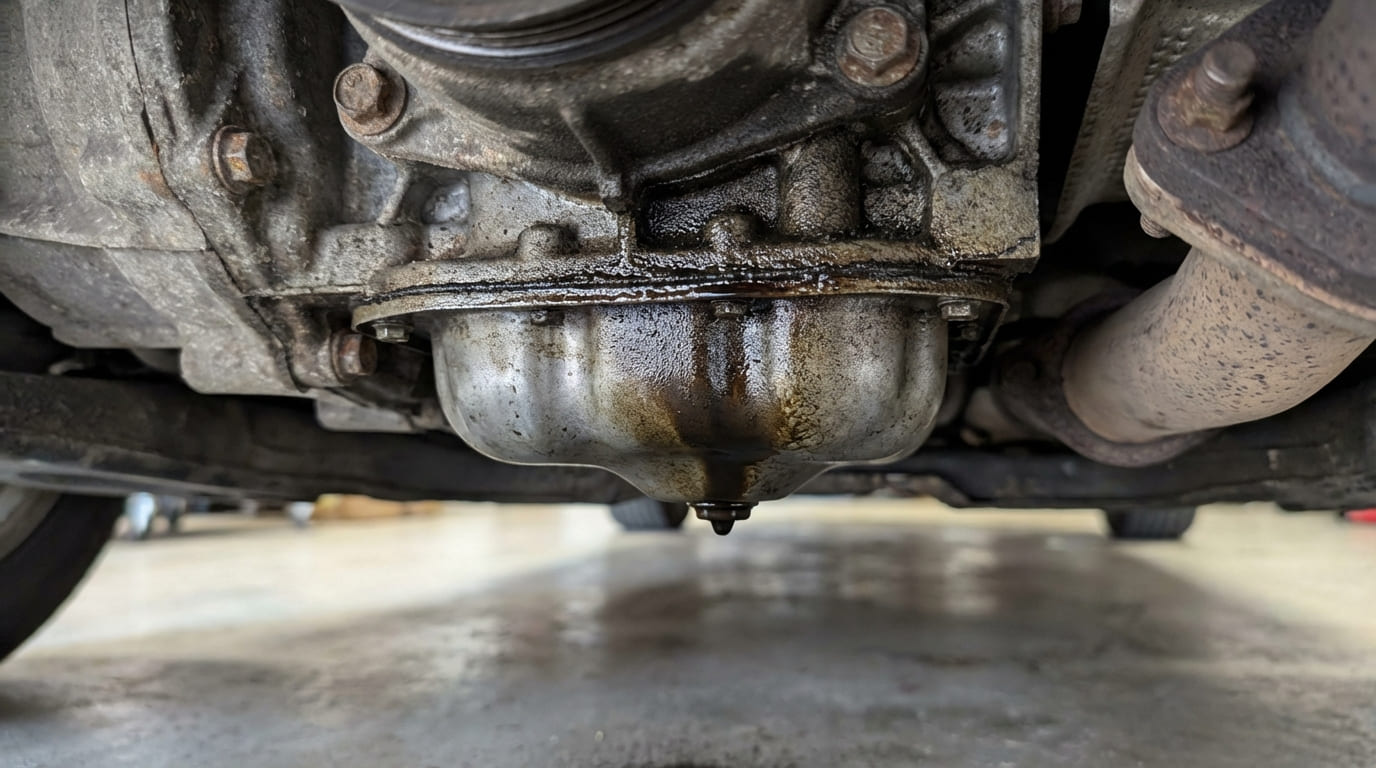
- Fluid Leak Check: Trace any oil, coolant, or transmission fluid near the mount. Contamination accelerates rubber breakdown.
Material Degradation
Elastomer and Hydraulic Mount Failures
Rubber and fluid-filled mounts degrade over time due to heat, stress, and environmental exposure. These are the most common failure modes.
Age-Related Hardening and Cracking: Rubber loses elasticity after 70,000–100,000 miles or 7–10 years. Cracks often radiate from the center bolt or along stress zones. Hardened rubber transmits more vibration, especially at idle.
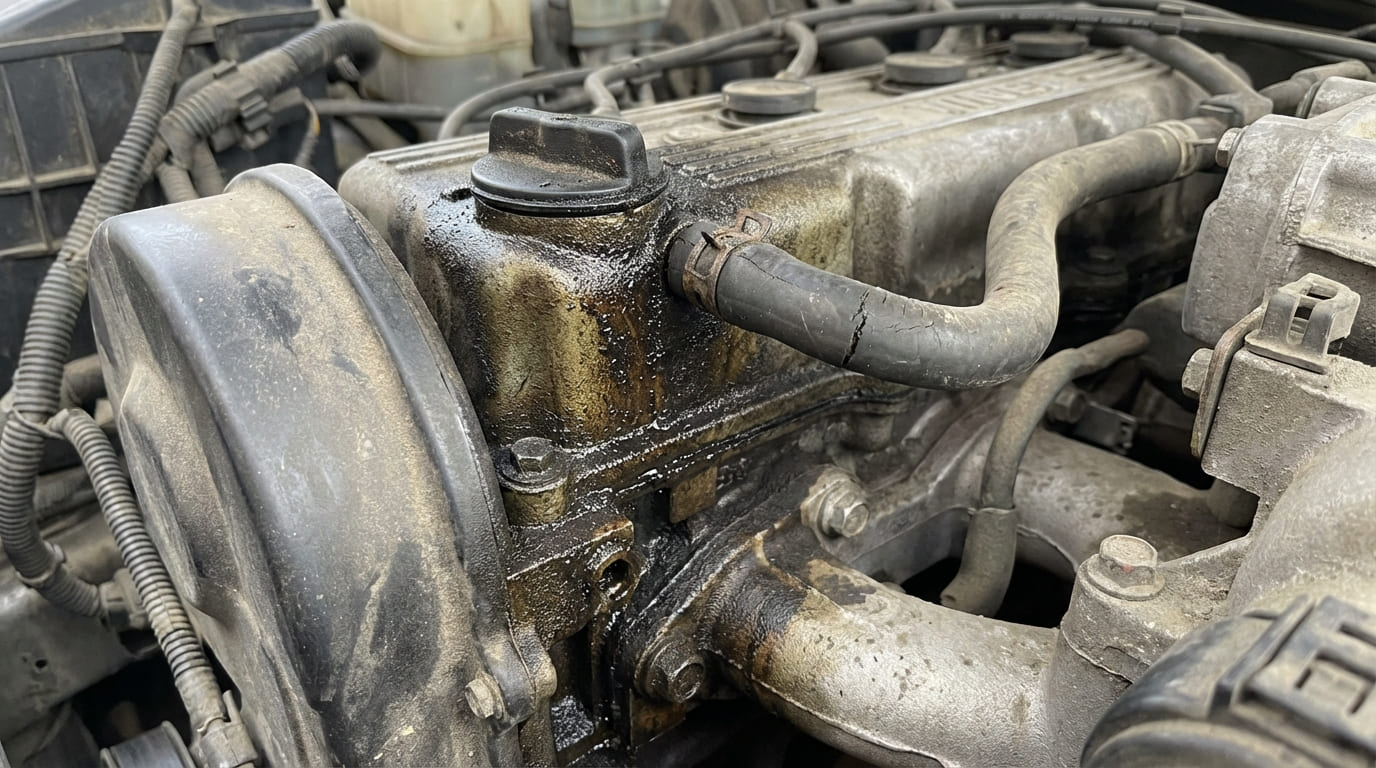
Chemical Contamination: Oil, coolant, and power steering fluid eat away at rubber. Swelling, softening, or sticky residue means contamination. Always trace fluid sources before replacing a mount—replacing without fixing the leak wastes money.
Hydraulic Mount Rupture: These mounts contain fluid and a diaphragm to dampen vibration. When they leak, you’ll see dark, oily residue. Failure causes a sudden increase in low-frequency shake—drivers often say it feels like a diesel engine. A pry bar test may show normal movement, but the loss of damping is unmistakable.
In my shop, we always inspect for fluid leaks before replacing a mount. I’ve seen three repeat failures on one car—all because a slow oil leak from the valve cover soaked the rubber. Fix the source, or you’re just selling parts.
Metal Component Failures
The metal parts of a mount can fail independently of the rubber. These issues are often missed during cursory inspections.
Fatigue Cracking: High-torque engines and frequent hard acceleration cause stress cycles that crack brackets or welds. Look for hairline fractures near bolt holes or mounting arms. Clunking under load is a telltale sign.
Corrosion: Salt and moisture eat fasteners and mounting points, especially in northern or coastal climates. A rusted-through bolt can leave the engine hanging by the exhaust and transmission—dangerous and costly. Inspect threads and frame contact surfaces. If the subframe is pitted or weakened, repair it before installing new mounts.
I once pulled a mount where the bolt was gone—just rust dust. The engine was sagging. Always check fastener condition. Replace corroded hardware, and use anti-seize on new bolts—especially in aluminum blocks.
Excessive Stress and Load
Even perfect mounts fail early under abnormal loads. These are the usual culprits.
Engine/Transmission Misalignment: A bent subframe or improper reassembly after engine work can pre-load mounts. The rubber is under constant tension, leading to premature cracking. Check for uneven gaps or twisted rubber. If a new mount fails quickly, measure subframe alignment or consult factory specs.
Aggressive Driving and Modifications: Hard launches, high RPM shifts, and performance upgrades increase dynamic loads. Stock mounts may not handle the stress. For modified engines, upgrade to polyurethane or heavy-duty hydraulic mounts. Yes, they transmit more vibration—but they last.
External Impact Damage: Hitting a curb, pothole, or debris can bend a bracket or crack a housing. Inspect all mounts after any undercarriage impact. A bent subframe can shift load to one mount, causing it to fail first.
On performance builds, I always recommend upgraded mounts. The stock ones are tuned for comfort, not 400 ft-lbs of torque. Spend $100 more and save $1,000 in repeat labor.
Improper Installation
Many “failed” mounts are actually victims of bad installation. Avoid these costly mistakes.
Incorrect Torque: Overtightening crushes rubber and can shear bolts. Undertightening allows slippage and wear. Most M10–M12 bolts require 70–100 Nm, but always check the service manual. Use a calibrated torque wrench—never guess.
Pre-loading During Installation: This is the #1 rookie mistake. If you tighten the mount while the engine is jacked up, it’s under constant tension once lowered. The fix: Loosen all mount bolts, let the engine settle under its own weight, then re-torque in the sequence specified by the manufacturer.
I’ve diagnosed clunking noises that disappeared after re-torquing mounts with the engine at rest. The mechanic had tightened them with the engine hoist still loaded. Five minutes of correction saved a $300 part replacement.
Manufacturing and Design Issues
Sometimes, the problem isn’t the driver—it’s the design.
Poor Material Quality: Cheap aftermarket mounts often use inferior rubber or weak bonding. I’ve seen them fail at 30,000 miles while OEM units last 120,000+. If a mount fails early with no contamination or impact, consider part quality—but rule out other causes first.
Design Flaws: Some models have chronic mount issues. Check for Technical Service Bulletins (TSBs) or recall campaigns. A revised part may exist. For example, a popular SUV had a rear mount that failed every 40,000 miles—until a TSB released a stronger version. Upgrading to the revised part solved it.
Consequences of Ignoring a Failed Mount
A failing mount isn’t just noisy—it’s destructive.
- Accelerated wear on CV joints, driveshafts, and exhaust hangers
- Catalytic converter or exhaust pipe cracking from engine contact
- Steering interference or driveline disengagement in extreme cases
- Increased stress on transmission mounts and subframe
Address failure early. Left unchecked, it leads to cascading damage.
Repair vs Replace: Cost and Viability
Engine mounts are not repairable—only replaceable. Here’s what to expect:
| Mount Type | Part Cost (OEM) | Aftermarket Cost | Labor Time |
|---|---|---|---|
| Rubber (Standard) | $80–$150 | $40–$90 | 1.5–3 hours |
| Hydraulic | $120–$250 | $70–$160 | 2–4 hours |
| Polyurethane (Performance) | $180–$300 | $100–$200 | 2–3.5 hours |
Consider: If one mount is bad, others are likely aging. On high-mileage vehicles, replacing all mounts at once can save labor costs. But if under 80,000 miles and others look good, replace only the failed unit.
Preventative Measures
Extend mount life with these simple steps.
- Inspect mounts every 15,000 miles or during oil changes.
- Fix fluid leaks immediately—oil, coolant, or transmission fluid near a mount is a time bomb.
- Use OEM or high-quality aftermarket parts (e.g., Sachs, Febi, Energy Suspension).
- Always use new bolts if specified—especially torque-to-yield (TTY) types. Reusing them risks clamping loss.
- Clean mounting threads with a tap, particularly in aluminum components prone to corrosion.
- Follow factory torque specs and tightening sequence.
- Drive smoothly—especially with stock mounts. Aggressive driving cuts lifespan.
Diagnostic Decision Table
| Symptom | Most Likely Causes | Less Common But Possible | Recommended Next Step |
|---|---|---|---|
| Excessive vibration at idle | Hydraulic mount fluid loss, rubber hardening | Engine misfire, accessory drive imbalance | Inspect for fluid leaks, perform pry bar test |
| Clunking during acceleration | Mount separation, pre-loading, metal fatigue | Driveline play, transmission issues | Check mount movement, inspect subframe for cracks |
| Visible cracks in rubber | Age, UV/ozone exposure, chemical contamination | Manufacturing defect | Trace for fluid leaks, verify installation history |
| Mount failed within 2 years | Fluid contamination, improper installation | Design flaw, aggressive driving | Check for leaks, review TSBs, inspect alignment |
Situation: A 2015 sedan came in with severe vibration at idle. Customer had replaced the front mount six months earlier with a budget aftermarket part.
Initial Assumption: The new mount was defective.
Discovery: Upon inspection, I found oil soaking the mount—traced to a leaking valve cover gasket. The rubber was swollen and delaminating. The previous tech had replaced the mount but ignored the leak.
Nuanced Lesson Learned: Mount failure is often a symptom, not the root cause. Always investigate what compromised the mount before installing a new one.
Situation: A truck with a rebuilt engine started clunking under acceleration. The mechanic had installed all new mounts.
Initial Assumption: One of the mounts was faulty.
Discovery: The engine was slightly rotated—because the rear mount was tightened while the engine was jacked up. Once loosened and re-torqued with the weight settled, the noise disappeared.
Nuanced Lesson Learned: Even new parts can fail prematurely if installed under pre-load. The process matters as much as the part.
Situation: A performance coupe had repeated rear transmission mount failures every 18 months.
Initial Assumption: Driver abuse due to aggressive launches.
Discovery: Research revealed a TSB for a revised mount with stronger bonding and updated fluid damping. The OEM had acknowledged a design issue.
Nuanced Lesson Learned: Chronic failure on a specific model may point to a systemic issue—not user error. Always check for factory updates before blaming the driver.
In my shop, we treat engine mounts as part of a system—not isolated components. The way they interact with the powertrain, chassis, and driving conditions determines their lifespan. While some wear is inevitable, premature failure usually tells a story—one that includes installation quality, fluid management, and vehicle history. Always read the whole story before reaching for the wrench.