Primary Symptoms of a Faulty Crankshaft Position Sensor
The crankshaft position sensor (CKP) is essential for engine operation. When it fails, symptoms range from hard starts to sudden stalling. Unlike many components, CKP failure often doesn’t follow a gradual decline—it can be intermittent or sudden. Recognizing the signs early can prevent being stranded.
Engine Cranks But Won’t Start
This is the most common and definitive symptom of a complete CKP failure. The engine control module (ECM) needs a valid RPM signal to trigger fuel injectors and spark. No signal means no start—even though the engine cranks normally.
How to Check: Use an OBD2 scanner with live data. If RPM reads zero or erratic during cranking, the CKP circuit is suspect. Confirm the scanner itself works by testing on a known-good vehicle if possible.
In my shop, we always check live RPM first on any no-start. It takes 30 seconds and rules out half the common causes—fuel pump, starter, battery—immediately.
Intermittent Stalling
A failing CKP sensor may work intermittently, especially when hot. The engine runs fine cold, then stalls under load or after extended driving. Restarting may work after cooling down.
How to Check: Reproduce the issue while monitoring live data. If RPM drops to zero suddenly during operation, suspect the CKP. Road-test with a scan tool connected if the problem is heat-related.
Rough Idling and Misfires
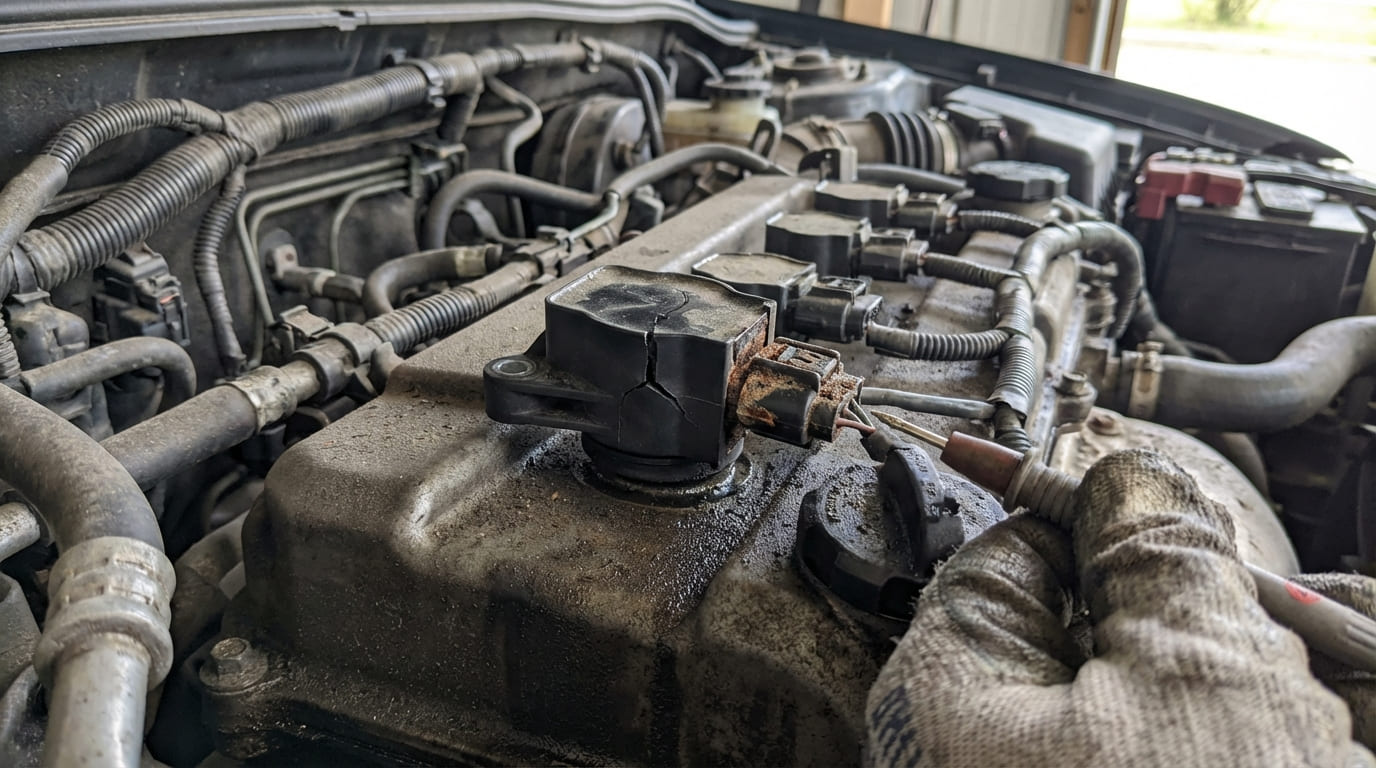
An erratic CKP signal causes the ECM to miscalculate ignition and injection timing. This leads to misfires that may not be consistent across cylinders. Unlike ignition-related misfires, these often lack strong cylinder-specific codes.
How to Check: Pull live misfire data. If misfires jump between cylinders and correlate with RPM fluctuations, the CKP or camshaft sensor (CMP) is likely involved. Check for P0335, P0339, or P0340 codes.
Reduced Engine Performance and Limp Mode
When the ECM detects an implausible CKP signal, it may default to estimated timing. The engine runs, but with poor acceleration, high fuel consumption, and limited RPM.
How to Check: Use a scan tool to check for “limp mode” status. Monitor CKP signal stability under load. A degraded signal may still register RPM but lack waveform integrity.
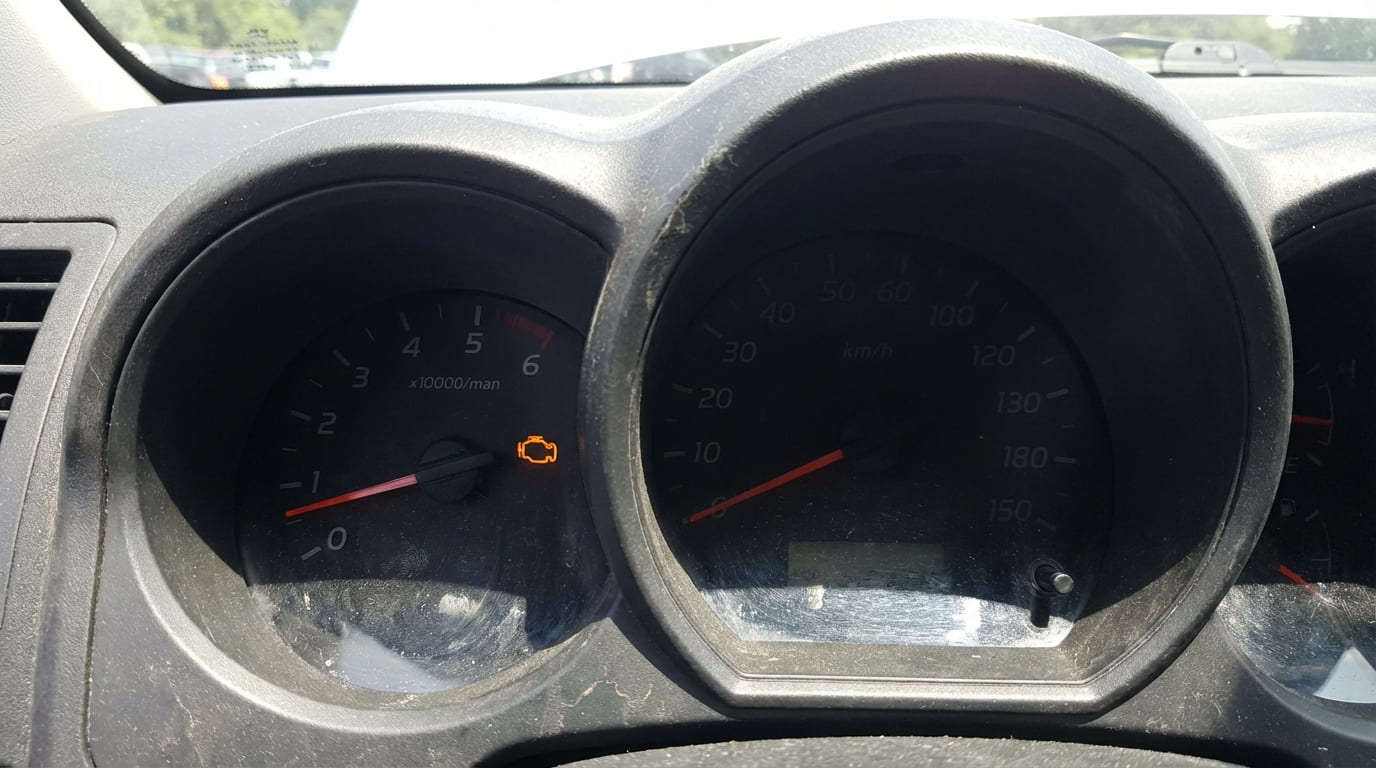
Check Engine Light with CKP-Related Codes
Common diagnostic trouble codes (DTCs) include:
- P0335 – Crankshaft Position Sensor A Circuit Malfunction
- P0336 – Range/Performance Problem
- P0337 – Low Input
- P0338 – High Input
- P0339 – Intermittent Signal
Important: These codes do not guarantee a bad sensor. Wiring damage, poor connections, or mechanical issues can trigger the same codes.
Differential Diagnosis: What Else Could It Be?
Many issues mimic CKP failure. Always rule out simpler or more common causes before replacing the sensor.
| Symptom | Most Likely Causes | Less Common Causes | Diagnostic Tip |
|---|---|---|---|
| Engine cranks, no start | CKP failure, fuel pump failure, no spark | Timing belt breakage, immobilizer lockout | Verify RPM signal on scanner—confirms CKP functionality |
| Intermittent stalling | Failing fuel pump, wiring harness damage | CKP signal dropout, bad ECM ground | Monitor waveform under load with scope |
| Rough idle / misfires | Bad spark plugs, failing coils, vacuum leak | Erratic CKP/CMP signal, MAF sensor issue | Check misfire data per cylinder to isolate cause |
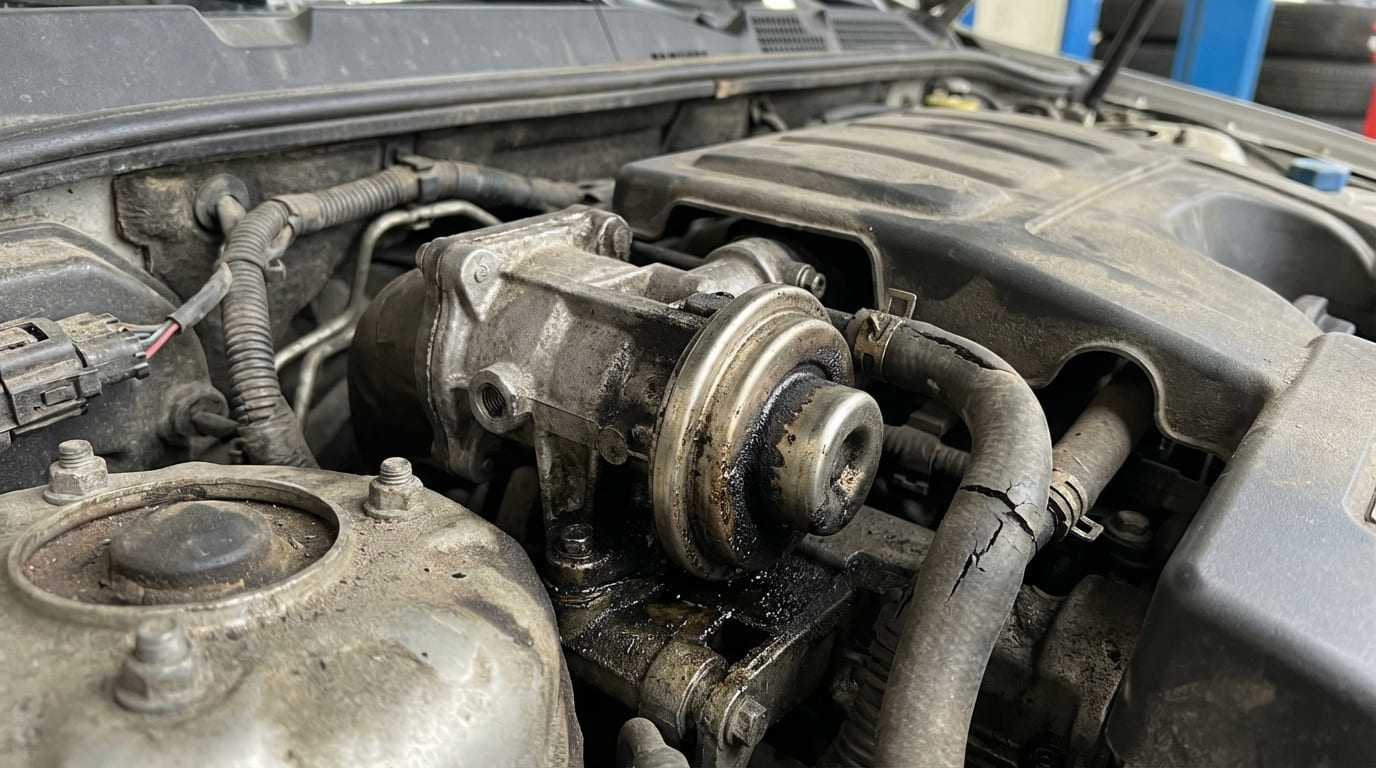
| Reduced performance | Clogged fuel filter, EGR valve stuck open | Estimated timing due to CKP fault, catalytic converter blockage | Rule out mechanical restrictions first |
Step-by-Step Diagnosis of a CKP Sensor
Replacing the sensor without testing is expensive guesswork. Follow these steps to confirm the fault.
1. Use an OBD2 Scanner with Live Data
Connect a capable scan tool and watch RPM during cranking. A working CKP will show a steady rise in RPM (e.g., 150–300 RPM). If it reads zero, jumps erratically, or freezes, the signal is compromised.
I’ve seen technicians replace CKP sensors because the scanner showed no RPM—only to find out the scan tool wasn’t compatible with that vehicle’s protocol. Always verify tool reliability.
2. Perform a Visual Inspection
Locate the sensor—usually near the crankshaft pulley, flywheel, or harmonic balancer. Check for:
- Oil, metal debris, or dirt on the sensor tip
- Cracked housing or damaged wiring
- Loose mounting or incorrect air gap
- Chafed, melted, or rodent-damaged wiring along the harness
Clean the sensor bore with electrical contact cleaner if contaminated.
3. Test with a Multimeter (Inductive Sensors Only)
For variable reluctance (inductive) sensors, unplug the connector and measure resistance across the terminals.
| Sensor Type | Expected Resistance |
|---|---|
| Inductive (VR) | 500–1,500 Ω (varies by make) |
| Hall Effect | Not testable with resistance—requires power and signal check |
An open circuit (infinite resistance) means the internal coil is broken. A reading within spec doesn’t guarantee functionality under load.
4. Test with an Oscilloscope (Most Accurate Method)
An oscilloscope shows the actual signal waveform. This is the gold standard for diagnosing intermittent issues.
- Inductive Sensor: Should produce a clean sine wave. Low amplitude or distortion indicates weakness.
- Hall Effect Sensor: Outputs a square wave, typically switching between 0V and 5V or 12V. Look for consistent voltage and timing.
How to Test: Back-probe the signal wire while cranking. Watch for dropouts, noise, or signal collapse—especially when the engine is hot.
In my 20 years of diagnostics, I’ve found at least one CKP sensor per month that tests fine with a multimeter but fails under heat. If the problem is intermittent, scope it hot.
Repair vs. Replace: Cost and Viability
CKP sensors typically cost $30–$120. Labor ranges from 0.5 to 2 hours depending on location. Consider:
- Sensors at the harmonic balancer may require pulley removal—increasing labor.
- Flywheel-mounted sensors often need transmission removal—making replacement costly.
- Aftermarket sensors vary in quality. For high-mileage vehicles, OEM is recommended.
Repair Tip: If wiring is damaged near the sensor, repair it with heat-shrink butt connectors. Avoid tape or wire nuts.
Critical Best Practices and Pitfalls to Avoid
- ✅ Always clean the sensor bore and mounting surface. Debris can alter the air gap and weaken the signal.
- ✅ Check the air gap with a plastic feeler gauge if specified. Too close risks damage; too far reduces signal strength.
- ✅ Inspect the reluctor wheel (tone ring) for damaged or missing teeth. A bent tooth or cracked harmonic balancer can mimic sensor failure.
- ⚠️ Never assume a new sensor is good. I’ve installed defective units from reputable brands—always verify signal after replacement.
- ⚠️ Don’t reuse old mounting bolts if corroded or stretched. Some are torque-to-yield and must be replaced.
- ⚠️ Always test drive after replacement. Intermittent faults may only appear under heat, vibration, or load.
Situation: A 2010 Honda Accord cranks but won’t start. P0335 stored. Replaced CKP sensor—no change.
Discovery: Scoping revealed no signal. Traced wiring and found a broken wire near the transmission bell housing—damaged during a prior starter replacement.
Lesson: A CKP code doesn’t mean the sensor is bad. Always test the entire circuit: power, ground, and signal return.
Situation: Ford F-150 stalls when hot. P0339 intermittent. Replaced CKP twice—no fix.
Discovery: Scope showed signal dropouts. Found the reluctor ring inside the harmonic balancer had slipped due to degraded rubber.
Lesson: The tone ring is part of the system. On high-mileage vehicles, inspect the balancer for separation.
Situation: Subaru with rough idle and no-start. P0335 and P0340 (CMP) both present.
Discovery: Oil from a rear main seal leak had soaked both sensors and wiring harness.
Lesson: When multiple sensors fail together, look for a common cause—contamination, voltage issues, or physical damage.
Diagnosing a faulty crankshaft position sensor requires more than reading codes. Use live data, visual inspection, and ideally a scope to verify the signal. Always check the entire system—sensor, wiring, and reluctor ring—before replacing parts. When in doubt, consult the factory service manual for specifications and test procedures unique to your vehicle.