In my shop, I’ve seen more than a few engines torn down prematurely because someone assumed a blown head gasket based on a single symptom. Real diagnosis requires stacking multiple test results—not jumping to conclusions. This guide delivers proven, non-invasive methods to accurately assess head gasket integrity, including step-by-step diagnostics, tool requirements, cost considerations, and expert insights to avoid costly mistakes.
Start with the Basics: Symptom Clusters and Look-Alikes
Many cooling and engine issues mimic a blown head gasket. Always rule out simpler, cheaper causes first. Focus on symptom combinations—not isolated signs. Below are the most common red flags and what else they could mean.
How to Check: External Inspection and Fluid Analysis
Begin with a cold engine. Visually inspect for leaks, residue, and fluid condition. Pay attention to these key areas:
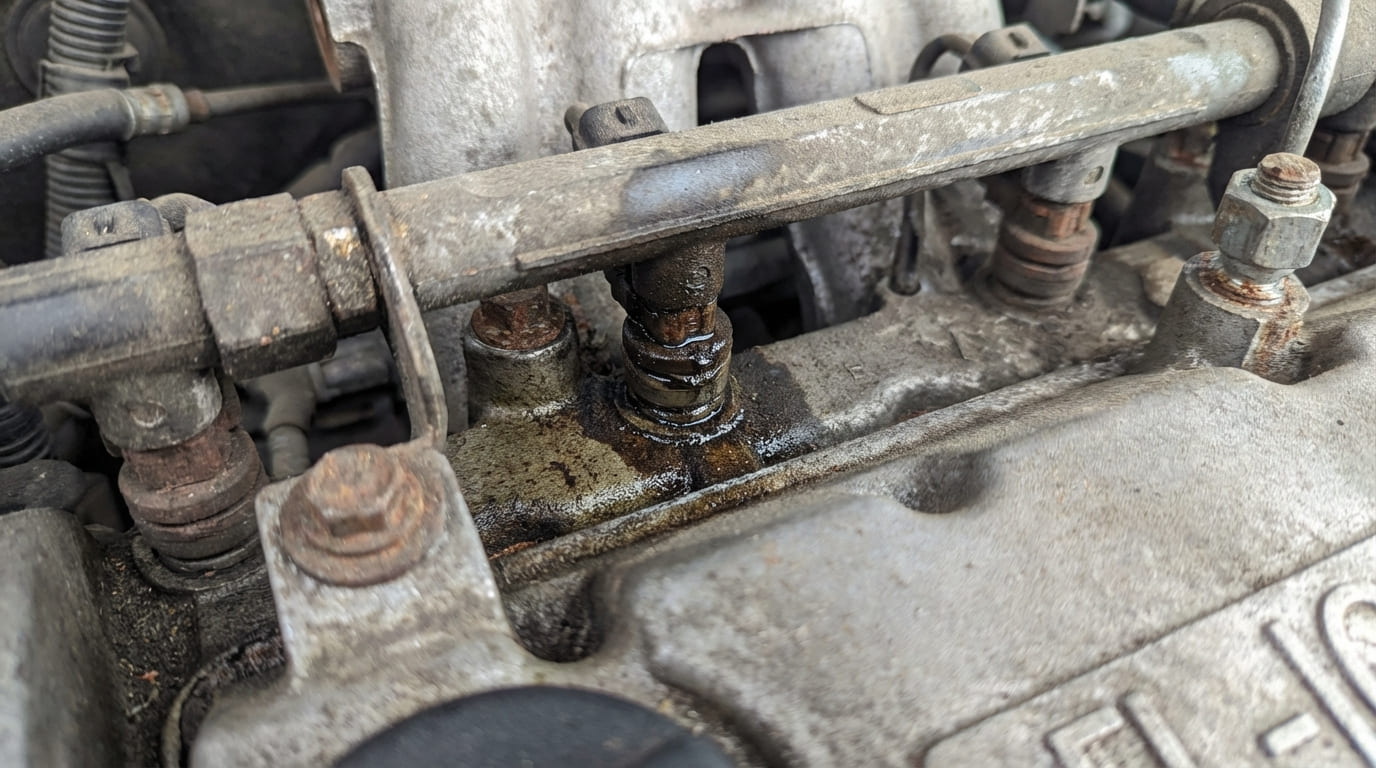
- Coolant seepage along the cylinder head-to-block seam may indicate gasket failure—but also check for warped heads or loose bolts. Aluminum heads are especially prone to warping after overheating.
- Sweet-smelling white smoke from the exhaust on a warm engine suggests coolant burning in a cylinder. But on many V6 engines, a leaking intake manifold gasket can cause nearly identical symptoms.
- Bubbling in the coolant overflow tank while idling may point to combustion gases entering the cooling system. However, air pockets after a coolant refill can cause temporary bubbling—retest after two full heat cycles.
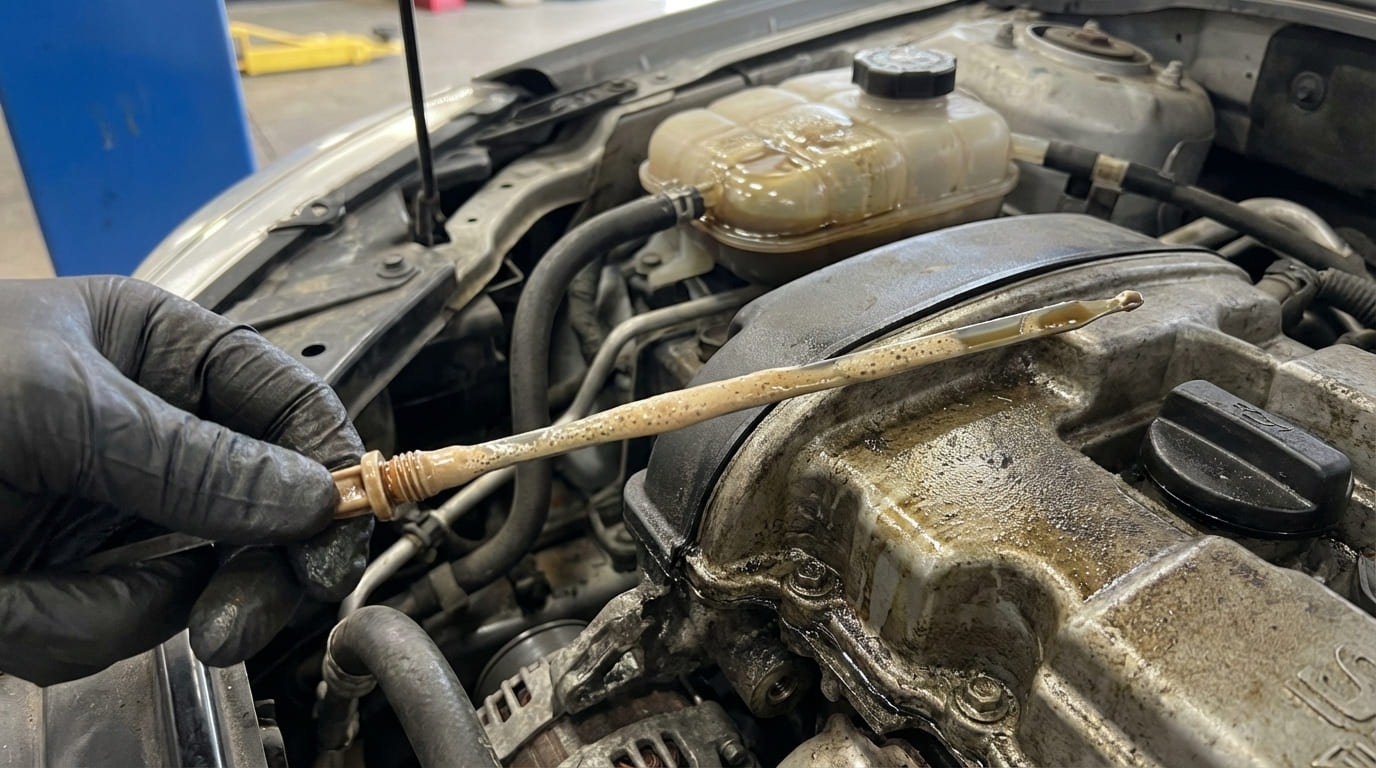
- Thick, mayonnaise-like sludge on the dipstick or under the oil cap is strong evidence of coolant in oil. Light condensation, especially in cold climates or short-trip drivers, is normal and not diagnostic.
In my shop, we never pull a head based solely on milky oil. We first confirm with a block test and pressure test. More than once, we’ve saved a customer $1,200 by diagnosing a failed oil cooler instead.
Step-by-Step Diagnostic Tests (No Engine Disassembly)
Use these tests in sequence. Each builds on the last, increasing diagnostic confidence.
1. Radiator Cap Pressure Test (Cost: $10–$30 tester, $15–$40 cap)
A weak radiator cap is one of the most common causes of cooling system failure—and it mimics head gasket symptoms like overheating and coolant loss.
How to Check:
- Remove the radiator cap when the engine is cold.
- Use a hand pump pressure tester with a cap adapter.
- Pressurize to the cap’s rated psi (e.g., 15 psi) and hold for 2 minutes.
If pressure drops more than 1–2 psi, the cap is faulty. Replace and retest the cooling system before proceeding.
I test every radiator cap on every cooling system job. A $25 cap has saved me from misdiagnosing a blown gasket more times than I can count.
2. Cooling System Pressure Test (Cost: $50–$100 tester)
This test checks if the cooling system holds pressure. A drop indicates internal or external leakage.
How to Check:
- Ensure the engine is cold. Attach the pressure tester to the radiator neck or overflow tank.
- Pump to the OEM-specified pressure (typically 15–20 psi).
- Hold for 15–20 minutes.
A drop of more than 2 psi with no external leaks suggests internal leakage—into the combustion chamber, oil passages, or transmission cooler. This test doesn’t identify the source, only confirms leakage.
3. Exhaust Gas in Coolant Test (Chemical Block Test) (Cost: $30–$50 kit)
This is the most reliable field test for combustion gases in the cooling system.
How to Check:
- Warm the engine to operating temperature. Ensure the thermostat is open.
- Remove the radiator cap (use caution—only when safe).
- Attach the block tester with blue fluid. Draw air from the radiator neck through the fluid.
- Observe color change: blue to yellow/green indicates CO₂ from combustion.
Repeat while slightly revving the engine. Intermittent leaks may only appear under load.
False negatives happen. If symptoms persist but the test is negative, repeat under load. I’ve caught hairline cracks this way.
4. Cylinder Leak-Down Test (Cost: $100–$180 gauge, requires air supply)
This test identifies where compression is escaping—and whether it’s going into the cooling system.
How to Check:
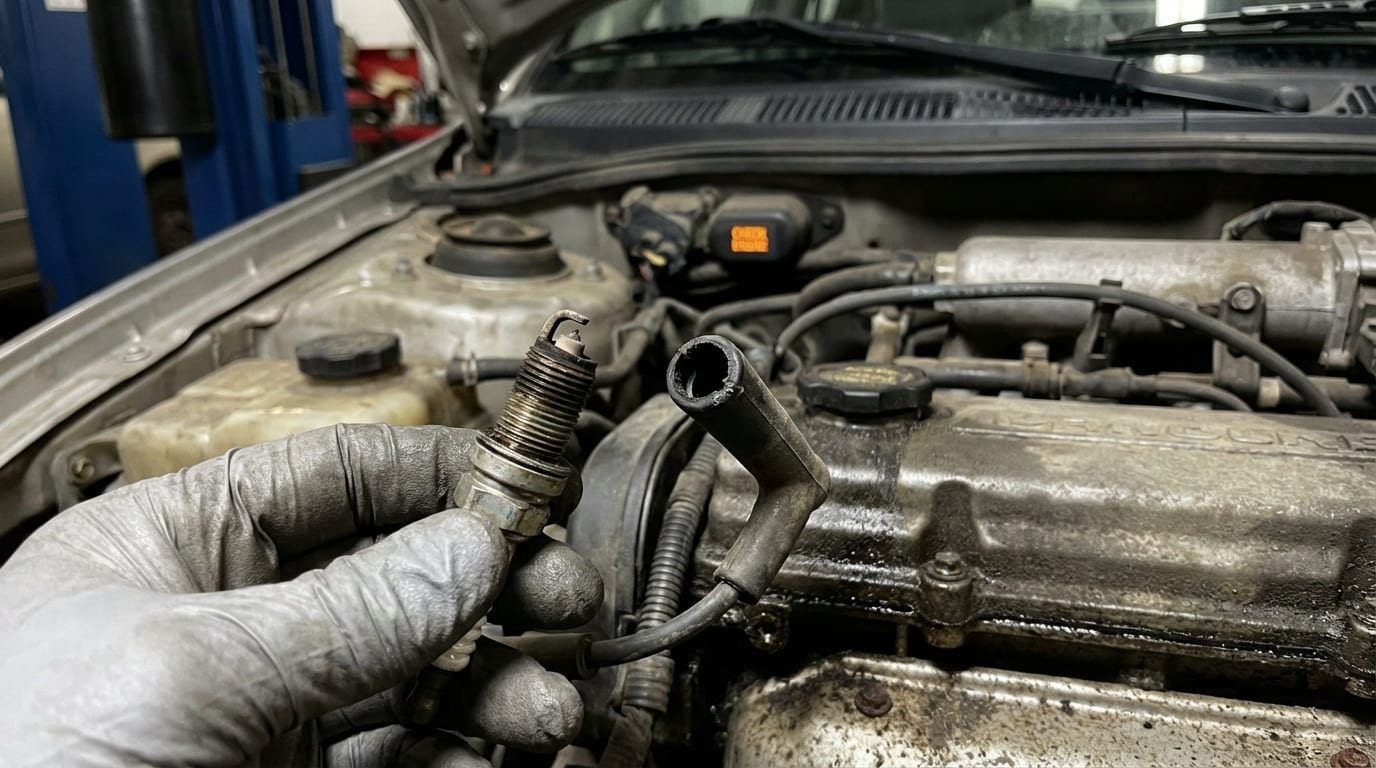
- Warm the engine, then remove all spark plugs.
- Rotate each cylinder to top dead center (TDC) on compression stroke.
- Connect regulated shop air (100 psi input) to the spark plug hole.
- Record the percentage of leakage.
Listen and observe for escape points:
- Bubbling in radiator = combustion-to-coolant leak (head gasket, cracked head).
- Hisssing in adjacent cylinder = gasket failure between cylinders.
- Sound from oil fill = likely ring or cylinder wear (not typically gasket).
More than 15% leakage warrants investigation. Performance engines may have tighter limits (8–10%).
5. Engine Oil Analysis (Cost: $30–$50 per sample)
Lab testing can detect glycol, sodium, or potassium—indicating coolant in oil—before visible sludge forms.
How to Check:
- Sample oil mid-drain during an oil change (not from the bottom).
- Use a lab kit (e.g., Blackstone, Oil Analyzers Inc).
- Wait 3–5 days for results.
A positive glycol result confirms coolant in oil—but not the source. Could be head gasket, oil cooler, EGR cooler, or transmission cooler.
Repair vs Replace: Cost and Viability Guide
If tests confirm a blown head gasket, consider:
- Vehicle age and mileage: Is a $1,200 repair justified?
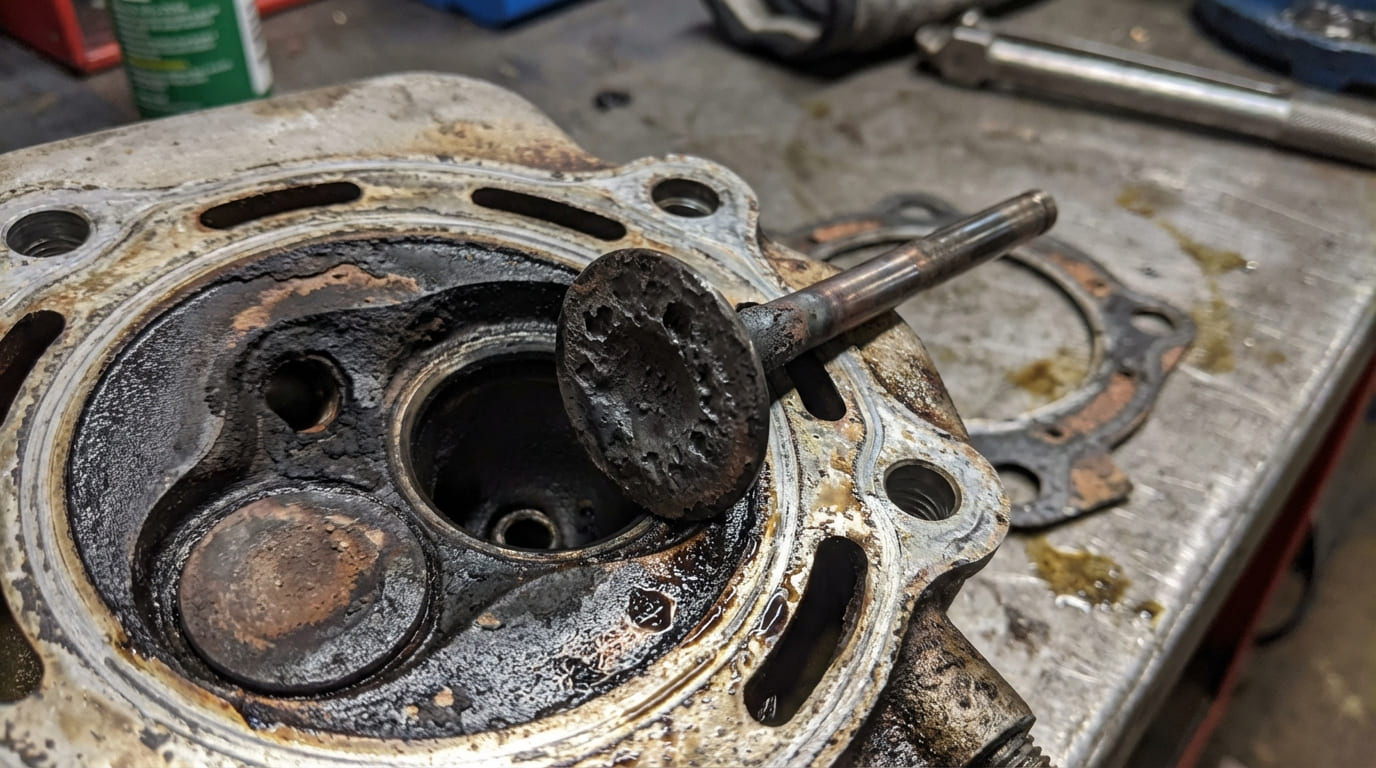
- Underlying cause: Did the engine overheat? If so, check head flatness—warped heads require machining or replacement.
- Secondary damage: Coolant in oil can ruin bearings. Flush the system and check oil pressure.
Typical repair costs:
| Component | Cost Range |
|---|---|
| Head gasket set | $80–$250 |
| Head resurfacing (if needed) | $150–$300 |
| Labor (6–10 hours) | $800–$1,500 |
| Total (average) | $1,000–$2,000 |
In my shop, we always measure head flatness after removal. On aluminum heads, anything over 0.002″ out of flat means machining or replacement. Skipping this step risks repeat failure.
Best Practices and Common Pitfalls
- ✅ Test the radiator cap first—it’s the cheapest and most overlooked cause.
- ✅ Perform the block test with a fully warmed engine and open thermostat.
- ✅ Clean spark plug threads before leak-down testing to ensure a good seal.
- ⚠️ Never reuse torque-to-yield (TTY) head bolts unless the manual allows it. They lose clamping force.
- ⚠️ Don’t assume milky oil means a blown gasket—rule out driving conditions and oil cooler leaks.
- ⚠️ Never rely on one test. Stack pressure test, block test, and leak-down for confidence.
Diagnostic Scenarios and Recommended Tests
| Symptoms | Most Likely Causes (in order) | Confirmatory Test |
|---|---|---|
| White smoke, coolant loss, bubbling in overflow | Blown head gasket > cracked head > intake manifold leak (V6) | Block test + pressure test |
| Overheating, firm hoses, no leaks | Faulty radiator cap > air pocket > head gasket | Radiator cap test + system bleed |
| Oil contamination, no overheating | Head gasket leak > failed oil cooler > internal crack | Oil analysis + visual inspection |
| Rough idle, misfire, no coolant loss | Intake gasket leak > head gasket leak into intake > valve issue | Block test + intake inspection |
Real-World Case Studies
Situation: 2012 F-150, 140k miles, white smoke, low coolant.
Assumption: Blown head gasket.
Discovery: Block test negative, pressure test held. Found a cracked plastic intake manifold leaking coolant into the plenum.
Lesson: Not all coolant-in-combustion is a head gasket. Test before you tear down.
Situation: Subaru overheating, bubbling overflow, faint block test positive.
Assumption: Head gasket failure.
Discovery: Leak-down test showed 12% loss with radiator bubbles. Disassembly revealed warped heads (0.005″ out of flat), not gasket failure.
Lesson: Heads warp. Always check flatness—especially on overheated aluminum heads.
Situation: BMW with intermittent overheating, firm top hose.
Assumption: Early head gasket failure.
Discovery: Cooling system lost 8 psi in 10 minutes. Radiator cap failed its own test—held only 8 psi.
Lesson: A $20 cap can look like a $1,500 engine job. Test the simple stuff first.
Diagnosing a blown head gasket without disassembly is entirely possible—but only with methodical testing. Use multiple data points, interpret results in context, and always consult the vehicle-specific service manual. What’s acceptable on one engine may be catastrophic on another. Save time, money, and engine integrity by testing thoroughly before disassembly.