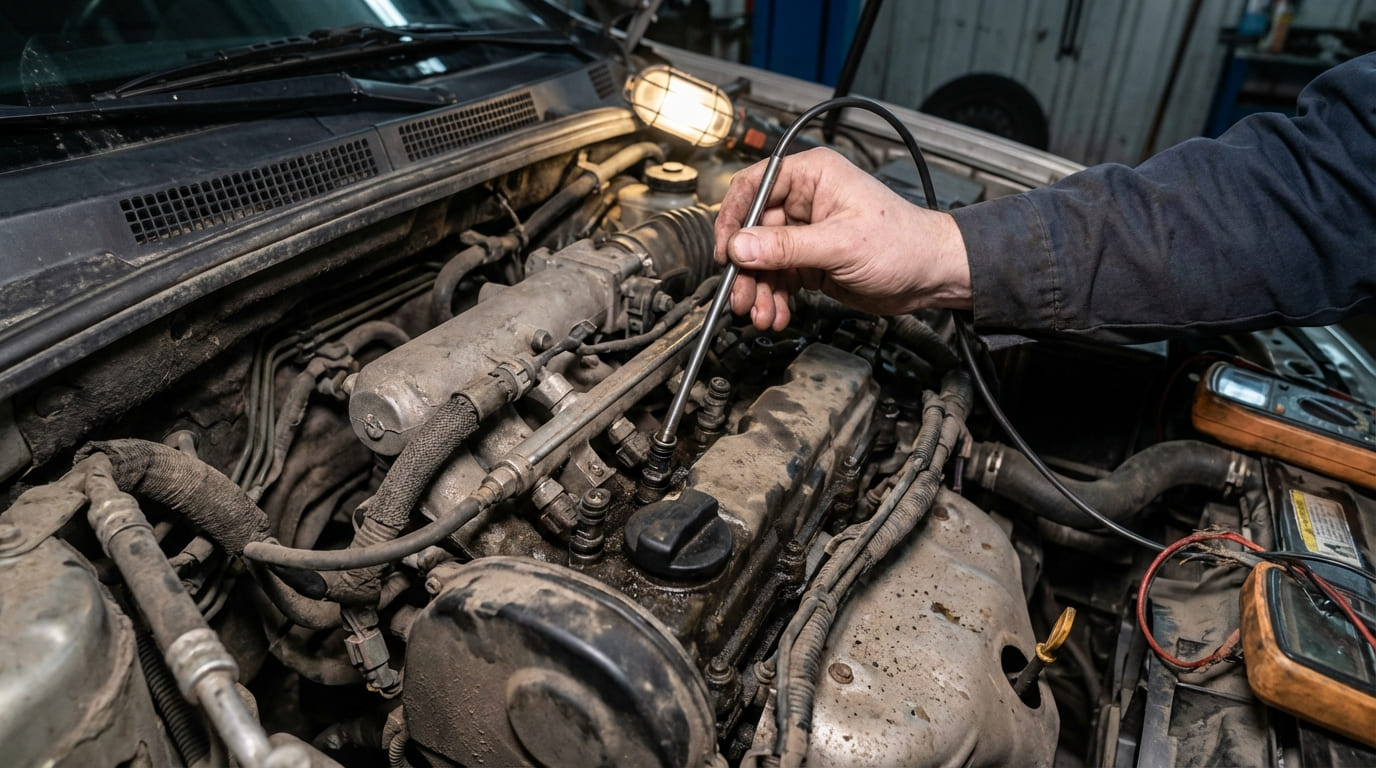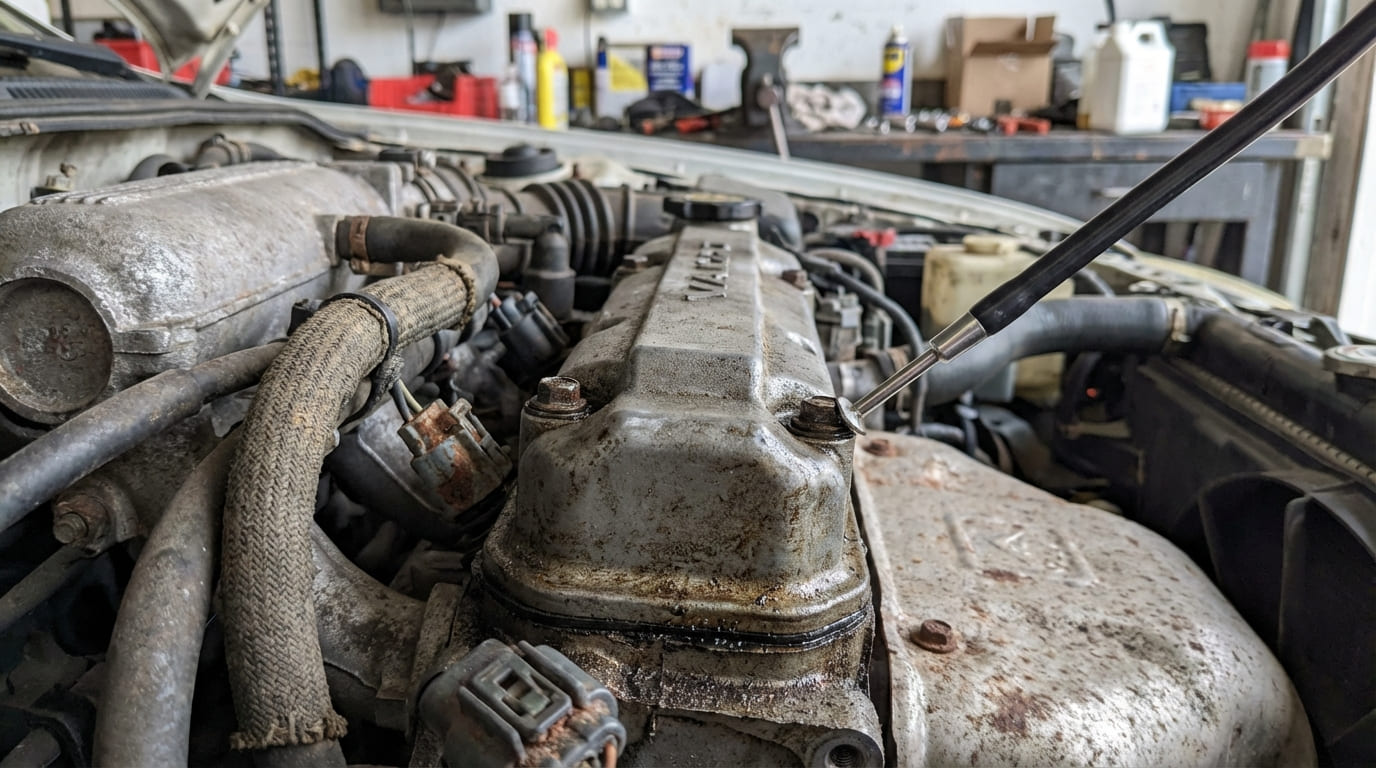
Oxygen sensors are critical to engine performance, but they often fail prematurely due to preventable causes. As a master mechanic, I see countless technicians replace sensors without diagnosing the root issue—leading to repeat failures and wasted money. This guide cuts through the noise and focuses on real-world causes, how to diagnose them properly, and what you should actually do to fix the problem for good.
Common Causes of Oxygen Sensor Failure
Oxygen sensor failure isn’t always about age or wear. Many failures stem from contamination, electrical issues, or mechanical damage. Understanding the cause prevents unnecessary replacements and recurring problems.
Contamination of the Sensing Element
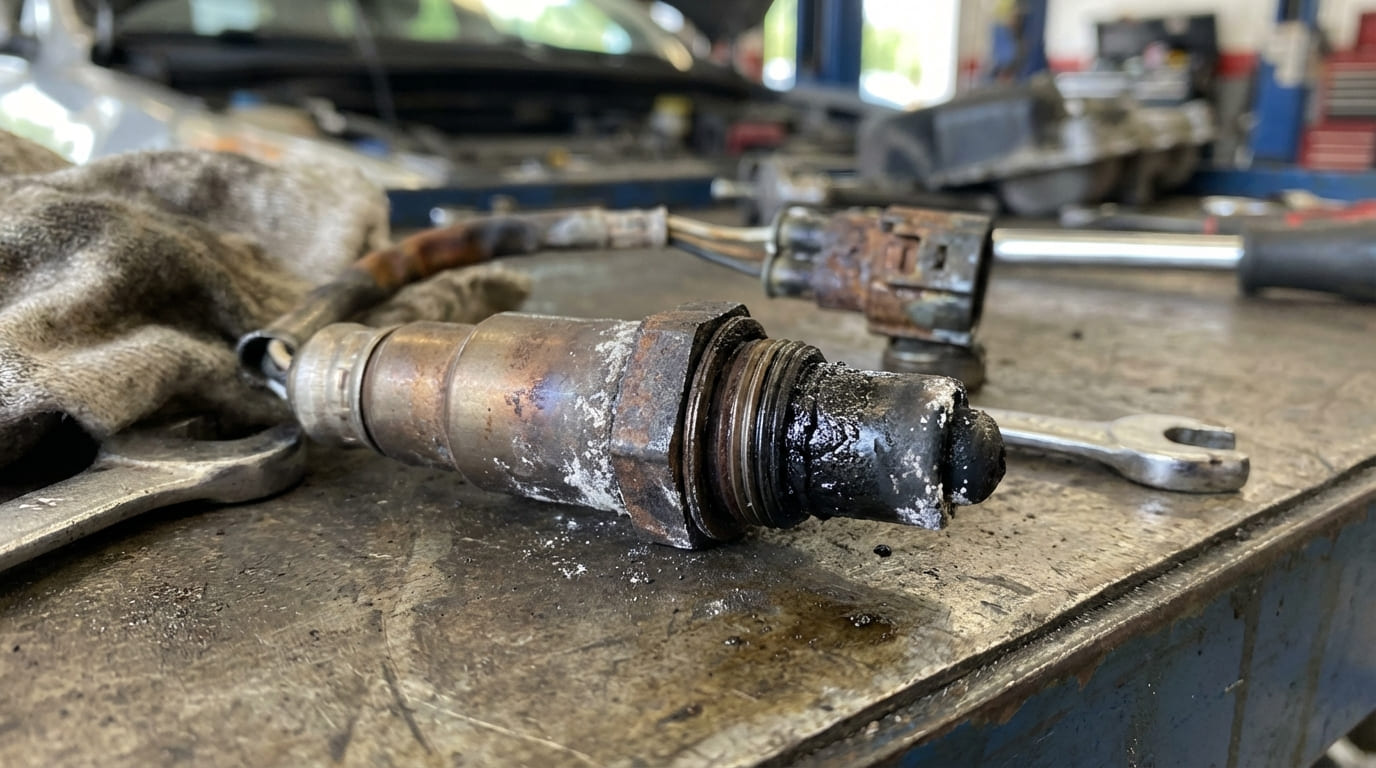
Contaminants from combustion byproducts or improper maintenance coat the sensor’s tip, disrupting its ability to measure oxygen accurately. A visual inspection often reveals the culprit.
- Lead poisoning: Rare today, but still possible with leaded fuel additives. Leaves a reddish-brown crust on the sensor tip. Always ask about fuel treatments before replacement.
- Silicone poisoning: Caused by non-sensor-safe RTV sealants or gasket makers near intake or coolant passages. Results in a white, powdery deposit. Prevention: Use only sensor-safe RTV and avoid over-application.
- Phosphorus poisoning: Comes from burning engine oil, often due to worn valve guides or piston rings. Appears as dark, oily residue. Replacing the sensor without fixing oil consumption is a waste.
- Sulfur poisoning: From high-sulfur fuel. Causes yellow-brown deposits. Less common with ultra-low-sulfur diesel and gasoline, but still seen in older fleet vehicles or imported fuel markets.
In my shop, we never replace a contaminated sensor without checking for engine oil consumption or improper sealant use. Fix the source, or the new sensor will fail in months.
Heater Circuit Failure
Modern heated oxygen sensors (HO2S) need to reach 600°F+ quickly to function. Heater failure triggers codes like P0135 or P0030 and is one of the most common failure modes.
How to Check:
- Disconnect the sensor and measure resistance across the heater wires with a multimeter. Most sensors read 4–15 ohms. No reading means an open circuit; near zero indicates a short.
- Check for 12V supply and a solid ground at the connector with the key on. A blown fuse or corroded ground can mimic a bad sensor.
I once traced a recurring P0135 code to a corroded ground pin in the harness connector—not the sensor itself. Always test the entire circuit, not just the sensor.
Physical and Thermal Damage
Sensors are fragile. Physical impact, overheating, or improper installation can kill them fast.
- Impact damage: Road debris or improper lifting can crack the ceramic element. Inspect the sensor body and exhaust bung for dents or bends.
- Overheating: Caused by chronic misfires, extremely rich mixtures, or exhaust restrictions. Temperatures over 1,600°F can melt the sensor tip. Use an infrared pyrometer to check exhaust temps if misfires are suspected.
- Over-tightening: Exceeding torque specs (typically 30–45 ft-lbs for M18x1.5) can crack the ceramic or distort the housing. Always use a torque wrench.
Electrical and Wiring Issues
Wiring problems are more common than people think—especially in older vehicles or rodent-prone areas.
How to Check:
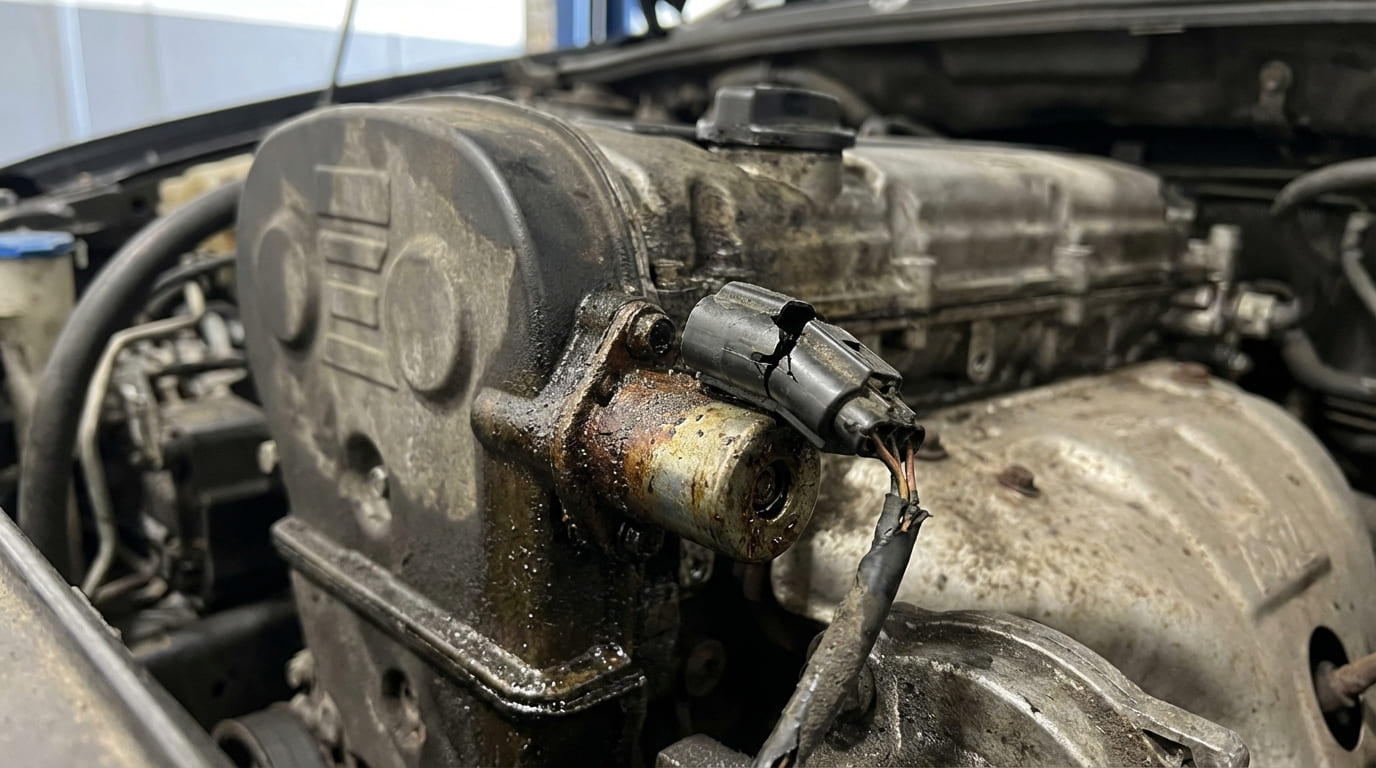
- Inspect the wiring harness along the exhaust path for abrasion, melted insulation, or rodent damage.
- Check for voltage ripple from a failing alternator. Use an oscilloscope: more than 50mV ripple can damage sensitive sensor circuitry.
- Test for continuity and shorts in the signal and heater circuits. Look for chafed wires near hot exhaust components.
A customer came in with a P0156 that returned after two sensor replacements. I found chewed wires behind the engine—mice had nested there. Always inspect the full harness before blaming the sensor.
Exhaust System Problems
Exhaust issues can make a good sensor read incorrectly, leading to false diagnoses.
- Exhaust leaks before the upstream sensor: Introduce outside air, causing a false lean reading. Triggers P0171/P0174. Diagnose with a smoke test or propane enrichment near the manifold.
- Blocked reference air passage: The sensor needs ambient air for comparison. If the vent hole is clogged with oil or dirt, readings drift. Clean the housing or replace if blocked.
Installation and Compatibility Errors
Even a high-quality sensor will fail quickly if installed wrong or if the wrong type is used.
- Wrong sensor type: Don’t assume connector compatibility means functional compatibility. Wideband sensors output a current signal; narrowband sensors use voltage. Swapping them causes incorrect fuel trims.
- Anti-seize on the sensing tip: Never apply lubricant to the tip. It blocks oxygen diffusion. Only use a small amount on the threads—if the sensor doesn’t come pre-lubricated.
- Cross-threading: Always start the sensor by hand. Forcing it with a wrench can strip the bung. Use a thread chaser if needed, but avoid cutting new threads unless absolutely necessary.
In my shop, we always hand-start every oxygen sensor. If it doesn’t thread smoothly, we stop, inspect, and clean the bung. It takes two extra minutes and saves a costly repair.
Diagnosing Oxygen Sensor Failure: A Practical Approach
Don’t replace a sensor based on a code alone. Use these steps to confirm failure and identify the root cause.
Step-by-Step Diagnostic Process
- Scan tool live data: For narrowband sensors, watch for voltage oscillation between 0.1V and 0.9V at idle. Slow or flat response suggests aging or contamination. Short-term fuel trims should react inversely to O2 voltage.
- Oscilloscope test: The gold standard. A healthy narrowband sensor should switch from 0.1V to 0.9V in under 100ms. Sluggish response = degraded sensor.
- Heater circuit test: Check resistance (4–15 ohms), supply voltage (12V with key on), and ground integrity. A voltage drop test on the ground side reveals hidden resistance.
- Visual inspection: Remove the sensor and examine the tip. Color and deposits tell the story:
- White: Silicone
- Black, sooty: Rich mixture
- Dark, oily: Oil consumption
- Reddish-brown: Lead
Repair vs Replace: Cost and Viability
Oxygen sensors range from $50 to $250+ for OEM-quality parts. Labor adds $100–$200 if done professionally. But replacement only makes sense if:
- The sensor is electrically faulty (open heater, no signal).
- It shows clear contamination with no underlying engine issue.
- Mileage exceeds 100,000 (upstream) or 150,000 (downstream) with no other issues.
If the sensor is contaminated due to oil consumption, exhaust leaks, or electrical faults—fix those first. Replacing the sensor without correction leads to repeat failure.
Common Failure Scenarios and Root Causes
| Symptom / DTC | Most Probable Causes | Less Common but Possible |
|---|---|---|
| P0135 (Heater Circuit Malfunction) | Open/shorted heater element, blown fuse, wiring damage from heat | PCM heater driver failure, poor ground at connector |
| Slow O2 response (scope) | Aging, silicone/oil contamination, lead exposure | Exhaust leak affecting flow, low operating temperature |
| Stuck lean reading | Exhaust leak upstream, vacuum leak, low fuel pressure | Blocked reference air passage, contaminated element |
| White residue on tip | Silicone poisoning (RTV, coolant) | Mineral deposits from coolant ingestion |
| P0420 with good upstream sensor | Catalytic converter failure | Downstream sensor aging, exhaust leak near converter |
Situation: 2014 F-150 with P0171 and lean O2 readings. New sensor installed—no change.
Diagnosis: Smoke test revealed a cracked exhaust manifold only visible under load.
Lesson: The sensor was correct—it detected real incoming air. Fix the leak, not the sensor.
Situation: Subaru with recurring P0030. Multiple sensors replaced.
Diagnosis: Voltage drop test showed 2.3V loss on the ground side. Corroded connector was the real issue.
Lesson: Test the entire circuit. A bad ground kills sensors faster than age.
Situation: High-mileage Accord with sluggish O2 response. Tip looked clean.
Diagnosis: Bore scope showed worn valve seals. Invisible phosphorus buildup had poisoned the sensor.
Lesson: Internal engine health directly affects sensor life. Fix the engine, not just the exhaust.
Remember: the oxygen sensor is a messenger. It reports what it sees in the exhaust stream. More often than not, a “bad” sensor is actually telling you about a deeper problem—oil consumption, exhaust leaks, electrical faults, or contamination. Always diagnose the system, not just the sensor. Consult the factory service manual for torque specs, test procedures, and waveform standards—because what works on one vehicle may destroy a sensor on another.