Spark plug wire arcing and failure can cause misfires, rough idle, poor fuel economy, and even no-start conditions. As a master mechanic, I’ve seen these issues misdiagnosed as fuel or sensor problems when the root cause lies in the ignition system. This guide cuts through the noise and gives you actionable diagnostics, repair steps, and expert insights to accurately identify and fix spark plug wire issues—whether you’re replacing a single wire or overhauling the entire system.
Common Causes of Spark Plug Wire Failure
Spark plug wires operate under extreme conditions: high voltage (up to 40,000 volts), engine heat, vibration, and chemical exposure. Over time, these stresses degrade materials, leading to arcing or complete failure. The key is knowing *why* they fail and how to verify each cause.
Insulation Breakdown and Environmental Damage
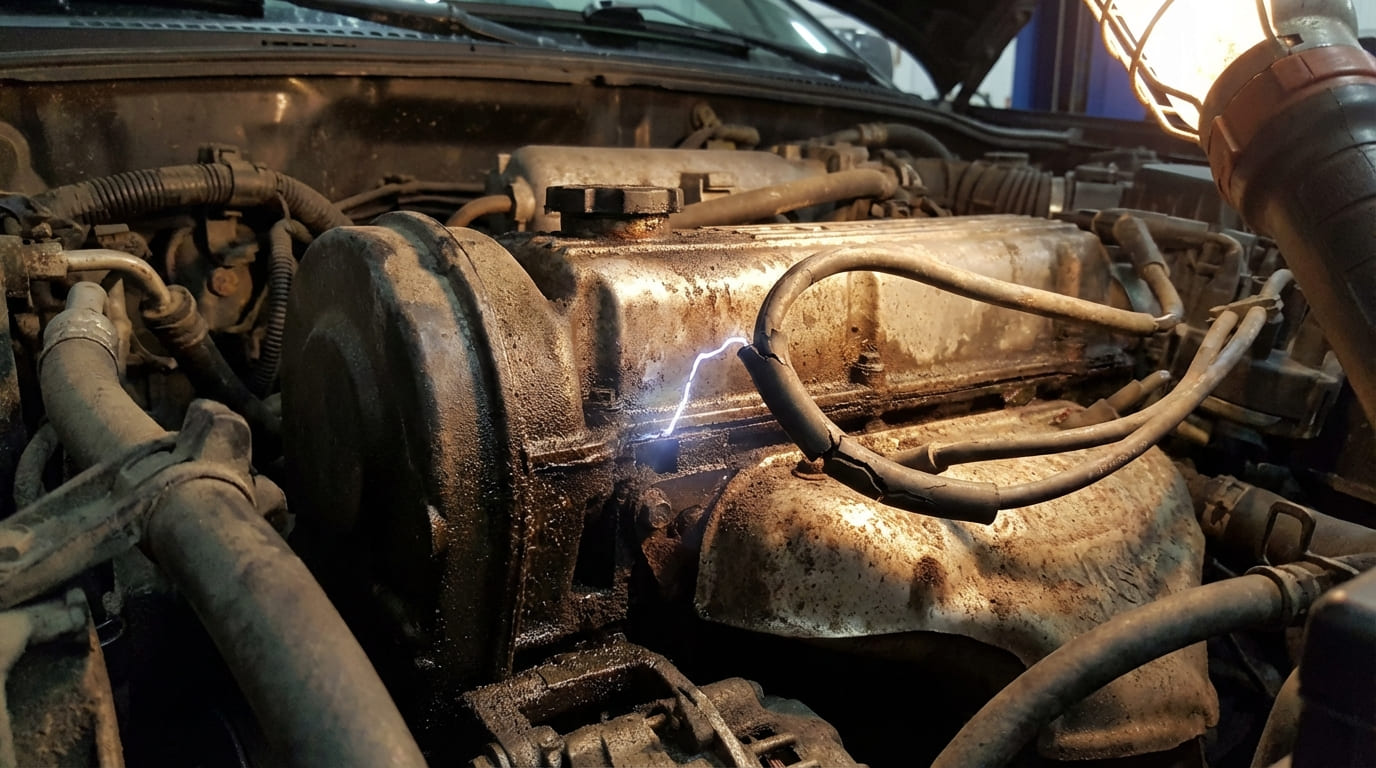
Insulation keeps high voltage contained. When it fails, electricity arcs to ground—often visible at night. The main causes are heat, abrasion, ozone, and chemicals.
How to Check: Perform a visual inspection in low light after dark. Start the engine and look for blue sparks along the wires or at the boots. Use a water mist spray to simulate wet conditions—if misfires appear, insulation is likely compromised.
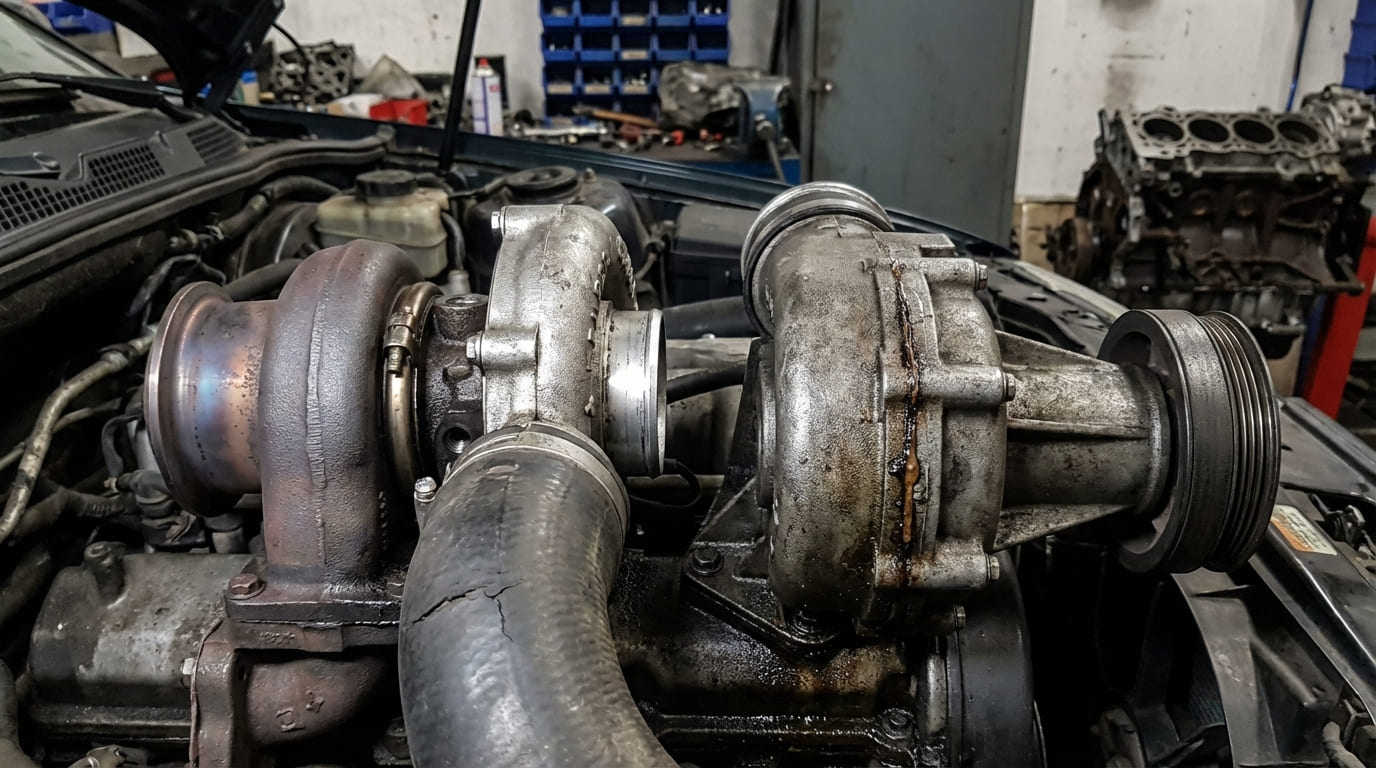
Thermal stress from proximity to exhaust manifolds or turbos causes insulation to discolor, harden, or melt. Silicone insulation resists heat well (up to 260°C), but prolonged exposure above 250°C accelerates aging.
Mechanical abrasion occurs when wires rub against brackets, sharp edges, or belts. Rodents can also chew through insulation, especially in stored vehicles.
Ozone from repeated arcing creates fine cracks in rubber or silicone—called “ozone tracking.” This is common on older systems with marginal coil output or incorrect plug gaps.
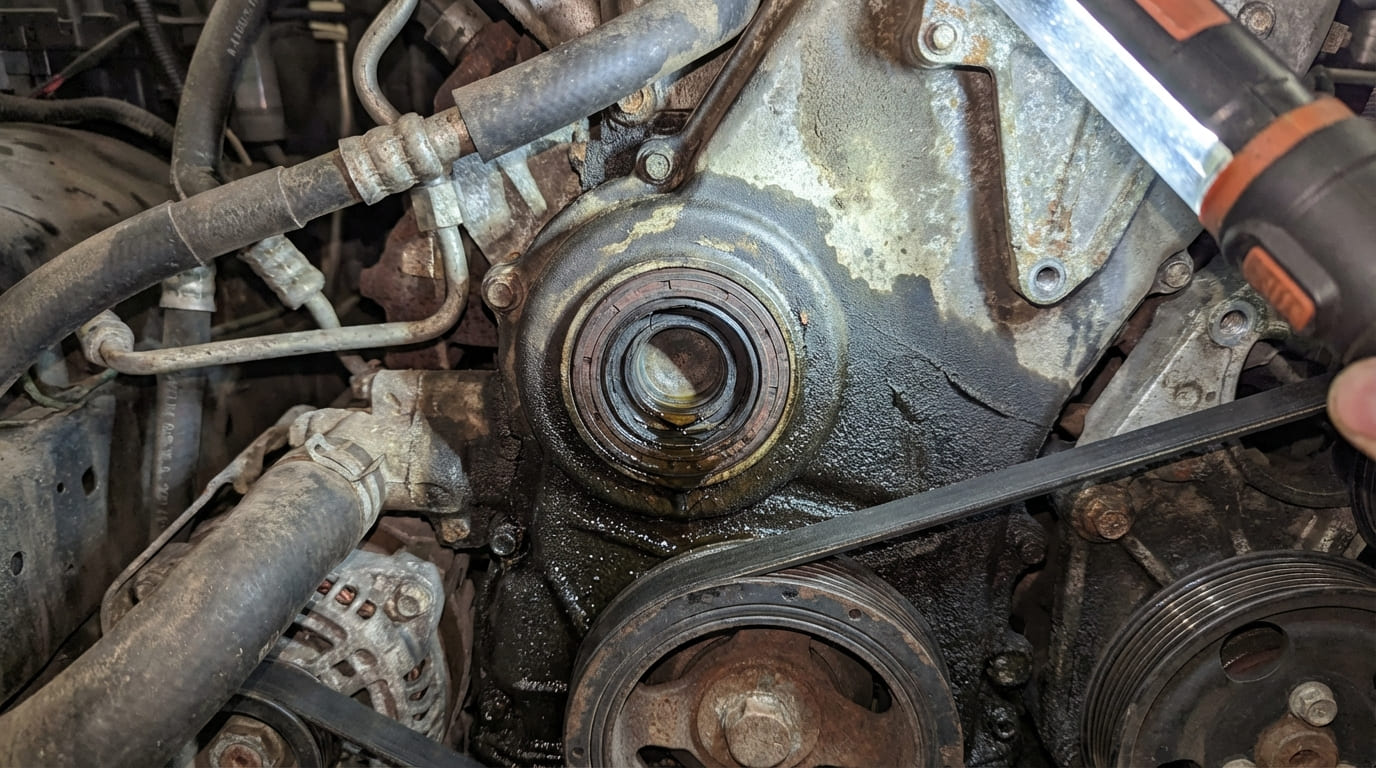
Oil, fuel, or coolant leaks soften insulation and create conductive paths. A leaking valve cover gasket is a frequent culprit—oil collects in the spark plug well and soaks the boot.
In my shop, I always trace wires behind looms and through firewall grommets. Many failures start where you can’t see—especially near sharp metal edges or hot exhaust components.
Conductor and Resistance Issues
The internal conductor carries the spark. Carbon-core wires increase resistance over time; spiral-core (low-resistance) wires are more durable but can suffer broken strands from flexing.
How to Check: Use a digital multimeter to measure resistance end-to-end. Disconnect both ends of the wire and test:
- Carbon-core: 5,000–15,000 ohms per wire (varies by length)
- Spiral-core: 300–1,200 ohms per wire
All wires should read within 20% of each other. A significantly higher reading indicates internal damage or aging.
Perform a wiggle test: monitor resistance while gently bending the wire. A fluctuating reading reveals an intermittent break.
In my experience, internal breaks are often invisible. I’ve diagnosed no-start conditions where the wire looked perfect but had a fractured core only detectable under movement.
Terminal, Boot, and Connection Failures
The connection points—spark plug end and coil end—are critical. Corrosion, loose terminals, or damaged boots increase resistance and create arcing paths.
Corrosion appears as white or green powder on terminals, especially on aluminum heads where galvanic corrosion occurs. Moisture trapped in the boot accelerates this.
Loose terminals increase resistance, generate heat, and degrade over time. To check, remove the boot and gently pull on the metal terminal—if it moves, replace the wire or boot.
Boot punctures or tears allow voltage to escape. Never use pliers to remove wires; always use a proper boot puller. A torn boot may not be visible until removed.
How to Check: Spray a fine mist of water on boots and wires in the dark. Any visible arcing indicates a failure point. Also inspect coil towers and distributor caps for carbon tracking.
Dielectric grease is essential—it doesn’t conduct electricity but seals out moisture and prevents corrosion. I apply it to every boot during installation.
System-Level Causes and Diagnostic Priorities
Replacing wires without addressing root causes leads to repeat failures. The following table helps prioritize diagnostics based on symptoms.
| Symptom | Most Likely Causes | Less Common But Possible | Diagnostic Approach |
|---|---|---|---|
| Visible arcing in dark | Cracked insulation, boot damage, oil/fuel contamination | Excessive plug gap, failing coil | Visual inspection, water mist test, check plug gap |
| Intermittent misfire | Internal wire break, loose terminal, moisture | Carbon tracking, weak coil | Wiggle test, ohmmeter, scope waveform |
| High resistance in one wire | Aged carbon core, internal damage | Poor terminal connection | Ohmmeter end-to-end and at terminals |
| Repeated wire failure | Routing near heat, vibration, oil leak | Coil overvoltage, incorrect plug type | Inspect routing, check for leaks, test coil output |
Electrical and Combustion System Contributors
High firing voltage stresses wires. Conditions that increase spark demand include:
- Lean air/fuel mixture (e.g., clogged fuel filter, vacuum leak)
- High cylinder compression (carbon buildup, wrong plugs)
- Excessive spark plug gap (set incorrectly during tune-up)
- Failing ignition coil (internal shorts causing voltage spikes)
How to Check: Use an oscilloscope to read secondary ignition waveforms. Normal kV range: 8–15 kV. Consistently over 20 kV indicates excessive demand. Check fuel trims and scan for long-term fuel corrections over +10%—a sign of lean conditions.
On a 2008 V6 pickup with repeated wire failures, I found the root cause wasn’t the wires—it was a clogged fuel filter causing a +18% fuel trim at wide-open throttle. The lean mixture spiked firing voltage beyond what the aged wires could handle. Fix the combustion issue, not just the symptom.
Installation and Routing Mistakes
Poor installation is a leading cause of premature failure. Common errors:
- Pulling on the wire instead of the boot—damages internal conductor
- Routing over exhaust manifolds—exposes wires to extreme heat
- Missing or broken wire separators—increases crossfire and abrasion risk
- Reusing old boots or terminals—aged materials fail quickly
Always follow factory routing diagrams. Use OEM-style clips and looms to secure wires and reduce vibration. Keep wires separated, especially on V6 and V8 engines.
I once diagnosed misfires after a tune-up: the technician used pliers to remove the old wire, tearing the boot. Oil created a conductive path. Always inspect boots and use proper tools—installation damage is preventable.
Repair vs. Replace: Cost and Viability
Spark plug wires typically cost $60–$150 for a full set. Labor: 1–2 hours. Replacing a single wire is rarely worth it—always replace as a set for balanced resistance.
Preventive replacement is recommended at 100,000 miles on high-mileage vehicles, especially those used for short trips (condensation buildup). But if wires test within spec and show no damage, they can last longer.
Aftermarket wires vary in quality. Avoid ultra-low-resistance wires on older vehicles—they can overload stock coils. Stick to OEM-specified resistance values.
A classic muscle car misfired in humid weather. The 15-year-old wires tested fine. The real issue? A worn carbon button in the distributor cap. Voltage jumped through moisture. Always inspect the entire ignition path—failure isn’t always in the wire.
Best Practices Summary
- ✅ Do: Use dielectric grease in boots to prevent corrosion and ease future removal.
- ✅ Do: Replace wires as a set—even if only one appears bad.
- ✅ Do: Clean spark plug and coil terminals with a wire brush before installation.
- ✅ Do: Route and secure wires per factory diagram—use OEM clips and separators.
- ⚠️ Don’t: Reuse old boots or terminals—they degrade over time.
- ⚠️ Don’t: Use pliers to remove wires—always use a boot puller.
- ⚠️ Don’t: Over-gap spark plugs without confirming coil compatibility.
Spark plug wire failure is often a symptom, not the root cause. Diagnose the environment and system conditions that led to failure. Check for heat exposure, vibration, leaks, and electrical overloads. Use proper tools, follow factory specs, and test thoroughly. When in doubt, consult the vehicle-specific service manual for resistance values, routing, and torque specs—what works on one engine may damage another.