In my experience across decades in the shop, neglecting the air filter is one of those “slow killer” maintenance oversights. It doesn’t usually strand you on the side of the road overnight, but it sets off a chain reaction that degrades performance, increases wear, and can eventually lead to expensive repairs. Let me walk you through how it unfolds, how to spot it, and what to do—without oversimplifying the complexity under the hood.
What Actually Happens When the Air Filter Is Never Changed
As the air filter collects dust, dirt, and debris, airflow into the engine drops. The engine control module (ECM) tries to compensate, but only up to a point. When it can’t keep up, performance suffers, fuel economy drops, and mechanical damage becomes possible. The damage progresses in stages—each more severe than the last.
Stage 1: Minor Airflow Restriction – No Obvious Symptoms
At this stage, the filter is dirty but not severely blocked. The ECM detects reduced airflow via the mass airflow (MAF) sensor and adjusts fuel delivery to maintain the correct air-fuel ratio.
How to Check: Use an OBD2 scanner to read Long Term Fuel Trim (LTFT). If LTFT is consistently above +8%, especially at idle, the ECM is adding fuel to compensate. Rule out vacuum leaks first, but suspect the air filter if no other issues are found.
Ignition timing may be slightly retarded to prevent knock from altered combustion. You won’t feel it, but it’s measurable with live data. Power loss is minimal—3–5% on a dyno—but not noticeable in daily driving. Highway fuel economy may drop by 1–2 mpg.
In my shop, we always check fuel trims during routine diagnostics. A creeping LTFT is an early warning sign—fix the filter now and avoid bigger issues later.
Stage 2: Moderate Restriction – Driveability Issues Begin
When airflow drops significantly, the ECM hits its compensation limits. Fuel trims max out, and the engine can no longer maintain proper combustion.
How to Check: At 2500 RPM no-load, a 2.0L engine should pull 9–11 grams per second (g/s) of air. A reading below 7 g/s suggests a restriction. Before replacing the MAF sensor, inspect the air filter and intake path.
Common symptoms include:
- Sluggish acceleration (0–60 mph times increase by 1–2 seconds)
- Fuel economy drops by 15–25%
- Rough idle, hesitation on light throttle, or stalling during warm-up
Diagnostic Trouble Codes (DTCs) like P0171 (“System Too Lean”) may appear—even though the engine is actually running rich due to added fuel. This confuses many DIYers and even some techs. The root cause isn’t a vacuum leak or bad MAF—it’s restricted airflow.
I’ve seen more than one customer replace a perfectly good MAF sensor because they didn’t check the air filter. Always inspect upstream first.
Stage 3: Severe Blockage – Engine Struggles to Run
At this point, the engine is starved for air. The ECM can’t compensate anymore, and driveability collapses.
How to Check: Perform an engine vacuum test. Connect a vacuum gauge to the intake manifold. A healthy engine holds 17–22 inHg at idle. When you snap the throttle open, vacuum should drop to near zero and rebound quickly. A slow or weak rebound indicates intake restriction.
Symptoms include:
- Severe power loss—dangerous during highway merging
- Fuel economy cut in half in extreme cases
- Engine enters limp mode (RPM limited to 2500–3000)
- Potential overheating from high exhaust gas temperatures (especially in turbocharged engines)
DTCs like P0101 (MAF Performance) or P0102 (MAF Low Input) are common. But again—the MAF may be fine. It’s just not getting enough airflow.
On turbocharged engines, I’ve seen EGTs spike over 1600°F due to retarded timing and incomplete combustion. That kind of heat can melt catalytic converters.
Contaminant Bypass and Internal Engine Damage
When the pressure difference across a clogged filter becomes too high, the filter media can tear or collapse. Once that happens, unfiltered air—and all the dirt in it—enters the engine directly.
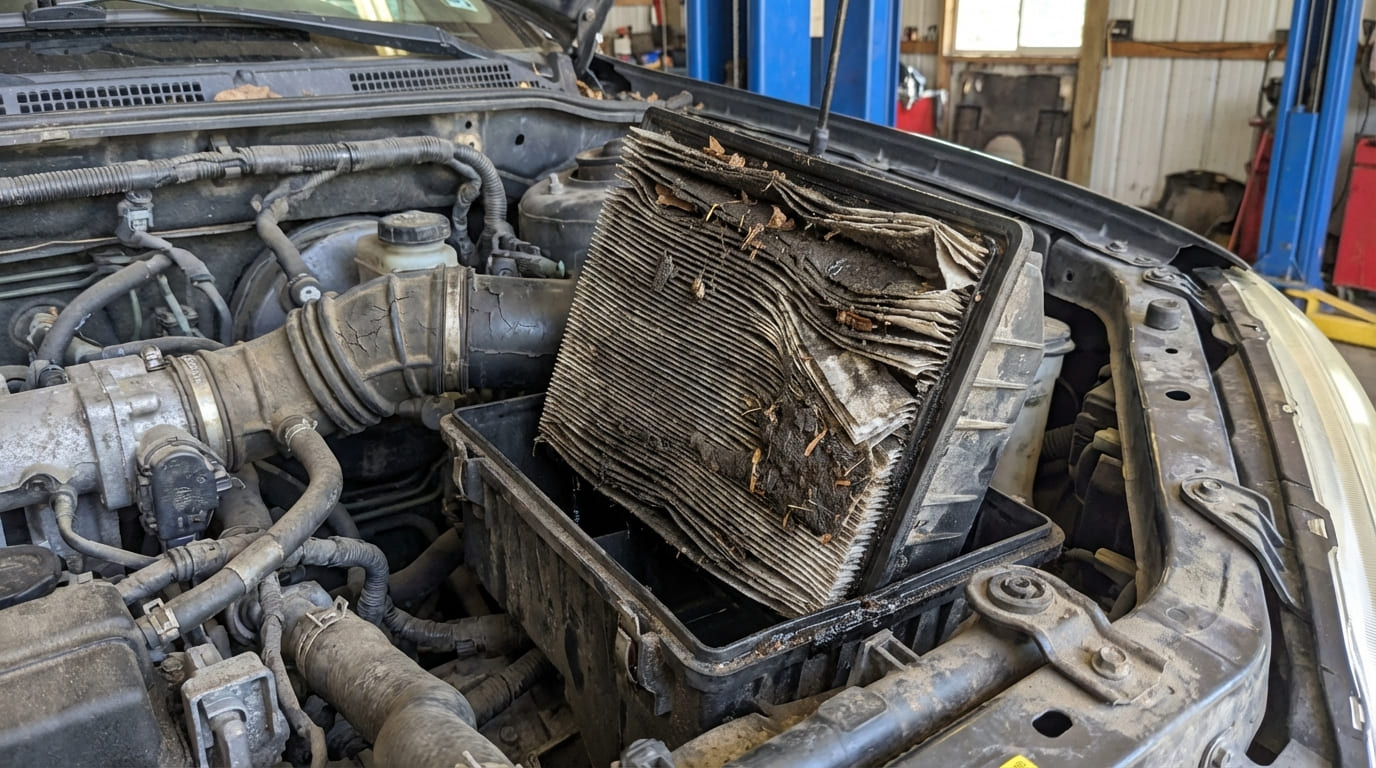
How to Check: Remove the air filter and inspect for:
- Torn or sucked-in pleats
- Oil saturation (common with oiled performance filters)
- Debris inside the housing
- Cracked or warped housing
If the filter looks like it’s been through a dust storm, replace it immediately—even if no codes are present.
Damage Caused by Unfiltered Air
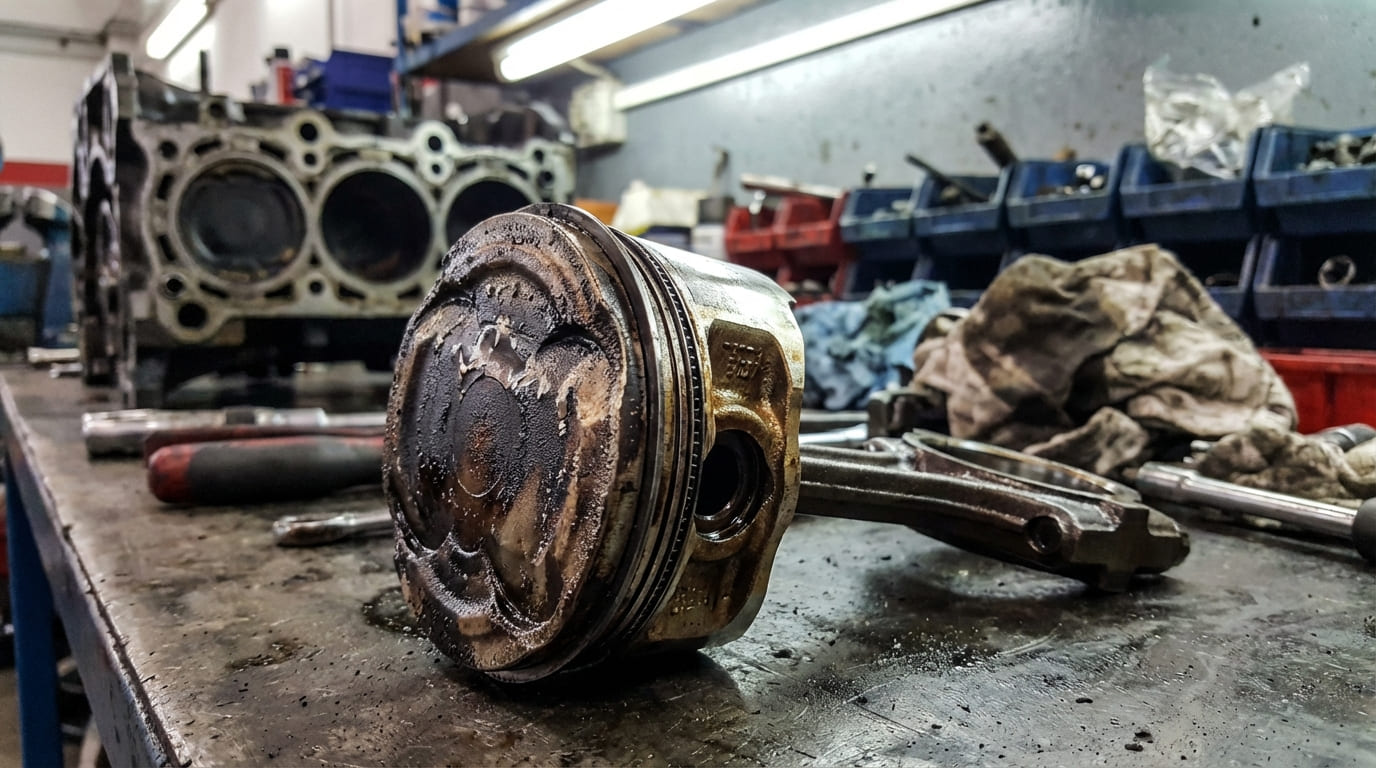
Abrasive particles like silica act like sandpaper on internal components:
- Cylinder walls and piston rings: Scoring leads to compression loss, oil consumption, and blow-by.
- Valve guides and seats: Accelerated wear can cause oil leakage and sticking valves.
- Turbocharger: Dust erodes compressor blades, causing imbalance and bearing failure.
- Engine oil: More contaminants enter the crankcase, increasing wear on bearings and journals.
Oil analysis showing high silicon levels is a dead giveaway of dirt ingestion. In my shop, we’ve seen engines with 30+ psi compression differences between cylinders due to uneven scoring from dirty air.
Sensor and Emissions Damage
Contaminants don’t just damage mechanical parts—they ruin sensors and emissions systems:
- MAF sensor: Oil or dirt from a poorly maintained filter can coat the hot wire, causing inaccurate readings. Cleaning may help, but replacement is often needed.
- O2 sensors: Running rich from over-fueling can foul sensors with soot.
- Catalytic converter: Unburned fuel ignites in the converter, causing it to overheat. Substrates can melt—replacement is the only fix.
- EGR system: Carbon buildup from incomplete combustion clogs passages, leading to idle issues and NOx emissions.
I once diagnosed a melted catalytic converter that traced back to a $15 air filter. The owner had ignored it for 30,000 miles. The fix? $1,200 for the cat, plus labor. Don’t skip this cheap maintenance.
Diagnosis and Repair
Diagnosing air filter issues doesn’t require expensive tools—just a methodical approach.
Step-by-Step Diagnostic Checklist
- Visual inspection: Remove the filter. If it’s dark gray or black, replace it. Look for tears, oil, or debris.
- Check the housing: Ensure the seal is intact and the housing isn’t cracked or warped.
- Scan for DTCs: Look for P0171, P0174, P0101, or P0102.
- Read live data: Monitor MAF (g/s) and fuel trims (LTFT/STFT). High LTFT + low MAF = airflow restriction.
- Vacuum test: Use a gauge to confirm intake restriction. Slow rebound = problem.
- Inspect intake path: Check hoses, clamps, and resonators. A collapsed hose can mimic a clogged filter.
Replacement: Cost and Procedure
Replacing the air filter is one of the cheapest and easiest jobs you can do.
| Part | Cost | Labor (if outsourced) |
|---|---|---|
| OEM Air Filter | $12–$25 | $20–$40 |
| Aftermarket (e.g., K&N) | $30–$60 (reusable) | $0 (DIY) |
Repair vs Replace: Always replace a clogged or damaged filter. Cleanable filters (like K&N) must be properly maintained—over-oiling can damage the MAF sensor.
In my shop, we recommend OEM-style dry filters for most drivers. Oiled filters are great for off-road use, but only if you clean and re-oil them correctly. Most people don’t—and end up damaging their MAF.
Replacement Steps
- Locate the air filter housing (usually top/front of engine bay).
- Open clips or remove screws.
- Remove old filter and clean housing with a damp cloth—no solvents.
- Install new filter, ensuring correct orientation and full seal.
- Reassemble and secure housing—no gaps.
Verification After Replacement
- Clear any stored DTCs.
- Drive for 10–20 minutes to allow fuel trims to relearn.
- Recheck MAF readings and fuel trims—they should normalize.
- Test drive: Confirm smooth idle, responsive throttle, and no hesitation.
Prevention and Best Practices
Preventing air filter issues is simple and cheap.
Service Intervals
Follow your owner’s manual, but adjust for driving conditions:
- Normal driving: 12,000–15,000 miles or 12 months
- Dusty/rural/off-road: Inspect every 5,000 miles; replace as needed
- Construction zones or high pollen: Replace annually regardless of mileage
I tell customers: “Inspect it every oil change.” It takes 60 seconds and can save you hundreds in fuel, sensors, and repairs.
Do’s and Don’ts
- ✅ Inspect the filter at every oil change.
- ✅ Clean the housing before installing a new filter.
- ✅ Check the housing seal and condition—replace if cracked.
- ⚠️ Don’t reuse oiled filters without proper cleaning and re-oiling.
- ⚠️ Don’t install the filter backward or crooked—seal integrity is critical.
- ⚠️ Don’t assume a clean-looking filter is good—some contaminants aren’t visible.
Real-World Scenarios and Lessons
| Symptom | Most Likely Causes | Less Common but Possible |
|---|---|---|
| High LTFT, no power loss | Clogged air filter, vacuum leak | MAF contamination, faulty fuel pressure regulator |
| Low MAF readings at high RPM | Air intake restriction, collapsed hose | Failing MAF sensor, ECU calibration issue |
| Rough idle, P0171/P0174 | Vacuum leak, dirty MAF, clogged filter | Low fuel pressure, exhaust leak near O2 sensor |
| Excessive oil consumption | Worn rings/valve seals, but consider dirty intake air | PCV system fault, turbo seal leak |
| Catalytic converter failure | Chronic rich condition (possibly from over-fueling due to filter) | Ignition misfire, coolant in combustion chamber |
Situation: A 2016 F-150 came in with P0171, poor fuel economy, and hesitation. The owner insisted the “high-flow” air filter was fine—it looked clean.
Discovery: Upon inspection, the oiled filter had thrown oil onto the MAF sensor. The ECM was adding fuel to compensate for what it thought was a lean condition. Cleaning the MAF and replacing the filter with a dry OEM-type fixed the issue.
Nuanced Lesson Learned: Not all filters are created equal. Oiled filters require careful maintenance—if over-oiled or improperly cleaned, they can do more harm than good, especially on MAF-equipped engines.
Situation: A diesel pickup had low power and black smoke. The air filter looked moderately dirty but not clogged. No DTCs present.
Discovery: Under load, the intake hose collapsed slightly. The filter wasn’t fully blocked, but the housing design created high vacuum, and the old hose couldn’t hold shape. Replacing the hose and filter restored performance.
Nuanced Lesson Learned: Restriction isn’t always at the filter. Check the entire intake path—hoses, clamps, and resonators can fail and mimic filter issues.
Situation: A high-mileage Accord had high LTFT and failing compression on two cylinders. The air filter was ancient—pleats collapsed and torn.
Discovery: Bore scope inspection showed vertical scoring in the affected cylinders. Silicon levels in oil analysis were sky-high. The engine had been ingesting dust for months.
Nuanced Lesson Learned: Air filter neglect doesn’t just hurt efficiency—it can cause irreversible mechanical damage. What starts as a $20 part can lead to a $2,000 rebuild.
In my shop, we treat the air filter like insurance. It’s cheap, easy to replace, and protects everything downstream. While some argue it’s a “minor” service, I’ve seen it quietly undermine sensors, fuel economy, and engine longevity. Always consult the specific service manual for your vehicle—intervals and specs vary more than you’d think.