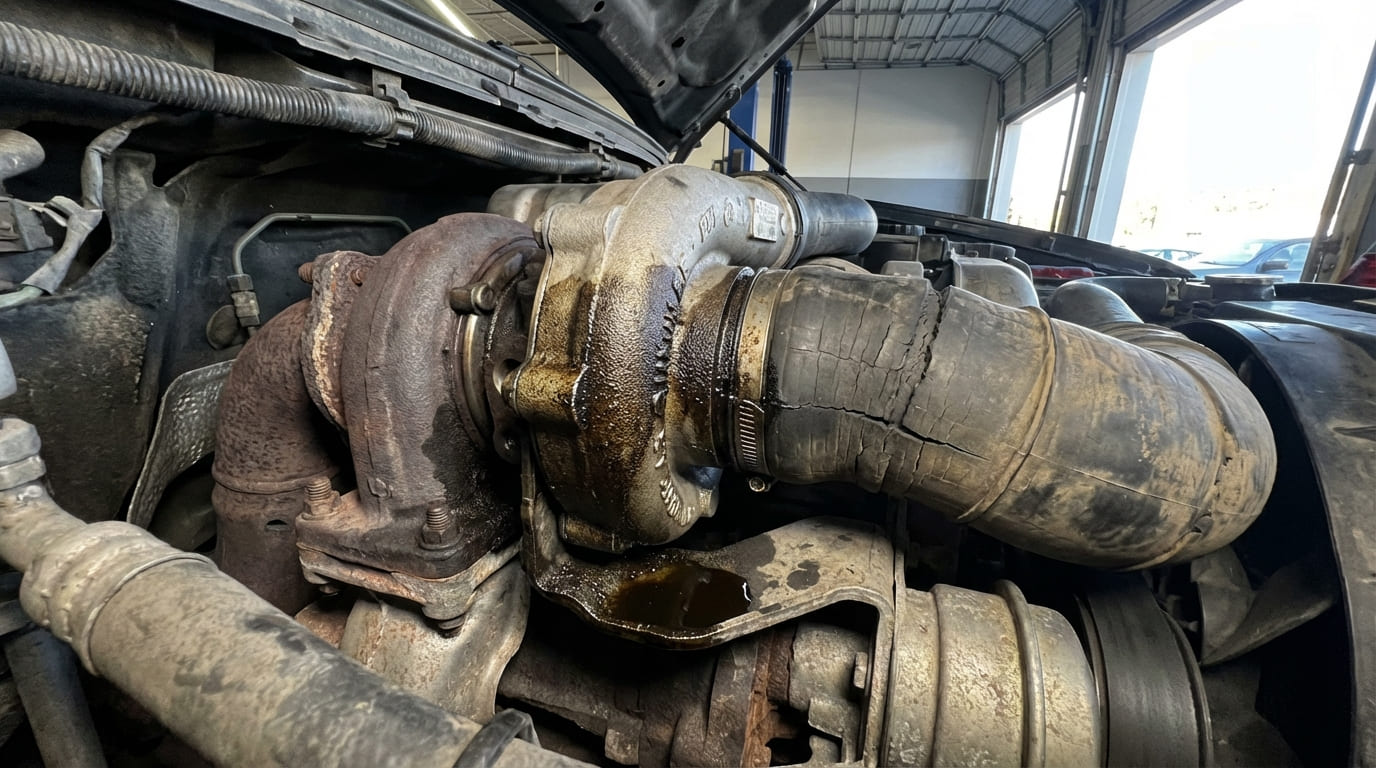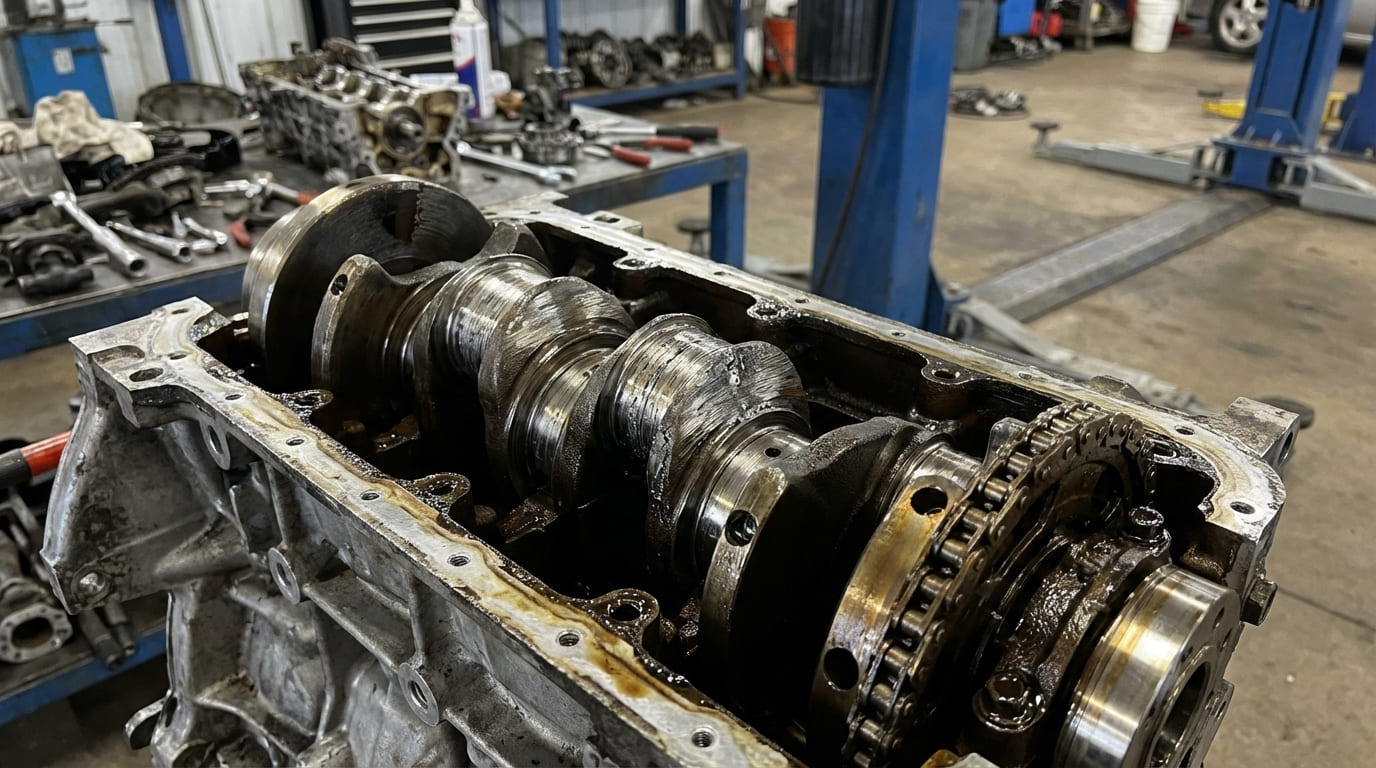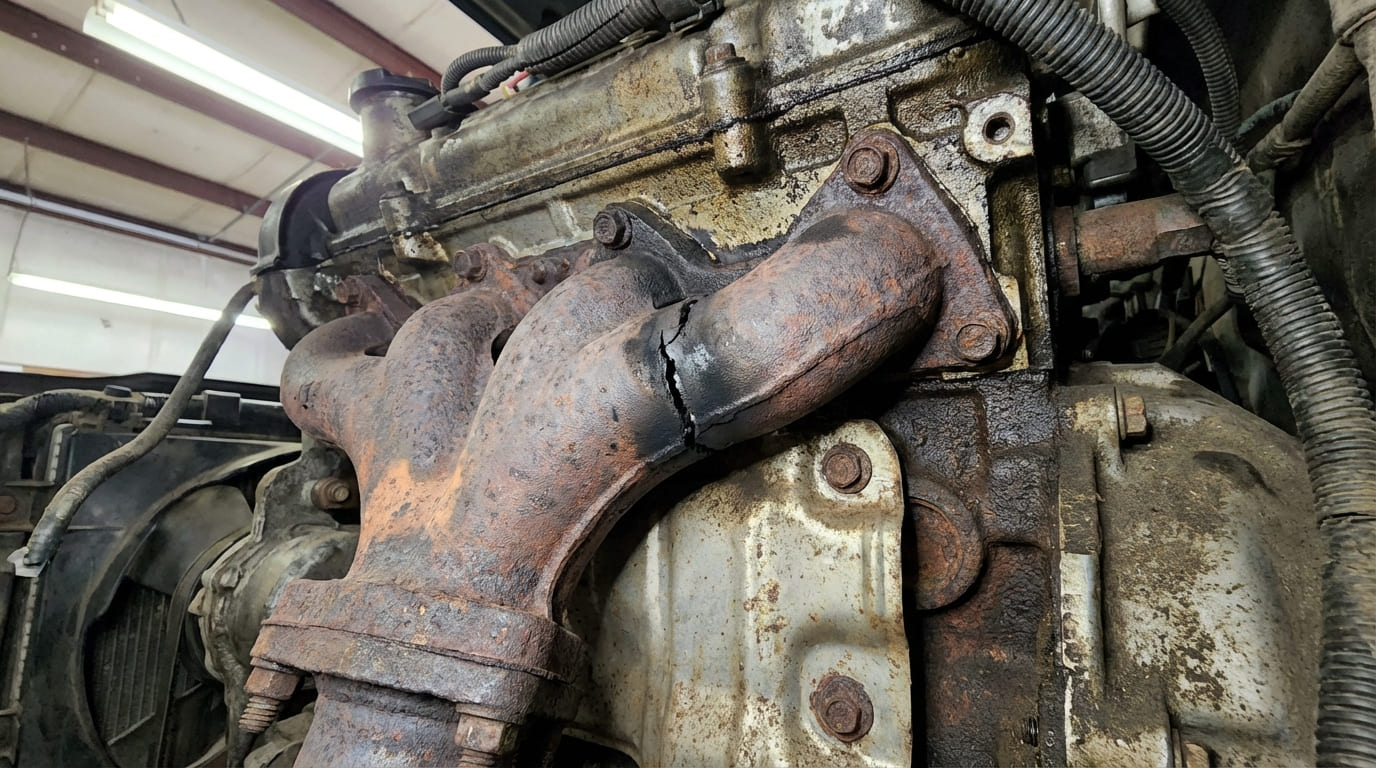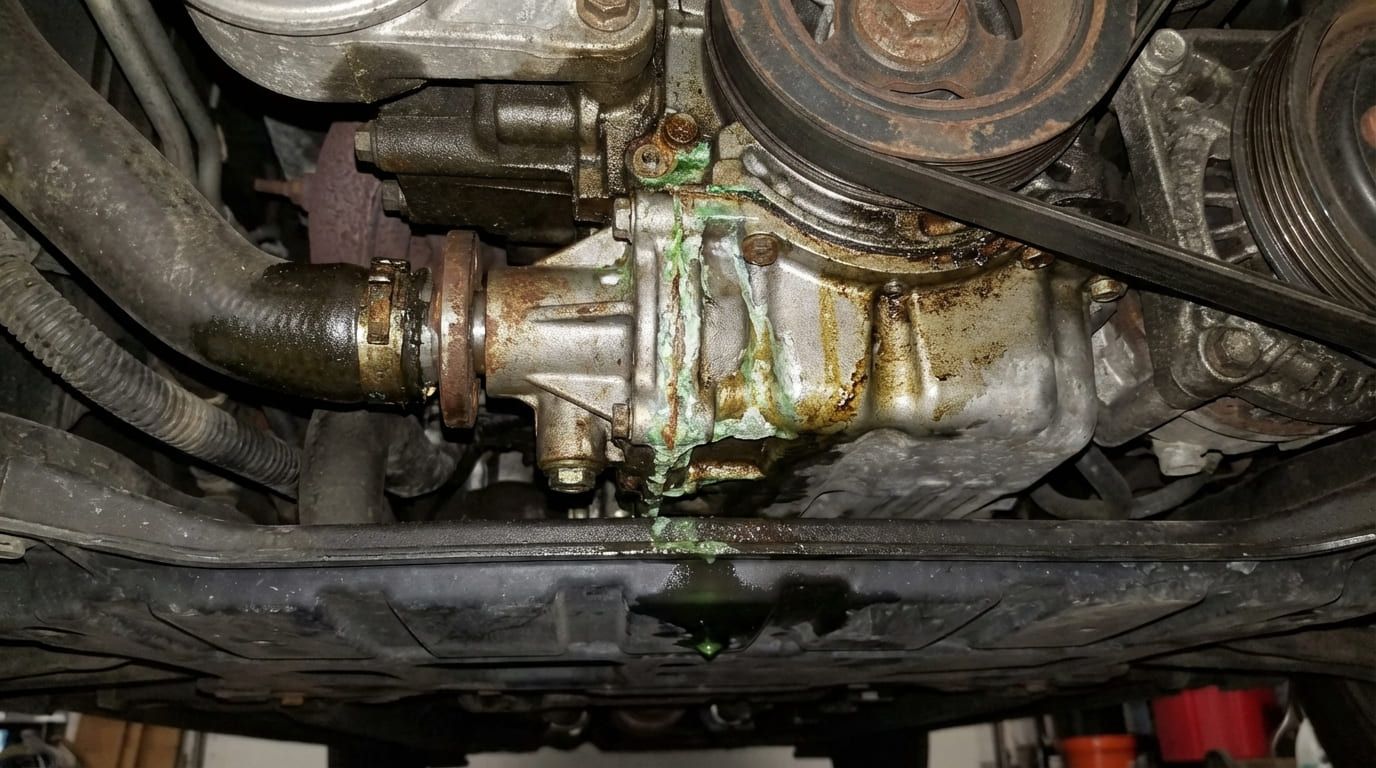
In my experience as a shop foreman and master technician, water pump leaks are among the most common cooling system issues I see. But diagnosing the actual root cause—rather than just replacing the pump—can save time, money, and repeated comebacks. Water pumps fail in predictable ways, but the triggers aren’t always obvious. Below, I’ll walk through the real-world failures I’ve encountered, how to test for them, and what to watch for during diagnosis.
Primary Causes of Water Pump Coolant Leaks
Shaft Seal and Bearing Failures
The mechanical shaft seal is the most common failure point. It consists of a rotating face on the shaft and a stationary face in the housing, typically made of ceramic or carbon. Over time, heat cycling, poor coolant chemistry, or contaminants like scale and metal fines can degrade the elastomers or score the sealing surfaces. Once compromised, coolant escapes through the weep hole—a small port beneath the pulley designed to signal early failure.
How to Check: Perform a cooling system pressure test. If coolant steadily drips from the weep hole under pressure, the seal is failed. Even pumps with no visible damage can leak due to microscopic cracks in the seal face. Some newer models use cartridge-style seals, but in most cases, the entire pump must be replaced because the cartridge isn’t field-serviceable.
Bearing failure often accompanies seal issues. Worn bearings allow shaft play—radial or axial—which misaligns the seal faces and accelerates leakage. Excessive serpentine belt tension, especially on transverse-mounted engines, increases side loads and accelerates bearing wear.
How to Check: Remove the drive belt and grab the pulley. Try to wiggle it. Any detectable movement beyond a few thousandths of an inch indicates bearing wear. While a stethoscope can detect grinding noises, remember: noise doesn’t always mean leakage is imminent, but it’s a red flag.
In my shop, we always check bearing play before condemning a pump for a weep hole leak. More than once, a “bad seal” turned out to be a worn bearing allowing shaft misalignment. Replace both issues together—never just one.
Impeller and Housing Damage
Impeller damage doesn’t cause direct leaks, but it can lead to overheating and secondary failures. Aluminum impellers are susceptible to galvanic corrosion, especially when coolants are mixed improperly. Severe erosion reduces coolant flow, causing thermal stress that may crack the housing.
How to Check: Remove the pump and inspect the impeller. Look for pitting, missing fins, or thinning. If flow loss is suspected, compare against a new unit. In rare cases, cavitation or freeze damage can crack the housing near the impeller chamber, causing a slow seep at the rear of the pump—not the weep hole.
Cast aluminum housings can also crack from thermal shock (e.g., adding cold coolant to a hot engine) or freeze damage from incorrect 50/50 mix ratios. Cracks often form near mounting ears or ribs where stress concentrates. Porosity in the casting—more common on some imports—can cause micro-leaks that only appear under pressure or at operating temperature.
How to Check: Use a UV dye test if the leak is intermittent or hard to spot. Pressure test the system and inspect under UV light. Also verify coolant mix with a refractometer—especially in cold climates.
Gasket, O-Ring, and Mounting Issues
The seal between the pump and engine block or timing cover is critical. Modern pumps often use rubber O-rings; older models use molded gaskets or RTV. Heat, age, and incompatible coolant can cause hardening, swelling, or disintegration.
How to Check: Inspect the mating surface on the engine. Even a small bead of old RTV or corrosion can prevent a proper seal. Clean the surface thoroughly with a plastic scraper and solvent. Never reuse O-rings or gaskets—always replace them.
Improper bolt torque is a major cause of flange leaks. Over-torquing can strip aluminum threads or warp the housing; under-torquing allows movement that breaks the seal. Vibration can also loosen bolts over time, especially on high-harmonic engines.
How to Check: Verify torque with a calibrated wrench. Follow the manufacturer’s sequence and specs—typically 8–12 ft-lbs, but varies by model. If a bolt shears during removal, chase the threads with a bottoming tap and inspect for alignment.
Mating surface warpage is a frequent culprit in repeat leaks. Aluminum timing covers are prone to warping from heat or improper torque. Even slight deviations prevent a flat seal.
How to Check: Use a precision straight edge and feeler gauge. Most aluminum surfaces allow no more than 0.002″ deviation, but consult the factory manual—some specs are as tight as 0.0015″. If warped, the cover may need replacement or professional flatting.
I’ve seen dozens of “bad new pumps” returned because the installer skipped surface inspection. Always check flatness and clean both sides of the mating surface. A $200 pump shouldn’t fail because of a $5 gasket and 10 minutes of cleaning.
Diagnostic Procedures for Water Pump Leaks
A systematic approach saves time and prevents misdiagnosis. Start with visual inspection, then move to pressure and dye testing.
Step-by-Step Diagnosis
- Visual Inspection: Look for staining, especially below the weep hole or around the mounting flange. Use an inspection mirror to see behind pulleys. Coolant leaves a chalky residue when dry. Remember: coolant can travel along brackets, so the drip point may not be the source.
- Pressure Test: Pump the system to OEM pressure (typically 15–18 psi). Monitor for 15–30 minutes. A steady drop indicates a leak. Retest after warming the engine—some leaks only appear when parts expand.
- UV Dye Test: Add UV dye if the leak is intermittent. Run the engine to operating temperature, then inspect with UV light and yellow glasses. The dye glows bright green. For best results, flush old coolant first—degraded fluid can block dye circulation.
Repair vs. Replace: Cost and Viability
Water pumps typically cost $50–$200, with labor ranging from $200–$600 depending on accessibility. On timing belt-driven engines, it’s cost-effective to replace the pump when doing the belt—many fail from age and mileage, not just leaks.
Repairs are rarely viable. Shaft seals and bearings aren’t serviceable on most modern pumps. Even if a rebuild kit exists, labor time and risk of re-leak make replacement the better choice.
| Part | Average Cost (Part Only) | Repairable? | Notes |
|---|---|---|---|
| Water Pump (Standard) | $50–$150 | No | Replace entire unit; common failure at 80k–120k miles |
| Water Pump (Timing Cover Integrated) | $150–$300 | No | Often requires timing cover removal; higher labor cost |
| Gasket/O-Ring Kit | $10–$25 | N/A | Always replace with new pump |
| RTV Sealant (OEM Spec) | $8–$15 | N/A | Use only where specified; avoid over-application |
Recommended Best Practices
- ✅ Recommended: Clean all bolt threads with a bottoming tap before installation. Debris can cause false torque readings and lead to leaks.
- ✅ Recommended: Use OEM-specified coolant and mix ratio. Some aftermarket coolants degrade rubber seals or cause corrosion.
- ✅ Recommended: Torque mounting bolts in the sequence and increments specified by the manufacturer. Skipping steps can warp the housing.
- ⚠️ Avoid: Reusing torque-to-yield (TTY) bolts unless the manual allows it. These bolts stretch and lose clamping force when loosened.
- ⚠️ Avoid: Applying excessive RTV. A continuous 1/8″ bead is sufficient; too much can break off and clog passages.
- ⚠️ Avoid: Mixing pump types without verifying compatibility. Plastic impellers may cavitate in high-flow or high-heat applications.
Common Leak Scenarios and Likely Causes
| Leak Location | Possible Causes | Relative Likelihood | Diagnostic Tips |
|---|---|---|---|
| Weep hole | Shaft seal failure, bearing wear, shaft runout | High | Pressure test with visual confirmation; check for bearing play |
| Mounting flange | Gasket/O-ring failure, warped surface, improper torque | High | Inspect mating surfaces; verify torque; clean block thoroughly |
| Pump housing (crack) | Freeze damage, thermal shock, casting defect | Moderate | UV dye test; inspect under pressure; check coolant mix |
| Around bolts | Loose or stripped fasteners, corrosion in threads | Moderate | Check torque; inspect threads; chase with tap if needed |
| No visible leak but coolant loss | Internal seepage, minor crack, weep hole drying after run | Low to Moderate | UV dye test; extended pressure test; check for steam residue |
Situation: A 2014 Honda Accord came in with coolant loss and a warning light. The owner had already replaced the radiator cap and top hose. A pressure test showed a slow drop, and there was staining below the water pump.
Initial Assumption: The tech assumed the pump seal was bad and ordered a replacement.
Deep Dive/Discovery: Before removing the pump, I checked the mounting bolts and found one was significantly looser than the others. After torquing it to spec, the leak stopped. The bolt had likely loosened due to thermal cycling.
Nuanced Lesson Learned: Not every pump with a flange leak needs replacement—sometimes it’s just a fastener issue. Always verify torque before condemning components.
Situation: A Ford F-150 with a 5.4L V8 was overheating and leaking coolant near the timing cover. The pump was replaced six months prior.
Initial Assumption: The new pump was defective.
Deep Dive/Discovery: Upon removal, I found the aluminum timing cover was warped near the mounting boss. The surface wasn’t flat within 0.002″—well beyond the Ford spec of 0.0015″. The installer hadn’t checked flatness after removing the old pump.
Nuanced Lesson Learned: Reusing a slightly warped cover, even with a new gasket, is a recipe for repeat leaks. Always inspect both sides of the mating surface.
Situation: A BMW 328i had a persistent drip from the water pump weep hole after a timing job. The shop had installed a new OEM pump and used the correct coolant.
Initial Assumption: The new pump was faulty.
Deep Dive/Discovery: I tested the system pressure and confirmed the leak. But when I removed the pump, the seal faces were pristine. Further inspection revealed a tiny crack in the plastic impeller housing—likely from freezing during a cold snap. The crack only opened under pressure.
Nuanced Lesson Learned: Even new pumps can fail due to environmental factors, not manufacturing defects. Consider the vehicle’s history and coolant mix when diagnosing.
Water pump leaks are rarely just about the pump. In my shop, we treat every coolant loss as a system issue, not a component failure. The pump may be the symptom, but the root cause could lie in installation practices, coolant chemistry, or mating surface condition. Always verify before replacing, and never skip the basics—clean threads, proper torque, and correct sealant use go a long way. And above all, consult the service manual for your specific make and model; tolerances and procedures vary more than you might think.