Recognizing Connecting Rod Knock
Connecting rod knock is a serious mechanical issue that manifests as a sharp, metallic knocking from the lower engine block. It increases with RPM and is often most noticeable during light acceleration or deceleration. In some cases, the noise may slightly diminish under heavy load due to increased cylinder pressure damping internal movement—but don’t rely on this pattern alone.
How to Check for Rod Knock
Start the engine cold and listen closely. If the knock is present immediately and persists after warm-up, it’s more likely mechanical. Use a mechanic’s stethoscope or long screwdriver against the block near the oil pan rail to pinpoint the source. Focus on the middle to lower block—rod knock originates there, not the top or front of the engine.
Differentiating Rod Knock from Other Noises
Misdiagnosis is common. Here’s how to tell the difference in the field:
- Piston slap: Dull thud when cold, fades as engine warms. Comes from cylinder walls, not deep in the block.
- Main bearing knock: Deeper, more resonant thud. Often felt through the chassis. Doesn’t change much with load or RPM.
- Valve train noise: Ticking or tapping from the top end. Follows RPM but doesn’t intensify under load.
- Accessory noise: Whine, chirp, or grind from the front. Belt-driven components are suspects—remove belt and spin pulleys by hand.
In my shop, we always rule out external sources first. I’ve seen more than one “rod knock” turn out to be a seized idler pulley. Save yourself time and teardown—pull the serpentine belt and run the engine briefly to eliminate front-end noise.
Root Causes of Connecting Rod Knock
Three main categories cause rod knock: lubrication failure, mechanical stress, and contamination. Most cases stem from poor oil maintenance.
Lubrication System Failures
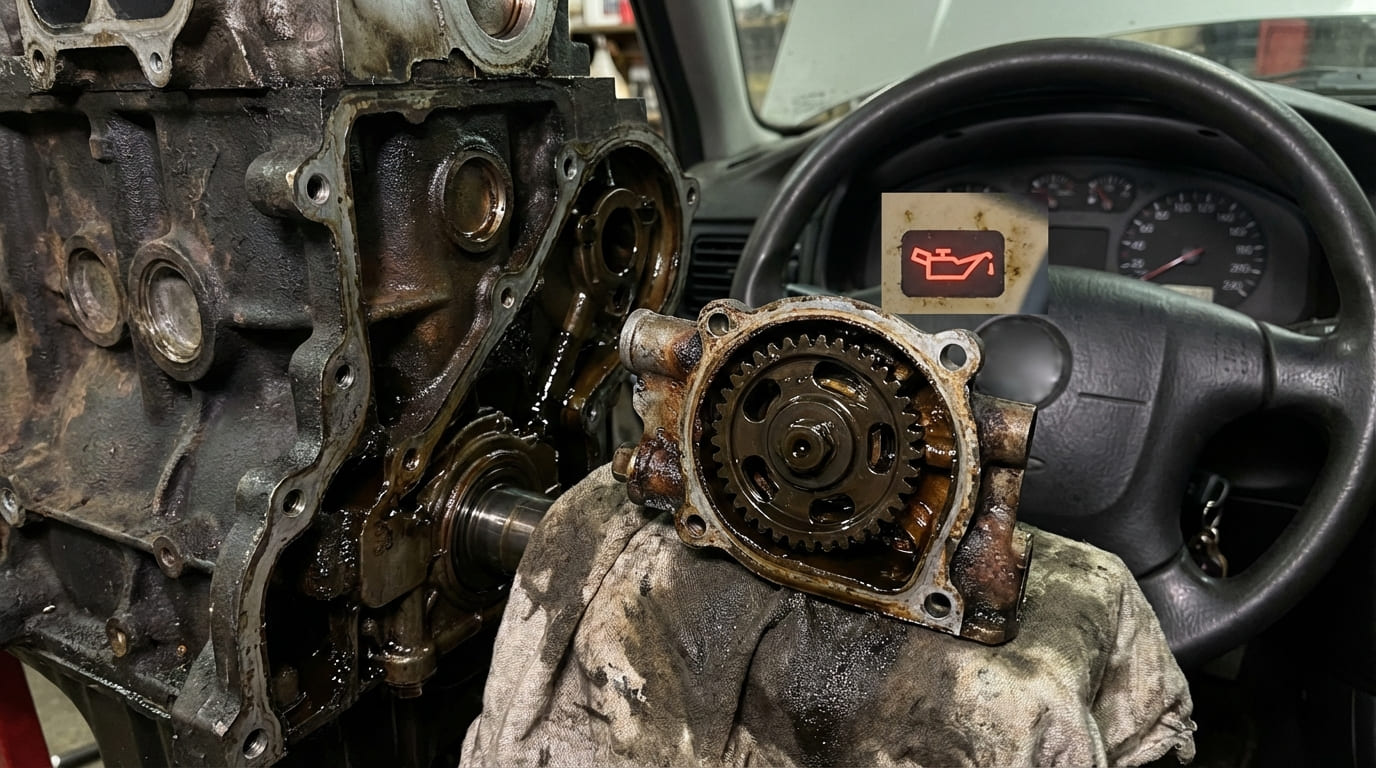
Oil starvation is the #1 cause. Without a proper hydrodynamic film, the bearing rubs directly on the crank journal. Common culprits:
- Low oil level or prolonged oil change intervals
- Wrong oil viscosity—too thin for operating temperature
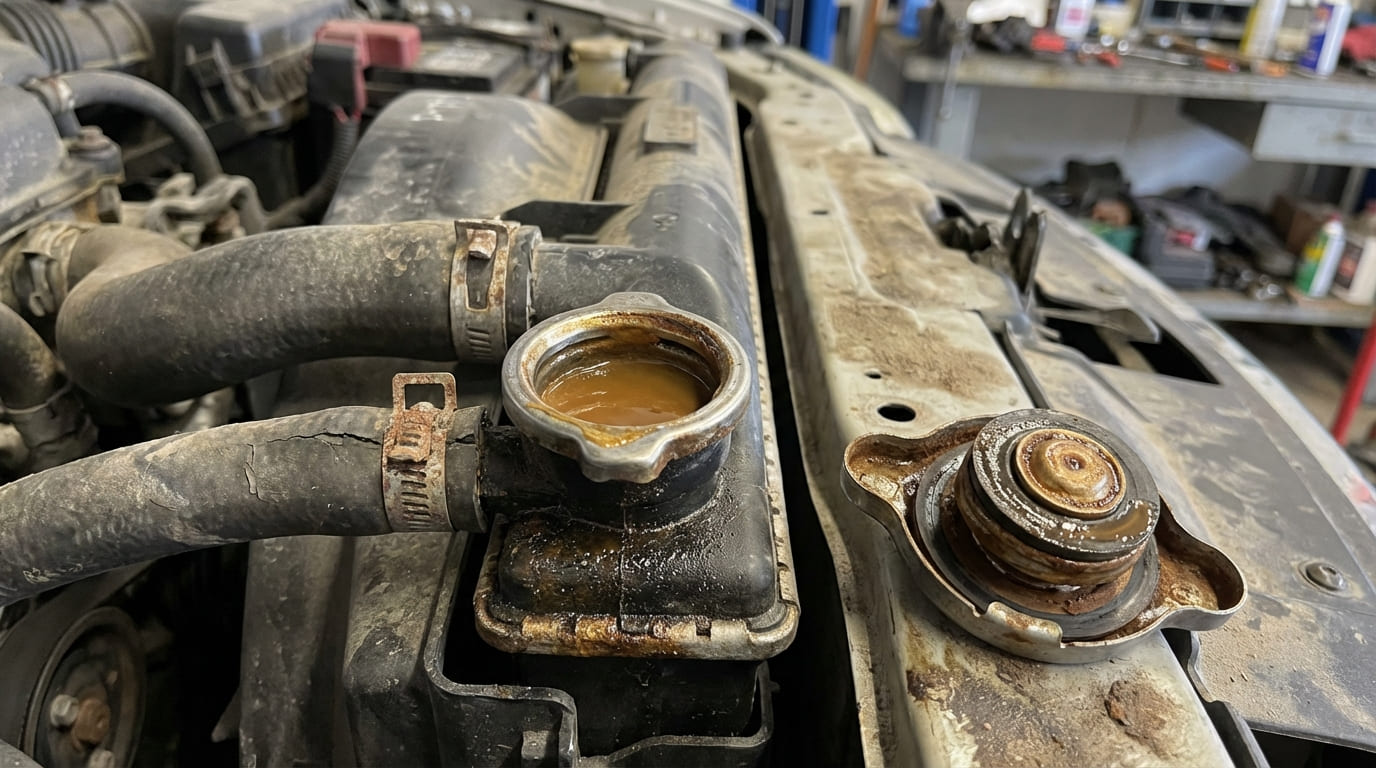
- Fuel or coolant contamination reducing lubricity
- Clogged oil pickup screen or failing oil pump
Even if the oil pressure light isn’t on, pressure may still be too low at higher RPM. Factory sensors often only trigger below 5–7 psi—well into dangerous territory.
Mechanical Overload and Wear
Detonation or pre-ignition creates extreme pressure spikes that hammer the rod and bearing. This can happen even with perfect oil. Other mechanical causes:
- Over-revving or lugging the engine under load
- Improper rod bolt torque or reuse of torque-to-yield fasteners
- Dirty block threads causing inaccurate clamping force
- Bent rod from hydrolock or foreign object impact
Contamination and Debris
Carbon chunks, broken piston pieces, or metal debris from previous failures can embed in bearings and accelerate wear. A failed EGR valve or improper engine rebuild (e.g., missing freeze plug) can introduce debris that circulates for years before causing failure.
I once tore down an engine with a wiped bearing and found a small socket washer in the pan. It had been dropped during an oil change months earlier. Moral: clean the workspace, cover open ports, and never skip the magnet-in-the-pan trick.
Step-by-Step Diagnostic Procedure
1. Oil Pressure Test (Mechanical Gauge Required)
Never trust the dashboard oil light. Install a mechanical gauge at the engine block’s oil pressure sender port. Check at two points:
- Hot idle (normal: 10–20 psi, varies by engine)
- 2,000 RPM (normal: 40–60 psi for most engines)
If pressure drops as RPM increases, suspect a worn pump, clogged pickup, or excessive bearing clearance. A steady drop at idle suggests main bearing wear.
2. Cylinder Isolation Test
Disable one cylinder at a time using an OBD2 scanner (fuel injector disable) or insulated plug wire puller. Listen for changes in knock intensity:
- If knock decreases when a cylinder is disabled, that rod bearing is likely the source.
- If no change, suspect main bearing, multiple rod bearings, or external noise.
Note: On engines with coil-on-plug, use a scan tool—pulling coils by hand risks damage.
3. Oil Analysis
Draw a hot oil sample before shutdown. Send for spectroscopic analysis. Key indicators:
- Copper, lead, tin: Bearing material wear
- Iron: Crankshaft or cylinder wear
- Silicon: Dirt ingestion
- Fuel dilution: Short trips or leaking injectors
Elevated copper with normal iron strongly suggests bearing wear before metal-to-metal contact damages the crank.
4. Borescope and Crank End Play Check
Insert a borescope through a spark plug hole to inspect piston crowns. Look for cracks, carbon buildup, or erosion—signs of detonation that may have contributed to rod stress. Then, measure crankshaft end play with a dial indicator on the harmonic balancer. Excessive play (>0.010″) indicates thrust bearing wear, which often accompanies rod issues in high-torque engines.
5. Oil Pan Removal and Bearing Inspection
This is the definitive test. Remove the oil pan and inspect each rod cap:
- Look for scoring, discoloration (blue or rainbow = overheating), or material transfer
- Check cap alignment—mismatched caps or incorrect installation can mimic wear
- Use Plastigage to measure bearing clearance: lay a strip across the journal, reinstall cap to spec torque, then remove and compare thickness
Service limit is typically 0.002–0.003″ on cast iron blocks. Aluminum blocks may require tighter specs—consult the factory manual. Mic the crank journal in multiple directions; taper or out-of-round beyond 0.001″ may require grinding or replacement.
In my shop, we always label rod caps and pistons during teardown. Mixing them up during reassembly causes misalignment and rapid failure. Use a center punch or paint—never rely on memory.
Repair vs. Replace: Cost and Viability
Repair is only viable if the crankshaft is within spec and the block is undamaged. Here’s a realistic cost breakdown:
| Component | Cost (DIY) | Cost (Shop) |
|---|---|---|
| Standard rod bearings | $80–$150 | $300–$600 (parts + labor) |
| Performance rod bearings | $150–$300 | $500–$900 |
| Crankshaft regrind (if needed) | $200–$400 | $600–$1,000 |
| Short block replacement | $1,200–$2,500 | $2,500–$4,000 |
| Long block replacement | $2,000–$4,000 | $3,500–$6,000 |
If the crank is scored beyond grinding limits or the block is damaged, replacement is often more cost-effective than repair. High-mileage engines with multiple worn components rarely justify a full rebuild unless it’s a performance or sentimental vehicle.
Critical Best Practices and Pitfalls
- ✅ Always clean rod bolt threads and block holes with a thread chaser. Dirty threads cause false torque readings and under-clamping.
- ✅ Use a calibrated torque wrench and follow factory sequence and angle specs. For torque-to-yield bolts, replacement is mandatory.
- ✅ Prime the oil system before startup. Use a drill-driven oil pump primer to ensure all bearings are lubricated on first start.
- ⚠️ Never reuse rod bearings or caps without clearance verification. Even slight scoring leads to rapid failure.
- ⚠️ Never assume the crankshaft is reusable. A smooth-looking journal may still be tapered or out-of-round—measure with a micrometer.
- ⚠️ Always flush the oil system if contamination caused the failure. Replace the oil cooler and filter, and consider flushing the block with cleaning solvent.
Situation: A 2012 F-150 came in with a knock worsening under light load. Owner replaced belt and tensioner—no change. Oil pressure light never came on. I installed a mechanical gauge: 8 psi at idle, 30 psi at 2,000 RPM. Oil analysis showed high copper and tin. Teardown revealed wiped rod bearings, but crank was salvageable. Root cause: clogged pickup screen from sludge. Lesson: factory oil pressure sensors are useless for diagnosis. Always verify with a mechanical gauge.
Situation: A high-mileage Miata’s knock disappeared when cylinder #3 was disabled. Assumed bad rod bearing. During teardown, the cap was installed backwards from a prior rebuild. Bearing was worn due to misalignment, not age. Lesson: assembly errors mimic wear. Always inspect cap alignment and part numbers.
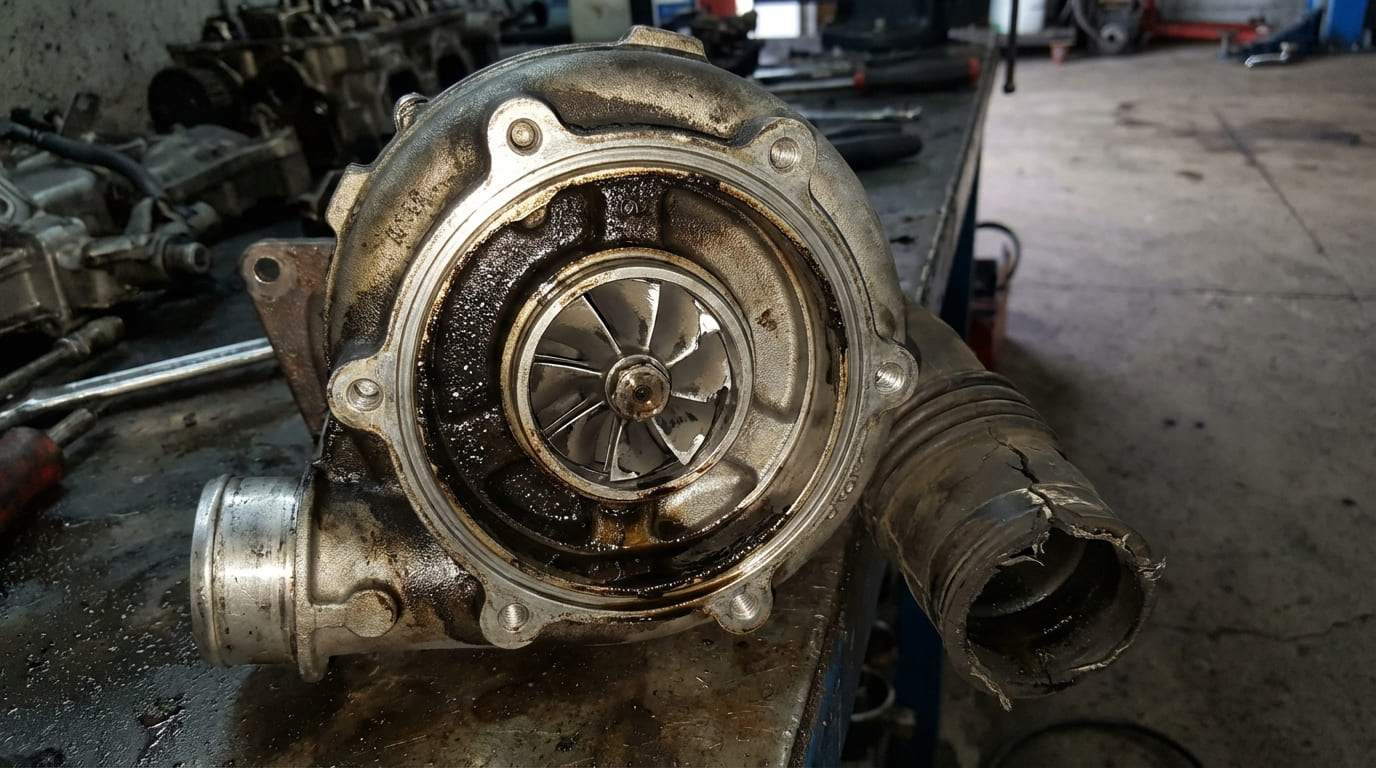
Situation: Turbo Subaru developed knock after boost spike. Oil pressure good, noise didn’t isolate. Borescope showed cracked piston crown. Teardown revealed piston fragment jammed in cylinder—causing rhythmic tapping. Not a rod bearing. Lesson: not every lower-end knock is a rod. Use multiple diagnostics—don’t jump to conclusions.
Final Verdict: What to Do Next
If you confirm rod knock, stop driving the vehicle. Continued operation will damage the crankshaft and block. If oil pressure is low and bearings are slightly worn, a bearing-only repair may suffice. But if the crank is scored or multiple rods are failing, replacement is usually the smarter move. Always consult the factory service manual for your engine’s exact tolerances—what’s acceptable on a diesel isn’t on a high-revving four-cylinder. When in doubt, walk the customer through the numbers: repair cost vs. replacement, engine history, and long-term reliability.