In my experience across two decades of engine work, coolant discoloration is one of those symptoms that can send both DIYers and junior techs down the wrong diagnostic path if not approached carefully. Brown or rusty coolant isn’t always what it seems—sometimes it’s simple neglect, other times it’s a red flag for something deeper. Let’s walk through the real-world causes, how to assess them, and what steps actually make a difference.
Primary Causes of Brown or Rusty Coolant
Brown or rusty coolant typically stems from four main sources: internal corrosion, external contamination, head gasket or block issues, and aftermarket additives. Each has distinct clues and requires different diagnostic steps. Below is a breakdown of each cause with actionable checks and repair logic.
Internal Corrosion of Cooling System Components
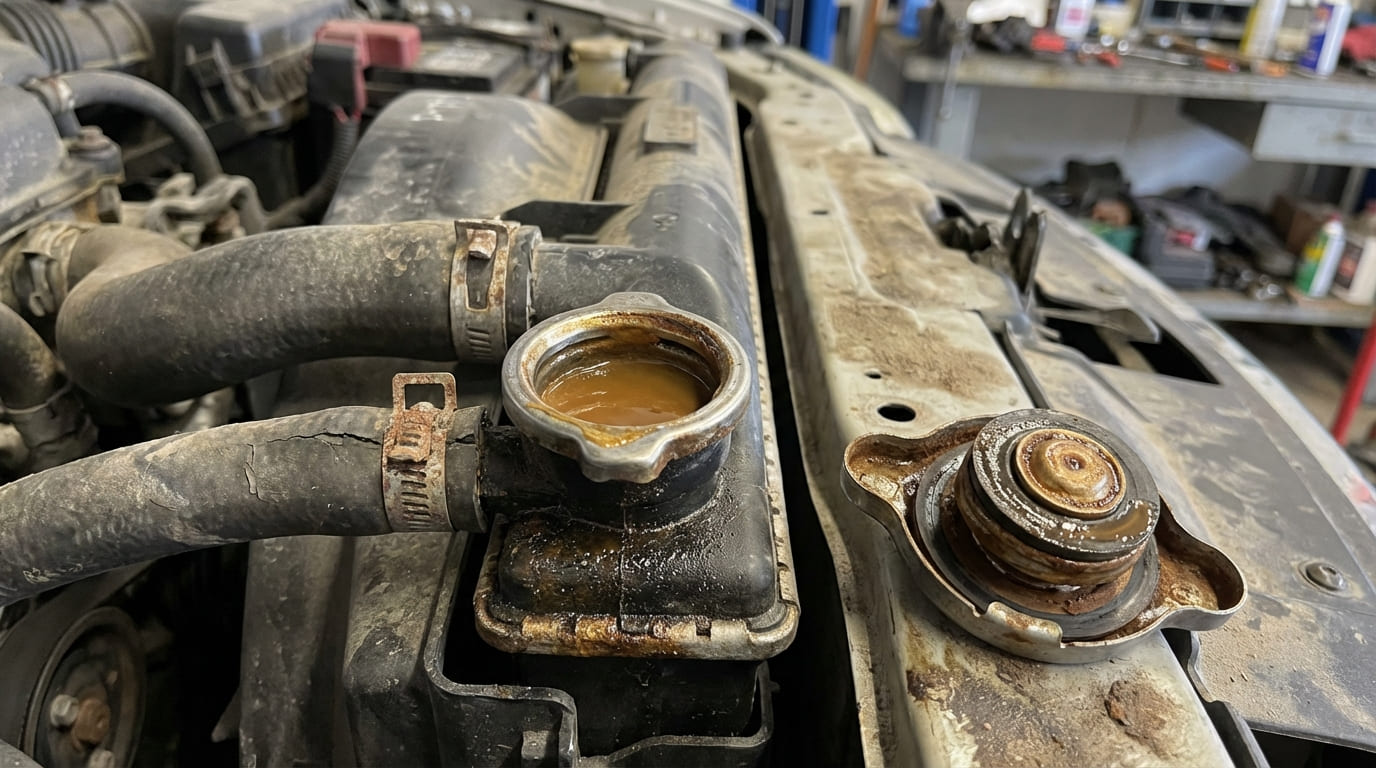
When coolant turns brown and feels gritty or slimy, internal corrosion is often to blame. Corrosion inhibitors in coolant degrade over time, especially if service intervals are ignored or improper coolant is used. Once protection drops, metal parts like cast iron blocks, steel heater cores, and radiator tubes begin to oxidize.
How to Check:
- Inspect the coolant in the reservoir and radiator: Look for fine rust particles, a muddy texture, or dark sediment at the bottom.
- Test pH with strips: Readings below 7.0 indicate acidic, corrosive coolant. Ideal range is 8.0–9.5 for most systems.
- Use a refractometer to check coolant concentration: A 50/50 mix of coolant and distilled water is standard. Low concentration reduces corrosion protection.
- Use inhibitor test strips specific to your coolant type (OAT, HOAT, etc.) to estimate remaining additive life.
Repair vs Replace: If corrosion is mild and no components are clogged or leaking, a complete flush and refill with correct coolant may suffice. If heater cores or radiators are clogged, replacement is often more cost-effective than cleaning. Replacement costs: heater core ($300–$800), radiator ($200–$600).
In my shop, we always record coolant type and service date on the radiator cap. It prevents future mix-ups and helps spot overdue changes before corrosion starts.
External Contamination
Sometimes rust comes from outside the system. Rusty clamps, brackets, or mounting hardware can shed particles if coolant leaks out and wicks back in. Debris from poor flushing or dirty work environments can also contaminate the system.
How to Check:
- Inspect hose clamps, radiator mounts, and reservoir area for visible rust or flaking metal.
- Perform a pressure test (15–18 psi, per most OEM specs). If pressure holds but coolant is dirty, external contamination is likely.
- Check for signs of recent work: mismatched hoses, residue from sealants, or leftover debris near filler necks.
Repair vs Replace: Replace rusty hardware and flush the system. No major component replacement needed unless internal damage occurred. Cost: $20–$50 for clamps and labor.
Always clean mounting surfaces and use stainless steel clamps. I’ve seen more coolant issues from rusty hardware than from bad radiators.
Head Gasket Failure or Internal Leaks
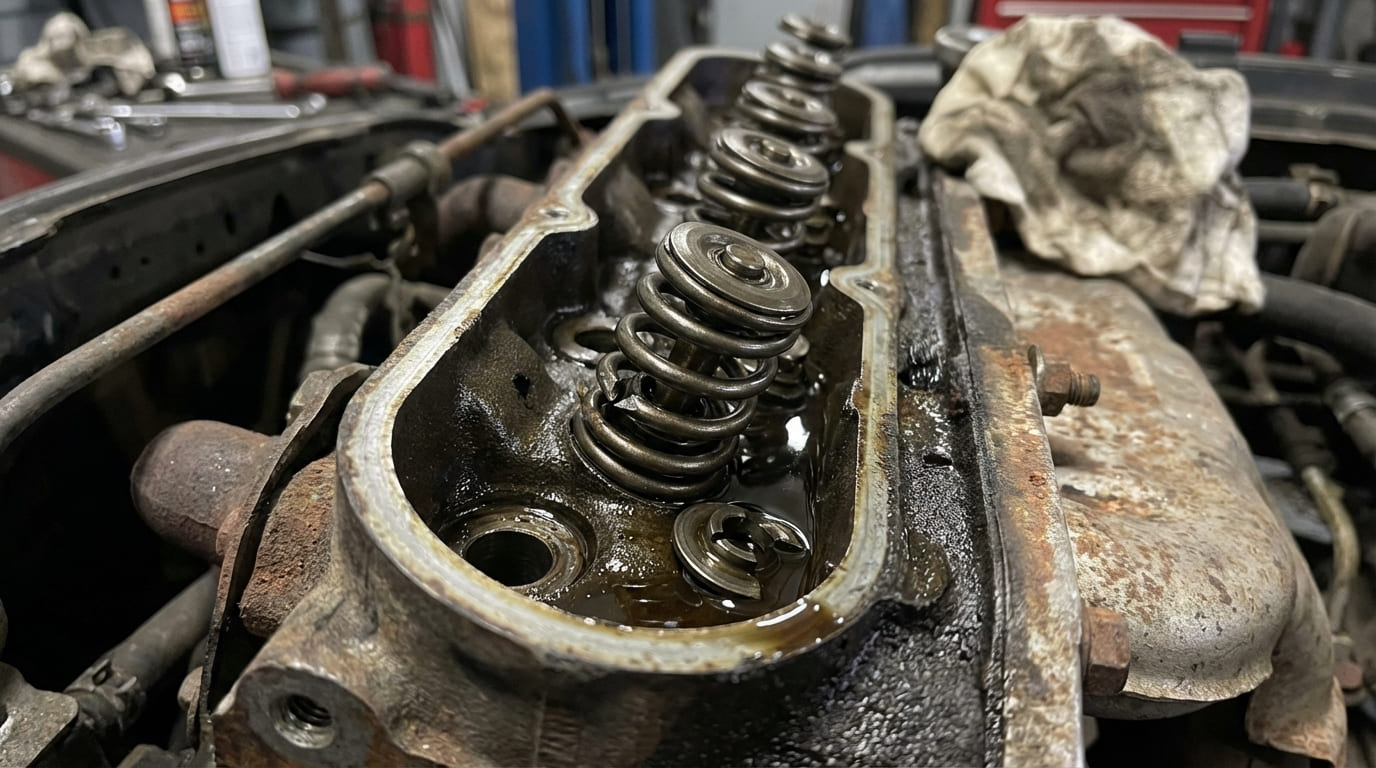
Brown, foamy, or sludgy coolant can signal combustion gases or oil entering the cooling system. A failed head gasket, warped head, or porous block allows exhaust or oil to mix with coolant, creating a rusty-brown appearance after heat cycling.
How to Check:
- Use a combustion leak (block) tester: A color change (blue to yellow/green) indicates exhaust gases in the coolant.
- Check the oil dipstick and valve cover for milky residue—sign of coolant in oil.
- Look for bubbles in the coolant reservoir when the engine is warm—can indicate combustion pressure entering the system.
- Perform a leak down test: More than 10% leakage per cylinder suggests internal failure.
Repair vs Replace: Head gasket repairs typically cost $1,000–$2,500. If the head is warped or cracked, machining or replacement adds $300–$600. On high-mileage engines, consider engine replacement if other components are near end-of-life.
Never rely on coolant color alone. I’ve seen clean-looking coolant in engines with major gasket failures—always test.
Aftermarket Additives and Stop-Leak Products
Stop-leak products are a common culprit. They contain silicates, fibers, or particles that can react with coolant, form sludge, and turn fluid brown. These additives often clog heater cores and radiators, leading to overheating.
How to Check:
- Ask the owner about recent additives. Many don’t mention it unless asked directly.
- Look for gel-like clumps, stringy fibers, or a film on the reservoir walls.
- If discoloration returns quickly after a flush, residual additive breakdown is likely.
Repair vs Replace: Flush the system thoroughly. If the heater core is clogged, replacement is usually required. Cost: flush ($100–$200), heater core ($300–$800). Avoid further additives—modern systems don’t need them.
I’ve pulled heater cores full of coagulated stop-leak. It looks like rust, but it’s self-inflicted damage. I never recommend these products—ever.
Diagnostic Decision Tree for Brown Coolant
Follow this sequence to avoid misdiagnosis:
- If coolant is brown but pH is normal and no foam or bubbles: Suspect external contamination or old but non-corrosive coolant. Flush and inspect hardware.
- If pH is below 7.0 and particles are rusty: Internal corrosion is likely. Check coolant history and type. Flush and refill with correct mix.
- If foam, milky residue, or bubbles under cap: Test for combustion gases and check oil. Perform block and leak down tests.
- If recent service or additive use: Flush first. Do not assume component failure without ruling out chemical contamination.
Common Causes: Likelihood and Key Clues
| Potential Cause | Typical Likelihood | Key Diagnostic Clues | Common Mistakes to Avoid |
|---|---|---|---|
| Internal corrosion due to old coolant | High | Low pH, rusty particles, no oil/combustion signs | Assuming gasket failure without testing pH or inhibitor levels |
| External rust ingress | Moderate | Visible rust near clamps, pressure test holds | Overlooking simple sources like rusty hardware |
| Head gasket failure | Low to moderate (depends on engine) | Combustion gases in coolant, bubbles under cap, oil contamination | Diagnosing based on color alone |
| Aftermarket additives | Moderate | Owner admits use, sludge or fibers in coolant | Proceeding to engine teardown without flushing first |
| Oil contamination (e.g., failed oil cooler) | Low | Milky coolant, oil in reservoir, high crankcase pressure | Confusing oil emulsion with rust |
Recommended Practices: What to Do (and Avoid)
- ✅ Use OEM-specified coolant type and mix 50/50 with distilled water: This maintains proper inhibitor balance and freeze/boil protection.
- ✅ Test coolant pH and inhibitor levels during routine maintenance: Catches degradation before damage occurs.
- ✅ Flush the system properly using reverse-flush techniques when needed: Ensures old coolant and debris are fully removed.
- ✅ Inspect hardware during cooling system work: Replace rusty clamps and clean mounting surfaces to prevent contamination.
- ⚠️ Avoid mixing coolant types unless explicitly approved by the manufacturer: Can cause premature inhibitor failure.
- ⚠️ Avoid aftermarket stop-leak products: They often cause more problems than they solve, especially in modern systems with tight tolerances.
- ⚠️ Don’t skip the pressure test when diagnosing discolored coolant: It separates external, internal, and combustion-related issues.
Situation: A 2012 F-150 came in with brown coolant and a slight overheating issue. The owner had added a “radiator seal” product six months earlier.
Initial Assumption: Tech suspected a head gasket due to the discoloration and overheating.
Discovery: Block test was negative, oil was clean. After a flush, we found fibrous material clogging the heater core. The stop-leak had agglomerated with old scale.
Nuanced Lesson Learned: Always get a full service history before assuming internal engine damage—some additives can mimic serious failure symptoms.
Situation: A high-mileage Camry with consistently brown coolant despite regular changes. No overheating, no leaks.
Initial Assumption: Internal corrosion of the heater core.
Discovery: pH was normal, no combustion gases. Upon inspection, the radiator support was heavily rusted, and coolant was wicking up through a micro-leak at the upper hose, picking up rust.
Nuanced Lesson Learned: External contamination can be sneaky—sometimes the problem isn’t in the fluid, but in how it’s interacting with the surrounding environment.
Situation: A diesel pickup with brown, sludgy coolant and a history of overheating. Oil was clean, no foam.
Initial Assumption: Failed EGR cooler or head gasket.
Discovery: Block test was positive, but leak down test showed only one cylinder leaking. Cylinder head was warped, not the gasket itself. Coolant breakdown was secondary to localized hot spots.
Nuanced Lesson Learned: Coolant condition can be a symptom, not the root cause—always verify mechanical integrity before blaming chemistry.
In my shop, we treat brown coolant like a symptom, not a diagnosis. It could be as simple as overdue maintenance or as complex as a failing head gasket—but jumping to conclusions wastes time and money. Always verify with testing, ask the right questions, and consult the factory service manual for your specific application. The numbers and procedures that work on one engine might not apply to another, even within the same brand.