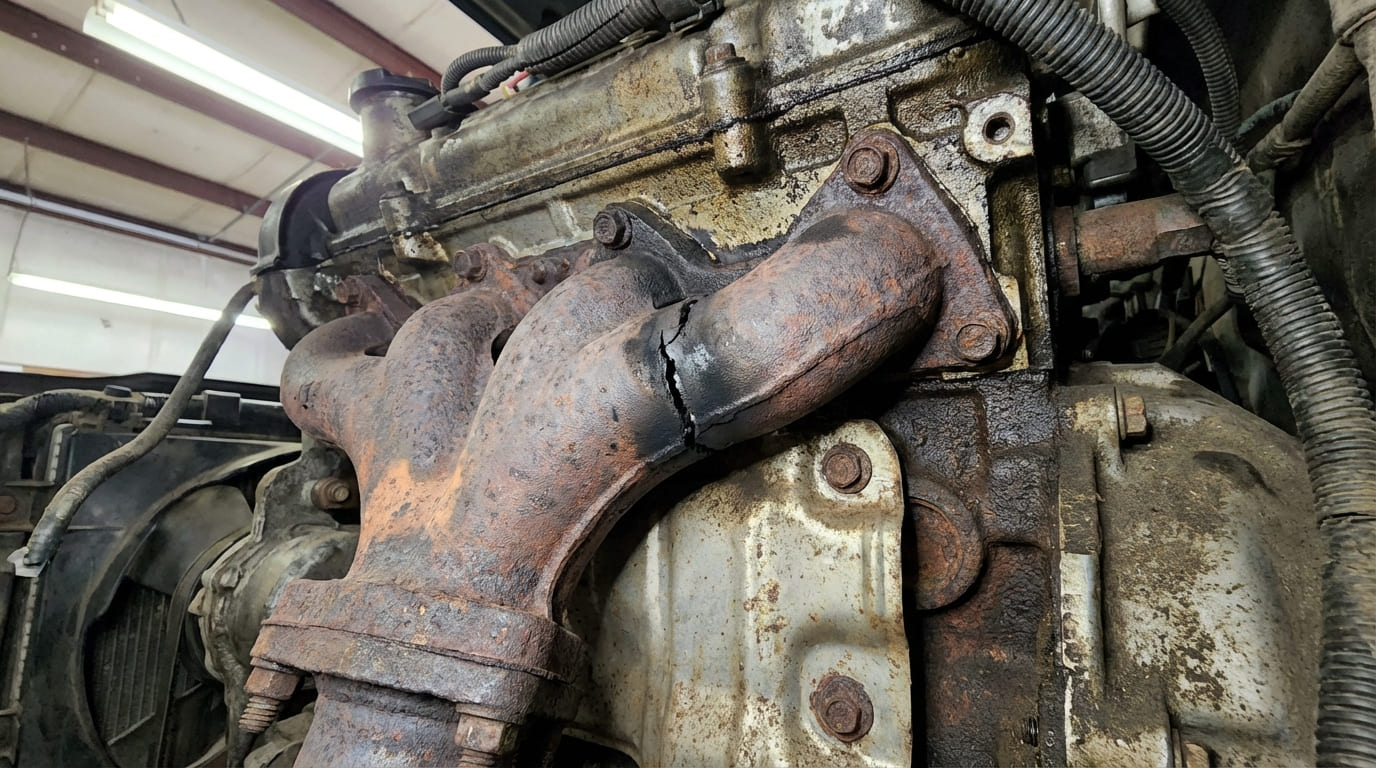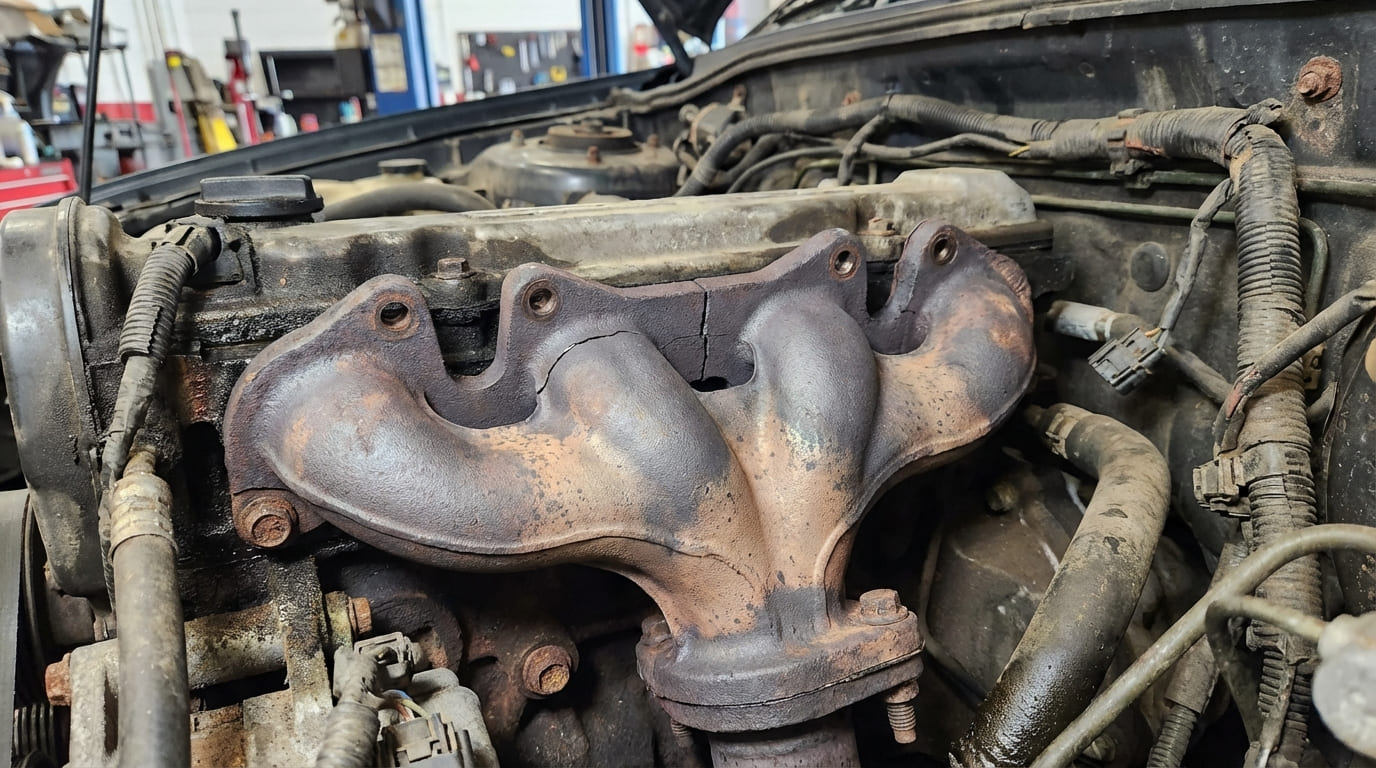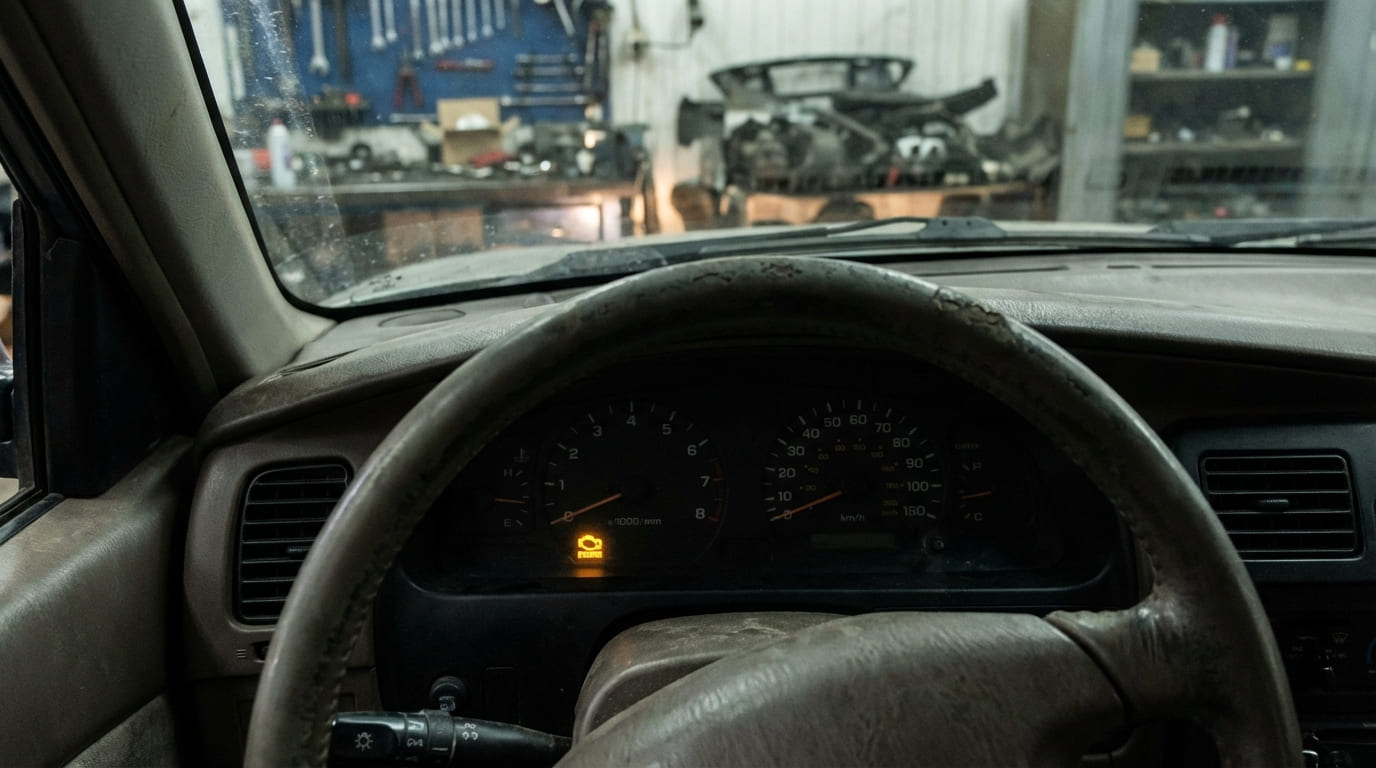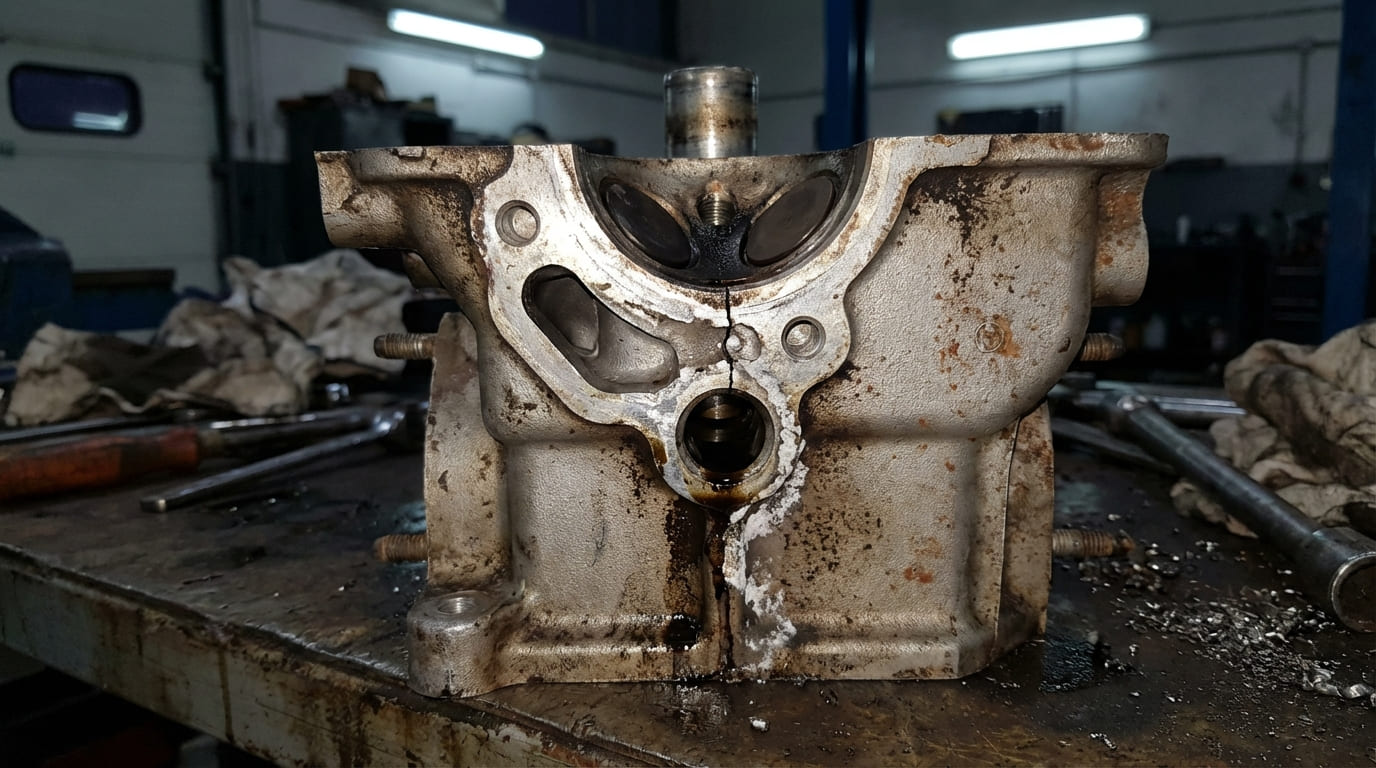
A cracked cylinder head isn’t automatically a death sentence—but repair is highly conditional. As a master mechanic, I’ve seen cracked heads saved and I’ve seen “repairs” fail within weeks. Success depends on material, crack location, severity, and repair method. This guide cuts through the theory and gives you the diagnostic steps, repair realities, cost insights, and field-tested advice you need to make a smart decision.
How to Diagnose a Cracked Cylinder Head
Don’t guess—test. Many symptoms of a cracked head mimic head gasket failure or cooling system issues. Confirm the problem before pulling the head.
Symptoms That Suggest a Crack
- External coolant or oil leaks near valve cover or head gasket
- Unexplained coolant loss with no visible leaks
- White, sweet-smelling exhaust smoke (especially under load)
- Overheating that returns after cooling system service
- Oil in coolant (milky residue) or coolant in oil (foamy dipstick)
- Cylinder misfires with no spark or fuel cause
- Low compression in one or more cylinders
Diagnostic Steps to Confirm the Crack
Visual checks are just the start. Use multiple methods to verify.
Step 1: Compression and Leak-Down Test
Perform a compression test first. If results are low or inconsistent, follow with a leak-down test. Introduce compressed air into the cylinder (via spark plug hole) with valves closed. Listen for air escaping into the coolant reservoir (hissing in radiator neck) or adjacent cylinders. Air in coolant is a strong indicator of a crack.
Step 2: Coolant Pressure Test (Engine Assembled)
Pressurize the cooling system with a hand pump (radiator cap adapter). Pump to 15–18 psi (typical radiator cap rating). Watch for pressure drop or external leaks. If pressure drops and no leak is visible, suspect an internal crack. Perform this cold and again when engine is hot—some cracks only leak under thermal expansion.
Step 3: Remove and Inspect the Head
Once removed, clean the head thoroughly. Use a degreaser and soft brush. Dry completely before inspection.
Step 4: Visual Inspection with Magnification
Use a high-intensity LED light and 10x magnifier. Focus on high-stress areas: deck surface near combustion chambers, valve seat edges, coolant passages, and exhaust ports. Rotate the light—cracks reflect differently at various angles. Look for discoloration, carbon tracking, or hairline fractures.
Step 5: Dye Penetrant Test
Apply penetrant to suspect areas. Wait 10–15 minutes. Wipe clean with solvent, then apply developer. Check for red bleed-out after 10–30 minutes. Repeat on both sides of the head if possible. This detects surface-breaking cracks but not subsurface flaws.
Step 6: Pressure Test the Head (Most Reliable)
Seal all coolant passages except one inlet and outlet. Submerge in warm water (180–200°F) and pressurize to 20–30 psi. Hold for 20+ minutes. Bubbles indicate a leak path—could be crack or porosity. Mark the location for repair evaluation.
Step 7: Magnaflux (Cast Iron Only)
For cast iron heads, Magnaflux is the gold standard. It reveals subsurface cracks by magnetizing the part and applying iron particles. Not DIY-friendly—requires shop equipment. Aluminum heads cannot be tested this way.
In my shop, we never rely on just one test. A compression test flags the issue, pressure testing confirms it, and dye or Magnaflux pinpoints it. If two tests agree, treat it as confirmed.
Can It Be Repaired? Key Decision Factors
Not all cracks are equal. Use these criteria to assess repair viability.
Material: Cast Iron vs Aluminum
Cast iron heads are more weldable and dimensionally stable. They respond well to welding, pinning, or brazing. Aluminum heads are trickier—high thermal conductivity and low melting point make welding risky. Aluminum repairs require preheating (500–600°F), precise TIG technique, and stress-relief baking. One wrong move and you warp or crack it further.
Crack Location: The Deciding Factor
Location matters more than length. Here’s how I rank risk:
- Low Risk: Cracks in non-structural areas (accessory mounts, outer coolant jackets away from chambers)
- Moderate Risk: Cracks in coolant passages, exhaust ports (if not near guides), or between ports
- High Risk: Cracks between valve seats, near spark plug bosses, or in the combustion chamber edge
- No Repair: Cracks intersecting head bolt holes, valve guides, or spanning multiple cylinders
I once repaired a hairline crack in an exhaust port on an aluminum head—welded, stress-relieved, machined, and tested. It lasted 40,000 miles. But a crack near a head bolt boss? I’d replace it every time. That bolt carries 8,000+ psi clamping force—no weld can guarantee that long-term.
Severity and Size
Short, straight, surface-level cracks under 2 inches have the best repair odds. Deep, branching, or multi-directional cracks indicate severe thermal stress—repair won’t fix the underlying fatigue. If the metal is distorted or material is missing, replacement is the only safe option.
Repair Methods: What Works and What Doesn’t
| Scenario | Most Likely Cause | Potential Repair Path | Success Likelihood |
|---|---|---|---|
| External hairline crack in accessory boss (cast iron) | Thermal stress or overtightening | Welding or pinning | High (with proper technique) |
| Internal coolant crack near port (aluminum) | Overheating or casting flaw | Specialized TIG weld + post-machining | Moderate (risk of distortion) |
| Crack bridging combustion chamber and bolt hole | Pre-ignition, detonation, or improper torque | Replacement recommended | Low (repair rarely holds) |
| Crack between intake/exhaust valve seats | Thermal fatigue or poor material | Weld + reseat (if no extension to port) | Variable (depends on depth and access) |
| Branching cracks across deck surface | Severe overheating or detonation damage | Not repairable | Negligible |
Common Repair Techniques
- Welding: Best for cast iron. Aluminum requires precision TIG with preheat and post-weld bake. Must be done by certified specialist.
- Pinning (Lock-N-Stitch): Effective for cast iron. Involves drilling and installing metal pins across the crack. No heat distortion. Used in heavy-duty and marine applications.
- Brazing: Lower heat than welding, good for minor cracks. Not suitable for high-stress areas.
- Epoxy/Sealants: Only for non-structural, low-pressure leaks. Never use for combustion or coolant under pressure.
I’ve seen too many DIYers try to fix a cracked head with “mechanic’s epoxy.” Save your time and money. If the crack is near combustion pressure or coolant flow, sealants won’t hold. They might buy you a week—but not a fix.
Repair vs Replace: Cost and Practicality
Repair costs vary widely:
| Service | Typical Cost Range |
|---|---|
| Head removal and reinstallation (DIY vs shop) | $300–$900 |
| Welding repair (aluminum, specialized) | $400–$800 |
| Pinning (cast iron) | $300–$600 |
| Reconditioned cylinder head (OEM) | $400–$1,200 |
| New aftermarket head | $600–$2,000+ |
If your engine is high-mileage or in a low-value vehicle, replacement with a reconditioned head often makes more sense. For rare or performance engines, repair may be the only option.
Rule of thumb: If repair costs exceed 60% of a replacement head’s price, just replace it. And always factor in downtime—your time has value.
Post-Repair Verification: Don’t Skip This
A repair isn’t done until it’s proven.
- Pressure test the head again after repair—same specs as before.
- Check deck flatness: Use a precision straight edge and feeler gauge. Max deviation: 0.002″ over 6″. Aluminum may require 0.0015″.
- Inspect valve seats: Use a dial indicator to check runout. Excessive wobble = poor seal.
- Recheck bolt holes: Clean with a bottoming tap. Corrosion or debris can cause false torque readings.
- After reassembly: Monitor temperature, coolant level, exhaust smoke, and oil condition for the first 500 miles.
I’ve had heads pass every test—only to fail under load. Always do a road test, not just an idle check. Thermal cycling is the real test.
Final Verdict: When to Repair, When to Replace
Repair is possible—but not always wise. Here’s my decision framework:
- Repair if: Crack is small, in low-stress area, and head is hard to replace (e.g., rare engine).
- Replace if: Crack is near combustion chamber, bolt hole, or valve seat; head is aluminum with multiple cracks; or repair cost approaches replacement.
In 20 years, I’ve never seen a repaired head outlast an original casting under repeated thermal stress. Some hold—many don’t. Be honest about risk. Sometimes the most professional move is to recommend replacement.