In my 20+ years as a shop foreman and master mechanic, I’ve seen engines come in with camshafts so worn they barely had measurable lift. The most common question from DIYers and junior techs: “Can I keep driving it?” The short answer: **no, not safely or for long**. While some engines may run for weeks or even months with minor wear, the risks of catastrophic collateral damage grow with every mile. This article breaks down the real-world risks, how to diagnose cam wear properly, and what to do next—based on actual teardowns, oil reports, and hard lessons learned.
Immediate Risks of Driving with a Worn Camshaft
Camshaft wear doesn’t just reduce power—it compromises the entire engine’s integrity. The longer you drive it, the higher the chance of a costly failure. Key risks include:
- Valve-to-piston contact in interference engines due to delayed valve return or incomplete closure, especially at higher RPM.
- Metal contamination of the oil system—flattened lobes shed iron particles that circulate through bearings, oil pumps, and cylinder walls.
- Sudden stalling or misfires under load, which can be dangerous on highways or in traffic.
- Increased stress on timing components—a worn cam can alter valve timing events, overloading chains or belts.
In my shop, we always treat cam wear as a contamination event. Even if the cam is the only part visibly damaged, assume the oil system is full of metal. Continuing to run it risks turning a $1,200 repair into a $4,000 engine replacement.
Long-Term Consequences of Ignoring Cam Wear
Running an engine with a worn cam rarely ends well. The damage spreads. Common outcomes I’ve documented:
- Spun rod or main bearings due to abrasive oil.
- Oil pump failure from ingested metal.
- Scored cam bores or main journals requiring block replacement.
- Failed VVT actuators or phasers due to poor oil pressure or debris.
Fuel economy often drops 10–20%, and emissions rise due to incomplete combustion. In extreme cases, the engine may seize with no warning.
How to Diagnose Camshaft Wear (Step-by-Step)
Don’t guess—verify. Many symptoms mimic other issues like bad sensors or valve problems. Follow this diagnostic flow:
1. Check for Audible and Performance Symptoms
Start with the basics:
- Listen for a rhythmic ticking or tapping noise from the valve cover area. Use a mechanic’s stethoscope to isolate.
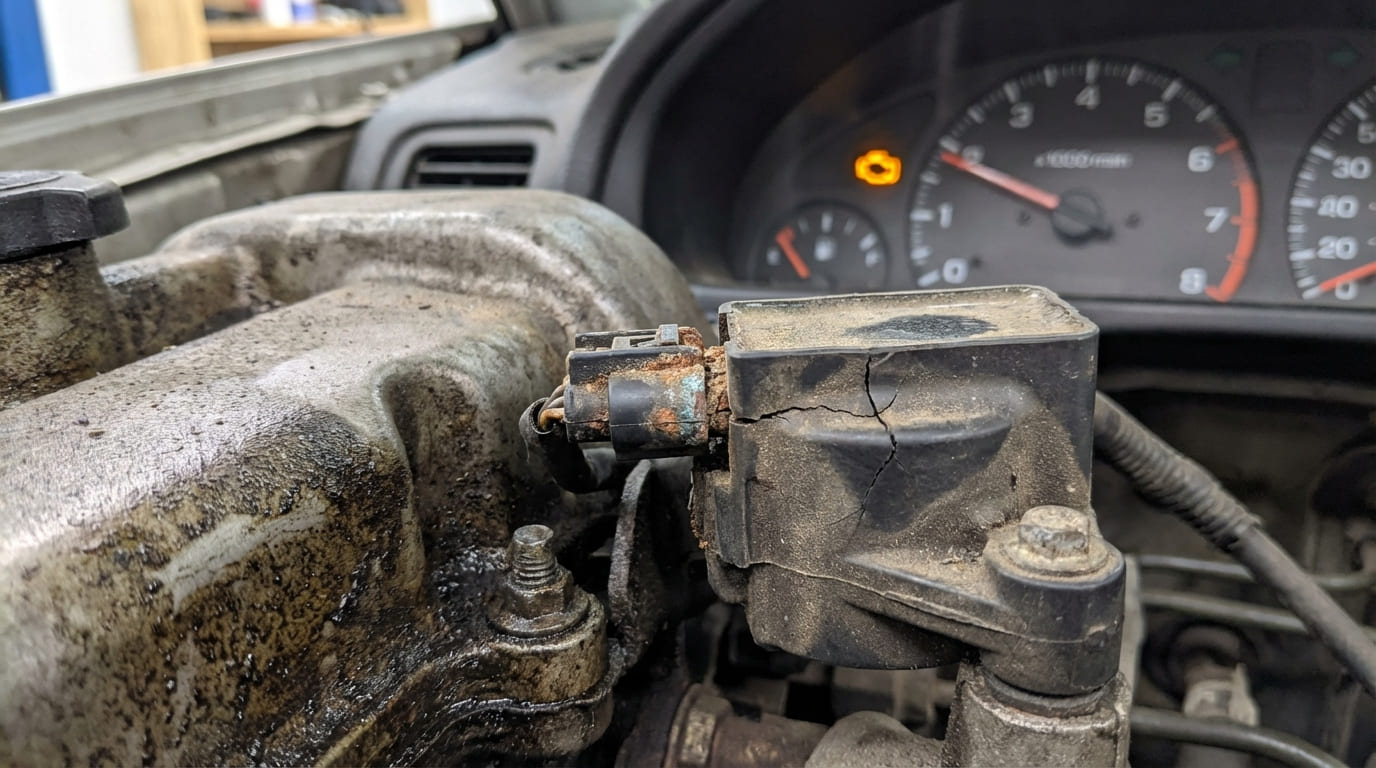
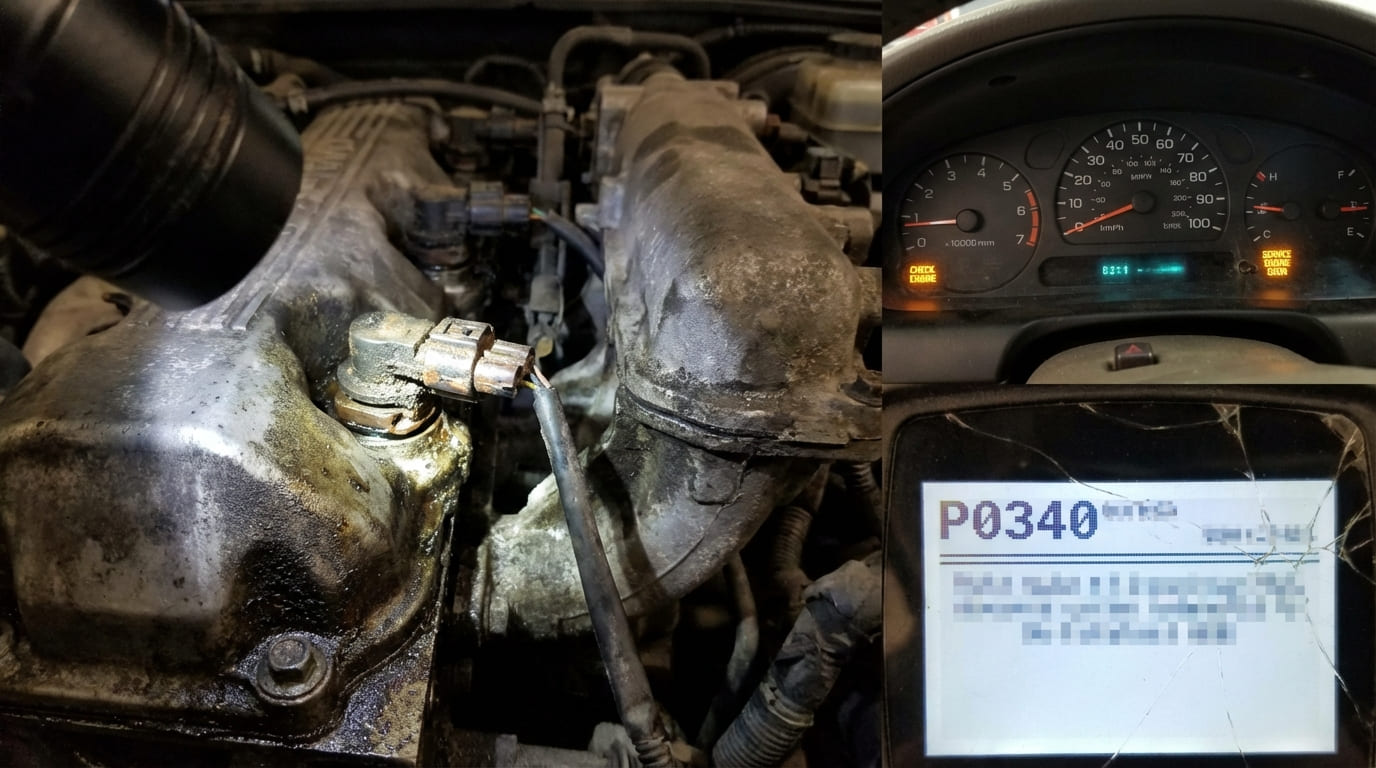
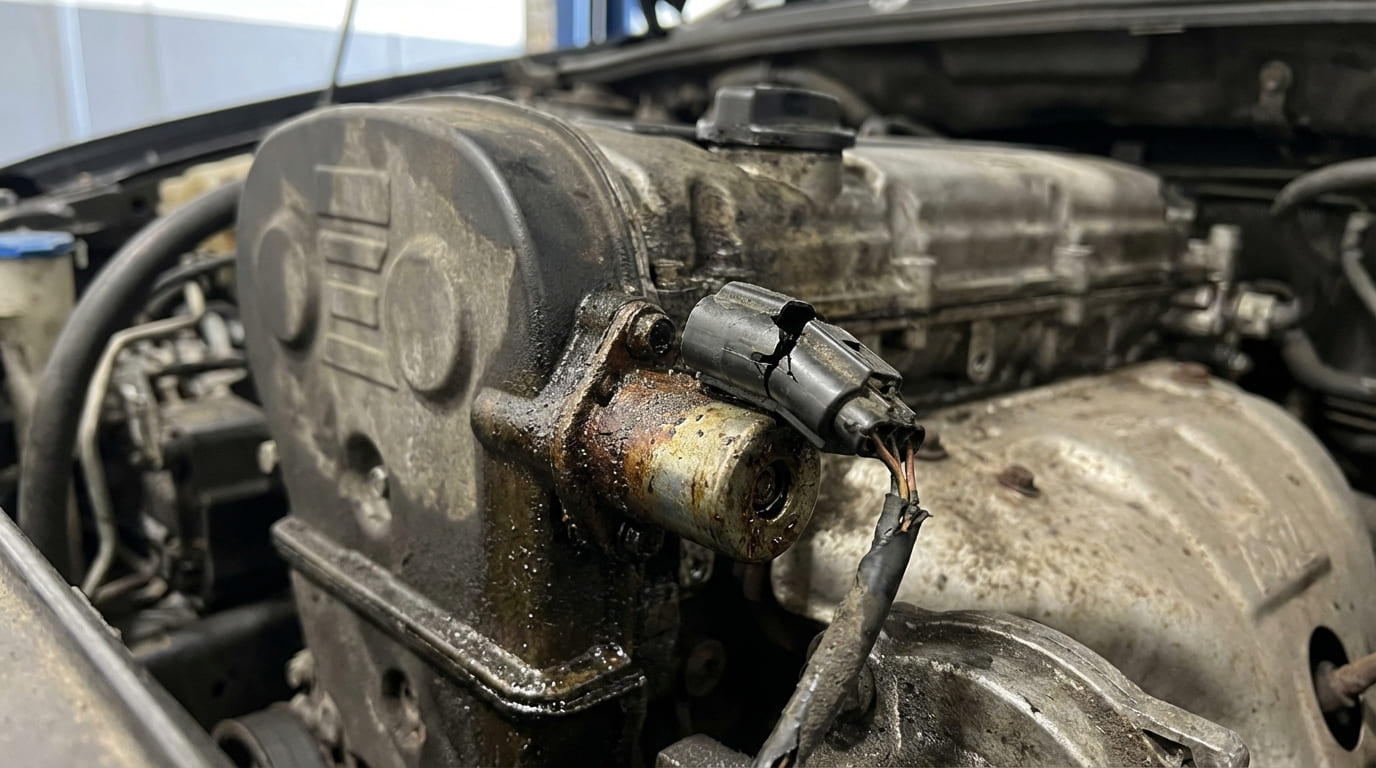
- Scan for trouble codes: P030X (misfire), P0340/P0341 (cam position sensor). But don’t assume cam wear—test further.
- Check for rough idle, power loss in mid-range, or hesitation under load.
2. Inspect Oil Condition and History
Poor lubrication is the #1 cause of premature cam wear. Check:
- Oil level and color—black, sludgy oil suggests extended intervals or overheating.
- Oil change history—conventional oil in stop-and-go driving accelerates wear.
- Oil pressure—low readings may indicate bearing wear or clogged passages.
3. Perform Compression and Leak-Down Tests
These tests reveal mechanical faults:
- A dry compression test showing low pressure that doesn’t improve with oil (wet test) suggests valve or seat issues.
- A leak-down test with air escaping through intake or exhaust during TDC compression points to poor valve sealing—possibly from insufficient lift.
Note: On VVT engines, test at multiple RPMs if possible, as wear may affect only certain cam profiles.
4. Measure Valve Lift and Inspect Lobes
This is the definitive check. On most engines:
- Use a dial indicator on the valve spring retainer to measure peak lift.
- Compare to factory specs—deviation beyond ±0.005″ usually means replacement.
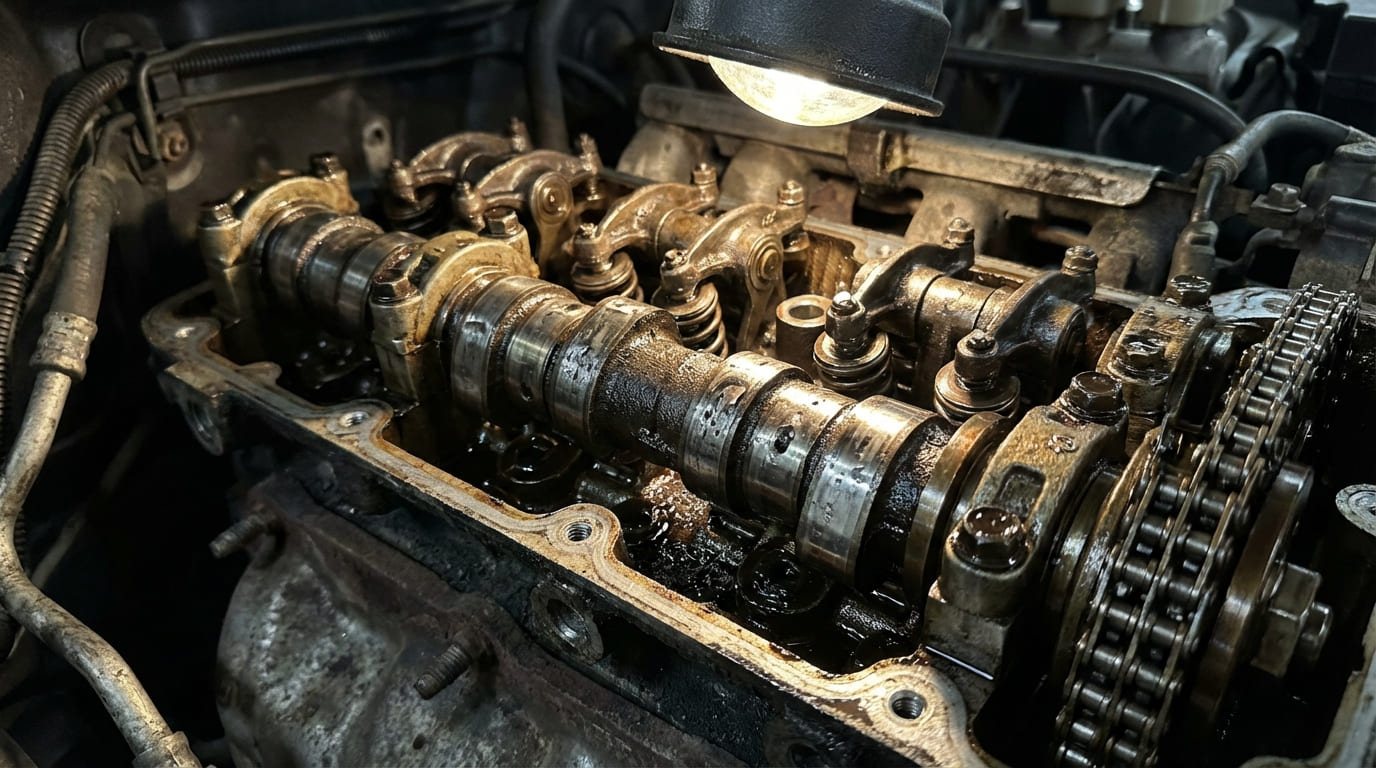
- Remove valve cover or use a borescope to inspect lobes for flattening, spalling, or pitting.
I once misdiagnosed a burned exhaust valve—turned out the cam lobe was nearly flat. Always measure lift before pulling heads. It saves time and money.
5. Run an Oil Analysis (Optional but Smart)
For high-mileage or commercial engines, an oil lab report can confirm wear:
- Iron (Fe) levels above 80–100 ppm suggest active cam or lifter wear.
- Chromium (Cr) spikes may indicate lifter barrel wear.
Cost: $30–$50. Worth it to avoid unnecessary teardowns.
Root Causes of Camshaft Wear
Wear doesn’t happen in isolation. Most cases I’ve seen trace back to:
- Infrequent oil changes—especially with conventional oil in city driving.
- Wrong oil viscosity—0W-20 in an older engine designed for 10W-30 reduces film strength at idle.
- Clogged oil passages—common in engines prone to sludge (e.g., early 2000s V6s).
- VVT system failure—stuck phasers cause uneven lobe loading.
- Reused lifters on a new cam—a fast track to premature failure.
And yes, defective parts happen. Stick to reputable brands—OEM or high-tier aftermarket.
Repair vs. Replace: Cost and Viability
Camshaft replacement is labor-intensive. Here’s what to expect:
| Component | Cost Range | Notes |
|---|---|---|
| Camshaft (OEM) | $150–$400 | Aftermarket may be cheaper but riskier. |
| Lifters/Followers | $200–$600 | Always replace with cam—critical pairing. |
| Labor (R&R) | $800–$1,800 | Varies by engine accessibility and region. |
| Timing Kit | $100–$300 | Replace chain, tensioner, guides if worn. |
| Total Estimate | $1,200–$3,000 | Higher for DOHC or V6/V8 engines. |
For high-mileage engines, weigh repair cost against vehicle value. A $2,500 cam job on a $3,000 car may not make sense—consider a used or remanufactured long block instead.
Repair Best Practices and Component Replacement
A successful cam replacement is a system repair, not just a part swap. Follow this checklist:
| Component | Replace? | Notes |
|---|---|---|
| Lifters/Followers | ✅ Yes (typically) | New cam and lifters must wear in together. Reusing old lifters risks rapid failure. |
| Rocker Arms | ✅ Inspect; replace if pitted or loose | Bushing wear affects valve motion even with new cam. |
| Valve Springs | ⚠️ Check pressure | Weak springs increase loft risk. Replace if below spec. |
| Timing Components | ✅ Yes (recommended) | Chain stretch or tensioner failure may have contributed to wear. |
| Cam Bearings | ✅ If applicable | Inspect for scoring. Replace if oil starvation was a factor. |
Oil System Cleaning and Flush
I’m cautious about engine flushes—they can dislodge sludge that blocks oilways. If you flush:
- Use a mild detergent formula.
- Verify oil pump pickup is clear first.
- Install a magnetic drain plug post-repair to catch residual metal.
Break-In and Post-Repair Verification
How you start the engine matters—especially for flat-tappet cams:
- Start and hold at 2,000–2,500 RPM for 20–30 minutes to seat lifters.
- Avoid lugging or prolonged idling during first 500 miles.
- Use break-in oil with high ZDDP for flat-tappet cams—never non-detergent or synthetic-only.
After startup, verify:
- No abnormal noises.
- Clear DTCs and stable cam sensor correlation in live data.
- Zero misfire counts across all cylinders.
Change oil and filter at 500–1,000 miles. Cut open the filter and inspect for metal—fine sheen is normal, but chunks mean trouble.
What to Do and What to Avoid
- ✅ Do replace lifters with the cam—always.
- ✅ Do clean oil passages with compressed air or soft brushes.
- ✅ Do inspect timing chain tension and sprocket wear.
- ⚠️ Avoid reusing torque-to-yield fasteners unless specified.
- ⚠️ Avoid skipping break-in—especially on flat-tappet cams.
- ⚠️ Avoid cheap oil filters—poor anti-drainback valves cause dry starts.
Situation: A 2008 V6 pickup came in with a tapping noise and P0306. Compression was low on cylinder 6. Initial assumption was a burned exhaust valve.
Discovery: Leak-down test showed air escaping through the exhaust, but borescope inspection revealed no valve damage. Dial indicator showed only 0.22” lift vs. spec of 0.31”. Cam lobe was nearly flat.
Nuanced Lesson Learned: Low valve lift can mimic valve sealing issues. Always measure lift before condemning heads or valves—especially in high-mileage engines with marginal maintenance history.
Situation: A customer drove a car 1,200 miles after being told they had “minor cam wear.” Engine eventually seized.
Discovery: Post-mortem revealed shattered lifters, scored cam bores, and three spun rod bearings. Oil analysis showed iron levels over 200 ppm.
Nuanced Lesson Learned: Cam wear isn’t just about valve operation—it contaminates the entire lubrication system. Letting it run risks collateral damage that turns a $1,200 repair into a $4,000 engine replacement.
Situation: A rebuilt engine developed ticking after 800 miles. Cam was new, lifters were reused.
Discovery: Two lifters had polished faces but one showed spalling. Cam lobe had micro-pitting. Customer had used non-detergent break-in oil.
Nuanced Lesson Learned: Even with new parts, improper break-in oil or reused components can fail quickly. The cam-lifter interface is highly sensitive to chemistry, surface finish, and loading during initial run.
Camshaft wear is a critical issue that demands immediate attention. It’s not just about lost power—it’s about protecting your engine from cascading failure. Diagnose accurately, repair thoroughly, and never underestimate the importance of clean oil and proper break-in. When in doubt, consult the factory service manual for your specific engine’s specs and procedures. What works for one engine may destroy another.