Connecting rods are critical components in any internal combustion engine. As a master mechanic with decades of experience, I’ve seen how rod failures can destroy engines—and how proper understanding and maintenance prevent costly disasters. This guide cuts through theory and delivers what you need: how rods work, how they fail, how to diagnose issues, and whether repair is viable.
Core Function: What Connecting Rods Actually Do
The connecting rod’s job is simple in concept but complex in execution: it links the piston to the crankshaft, converting the piston’s up-and-down motion into the crankshaft’s rotation. Every power stroke relies on this transfer. Without a functioning rod, the engine produces zero usable power.
But it’s not just a mechanical link. The rod handles extreme forces—thousands of pounds of compression during combustion and intense pulling (tensile) loads at high RPM. It must do this reliably for hundreds of thousands of miles. When it fails, the engine usually fails with it.
How to Check: Diagnosing Rod-Related Issues
You don’t need to tear down the engine to suspect rod trouble. Start with these field diagnostics:
- Listen for rod knock: A low-pitched, rhythmic knocking that increases with engine load (not just RPM). Most noticeable under acceleration.
- Use an engine stethoscope: Place it near the lower block, close to each cylinder’s rod journal. The noise peaks when the piston is near bottom dead center (BDC) on the power stroke.
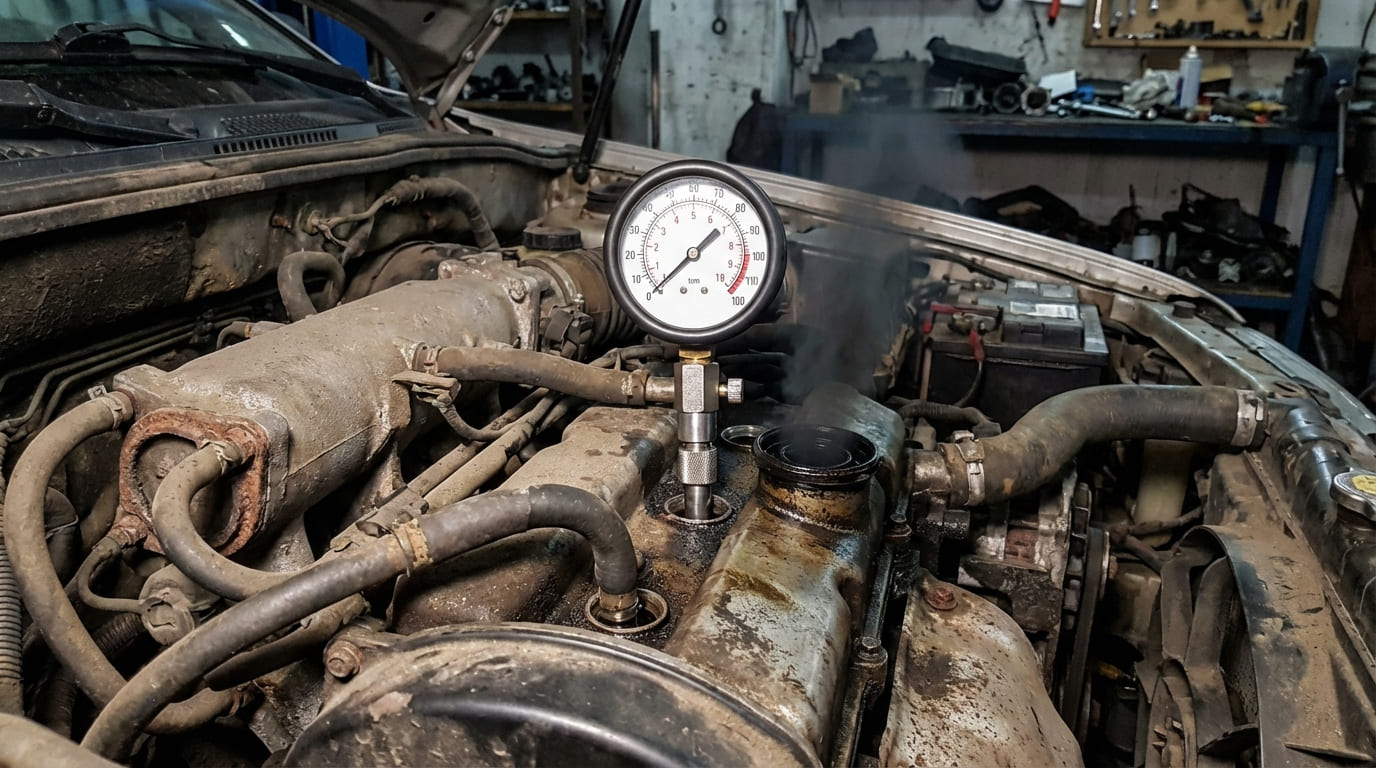
- Check oil pressure: Low pressure at idle with normal viscosity oil can point to excessive bearing clearance.
- Inspect the oil filter: Cut it open and look for brass, copper, or silver flakes—signs of bearing material wearing.
- Run an oil analysis: Elevated copper, lead, or tin levels often confirm bearing wear before catastrophic failure.
In my shop, we never assume “rod knock” without verification. I once diagnosed a knock that turned out to be a cracked flexplate. Always isolate the sound before committing to engine disassembly.
Key Components and What to Inspect
When you’re inside the engine, here’s what to check—and why it matters.
Small End and Piston Pin
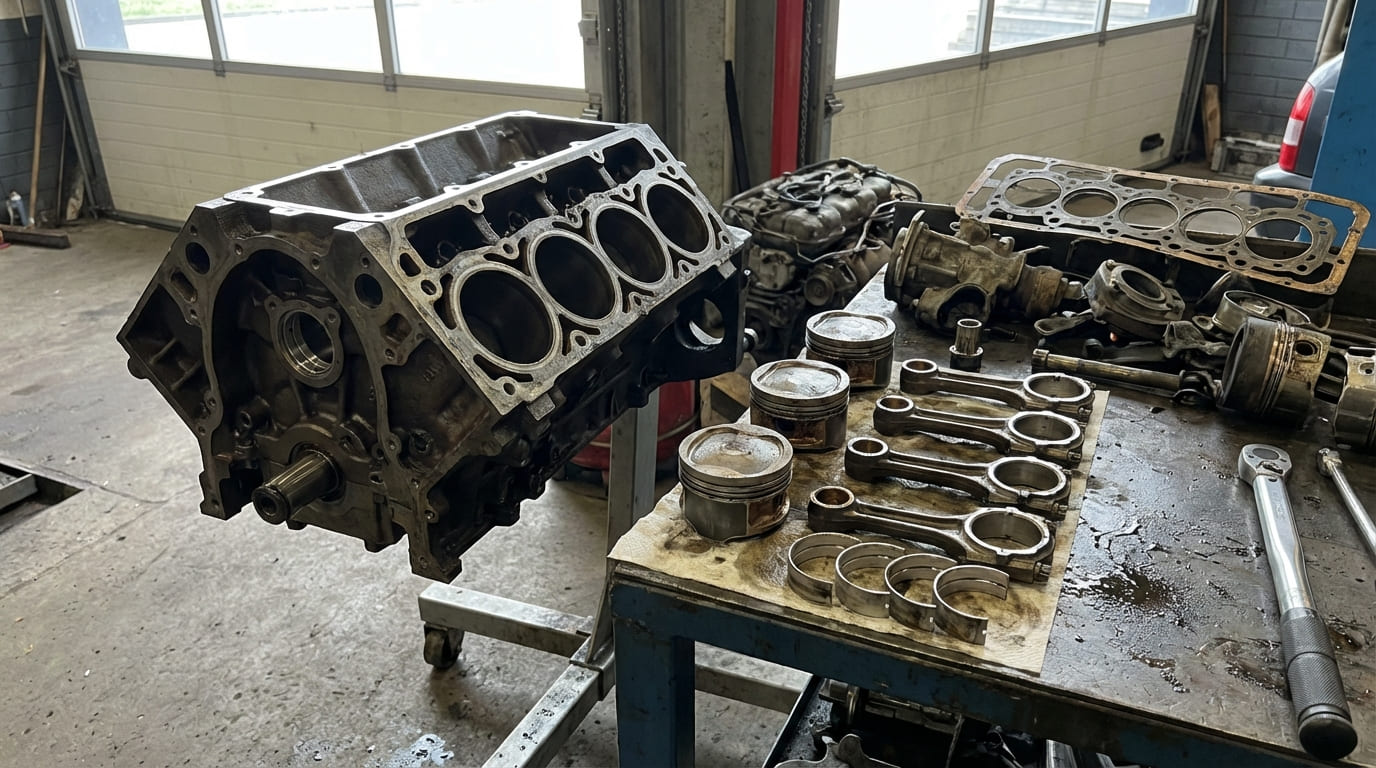
The small end connects to the piston via the wrist pin. Most use a bronze bushing. Check for wear by measuring clearance with a bore gauge or using plastigage. Typical spec: 0.001″ to 0.002″. If clearance exceeds 0.003″, replace the rod or bushing.
Piston pin retention matters. Full-floating pins (held by circlips) allow movement; semi-floating pins are pressed in. Never mix types during rebuilds—this can cause binding or accelerated wear.
Beam Design: I-Beam vs. H-Beam
The beam is the rod’s structural core. I-beam rods are common in stock engines—light and strong enough for normal use. H-beam rods are stiffer and handle higher loads, often found in turbo or performance engines.
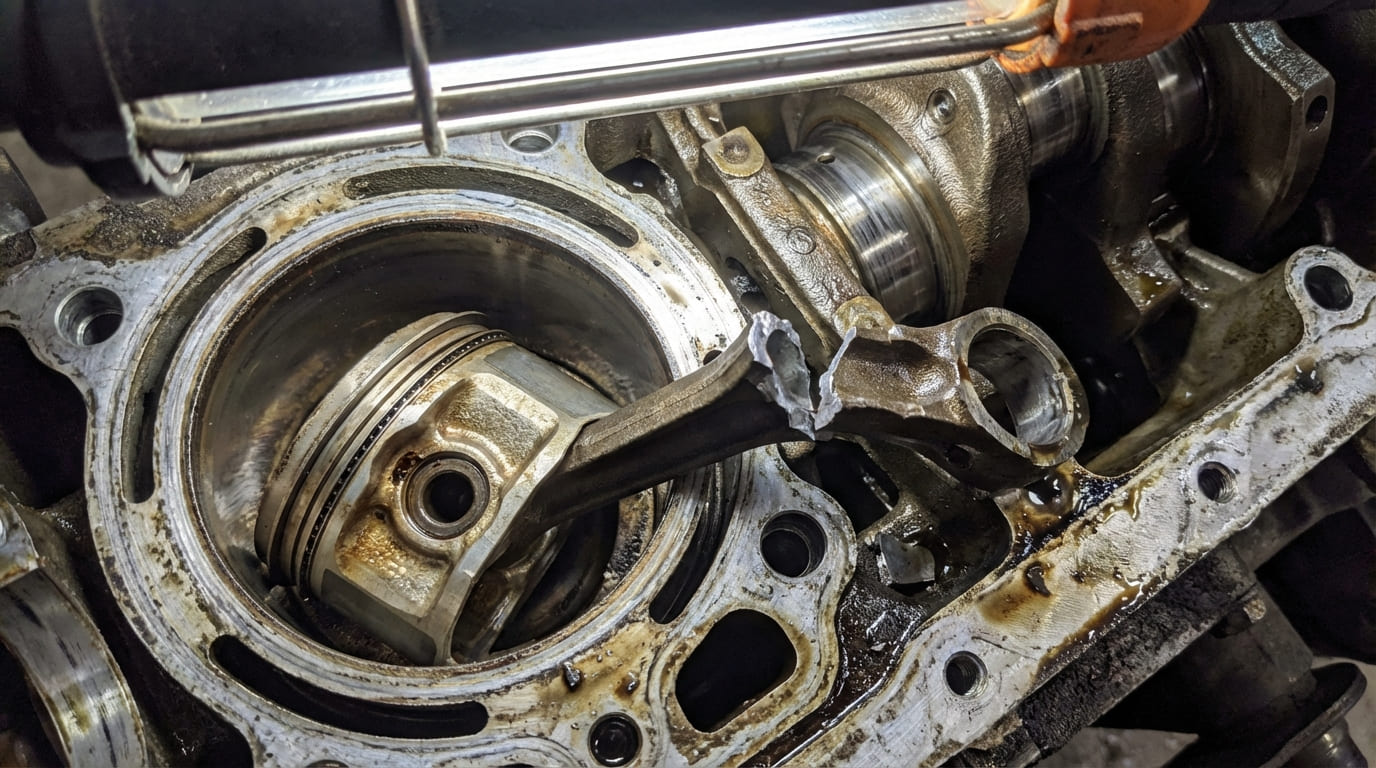
Inspect the beam for cracks, especially where it meets the big or small end. Stress risers from corrosion or poor machining are common failure points. If you see pitting or nicks, replace the rod.
Big End and Rod Bearings
The big end wraps around the crankshaft journal with a split cap and precision bearings. This is where most rod issues start.
Check bearing clearance with plastigage or micrometers. Typical range: 0.0015″ to 0.0025″. Always consult factory specs—aluminum rods may need more clearance.
Look for signs of spun bearings: shiny spots on the back of the bearing, misaligned parting lines, or scoring on the crank journal. If you find one, check oil delivery—clogged passages or a failing pump can cause this.
In my shop, we always clean rod bolt threads and cap holes with a tap and die set. Dirt or old sealant changes clamp load and can lead to bolt failure—even if torque specs are followed.
Materials and Manufacturing: What’s Under the Hood?
Not all rods are built the same. Here’s what you’ll see and what it means for durability.
| Material/Type | Typical Use | Strengths | Weaknesses | Replace or Reuse? |
|---|---|---|---|---|
| Forged Steel | OEM, performance engines | High fatigue resistance, durable | Heavier than alternatives | Reuse if undamaged and within spec |
| Powdered Metal (PM) | Modern OEM engines | Precise, cost-effective, fracture-split for perfect fit | Brittle; not designed for reuse | Replace—never reuse unless manual allows |
| Cast Iron | Older, low-RPM engines | Cheap to produce | Prone to sudden failure | Replace if engine is rebuilt |
| Billet (Aluminum/Titanium) | Racing | Extremely strong, lightweight | Very expensive, overkill for street | Follow manufacturer guidelines |
Fracture-Split vs. Conventional Rods
Fracture-split rods are common in modern engines. The cap is broken off in a controlled fracture, creating a unique mating surface. This improves alignment and cap retention.
But here’s the critical rule: once separated, they’re usually trash. Never pry them apart with a chisel. If you’re rebuilding, assume they need replacement unless the factory service manual says otherwise.
Conventional rods (with dowels or machined alignment) can often be reused. But always inspect the mating surface for damage and use new fasteners if specified.
Forces That Break Connecting Rods
Understanding what stresses rods endure helps you prevent failure.
- Compression loads: Occur during power and compression strokes. Hydro-lock (liquid in the cylinder) can bend rods instantly—coolant leaks are a common cause.
- Tensile loads: At high RPM, the piston’s inertia pulls on the rod. This is the #1 cause of failure in performance engines. Stay within redline limits.
- Bending loads: Caused by side thrust from the piston. Worse in long-stroke engines. Can lead to fatigue cracks over time.
- Fatigue: Millions of cycles cause metal fatigue, even below yield strength. High-mileage rods should be replaced—even if they look fine.
In my shop, we replace rods on any engine with over 150,000 miles if it’s being rebuilt. Visual inspection isn’t enough. Fatigue cracks can be microscopic.
Common Failures and How to Respond
Here’s what happens when rods go wrong—and what to do.
| Symptom | Most Likely Cause | Diagnostic Steps | Repair Viability |
|---|---|---|---|
| Rod knock under load | Worn or spun bearing, low oil pressure | Stethoscope, oil pressure test, filter inspection | Rebuild needed—replace bearings, inspect crank |
| Engine won’t turn after coolant leak | Hydro-lock bent rod | Remove spark plugs, check for fluid, measure rod length | Replace rod(s); inspect piston and crank |
| Metal in oil filter | Bearing debris, rod journal damage | Inspect filter, run oil analysis, check clearances | Disassemble and assess damage |
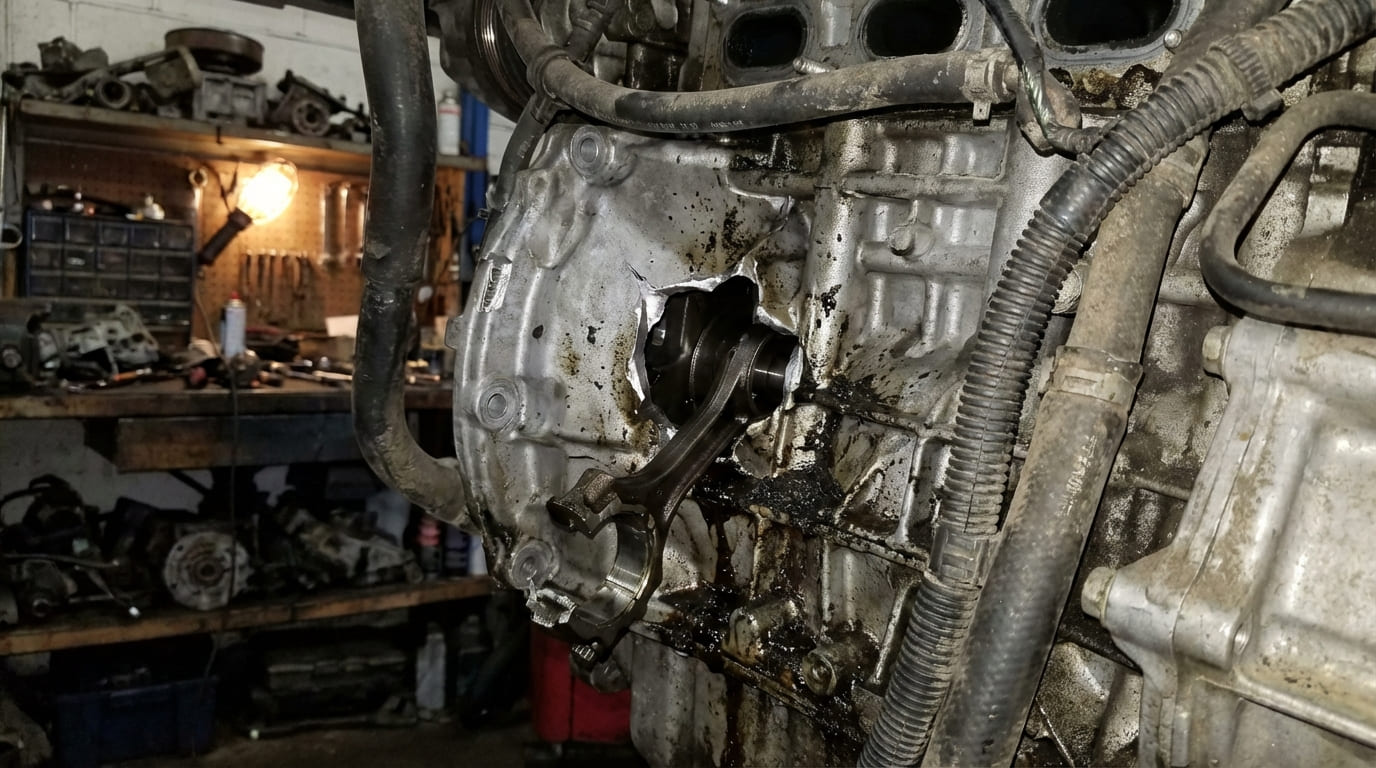
| Thrown rod (engine destruction) | Fractured rod due to fatigue or over-rev | Visual inspection after disassembly | Engine is totaled—rebuild or replace |
A 2012 V6 came in with a knock. Owner was sure it was a rod. Oil pressure was slightly low. We pulled the pan—bearings were fine. The oil pump pickup was cracked. Lesson: oil delivery issues mimic rod knock. Always verify root cause.
A turbo 4-cylinder threw a rod after a tune. Everyone blamed boost. Teardown showed a rod bolt fractured at the thread root. It had been over-torqued years earlier. Lesson: one bad fastener can kill an engine. Always follow torque specs.
Best Practices for Repair and Rebuild
Whether you’re replacing a single rod or doing a full rebuild, follow these rules.
- ✅ Always use new rod bolts or studs if specified—especially torque-to-yield (TTY) fasteners. Never reuse them unless the manual says it’s safe.
- ✅ Measure bearing clearance with plastigage or micrometers. Don’t guess. Too tight = no oil film. Too loose = hammering and knock.
- ✅ Rotate the crankshaft after installing caps to ensure bearings seat properly. Torquing without rotation gives false readings.
- ⚠️ Never use an impact gun on rod fasteners. Use a calibrated torque wrench and angle gauge for precision.
- ⚠️ Never mix rods or caps between cylinders. Each pair is matched. Mark them during teardown.
- ⚠️ Check rod length and straightness with a rod checker. Replace if bent more than 0.005″.
In my shop, we mark every rod and cap with a number and cylinder position. A simple mistake here can lead to misalignment, bearing failure, and a comeback.
Repair vs. Replace: Cost and Viability
Is fixing a rod issue worth it? Here’s the reality:
- Spun bearing only: Rebuild possible. Cost: $1,500–$3,000 (labor + parts). Viable for engines with good block and crank.
- Bent rod: Replace rod(s), inspect piston and crank. Cost: $800–$1,500 if no other damage.
- Thrown rod: Engine is usually destroyed. Replacement or short-block swap: $3,000–$6,000. Often not worth it on high-mileage vehicles.
For most daily drivers, a rod failure means it’s time to consider engine replacement or vehicle retirement. For performance or classic cars, a full rebuild with forged rods and new fasteners is the right move.
Always refer to factory service data. Torque specs, clearances, and fastener procedures vary widely—even between similar engines. What works on one may destroy another.