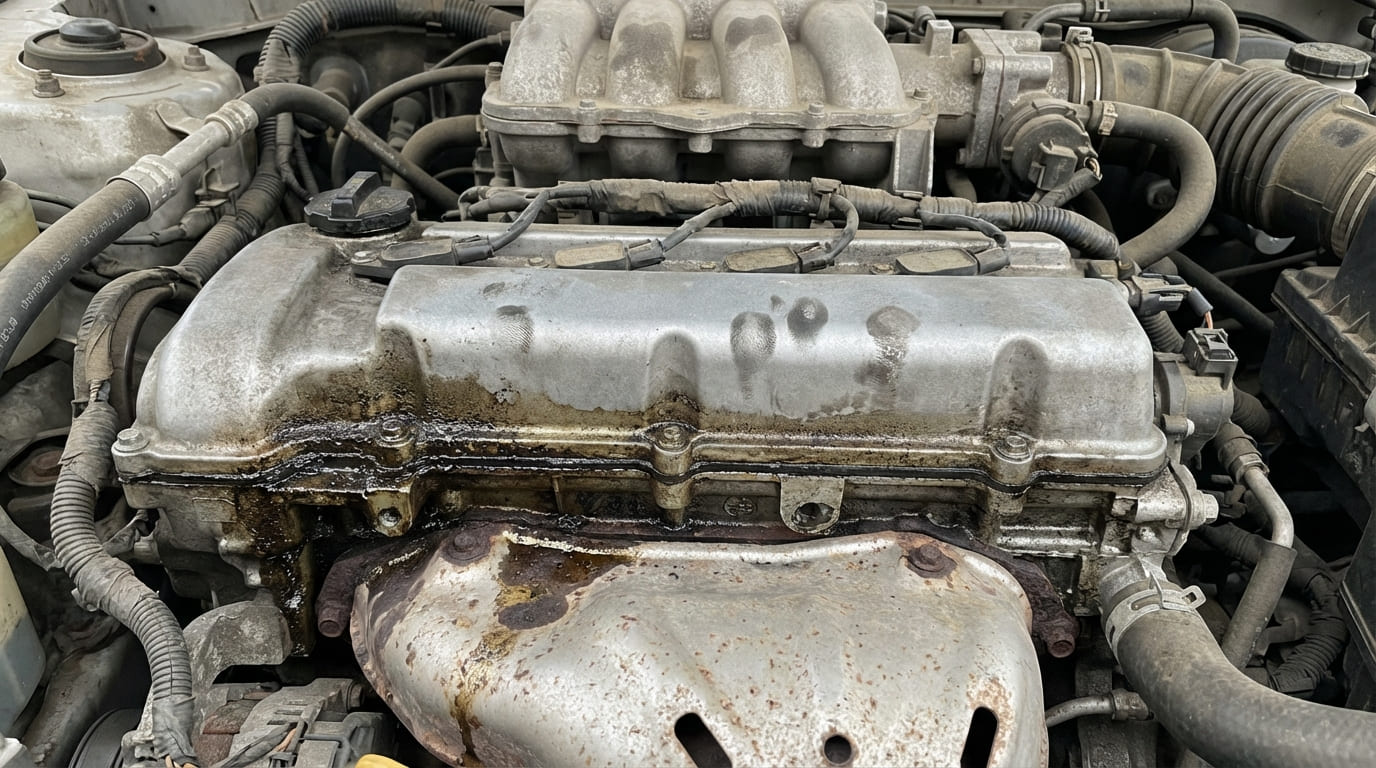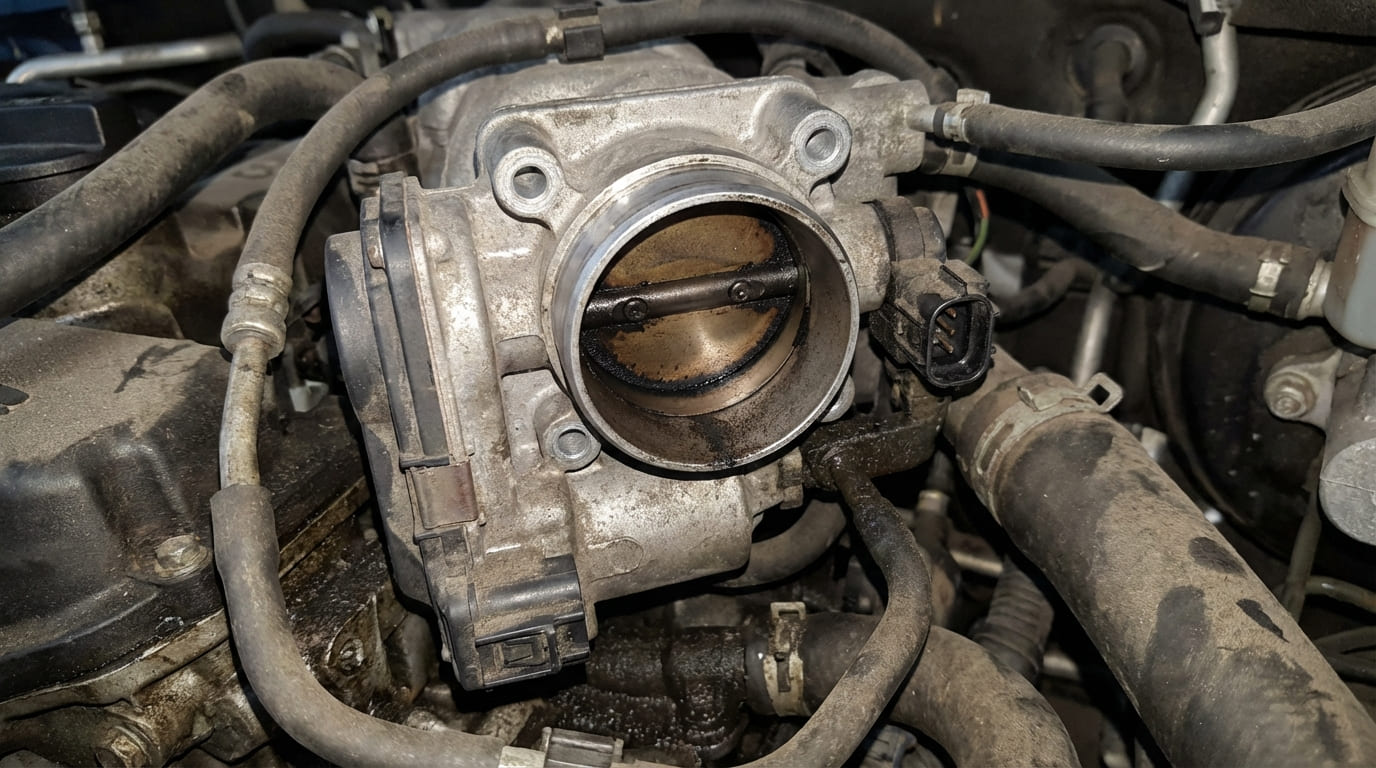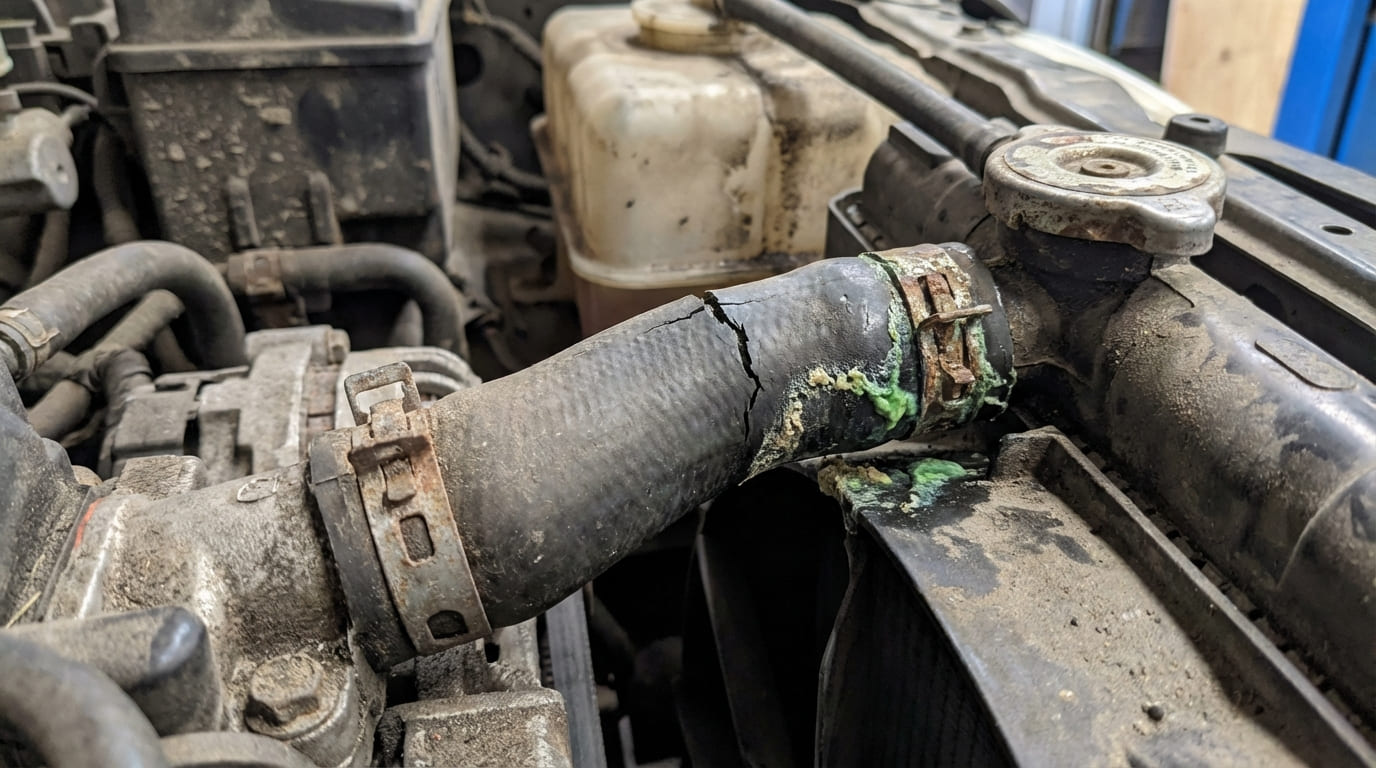
In my 20+ years in the shop, few issues come in as often — or get misdiagnosed as frequently — as engine overheating. I’ve seen good mechanics jump straight to replacing a head gasket when the real culprit was a $12 relay. The cooling system is a network of interdependent components, and diagnosing it properly means thinking in systems, not symptoms. Let’s walk through the real-world scenarios, how they present, and how to approach them with care and precision.
Overheating at Idle or Low Speed: Airflow and Circulation
When an engine overheats at idle or low speeds but cools down on the highway, the issue is typically insufficient airflow or coolant circulation. The radiator needs both moving air and moving coolant to shed heat effectively.
Insufficient Airflow and Circulation: Key Causes
The most common causes under these conditions are electric fan failure, radiator blockage, or coolant flow restrictions. These are often misdiagnosed as major internal failures.
- Fan not engaging due to relay, wiring, or ECT sensor fault
- External debris blocking radiator airflow
- Failing water pump or stuck thermostat
How to Check: With the engine at operating temperature, observe the electric fan. It should activate when coolant hits 205–220°F or when A/C is turned on. Use a scan tool to verify ECT (Engine Coolant Temperature) reading — if it doesn’t match actual conditions, suspect the sensor. For mechanical fans, spin the fan by hand when cold and hot — excessive free-spin when hot indicates clutch failure.
External radiator blockages are often overlooked. Shine a flashlight through the fins from behind — if you can’t see light, airflow is compromised. Clean with a degreaser and low-pressure water.
In my shop, we always test the fan circuit with a fused jumper wire at the relay socket. If the fan runs when jumped, the motor is good — focus on relay, fuse, or control signal.
Overheating at Highway Speed or Under Load
When overheating occurs under load or at speed, the engine is generating more heat than the system can reject. This usually points to heat rejection limits or excessive internal heat production.
Heat Rejection and Internal Heat: What to Investigate
At highway speeds, airflow is maximized, so the problem lies in heat transfer inefficiency or excess heat generation.
How to Check: Perform an infrared temperature sweep across the radiator. Cold spots indicate internal clogging. Compare inlet (hot) and outlet (cooler) hose temps — less than a 20°F drop suggests poor heat transfer.
Check coolant level and condition. Low coolant can result from internal leaks (e.g., head gasket) or air pockets. Pressure test the system — most hold 15–20 psi for 15–20 minutes. A drop of more than 2 psi indicates a leak.
Air pockets are common after coolant service. Symptoms include fluctuating temps, cold heater, and gurgling. Many modern vehicles require a scan tool to activate the electric pump for proper bleeding.
Verify coolant mixture with a refractometer — never a hydrometer. A 50/50 mix of ethylene glycol and water is optimal. Too much water lowers boiling point; too much glycol reduces heat transfer. Mixing coolant types can form gel and block passages.
Test the radiator cap with a pressure tester. A weak cap drops system pressure, lowering the boiling point. Replace if it fails to hold within 1 psi of its rated pressure for 30 seconds.
Always replace the radiator cap if you’re replacing the radiator. A worn cap can ruin a new system.
Intermittent Overheating
Intermittent overheating is frustrating and often electrical or mechanical in nature. These issues come and go, making them hard to pin down.
Common Intermittent Causes and How to Diagnose
Sticking thermostats, slipping belts, and electrical faults are top culprits.
How to Check: Monitor the thermostat with an infrared gun over multiple warm-up cycles. If opening temperature varies by more than 5°F, replace it. Even new thermostats can be faulty — I’ve seen them stick right out of the box.
For belt-driven water pumps, check belt tension with a gauge. Visual inspection isn’t reliable on modern automatic tensioners. A glazed or cracked belt can slip under load, reducing flow. Listen for squealing on cold start or A/C engagement.
Electrical issues require live data monitoring. Use a scan tool to watch ECT readings while wiggling wiring harnesses. A sudden drop or spike can reveal a cracked connector or broken wire. I once found a fan that quit only at 2,800 RPM due to a cracked ECT connector.
When chasing electrical gremlins, replicate driving conditions — use a road simulator or drive the car while monitoring data. Vibration kills connections.
Constant Overheating: Major System Failures
When overheating is constant — especially after repairs — internal engine damage or multiple failures are likely.
Head Gasket, Cracked Head, or Block
A blown head gasket allows combustion gases into the cooling system, increasing pressure and temperature. Coolant may enter the combustion chamber (white smoke) or oil (milky residue).
How to Check: Perform a block test (combustion leak tester). Blue fluid turning yellow indicates CO2 in coolant. Also, check for bubbling in the overflow tank when hot. Do a leak-down test to confirm — over 20% loss suggests gasket or crack.
Some engines, like GM LS series, are prone to intake manifold gasket leaks that mimic head gasket failure. Inspect the valley for coolant.
Cracked heads or blocks are harder to confirm. Coolant loss with no external leak, persistent overheating, and positive block test are red flags. After disassembly, use dye penetrant to find cracks. Repair depends on location — some can be welded or pinned, but most require replacement.
EGR cooler leaks (common on diesels and turbocharged gas engines) can also introduce exhaust gases into coolant. Pressure test the cooler off the engine for confirmation.
If you’re seeing coolant loss and pressure spikes, but no external leak, pull the EGR cooler. It’s often the hidden culprit on modern turbo engines.
Engine Internal Causes: Heat Beyond Cooling Capacity
Sometimes the cooling system is fine — the engine is just making too much heat.
Carbon Buildup and Internal Friction
Direct-injection engines are prone to carbon buildup on intake valves and in combustion chambers. This raises compression, creates hot spots, and leads to pre-ignition.
How to Check: Use a borescope to inspect combustion chambers. Severe buildup looks like black crust. Short-trip driving and low-quality fuel accelerate it. Some cases respond to chemical cleaners, but walnut blasting is often needed.
Excessive internal friction from low oil, wrong viscosity, or bearing wear increases heat. Check oil pressure — most engines need at least 10 psi at idle and 40–60 psi at 2,000 RPM. Low readings warrant an oil analysis for metal content.
Knocking or grinding noises are serious — stop driving and investigate. Rod knock means bearing failure and imminent engine damage.
On high-mileage engines, I always check oil pressure before blaming the cooling system. Worn bearings can overheat an engine even with a perfect radiator.
Diagnostic Decision Table: Overheating Scenarios and Likely Causes
| Condition | Most Likely Causes | Less Common But Possible | Verification Method |
|---|---|---|---|
| Overheats at idle, cools at speed | Fan failure, clogged radiator face, low coolant | Water pump cavitation, thermostat sticking | Visual fan check, IR temp sweep, pressure test |
| Overheats under load or at speed | Clogged radiator, lean mixture, timing issue | Collapsed hose, EGR cooler leak | IR core test, fuel trim analysis, leak-down |
| Intermittent overheating | Sticking thermostat, electrical fault | Slipping belt, air pocket | Repeat warm-up test, wiggle harness |
| Constant overheating after repair | Head gasket failure, cracked head | Improper assembly, wrong parts | Block test, pressure test, borescope |
| Overheats with normal cooling system | Carbon buildup, excessive friction | Incorrect oil, severe drag | Oil pressure test, borescope, oil analysis |
Best Practices: Do and Avoid
- ✅ Recommended: Clean bolt threads and holes with a tap before reassembly — debris can cause false torque readings and lead to warpage.
- ✅ Recommended: Use OEM or equivalent coolant — mixing types can cause gel formation and blockages.
- ✅ Recommended: Bleed the cooling system using the manufacturer’s specified method — many require a scan tool or special adapter.
- ⚠️ Avoid: Reusing torque-to-yield (TTY) head bolts unless the service manual explicitly allows it — stretching reduces clamping force.
- ⚠️ Avoid: Assuming a thermostat is good because it’s new — I’ve installed faulty ones straight from the box.
- ⚠️ Avoid: Pressure testing a cold engine — seals behave differently when hot, and some leaks only appear at operating temperature.
Situation: A 2012 F-150 came in with overheating at idle. The customer had already replaced the thermostat and water pump.
Initial Assumption: Must be a head gasket — coolant was disappearing, and there was slight white smoke.
Deep Dive: I ran a block test — negative. Pressure test showed no loss. Then I noticed the electric fan wasn’t kicking on, even with the A/C running. Checked the relay — no click. Swapped it, and the fan ran.
Nuanced Lesson Learned: Even when symptoms point to a major internal failure, always verify the basics first. Electrical faults can mimic catastrophic engine damage.
Situation: A Subaru with overheating under load. No external leaks, coolant level stable.
Initial Assumption: Clogged radiator — common on older Subarus.
Deep Dive: IR scan showed even temperature across the core. Pressure test held. Then I checked fuel trims — they were +18%. Found a cracked intake boot.
Nuanced Lesson Learned: Overheating isn’t always a cooling system problem. Combustion issues can generate excess heat that overwhelms an otherwise healthy radiator.
Situation: A BMW overheated after a coolant flush. Technician bled it by opening a valve on the thermostat housing.
Initial Assumption: Air pocket — common on German cars.
Deep Dive: Re-bleed with a vacuum fill tool. Temperature stabilized, but heater still blew cold. Discovered the expansion tank cap wasn’t sealing — the system couldn’t build pressure.
Nuanced Lesson Learned: Even when you follow a bleeding procedure, component condition matters. A worn cap or hose can defeat the entire process.
Warpage limits for cylinder heads vary by engine. Cast iron heads typically allow 0.002″–0.004″ over 6 inches, but aluminum heads often require tighter tolerances — sometimes as low as 0.0015″. However, the only reliable standard is the factory service manual for that specific engine. I’ve seen techs scrap a perfectly good head because they used a generic spec instead of the OEM data.