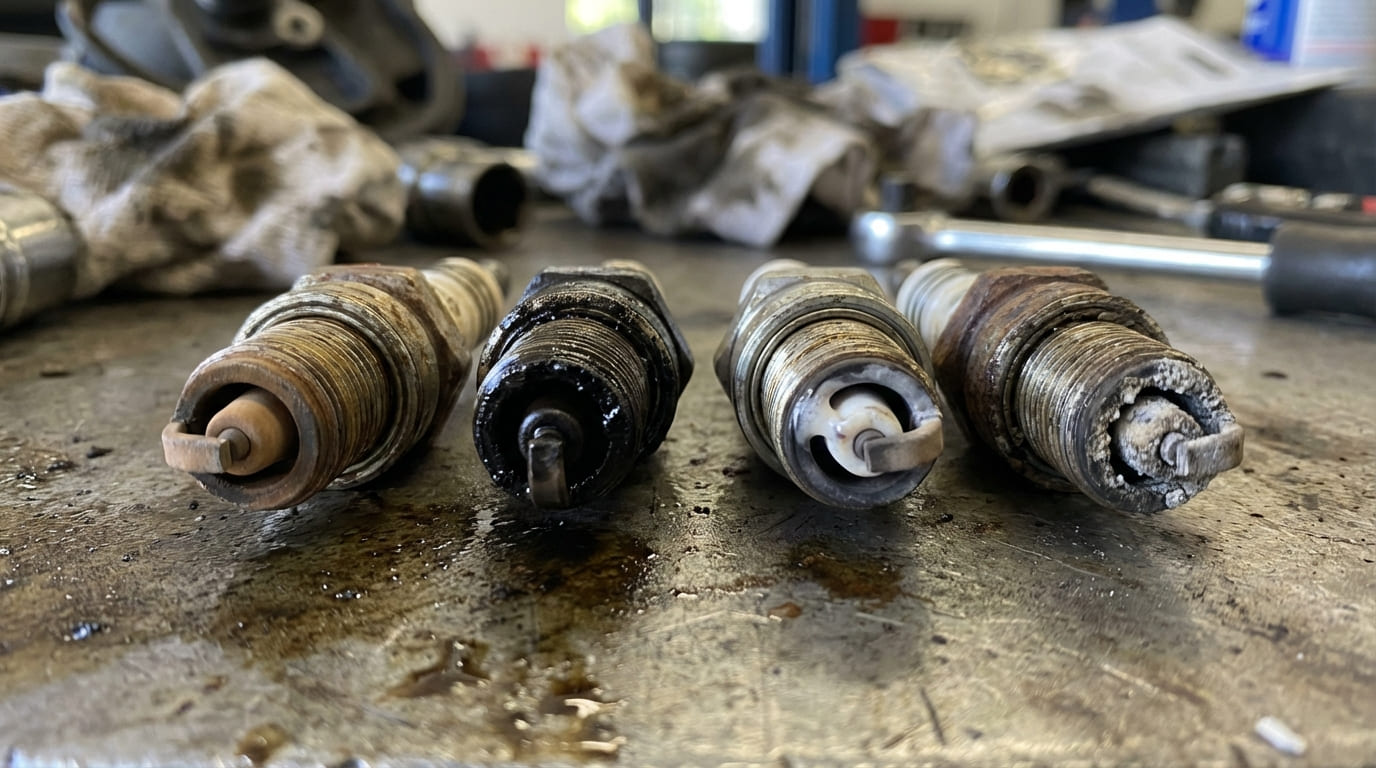
In my 20+ years of wrenching on everything from garden-variety four-cylinders to high-strung performance builds, I’ve found spark plugs to be one of the most honest diagnostic tools available—if you know how to read them. They’re like a black box recorder for combustion. But interpreting them isn’t just about matching a photo in a manual; it’s about understanding context, driving patterns, and system interactions. Let’s walk through what I typically see and how I approach it.
Normal Operating Condition
A spark plug in good health will have a light tan to grayish-white insulator tip. Electrode wear is minimal and even, with no heavy deposits, arcing, or physical damage. The gap should be close to factory spec—typically within ±0.005 inches for most engines.
This appearance means combustion is efficient, the fuel and ignition systems are functioning properly, and the plug’s heat range matches the engine’s operating profile. However, even a “perfect-looking” plug can be near failure, especially fine-wire iridium types that wear slowly but fail without warning.
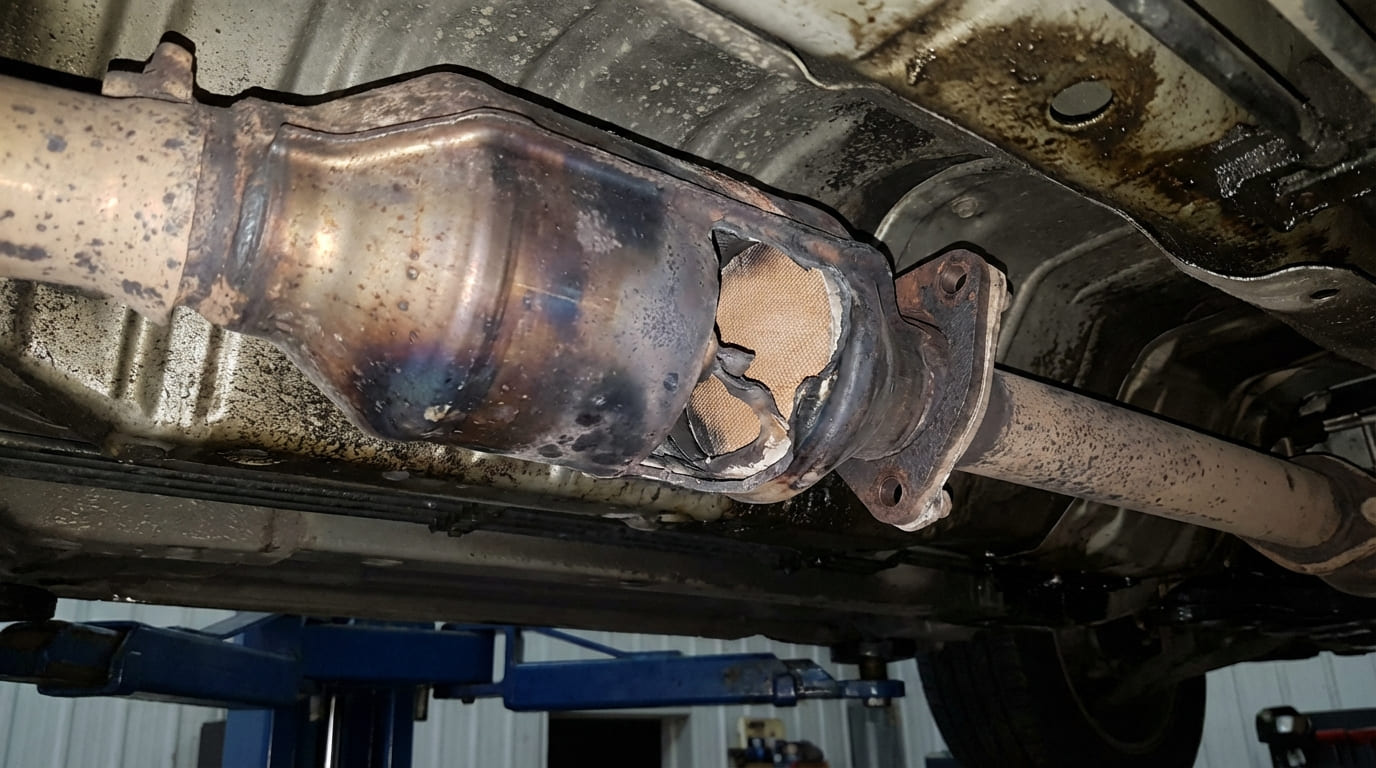
If the plug is within service interval, I’ll reinstall it after inspection. But if it’s at or near the manufacturer’s mileage or time limit—usually 60,000 to 100,000 miles depending on type—I recommend replacement. On coil-on-plug (COP) systems, a failing plug can stress the coil and even damage the catalytic converter due to unburned fuel.
In my shop, we always check live fuel trim data before replacing ignition parts when carbon fouling appears. More than half the time, the real issue is a leaking injector or faulty O2 sensor—not the coil.
Abnormal Conditions and How to Diagnose Them
Carbon Fouling (Dry, Black Soot)
Dry, black soot on the insulator and electrodes indicates incomplete combustion, usually from a rich air-fuel mixture or weak spark. Common causes include:
- Clogged air filter
- Stuck or leaking fuel injector
- Failing oxygen sensor
- Weak ignition coil or worn plug wire
- Frequent short-trip driving preventing full warm-up
How to check: Perform a fuel injector balance test and scan for long-term fuel trim values above +20%. Inspect ignition components under load with a lab scope if available.
Oil Fouling (Wet, Black, Oily Residue)
Oily deposits, especially on the threads or ground strap, mean oil is entering the combustion chamber. This is not normal and requires further investigation.
Possible sources:
- Worn valve stem seals or guides (most common, especially on turbo engines)
- Worn piston rings or cylinder walls
- Failed turbocharger oil seals (if equipped)
- PCV system stuck open, pulling oil into intake
How to check: Perform a leak-down test. High intake-side leakage points to valve train issues. Check for blue smoke at startup or under acceleration. Monitor oil consumption—more than 1 quart per 1,000 miles is a red flag.
Ash Deposits (Light Brown or White Crust)
These crusty deposits come from burning oil or fuel additives. They’re non-conductive but can build up and cause misfires by trapping heat or blocking flame propagation.
Common culprits:
- High-ash motor oils (some “performance” or older diesel oils)
- Fuel system cleaners or octane boosters used excessively
- PCV system carrying oil vapor into intake
How to check: Review owner’s maintenance habits. Ask about oil type and additive use. Switch to ILSAC GF-6 or API SP-certified oil and monitor over next service.
Overheating / Pre-Ignition (White, Blistered Insulator or Melted Electrodes)
This is a serious condition. A white, blistered porcelain or melted center electrode indicates combustion chamber temperatures are too high.
Causes include:
- Lean air-fuel mixture (most common)
- Incorrect (too hot) spark plug heat range
- Advanced ignition timing
- Cooling system issues (low coolant, failed thermostat, clogged radiator)
- Carbon deposits creating hot spots
How to check: Scan for lean codes (P0171/P0174), inspect for vacuum leaks, verify timing, and check cooling system operation. Use a borescope to inspect for carbon buildup on intake valves—common on direct-injection engines.
On modern turbocharged direct-injection engines, I’ve diagnosed pre-ignition caused by intake valve carbon—even with perfect plugs. Always borescope if overheating signs appear without obvious cause.
Lead Fouling (Yellowish-Brown Glaze)
Rare today, but still seen on classic cars using leaded fuel or lead substitutes. The glaze is conductive and can cause misfires by shorting the spark across the insulator.
How to fix: Replace plugs and switch to unleaded fuel. Monitor O2 sensor readings afterward—lead residue can poison sensors over time.
Mechanical Damage (Bent or Broken Electrodes)
Physical damage usually means contact with something inside the cylinder. Possibilities:
- Incorrect spark plug reach (too long)
- Loose carbon chunks bouncing in chamber
- Piston or valve contact due to timing failure or detonation
How to check: Borescope the cylinder before installing new plugs. Perform compression and leak-down tests. If you find piston or valve damage, do not run the engine.
Glazed Deposits (Shiny Yellow or Brown Coating)
This occurs when deposits melt during sudden high-RPM operation after extended idling. The glaze can insulate the plug and cause misfires.
It often clears with sustained driving, but recurring glazing suggests:
- Excessive idling
- Dirty throttle body or EGR passages
- Low combustion temperatures from short trips
How to fix: Clean throttle body and EGR valve. Encourage longer drives to keep engine hot enough to self-clean.
Diagnostic Decision Tree
| Plug Condition | Possible Causes (Likelihood) | Recommended Next Steps |
|---|---|---|
| Carbon Fouled | Fuel mixture rich (High), Weak ignition (Moderate), Low operating temp (Moderate), Cold heat range (Low) | Scan for DTCs, check O2 sensor data, test fuel pressure, inspect ignition components |
| Oil Fouled | Valve guides/seals (High), Ring wear (Moderate), PCV fault (Moderate), Turbo seal (If equipped, Low-Moderate) | Leak-down test, inspect PCV system, check for turbo smoke, review oil consumption |
| Overheated | Lean mixture (High), Hot heat range (Moderate), Detonation (High), Carbon hot spots (Moderate) | Check for vacuum leaks, verify timing, inspect cooling system, borescope chamber |
| Mechanical Damage | Foreign object (High), Incorrect reach (Moderate), Piston contact (Low, but severe) | Borescope, compression test, inspect valve train |
Situation: A 2015 F-150 came in with misfires on cylinder 3. The plug was heavily carbon-fouled. Tech assumed a bad coil and replaced it.
Discovery: Two weeks later, same issue. This time, I checked fuel trim data and found long-term fuel trim stuck at +28%. A fuel injector balance test revealed cylinder 3 was leaking.
Nuanced Lesson Learned: Carbon fouling can stem from either fuel or spark issues. Always verify fuel delivery integrity before condemning ignition components—even if the coil looks suspect.
Situation: A Subaru WRX owner complained of rough idle. Plugs showed oil fouling on all cylinders. Initial assumption: turbo seal failure.
Discovery: Turbo was dry. Leak-down test showed high leakage on the intake valves. Further inspection revealed coked-up valve stem seals due to long idle periods and poor oil changes.
Nuanced Lesson Learned: Oil in the chamber doesn’t always mean turbo or rings. On interference engines with turbo, consider PCV and valve train health before teardown.
Situation: A rebuilt V8 started pinging under load. Plugs showed blistered insulators. Owner had “upgraded” to a hotter plug for “better performance.”
Discovery: The engine was otherwise tuned correctly—timing, fuel, cooling. But the hotter plug, combined with modern pump gas, created pre-ignition.
Nuanced Lesson Learned: Heat range matters. Even if everything else is dialed in, the wrong plug can destabilize combustion. Stick to OEM specs unless you’re tuning the whole system.
Best Practices: What to Do and Avoid
- ✅ Recommended: Clean spark plug threads with a bottoming tap before installation. I’ve seen more stripped threads from debris than over-torquing. Removing carbon or burrs ensures accurate torque and prevents galling.
- ✅ Recommended: Use a wire-type feeler gauge for gap checking—especially on fine-wire iridium plugs. The flat ramp style can give false readings by compressing the ground electrode.
- ✅ Recommended: Torque every plug to spec with a calibrated tool. On aluminum heads, this is critical. I typically torque in two steps—50% first, then final—to ensure even seating.
- ⚠️ Avoid: Reusing torque-to-yield (TTY) spark plugs. While some claim it’s fine, in my shop we’ve seen increased misfire rates on reused TTY plugs, especially after thermal cycles.
- ⚠️ Avoid: Over-applying anti-seize. A tiny dab on the threads is enough. Too much can act like hydraulic pressure during tightening, leading to over-torque and potential thread damage.
- ⚠️ Avoid: Assuming all tan plugs are “good.” I’ve seen early-stage oil consumption present as slightly darker tan—context matters. Always correlate with oil consumption and live data.
Spark Plug Heat Range Selection
The heat range determines how well the plug sheds heat from the tip. Too cold, and it won’t burn off deposits. Too hot, and it can trigger pre-ignition. Always use the OEM-specified heat range unless you’re making significant engine modifications.
Aftermarket “performance” plugs often change heat range without clear labeling. When in doubt, match the part number to the manufacturer’s heat range chart.
I’ve had customers burn pistons because they installed “high-performance” plugs that were two ranges hotter. If you’re not tuning fuel, timing, and cooling, stick to stock heat range.