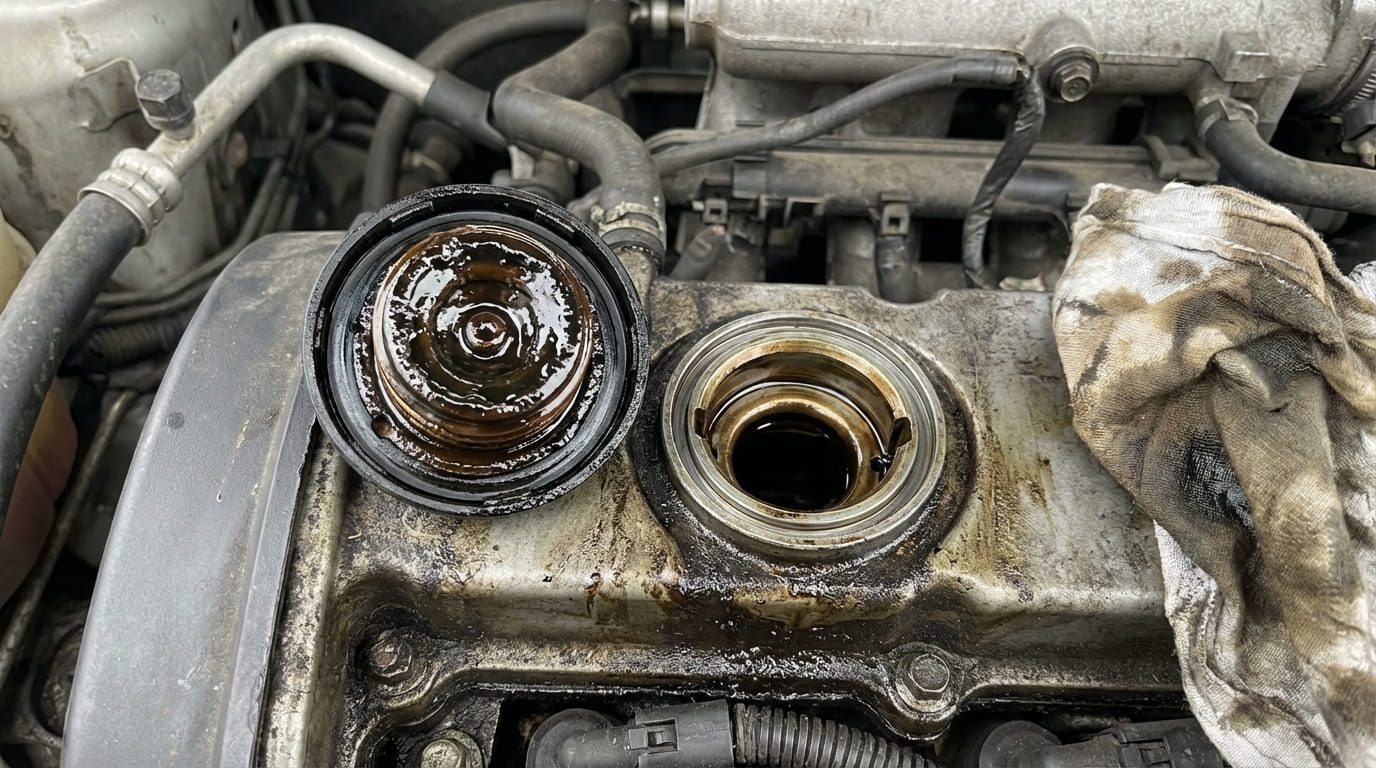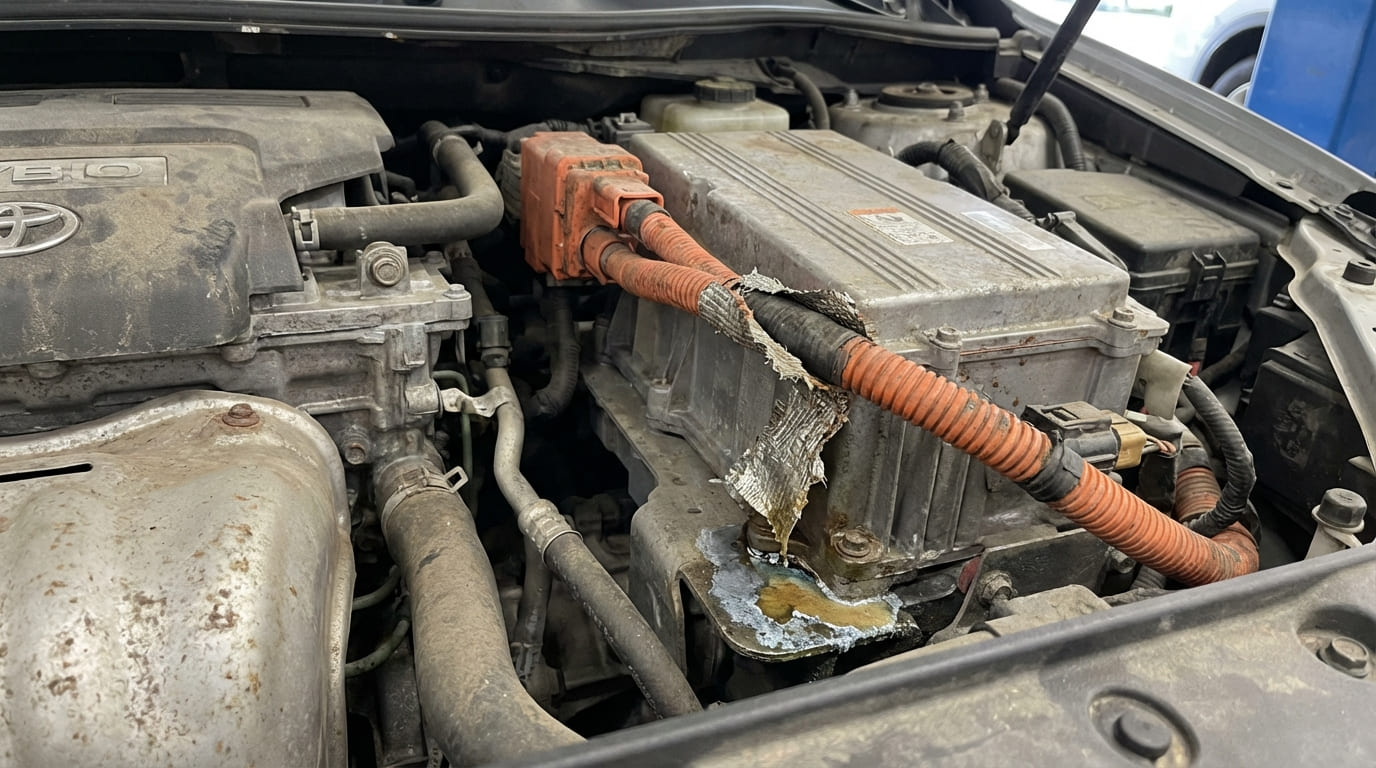
Excessive engine vibration at idle, on start-up, or during acceleration can stem from combustion issues, mechanical faults, or mounting failures. This guide focuses on practical diagnostics, repair steps, and real-world insights to help you identify and fix the root cause—whether you’re a DIYer or preparing to speak with a mechanic.
1) Engine Misfire or Combustion Imbalance
Misfires disrupt smooth combustion, causing noticeable shaking. Use an OBD2 scanner to check for codes like P0300–P0308 (indicating random or specific cylinder misfires). Freeze frame data can reveal when the misfire occurs—idle, acceleration, or warm-up.
1.1. Ignition System Faults
Ignition problems are among the most common causes of vibration at idle.
How to Check:
- Spark Plugs: Remove and inspect all plugs. Look for carbon fouling, oil deposits, cracked insulators, or excessive electrode wear. Use a wire gap tool to verify spacing—many modern engines require 0.040–0.044 in., but always consult the service manual. Test resistance with a multimeter: 3–7 kOhms is typical. Replace all plugs as a set—even if only one looks bad.
- Ignition Coils: Use OBD2 data to identify which cylinder is misfiring. Swap the coil with a known good one. If the misfire moves, replace the coil. Bench testing resistance (primary: 0.5–2 ohms, secondary: 5k–15k ohms) can help, but coils often fail under load only.
- Ignition Wires (older engines): Check for cracks, burns, or carbon tracking. Measure resistance per foot—500–1000 ohms/ft is typical. Replace entire set if one exceeds spec.
In my shop, we always replace spark plugs with OEM-specified type and gap. Aftermarket “performance” plugs may alter combustion timing and increase vibration, especially in direct-injection engines.
1.2. Fuel System Faults
Uneven fuel delivery causes cylinder imbalance.
How to Check:
- Fuel Injectors: Monitor long-term fuel trims (LTFT). A trim over +10% on one bank suggests a lean condition—possibly a weak injector. Perform an injector balance test using a scan tool or pressure drop method. Ultrasonic cleaning can restore flow, but replacement is more reliable on GDI engines. Cost: $30–$80 per injector.
- Fuel Pump / Regulator: Connect a fuel pressure gauge to the rail. Pressure should hold steady at idle and rise under load (varies by engine: 40–70 psi typical). Perform a volume test: collect fuel in a jar for 30 seconds. Should deliver 1 pint (16 oz) minimum. A weak pump may pass pressure test but fail volume check.
I once diagnosed a vibration that only occurred on hot restarts. The fuel pump was weak and couldn’t maintain pressure after shutdown—causing vapor lock and lean misfire. Always test fuel system hot, not just cold.
1.3. Air Induction System Faults
Unmetered air or incorrect airflow readings disrupt air/fuel ratio.
How to Check:
- Vacuum Leaks: Use a smoke machine for best results. Common leak points: PCV hoses, intake manifold gaskets, brake booster line. The carb cleaner spray test (listen for RPM change) works but risks fire and can damage plastic intakes.
- MAF Sensor: Check live data. MAF should scale smoothly with RPM. A dirty sensor reads low at idle and spikes erratically. Clean with MAF-specific spray. If readings remain erratic, replace. Cost: $80–$180.
1.4. Engine Compression Issues
Low compression in one or more cylinders causes power imbalance.
How to Check:
- Perform a dry compression test. Crank engine 4–5 revolutions per cylinder. Normal: 150–180 psi, max 10% variation between cylinders.
- If one cylinder is low, add a teaspoon of oil and retest (wet test). Improved reading suggests worn rings; no change points to valves or head gasket.
- For precision, do a leak-down test. Pressurize each cylinder and listen: air from exhaust = burnt valve; from oil cap = worn rings.
Head gasket failure without coolant mixing can still cause misfire due to combustion leakage. Look for fluctuating idle and misfire codes on adjacent cylinders.
2) Engine Mechanical Imbalance
These issues often worsen with RPM or temperature and may not trigger check engine lights.
2.1. Harmonic Balancer / Crankshaft Damper
The balancer absorbs crankshaft torsional vibrations. Failure causes rhythmic shaking, especially at 1,500–2,500 RPM.
How to Check:
- Inspect for visible separation between inner hub and outer ring. Rotate engine by hand and look for misalignment of timing marks.
- Use a timing light. Erratic or jumping marks suggest balancer slip.
Replacement requires a puller and installer tool. Do not reuse the crank bolt unless specified. Cost: $120–$250 for part, $300+ labor if timing cover must be removed.
I’ve seen balancers fail silently for months—just a faint thump at startup. By the time vibration is obvious, the crankshaft keyway can be damaged. Inspect early if timing cover shows rubber debris.
2.2. Flywheel or Flexplate
Cracks or warpage cause vibration under load, often with a metallic knocking at startup.
How to Check:
- Inspect through inspection window (manual) or near torque converter (automatic).
- Check runout with dial indicator: less than 0.003 in. spec. Aluminum flexplates are less forgiving.
Cost: $100–$200 for flexplate, $400+ labor. Always inspect torque converter bolts for looseness.
2.3. Internal Engine Component Failure
Bearing knock, rod slap, or piston slap can mimic vibration. Noise often changes with temperature or load.
How to Check:
- Use a mechanic’s stethoscope: rod knock is loudest near cylinder block; main bearing knock near oil pan.
- Check oil for metal particles—copper or lead indicates bearing wear.
- Endoscopic camera through spark plug hole can reveal piston damage.
Repair usually means engine rebuild. Consider replacement if repair cost exceeds 50% of vehicle value.
2.4. Timing Component Issues
Worn chains, failed tensioners, or stuck VVT actuators cause timing misalignment.
How to Check:
- Listen for rattling at cold start—common with worn chains.
- Scan for P0016 (cam-crank correlation) or P0008 (VVT performance).
- Check cam and crank timing marks with engine at TDC.
Timing kits cost $150–$300. Labor-intensive—often 6+ hours. Delaying repair risks catastrophic engine damage.
3) Engine Mounts and Accessories
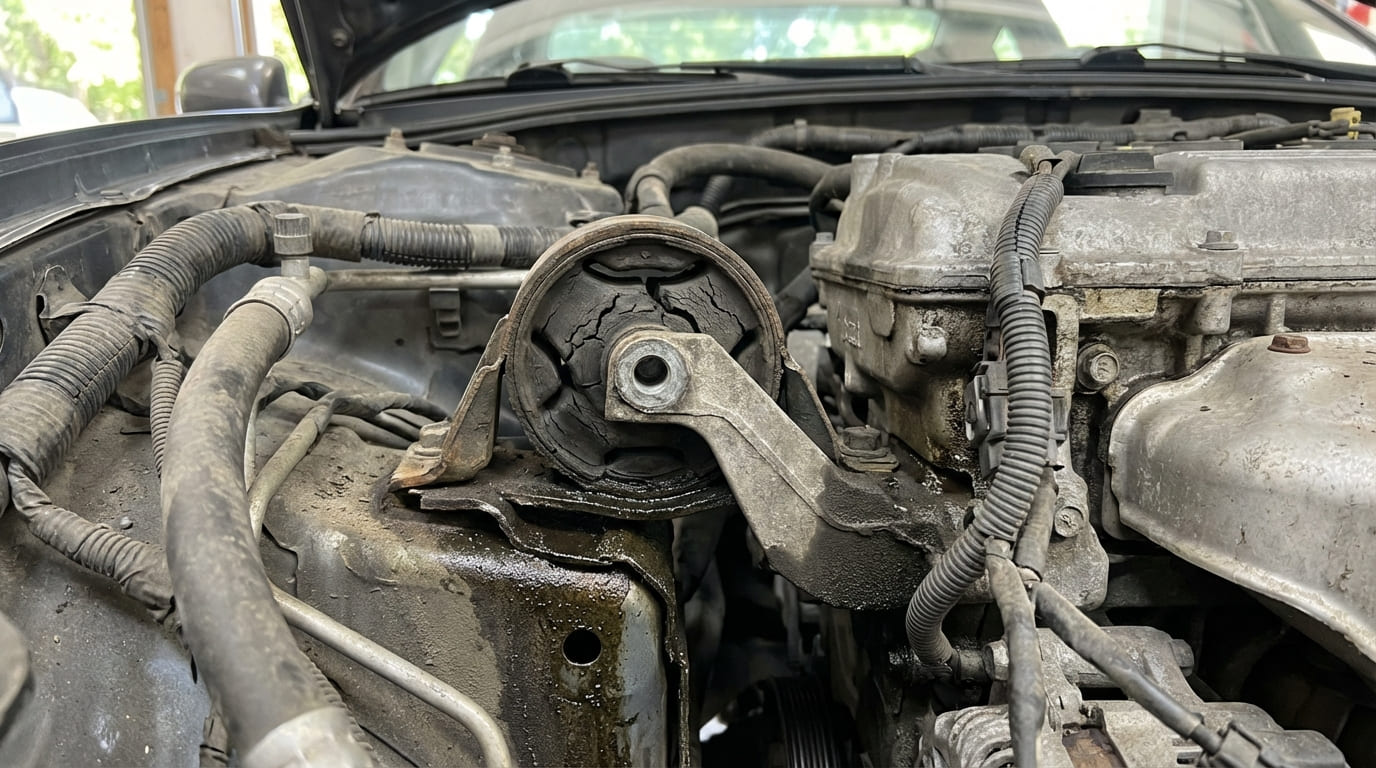
Failing mounts are frequently overlooked but can amplify minor vibrations into severe shaking.
3.1. Engine and Transmission Mounts
How to Check:
- Perform power brake test: hold brake, gently apply throttle in Drive (automatic) or Release clutch slightly (manual). Watch engine movement—more than 1 inch suggests mount failure.
- Inspect hydraulic mounts for fluid leaks. Squeeze rubber—collapsing indicates failure.
Cost: $50–$150 per mount. Labor varies—front mounts often easy; rear or dogbone mounts may require subframe drop.
In my shop, we replace all mounts at once if one fails. The others are usually near end-of-life, and labor is mostly duplicated.
3.2. Accessory Drive Components
Bad alternator bearings, seized idlers, or failing AC compressors can transmit vibration into the engine block.
How to Check:
- Remove serpentine belt.
- Start engine briefly (under 30 seconds, no power steering or charging).
- If vibration disappears, inspect each pulley: spin by hand for roughness or play.
Replace faulty component. Idler pulleys cost $20–$60; alternators $150–$400.
4) Drivetrain vs. Engine Vibration
Not all shaking comes from the engine. Use this test to isolate:
How to Check:
- Put transmission in Neutral. Rev engine. If vibration follows RPM, it’s engine-related.
- If vibration occurs only while driving and increases with speed, suspect wheels, tires, axles, or driveshaft.
Common Drivetrain Issues:
- Driveshaft: U-joint wear or missing balance weight causes vibration at highway speeds. Cost to replace: $200–$600.
- CV Axles: Torn boots lead to grease loss and joint wear. Clunking on acceleration/deceleration is typical. Vibration is less common unless axle is bent.
- Wheels/Tires: Perform road force balancing. Some tires have internal belt issues that standard balancing won’t fix. Cost: $15–$30 per tire for rebalance.
5) Exhaust System Issues
Exhaust leaks or restrictions can mimic engine vibration.
How to Check:
- Exhaust Leaks: Listen for ticking at startup near manifold. Use smoke test with tailpipe blocked. Leaks can cause false O2 readings and lean misfires.
- Hangers: Inspect for broken or degraded rubber. Replace if exhaust sags or contacts frame.
- Clogged Catalytic Converter: Check backpressure at upstream O2 sensor port. Over 3 psi at 2500 RPM indicates restriction. Borescope inspection can reveal melted substrate.
Converter replacement: $750–$2,000. Consider root cause—misfires or oil burning often cause meltdown.
Diagnostic Scenarios and Probable Causes
| Symptom | Most Likely Causes | Less Common But Possible |
|---|---|---|
| Rough idle with misfire codes | Ignition coil failure, vacuum leak, dirty MAF | Fuel injector clog, low compression, EGR valve stuck open |
| Vibration during acceleration only | Engine mount failure, driveshaft imbalance | Flexplate crack, torque converter issue, axle CV wear |
| Vibration at all RPMs, worse when hot | Harmonic balancer failure, internal bearing wear | Head gasket leak affecting combustion, warped flywheel |
| Shudder under light load (automatic) | Torque converter shudder, transmission fluid condition | Engine misfire, throttle position sensor issue |
Situation: A 2012 V6 sedan came in with a noticeable shake at idle. OBD2 showed random misfires. The owner had already replaced all spark plugs.
Initial Assumption: Ignition coils were the likely culprit—common on this model.
Deep Dive: I checked coil resistance and performed a swap test—no change. Fuel trims were normal. Then I did a smoke test and found a small leak at the intake manifold runner control valve gasket.
Nuanced Lesson Learned: Not every misfire is ignition or fuel related. Even a small vacuum leak on a variable intake system can disrupt air/fuel balance enough to cause vibration. Always rule out air induction issues before tearing into ignition or internals.
Situation: A truck with 180k miles had a rhythmic thump at startup that faded after a few seconds. No check engine light.
Initial Assumption: Could be rod knock or lifter noise.
Deep Dive: I used a stethoscope and found the noise loudest near the harmonic balancer. Removed the serpentine belt—noise still there. On visual inspection, the outer ring of the balancer had shifted about 5 degrees.
Nuanced Lesson Learned: A failed harmonic balancer doesn’t always cause violent shaking. Sometimes it starts with a subtle thump at startup due to misaligned timing marks and torsional resonance. Visual inspection is critical, even without codes.
Situation: A minivan had engine vibration under acceleration. Misfire codes were intermittent. Compression and fuel pressure were good.
Initial Assumption: Possibly a failing coil or injector.
Deep Dive: I checked engine movement with the power brake test—engine lifted 2 inches. The rear hydraulic mount was completely fluid-leaked and collapsed.
Nuanced Lesson Learned: A failing mount can exaggerate normal engine pulses into a noticeable vibration, especially under load. Don’t assume the engine is the source just because the vibration feels internal.
Recommended / Avoid Checklist
- ✅ Recommended: Clean spark plug threads with a tap before reinstalling. Prevents thread damage and ensures proper torque.
- ✅ Recommended: Use OEM-specified torque and sequence for cylinder head bolts. Even a slight deviation can affect head gasket sealing.
- ✅ Recommended: Label and organize engine wiring and vacuum lines before removal. Prevents misrouting and vacuum leaks.
- ⚠️ Avoid: Reusing torque-to-yield (stretch) bolts unless the manual explicitly allows it. They lose clamping force after first use.
- ⚠️ Avoid: Swapping parts without verifying the fault. Replacing a coil because of a misfire code without checking fuel or compression can waste time.
- ⚠️ Avoid: Ignoring engine mounts during a vibration diagnosis. They’re often overlooked but can amplify small imbalances.
Start simple: check plugs, coils, mounts, and vacuum lines. Many vibration issues are resolved with $50 fixes. Use OBD2 data, physical inspection, and isolation tests to avoid unnecessary repairs. Always refer to the vehicle-specific service manual for specs and procedures—what works on one engine may damage another.