Identifying a misfiring cylinder quickly and accurately saves time, money, and prevents further engine damage. This guide walks you through proven diagnostic steps—from recognizing symptoms to isolating the root cause—using tools most DIYers and technicians already have.
Recognize the Key Symptoms
A misfiring cylinder disrupts combustion in one engine cylinder, leading to noticeable performance issues. The most common signs include:
- Rough or shaky idle, often with a rhythmic vibration
- Hesitation or stumbling during light acceleration (1,500–2,500 RPM)
- Reduced power, especially under load
- Popping or sputtering from the exhaust, particularly on deceleration
- Check Engine Light (CEL) — steady or flashing
A flashing CEL is critical: it indicates a severe misfire that can overheat and destroy the catalytic converter. Stop driving and diagnose immediately.
In my shop, we always ask the customer: “Does it run worse when hot?” Heat-sensitive coils or intermittent electrical faults often only misfire under load or after warm-up. This clue can save hours of cold-engine guessing.
Read and Interpret OBD2 Codes
Use an OBD2 scanner to retrieve stored codes from the Data Link Connector (DLC), located under the dash near the steering column. Focus on these three scenarios:
P030X (Cylinder-Specific Misfire)
Codes like P0301, P0302, etc., tell you which cylinder is misfiring. This is your strongest clue—but not a final diagnosis. The PCM detects crankshaft speed variation and assigns the code to the affected cylinder. However, external issues like a vacuum leak near one intake runner can mimic a cylinder-specific problem.
How to Check: Swap ignition coils or spark plugs with a known good cylinder. If the code moves (e.g., P0302 becomes P0304), the part is faulty. If it stays, the issue is mechanical or fuel-related.
P0300 (Random/Multiple Misfire)
This code means misfires are occurring across multiple cylinders or the ECU can’t isolate one. Likely causes are system-wide:
- Low fuel pressure
- Major vacuum leak (e.g., split intake manifold gasket)
- EGR valve stuck open
- Failing crankshaft position sensor
Check fuel pressure, inspect vacuum lines, and review live data for both banks.
No Misfire Codes, But Symptoms Exist
Some older or basic OBD2 systems won’t set misfire codes unless the problem is consistent. If you feel a misfire but see no codes, skip to live data analysis or perform physical component checks.
Use Live Data to Confirm and Isolate
Modern ECUs track misfire events using crankshaft position sensor data. Access this via OBD2 live data—available on most mid-tier scanners.
Misfire Counters
Misfire counters log how many times each cylinder fails to fire over a set number of engine revolutions (often 1,000). After idling for 30–60 seconds:
- Healthy cylinder: 0–5 misfires
- Suspect cylinder: 50+ misfires
- Failing cylinder: 100+ misfires
Note: Some high-compression or direct-injection engines show higher idle counts naturally. Compare cylinders on the same engine—uneven distribution is the red flag.
Fuel Trims
A misfiring cylinder dumps unburned oxygen into the exhaust, making the upstream O2 sensor read lean. The ECU compensates with positive fuel trims.
Diagnostic Tip: If LTFT (Long Term Fuel Trim) is +15% or higher on one bank and misfire counts are high on that bank, suspect misfire—not a vacuum leak. If both banks are lean, check fuel pressure, MAF sensor, or large vacuum leaks.
Oxygen Sensor Comparison
On V6/V8 engines, compare upstream O2 sensor activity between banks. A consistently slower or leaner signal on one bank supports a cylinder-specific misfire. Both banks reacting lean suggests a shared issue.
Isolate the Cause with Component Testing
Now that you’ve narrowed the cylinder, test the three core systems: ignition, fuel, and mechanical.
Ignition System
Faulty coils or spark plugs are the most common misfire sources. Here’s how to test:
- Swap the coil from the misfiring cylinder to a good one. Clear codes and test drive. If the misfire code follows the coil, replace it. ($80–$150 per coil)
- Inspect spark plugs: Look for oil fouling (blue smoke), carbon buildup (rich condition), or worn electrodes. Replace in sets if over 100k miles. ($10–$25 per plug)
- Check spark plug gap with a wire gauge. Never adjust by banging the electrode—use a proper tool.
For distributor or coil-wire systems: inspect for carbon tracking, cracked boots, or resistance outside spec (5–15k ohms per foot).
Fuel Injectors
To test if the injector is the culprit:
- Swap the injector with a known good cylinder. If the misfire moves, replace the injector. ($100–$200 each, plus labor if hidden)
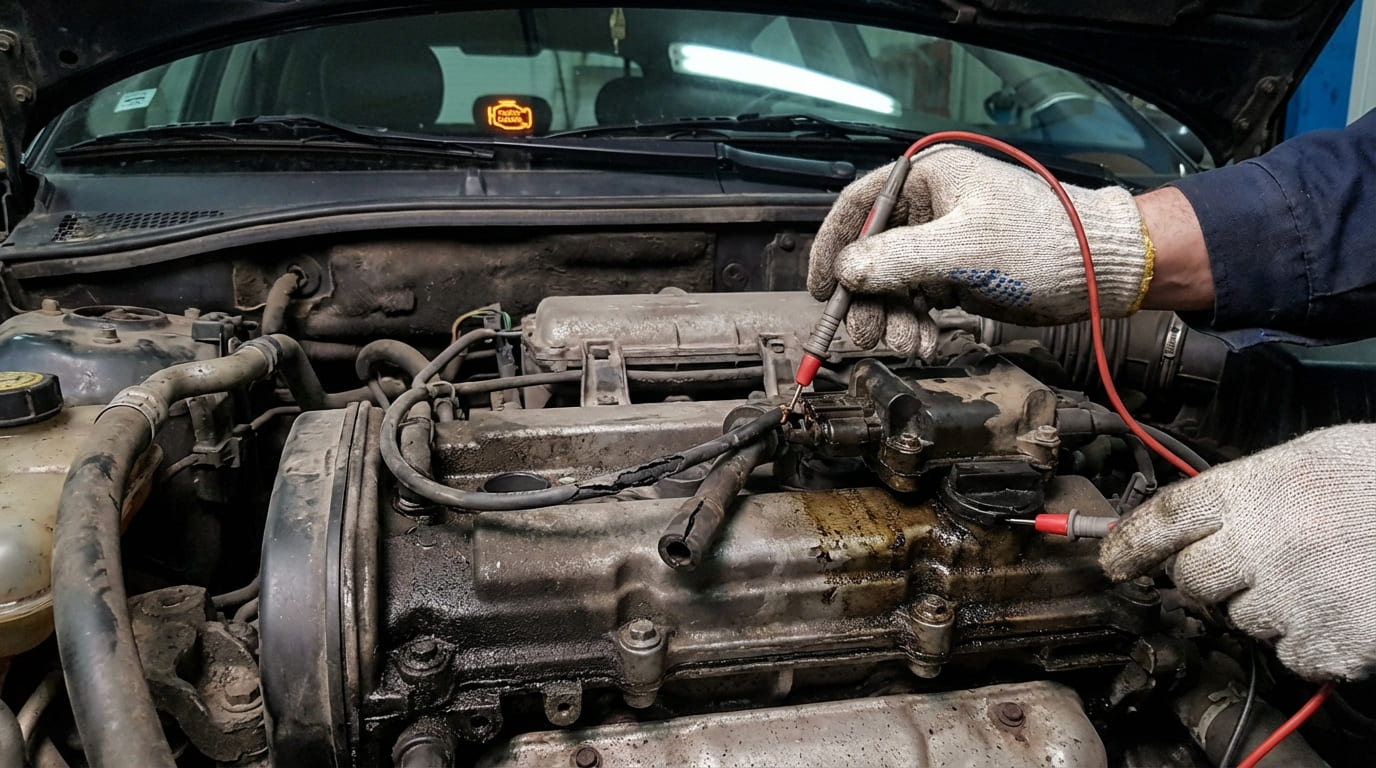
- Check resistance with a digital multimeter. Most high-impedance injectors read 12–16 ohms. More than 2 ohms off spec? Replace.
- Listen with a mechanic’s stethoscope: a good injector “ticks” steadily at idle. Silence or irregular ticking suggests failure.
On GDI engines, never reuse injector seals. They’re one-time-use and can cause fuel leaks or poor seating. Always replace O-rings and clean fuel rails with brake cleaner before reassembly.
Compression and Mechanical Integrity
If ignition and fuel check out, test mechanical health.
How to Check: Perform a dry compression test on all cylinders.
| Engine Type | Minimum PSI | Max Variation |
|---|---|---|
| Naturally Aspirated | 100 | 10% between cylinders |
| Turbocharged | 160 | 10% between cylinders |
If one cylinder is low:
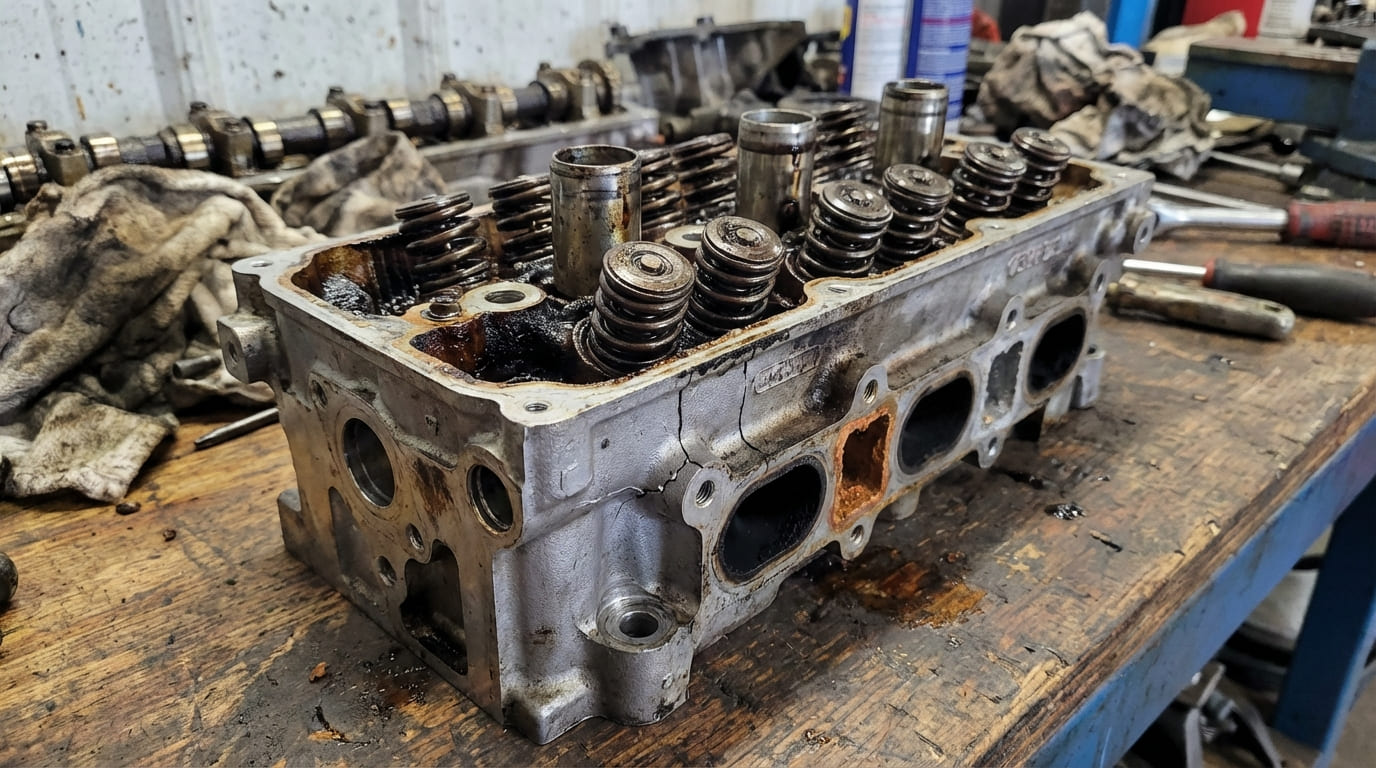
- Perform a wet test: Add 1–2 teaspoons of oil into the spark plug hole and retest. If compression rises significantly, worn piston rings are likely. If it stays low, suspect bent valve, leaking head gasket, or burned valve.
- Follow with a leak-down test for precise diagnosis. It shows where air escapes:
| Leak Location | Indicates |
|---|---|
| Throttle body | Intake valve leak |
| Exhaust pipe | Exhaust valve leak |
| Oil cap | Worn rings or cylinder wear |
| Coolant reservoir | Head gasket breach |
Cost and Repair Decisions
Before replacing parts, consider cost vs. benefit:
- Ignition coil: $80–$150. Replace only the faulty one unless others show signs of wear.
- Spark plugs: $10–$25 each. Replace all if over 100k miles or fouled.
- Fuel injector: $100–$200. Swapping is safe; cleaning rarely works long-term.
- Compression repair (rings, valves, head gasket): $1,000–$3,000+. Consider engine replacement if over 150k miles.
Repair vs. Replace: If mechanical tests fail and the engine has high mileage, replacing the engine or vehicle may be more cost-effective than a head gasket or valve job.
Diagnostic Scenarios and Real-World Causes
| Symptom / Code | Most Likely Causes | Less Common but Possible |
|---|---|---|
| P030X (specific cylinder) | Ignition coil, spark plug, fuel injector | Intake leak near cylinder, valve train issue, ECU driver fault |
| P0300 (random/multiple) | Low fuel pressure, major vacuum leak, EGR valve stuck open | Weak battery affecting ignition, crankshaft sensor intermittency |
| Rough idle, no codes | Small vacuum leak, idle air control issue, carbon buildup | Transmission mount, harmonic imbalance |
| Flashing CEL under load | Failing coil (heat sensitive), clogged injector, mechanical failure | PCM software glitch, intermittent wiring fault |
On a 2014 F-150 with P0302, replacing coil and plug did nothing. Swapped injector—still misfiring. Compression was good. Finally used a borescope and found a hairline crack in the intake manifold above cylinder 2. Vacuum leak was cylinder-specific. Lesson: Intake leaks can fool misfire detection. Always inspect the intake path.
A 2008 Camry had P0300. Coils, plugs, injectors all tested fine. Fuel pressure was stable. Live data showed both banks lean. Found a split in the PCV hose. Replaced it—misfire gone. Lesson: Shared system issues (PCV, intake gaskets) can mimic random misfire. Check the basics first.
A 5.7L Hemi had low compression on cylinder 5. Wet test showed no improvement. Leak-down test revealed air bubbling in coolant. Head gasket breach—no milky oil, no external leak. Lesson: Silent head gasket failures exist. When compression and leak-down disagree, inspect coolant and oil paths.
Final Tips from the Shop
Misfire diagnosis requires logic, not luck. Follow this sequence: symptoms → codes → live data → component swap → mechanical test. Never replace parts based on codes alone.
- Label all parts before removal (coils, wires, injectors)
- Clean spark plug threads with a tap to avoid false torque readings
- Record live data before and after swaps
- Never reuse torque-to-yield bolts (common on coil packs and intake manifolds)
- Don’t clear codes until the fix is confirmed
Always consult the factory service manual for torque specs, test procedures, and acceptable tolerances. A 2.0L Honda and a 5.7L Ram have the same principles—but very different details.