In my two decades turning wrenches in shops from urban garages to rural repair hubs, I’ve seen a lot of “miracle cures” come and go. One that keeps resurfacing—especially in DIY circles—is the engine flush. It’s marketed as a quick fix for internal engine grime, but the reality is far more complicated. Let me walk you through what these products actually do, why most OEMs advise against them, and what we do instead in professional shops when engines start showing signs of distress.
What an Engine Flush Actually Does
An engine flush is a chemical additive poured into the oil pan before an oil change. It circulates through the engine for 10–15 minutes at idle to loosen sludge, varnish, and carbon deposits. The idea is that these contaminants will then drain out with the old oil and filter.
Most flush products contain strong solvents like petroleum distillates or kerosene, combined with high-concentration detergents and dispersants. These are more aggressive than what’s in regular motor oil, aiming to break down stubborn buildup that normal oil can’t handle.
In my shop, we never use off-the-shelf engine flushes as routine maintenance. If an engine is dirty, we diagnose why first—because a flush won’t fix poor maintenance habits or mechanical issues.
Why OEMs and Pros Say No to Flushes
No major automaker recommends or includes engine flush procedures in their service manuals. Modern motor oils—especially API SP and ILSAC GF-6 rated formulations—already contain powerful detergent packages designed to keep engines clean under normal conditions.
If you follow the factory oil change intervals and use the correct oil viscosity and specification, your engine should stay clean without chemical intervention. The OEMs have tested this extensively. When they design an engine, they assume the oil will do its cleaning job over time.
Exceptions exist for specific problems—like carbon buildup on intake valves in direct-injected engines—but those require targeted solutions, not crankcase flushes.
Risks of Using an Engine Flush
The danger with engine flushes isn’t theoretical. I’ve seen real damage caused by well-intentioned DIYers trying to “deep clean” their engines.
Dislodged Sludge Can Cause Catastrophic Damage
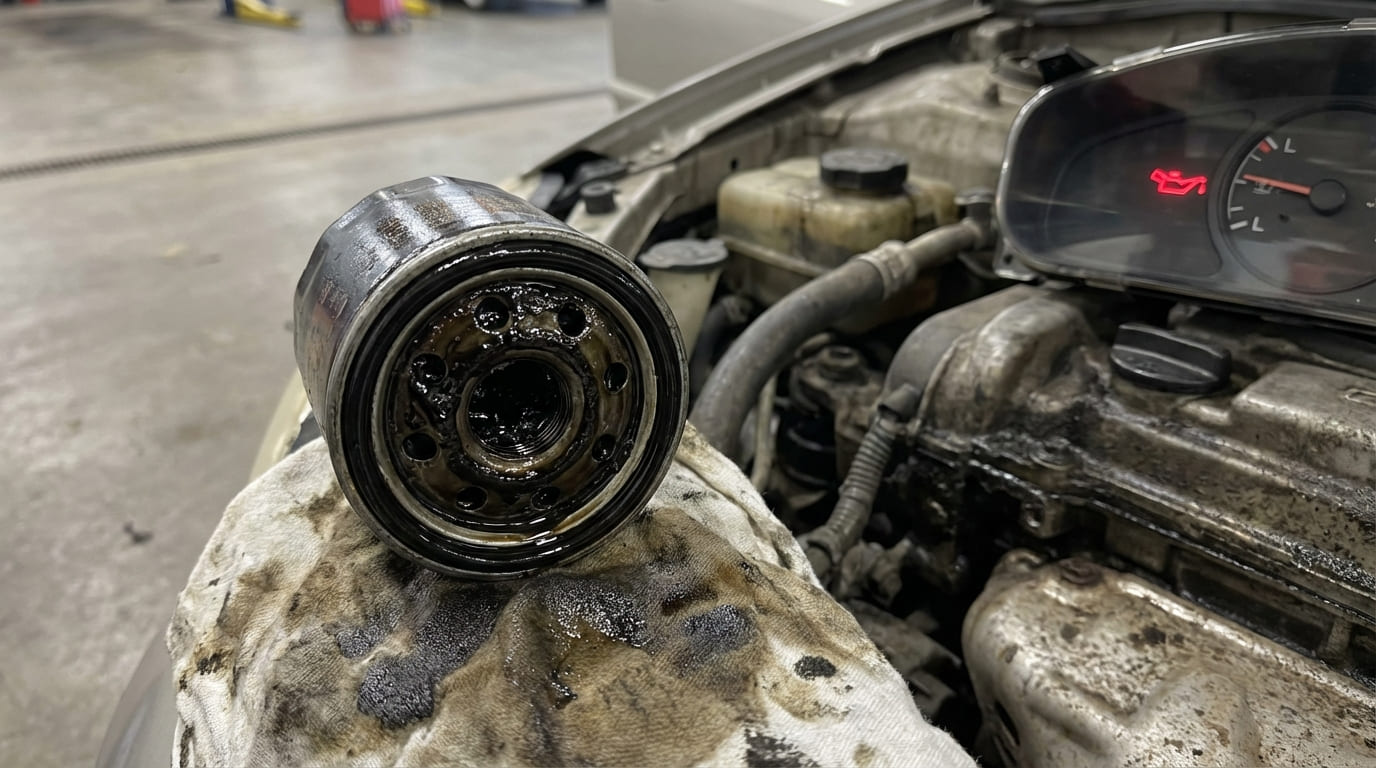
Sludge doesn’t always break down into fine particles. Large chunks can break loose and clog the oil pump pickup screen, leading to sudden oil starvation. Once oil pressure drops, you’re looking at spun rod bearings, camshaft scuffing, or total engine failure.
Small oil passages in cylinder heads—especially those feeding variable valve timing (VVT) systems—are also vulnerable. A clogged passage can trigger VVT codes, poor performance, or timing damage.
Chemical Damage to Seals and Oil
Some flush chemicals can swell or soften rubber seals, especially on high-mileage engines. I’ve diagnosed fresh oil leaks after a flush that traced back to degraded valve stem or rear main seals beginning to weep.
Even after draining, residual flush chemicals can remain in the oil pan, pickup tube, or filter housing. These can contaminate fresh oil, causing foaming, reduced lubrication, and faster oil degradation. Oil analysis has shown me cases where the new oil’s TBN (Total Base Number) dropped immediately—likely due to chemical carryover.
Turbocharged and High-Mileage Engines Are at Greatest Risk
Turbochargers rely on a steady flow of clean oil through tiny feed lines. A flush that dislodges sludge can send debris straight into the turbo bearings, leading to premature failure. I’ve torn down turbos packed with tar-like material traced back to a recent flush.
On older engines, sludge may be acting as a temporary seal over worn areas. Removing it suddenly exposes underlying wear and can accelerate oil consumption or pressure loss.
Situation: A 2008 Subaru with 140,000 miles came in with low oil pressure warnings after the owner used a popular engine flush.
Discovery: The oil pickup screen wasn’t clogged with sludge—it was blocked by rubbery chunks from the degraded rear main seal, which the flush had softened.
Lesson: Chemicals don’t distinguish between sludge and aging seals. Cleaning one problem can create another.
Situation: A turbocharged Volkswagen developed a whining noise and low boost 3,000 miles after a flush.
Discovery: The turbo’s center housing was packed with black, tar-like debris. Oil analysis revealed high silicon—likely from dislodged gasket material.
Lesson: Turbo oil lines are narrow and easily clogged. Aggressive cleaning without full system flushing can do more harm than good.
When (and How) to Address Engine Sludge
So are flushes ever justified? Not in the way most people think. But if an engine shows signs of serious contamination, action is needed—just not with a chemical flush.
Here’s how we handle it in my shop:
- Diagnose first: Check oil pressure with a mechanical gauge. Use a borescope through the oil fill or dipstick tube to visually inspect sludge levels.
- Run multiple short-interval oil changes: Every 1,000–2,000 miles, use a high-detergent conventional oil and a premium filter. This gradually loosens deposits and traps them in the filter.
- Follow up with oil analysis: Send a sample to a lab like Blackstone or ALS to track wear metals, TBN, and contamination levels. This tells you if the engine is improving or if internal damage is progressing.
- Verify oil pressure post-treatment: If pressure doesn’t return to spec, you’re likely dealing with mechanical wear—not just sludge.
This method is slower but far safer than a single aggressive flush. It gives the engine time to adapt and the filter time to catch debris.
Proven Alternatives to Engine Flushes
The best way to avoid sludge is to prevent it from forming in the first place.
Stick to Proper Maintenance
Follow the OEM oil change intervals—especially for short-trip or stop-and-go driving, which accelerates oil breakdown. Use the correct oil viscosity and specification. I’ve seen countless sludge cases caused by using 0W-20 in an engine that requires 5W-30, or skipping Dexos certification in GM vehicles.
Don’t skimp on oil filters. A quality filter with good media and an anti-drainback valve maintains oil flow and captures fine particles. Name brands like Wix, Purolator, and OEM filters are worth the extra few dollars.
Monitor Engine Health Proactively
Oil analysis is one of the most powerful tools for catching problems early. For about $30 per test, you get data on wear metals (iron, aluminum, copper), contamination (coolant, fuel), and oil condition (TBN, viscosity). Trending results over time reveals what’s really happening inside.
Simple visual checks also help:
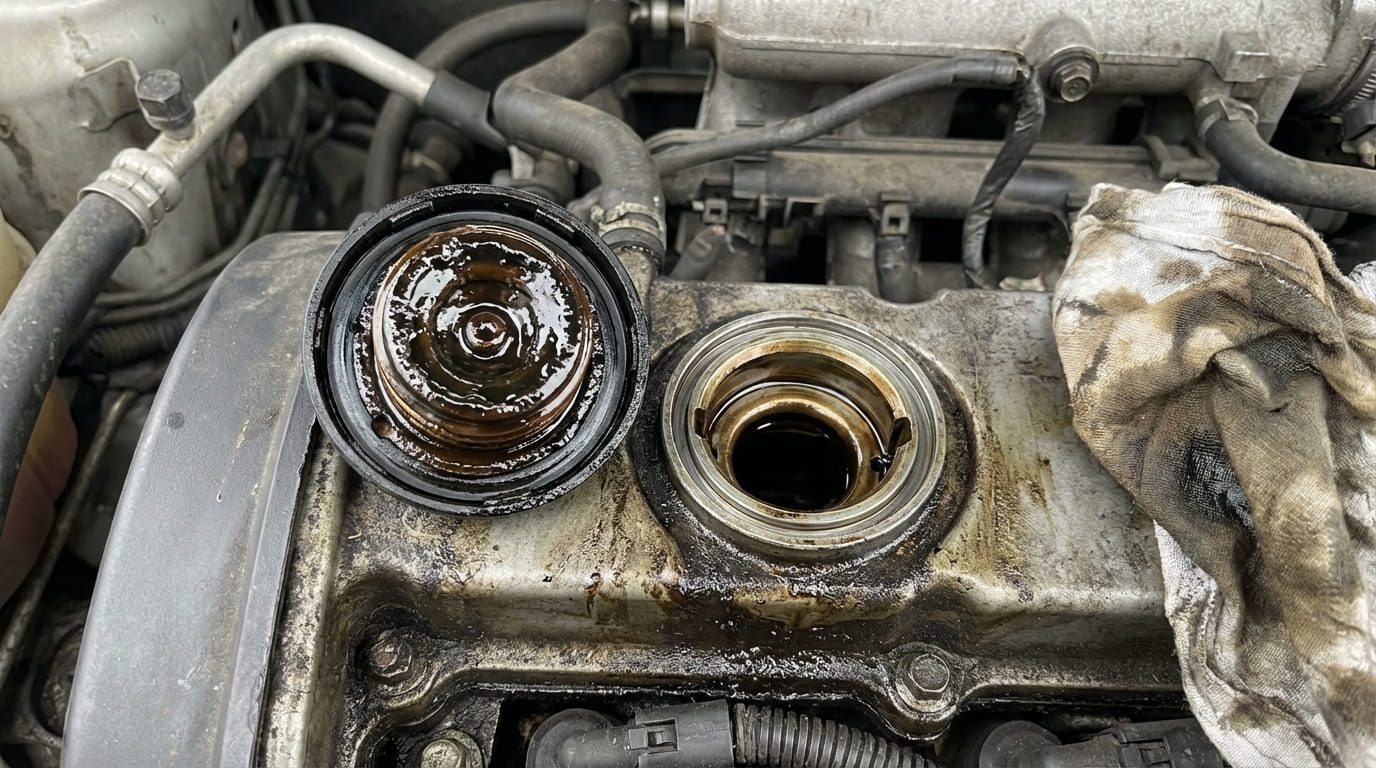
– Check the oil cap and dipstick for “mayonnaise” (a sign of coolant mixing).
– Inspect the PCV valve—it should rattle when shaken. A clogged PCV increases crankcase pressure and accelerates sludge formation.
Address Carbon Buildup Correctly
Carbon on intake valves? That’s common on direct-injected engines, but it’s not a crankcase issue. Use walnut blasting or professional induction cleaning—not an engine flush. These systems are separate, and treating them the same leads to misdiagnosis and wasted effort.
| Scenario | Most Likely Cause | Less Common But Possible Causes | Recommended Diagnostic Step |
|---|---|---|---|
| Low oil pressure + sludge on dipstick | Extended oil change intervals, incorrect oil | Worn bearings, clogged pickup screen | Verify with mechanical oil pressure gauge, inspect oil pan |
| VVT codes after oil change | Debris in oil passages (possible flush residue) | Failed solenoid, low oil pressure, clogged filter | Check oil pressure at idle and 2,000 RPM, scan VVT timing |
| New oil leaks after maintenance | Over-torqued drain plug or filter | Seal degradation from chemical exposure | Inspect seal condition, check for chemical compatibility |
| Foaming oil on dipstick | Overfill, crankshaft windage | Residual surfactants from flush, coolant contamination | Check oil level, inspect for coolant, send oil sample |
Situation: A customer used engine flushes every oil change on his classic V8. Engine ran fine—until it suddenly lost oil pressure.
Discovery: Bore scope inspection revealed a waxy blockage in the main oil gallery. Lab analysis confirmed a reaction between the flush chemical and oxidized oil.
Lesson: Regular doesn’t mean safe. Some chemicals react with oil breakdown byproducts to create new, dangerous deposits.
Best Practices: What to Do and What to Avoid
- ✅ Recommended: Use OEM-specified oil and change it on schedule. This is the single most effective way to prevent sludge.
- ✅ Recommended: Perform oil analysis on high-mileage or hard-working engines. It’s like a blood test for your motor.
- ✅ Recommended: Clean the oil pan and pickup screen during major services. Physical cleaning is more reliable than chemical.
- ✅ Recommended: Replace the oil filter with one that meets or exceeds OEM flow and capture efficiency.
- ⚠️ Avoid: Using chemical engine flushes on high-mileage engines with known sludge. The risk of dislodging large debris is real.
- ⚠️ Avoid: Reusing oil filters or extending oil change intervals, then trying to “fix” it with a flush.
- ⚠️ Avoid: Assuming a clean dipstick means a clean engine. Internal deposits aren’t always visible externally.
In my experience, the engines that last longest aren’t the ones that get “treated” with every additive on the shelf. They’re the ones that get consistent, correct maintenance—and a mechanic who knows when to leave well enough alone.
If you’re facing a sludged engine, take a step back. Diagnose first. The factory service data for your specific model should be your guide—especially for oil pressure specs, tolerances, and approved procedures. A flush might seem like a shortcut, but it’s often a gamble with your engine’s life.