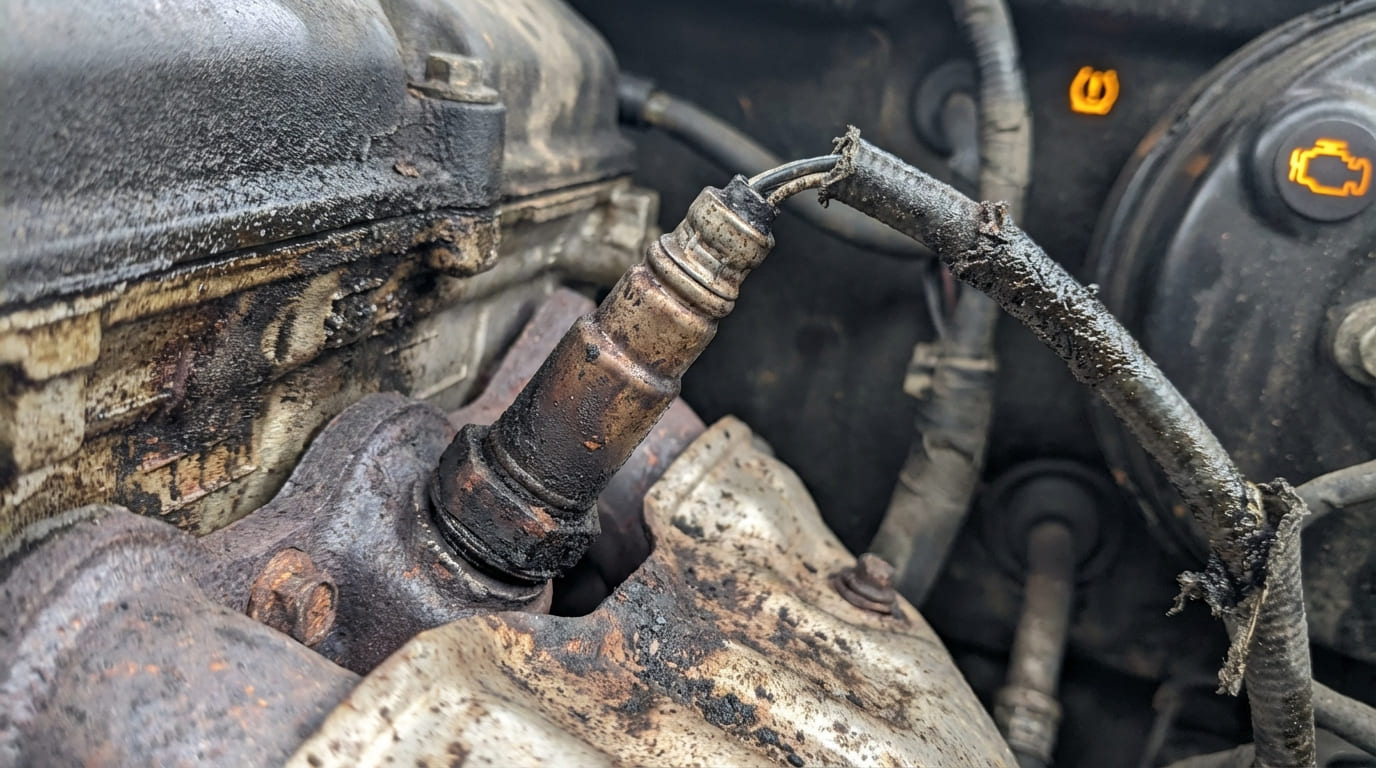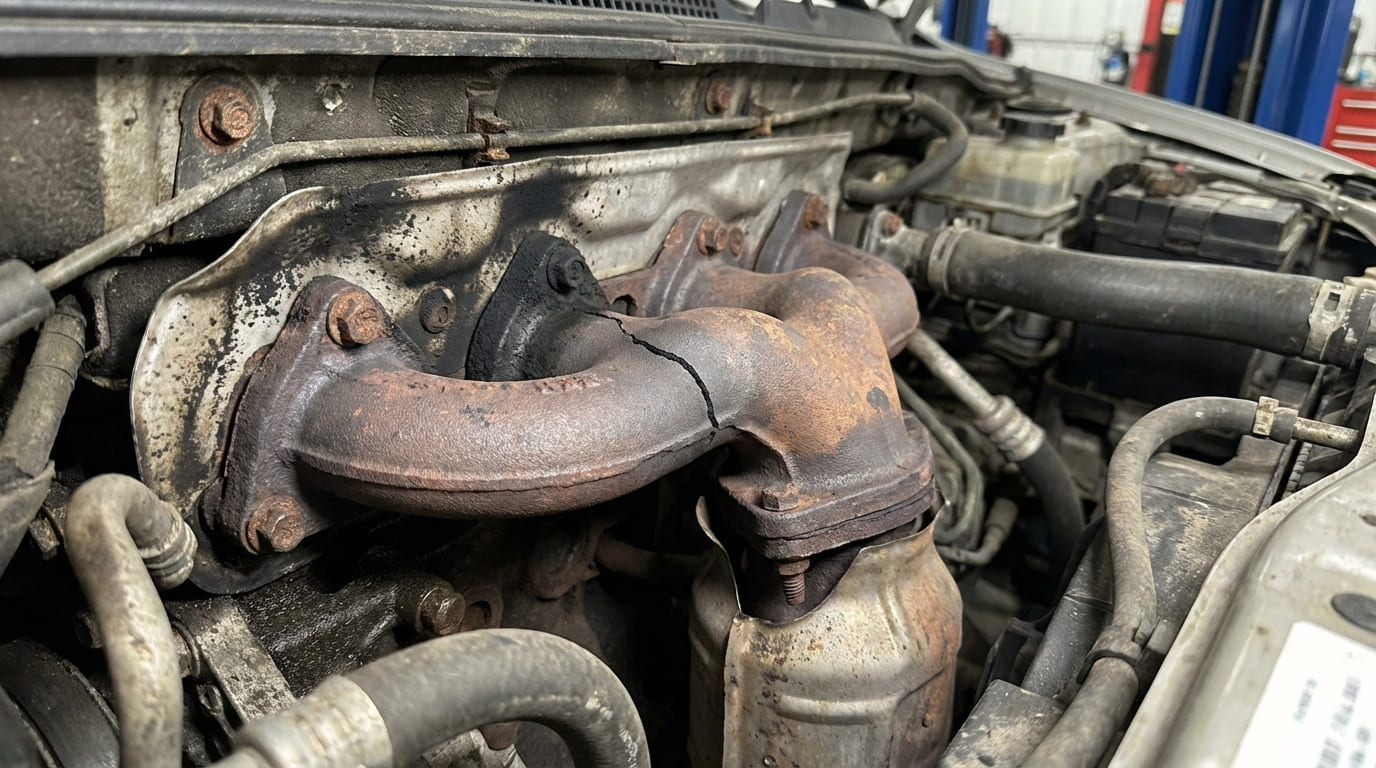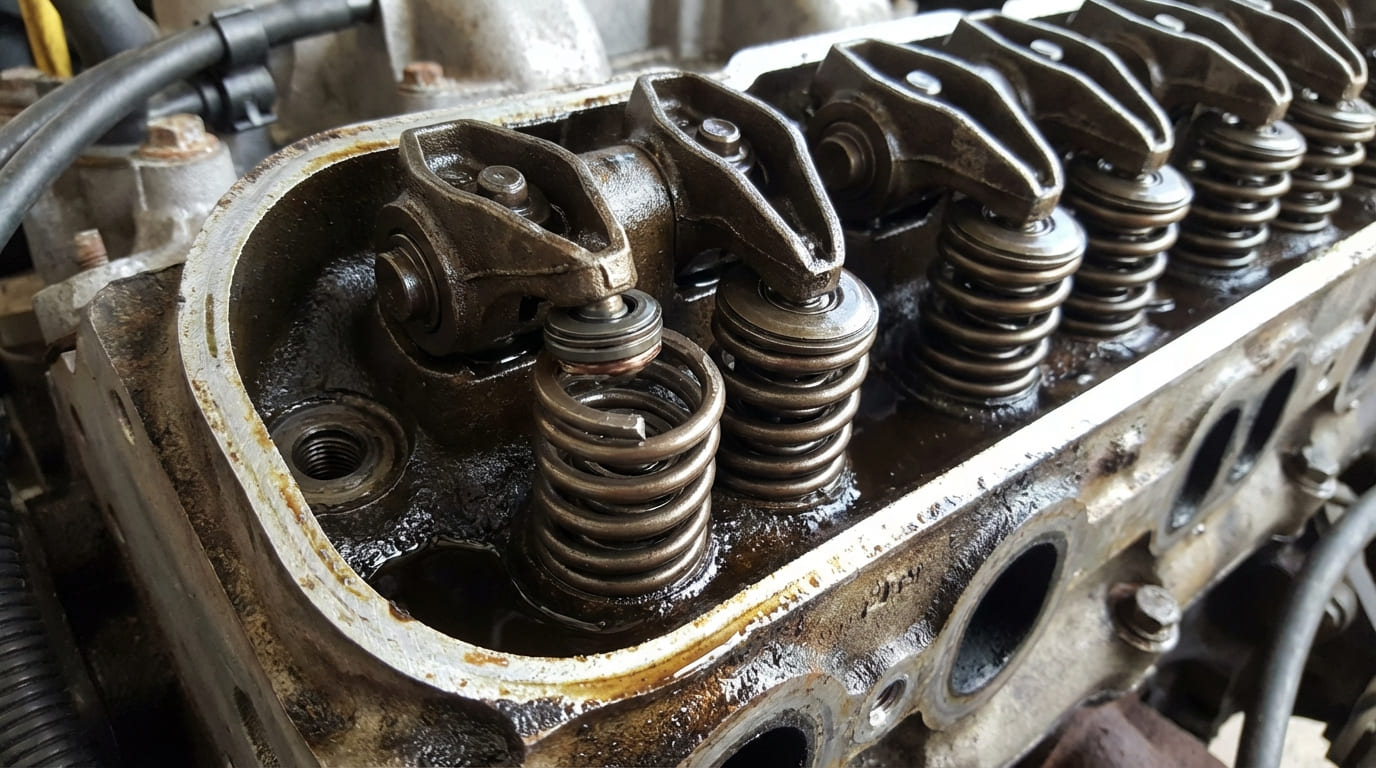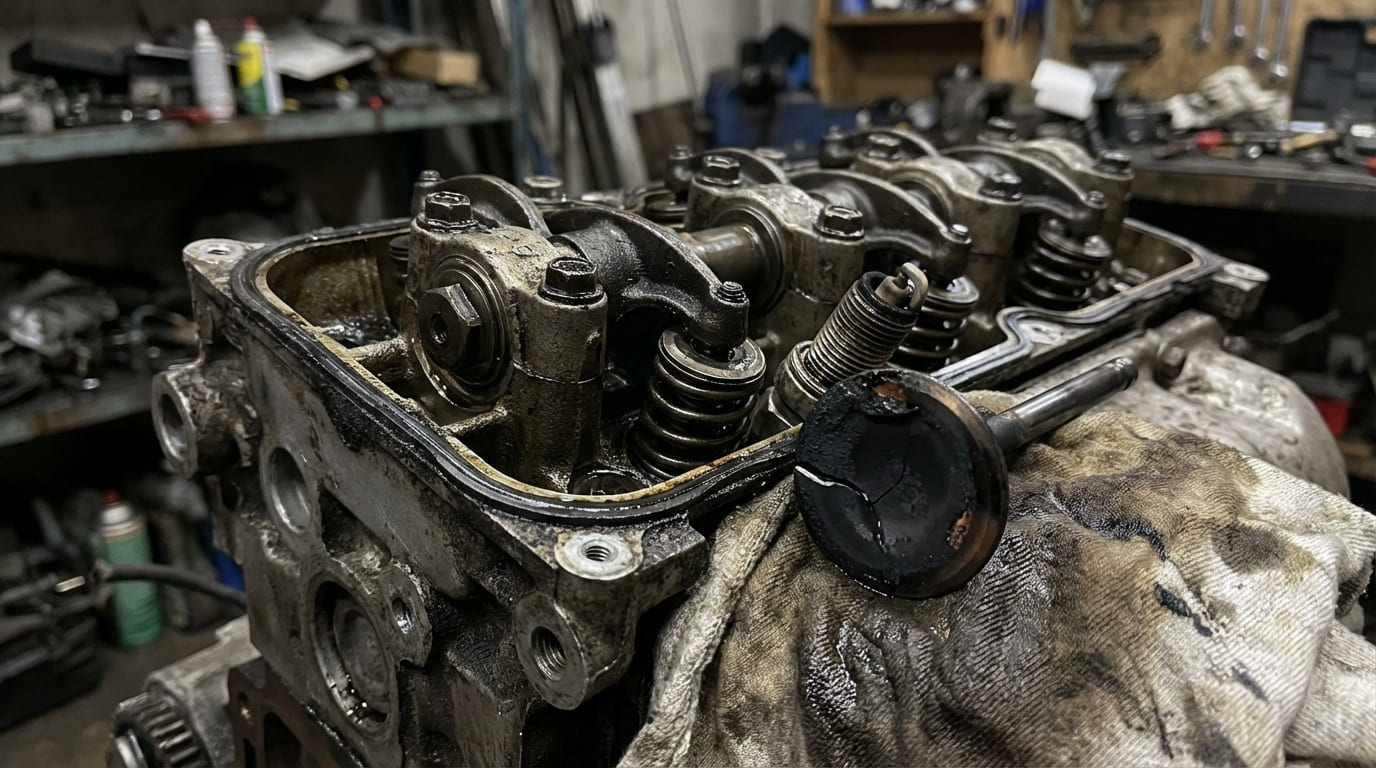
In my experience across two decades in the shop, valve-related misfires are more common than many DIYers assume—especially on modern, high-efficiency engines. While ignition and fuel systems often get the spotlight, compromised valve sealing or valvetrain function can absolutely lead to misfires. The key is understanding how and knowing when to suspect the valves versus other systems.
How Faulty Valves Cause Misfires
Valves are critical to combustion efficiency. If they don’t seal, open, or close correctly, the air-fuel mixture and compression suffer—leading to misfires. Unlike ignition or fuel issues, valve problems often show up under load or at specific RPMs and may not trigger immediate codes. The following are the most common mechanical failures.
Loss of Compression Due to Poor Sealing
When a valve fails to seal, compression drops, and combustion becomes unstable. This is often the root cause of a persistent misfire in one or more cylinders.
- Burnt valve or seat: Most common in turbocharged or lean-burning engines. Exhaust valves are especially vulnerable. Look for a misfire that worsens under load.
- Bent valve: Typically caused by timing belt/chain failure in interference engines. Even a slight bend prevents full closure. Compression test will show a significant drop.
- Carbon buildup: Direct-injection engines are prone to intake valve coking since fuel doesn’t wash over the valves. Buildup can physically prevent closure, especially at idle.
- Sticking valve: Caused by varnish or carbon in the guide. Often intermittent—may only occur when the engine is cold or hot.
Impaired Airflow and Timing Issues
Even if the valve seals, incorrect timing or restricted flow can disrupt combustion.
- Incorrect valve timing: A worn cam chain, stretched belt, or faulty VVT solenoid can delay or advance timing. Misfires often appear at higher RPMs. Use live OBD2 data to check cam vs. crank correlation.
- Restricted intake port: Carbon buildup in GDI engines can reduce airflow by up to 30%. The engine may run fine at idle but misfire under acceleration due to lean conditions.
Valvetrain Component Failures
Wear or breakage in the valvetrain reduces effective valve lift or timing precision.
- Broken or weak valve spring: Causes valve float at high RPM. Misfire occurs under load. Inspect for cracked coils or reduced spring tension.
- Collapsed hydraulic lifter: Reduces valve lift. Can mimic a burnt valve on a compression test. Verify operation under oil pressure.
- Worn rocker arm or pivot: Common on older OHV engines. Even 0.020″ loss in lift affects airflow and combustion stability.
Step-by-Step Diagnostic Process
Follow this sequence to isolate valve-related misfires without unnecessary disassembly. Always start with the least invasive tests.
1. Confirm the Misfire and Isolate the Cylinder
Use an OBD2 scanner to check for active P030X codes. Note the specific cylinder. Monitor Mode 06 misfire counts over multiple drive cycles to confirm consistency. Rule out simple issues first—check coil connectors, spark plug condition, and fuel injector operation.
2. Perform a Compression Test
Warm the engine to operating temperature. Disable fuel and ignition. Remove all spark plugs and thread in a quality compression gauge. Crank the engine for 4–5 compression strokes per cylinder.
Acceptable compression varies by engine, but most modern engines should show 140–175 psi with no more than 10–15% variation between cylinders. A low reading on the misfiring cylinder suggests a sealing issue—valve or ring.
In my shop, we always compare readings across all cylinders. A single low cylinder points to localized failure. Uniformly low compression may indicate incorrect cam timing or widespread wear.
3. Conduct a Leak-Down Test
This test identifies where compression is escaping. Position the suspect cylinder at TDC on compression stroke. Apply regulated shop air (80–100 psi) through the spark plug hole using a leak-down tester.
Listen for air escaping:
- Through intake manifold: Intake valve leak
- Through exhaust pipe: Exhaust valve leak
- Into crankcase (oil fill cap open): Piston rings or head gasket
- Bubbling in coolant reservoir: Head gasket breach or cracked head
More than 10% leakage warrants investigation. Some OEMs allow up to 20%, but consistent readings above 15% are a red flag.
4. Inspect with a Borescope
Insert a flexible borescope through the spark plug hole. Look directly at the valve heads for signs of:
- Burning or pitting (especially on exhaust valves)
- Carbon buildup preventing full closure
- Physical damage or warping
I’ve saved customers hundreds in labor by spotting carbon-clogged valves with a scope—avoiding unnecessary head removal. Always clean the plug hole thoroughly before inserting the scope.
5. Use a Vacuum Gauge for Dynamic Clues
Connect an analog vacuum gauge to a manifold vacuum source. At idle, observe the needle:
- Steady 17–22 inHg: Normal
- Flickering or dropping needle: Possible sticking valve
- Rhythmic fluctuation: Worn valve guides (common in high-mileage engines)
This test doesn’t isolate a cylinder but adds context when combined with others.
6. Final Check: Cylinder Head Removal
If earlier tests confirm a valve issue, remove the head for full inspection. Once disassembled:
- Measure valve stem runout (max 0.002″)
- Check guide clearance (typically 0.003″–0.005″, per OEM)
- Inspect springs for tension loss or cracks
- Check valve seat condition and margin width
Always inspect the entire valvetrain—even if one valve failed. Others may be near end-of-life. I’ve seen multiple guide failures missed because only the obvious valve was replaced.
Differentiating Valve Issues from Other Causes
Valve problems can mimic ignition, fuel, or vacuum issues. Use this table to compare symptoms and narrow the diagnosis.
| Symptom | Most Likely Causes | Less Common But Possible |
|---|---|---|
| Low compression, air heard in exhaust | Exhaust valve leak (burnt, bent, carbon) | Cracked exhaust port, head gasket breach to exhaust |
| Intermittent misfire, flickering vacuum | Sticking valve, weak spring | Failing ignition coil, intermittent vacuum leak |
| High RPM misfire only | Valve float (spring failure), VVT timing error | Fuel pump drop-off, restricted exhaust |
| Carbon visible on borescope, mild misfire | Intake valve restriction (GDI engines) | Fouled spark plug, clogged injector |
Cost and Repair Considerations
Valve repairs vary widely in cost and complexity. Here’s a general breakdown:
| Repair Type | Typical Cost (Parts + Labor) | DIY Viability |
|---|---|---|
| Carbon cleaning (walnut blasting) | $300–$800 | Low – requires specialized tools |
| Valve job (on-car service) | $1,200–$2,000 | Very low – needs precision equipment |
| Head replacement (used/rebuilt) | $1,500–$3,000 | Moderate – labor-intensive but bolt-on |
| Complete engine rebuild | $3,000–$6,000+ | Low – requires full disassembly |
For older or high-mileage engines, weigh repair costs against vehicle value. If the head needs replacement and the engine has over 150,000 miles, consider a low-mileage used engine or JY swap.
Critical Best Practices: What to Do and What to Avoid
- ✅ Recommended: Perform a leak-down test before removing the head. It’s less invasive and can save hours of labor.
- ✅ Recommended: Clean spark plug hole threads with a tap before reinstalling plugs. Prevents false torque readings and thread damage.
- ✅ Recommended: Use a thread chaser on head bolts and torque them dry unless specified. Oil can alter clamping force on TTY bolts.
- ⚠️ Avoid: Reusing torque-to-yield (TTY) head bolts. Most stretch during first use and won’t maintain proper clamping force.
- ⚠️ Avoid: Assuming carbon buildup means walnut blasting is the fix. On some engines, media can damage sensors or lodge in intake runners.
- ⚠️ Avoid: Skipping a compression test after head gasket or valve work. Even minor warpage or debris can cause repeat misfires.
Real-World Case Studies from the Shop
Situation: 2014 F150 3.5L EcoBoost with P0306 and rough idle. Compression was 90 psi on cylinder 6; others were 145–150.
Initial Assumption: Blown head gasket or burnt valve.
Deep Dive: Leak-down test showed air escaping through the intake manifold. Borescope revealed heavy carbon on the intake valve, preventing full closure. No burning or bending.
Nuanced Lesson Learned: Not every low-compression cylinder means major engine work. In direct-injected engines, carbon-induced valve hang-up can mimic more serious mechanical failure—always inspect before disassembling.
Situation: 2008 Honda Accord 2.4L with intermittent P0300. Misfire counters jumped around cylinders. Compression and leak-down were good.
Initial Assumption: Ignition or fuel issue—maybe a bad coil pack.
Deep Dive: Vacuum gauge showed a rhythmic fluctuation. Upon teardown, all exhaust valve guides were worn beyond 0.006″. The valves were wobbling, causing inconsistent sealing.
Nuanced Lesson Learned: Uniform wear across multiple cylinders can mask itself as a random misfire. Guide wear isn’t always caught in compression tests—vacuum analysis can be a clue.
Situation: 2012 VW Passat TDI with P0303. Compression was low, leak-down showed exhaust leakage. Assumed exhaust valve issue.
Initial Assumption: Burnt exhaust valve due to overheating.
Deep Dive: After head removal, the valve looked fine. Closer inspection revealed a tiny crack in the cylinder head between the valve seat and coolant passage. Coolant seeped in under pressure, disrupting combustion.
Nuanced Lesson Learned: Just because air escapes the exhaust doesn’t mean the valve is bad. Structural cracks or gasket issues can mimic valve sealing problems—always inspect the full combustion chamber.
Valve-related misfires are often diagnosable with the right sequence of tests. I’ve found that skipping steps—like going straight to a compression test without checking for vacuum leaks or scan tool data—can lead to misdiagnosis. The tools are only as good as the logic behind them.
Always consult the specific service manual for torque specs, tolerances, and test procedures. What’s acceptable on one engine may be out of spec on another—even within the same manufacturer.