As a master mechanic with two decades in the bay, I’ve seen cracked exhaust manifolds mimic everything from vacuum leaks to failing fuel pumps. This guide cuts through the noise and gives you the real-world diagnostic steps, tools, and decisions needed to identify and confirm a cracked manifold—fast and accurately.
Audible and Olfactory Signs You Can’t Ignore
Sound and smell are often the first clues. But not all ticking means a crack, and not all exhaust smell comes from the manifold. Here’s how to tell the difference.
Ticking, Hissing, and Other Telltale Noises
A rhythmic metallic ticking shortly after cold start—especially one that fades as the engine warms—is a classic sign of a cracked exhaust manifold. The crack temporarily seals as metal expands. The noise usually gets louder under load and is most pronounced near the cylinder head or manifold runners.
To confirm:
- Start the engine cold and listen near the exhaust manifold using a mechanic’s stethoscope or a length of vacuum hose held to your ear.
- Move the probe slowly along flanges and runner junctions. A sharp tap at a specific point often pinpoints the crack.
- Be cautious: surfaces heat up quickly, and some areas may have missing heat shields.
A continuous hissing or sputtering sound at idle suggests a steady exhaust leak. Unlike ticking, this doesn’t disappear with heat. You may feel pulsing if you cautiously hold your hand near (not touching) the exhaust path.
In my shop, we always rule out heat shield rattles first. A loose shield can mimic a ticking manifold. Tap around shields with a rubber mallet—if the noise changes, it’s likely not the manifold.
Exhaust Smell in the Cabin: A Safety Red Flag
A sharp, acrid odor of exhaust fumes inside the cabin—especially at idle or in traffic—is a serious warning. This often means exhaust gases are entering through floorpan rust, unsealed firewall passages, or the HVAC intake.
Immediate action:
- Stop driving the vehicle until you can test for carbon monoxide (CO) with a digital detector inside the cabin.
- Inspect under carpets and along the transmission tunnel for soot stains or rust holes.
- Check firewall grommets and rubber seals—missing or cracked ones are common entry points.
I once diagnosed a minivan with cabin exhaust smell after a new catalytic converter failed to fix it. The real culprit? A cracked front manifold feeding gas into a corroded transmission tunnel. CO levels hit 400 ppm at idle. Passenger safety comes first—never dismiss this symptom.
Visual Clues That Lead to the Truth
What you see—or don’t see—can make or break your diagnosis. Soot, cracks, and discoloration each tell a different story.
Soot Stains and Carbon Buildup
Black, powdery deposits around the manifold flange, runners, or oxygen sensor bungs are strong indicators of an exhaust leak. The heaviest staining usually occurs at stress points like runner junctions or bolt holes.
Pro tip: Use a small inspection mirror and bright LED light. On transverse V6 engines, the rear bank is often hidden—clean the area first to spot fresh soot trails.
Visible Cracks and Casting Damage
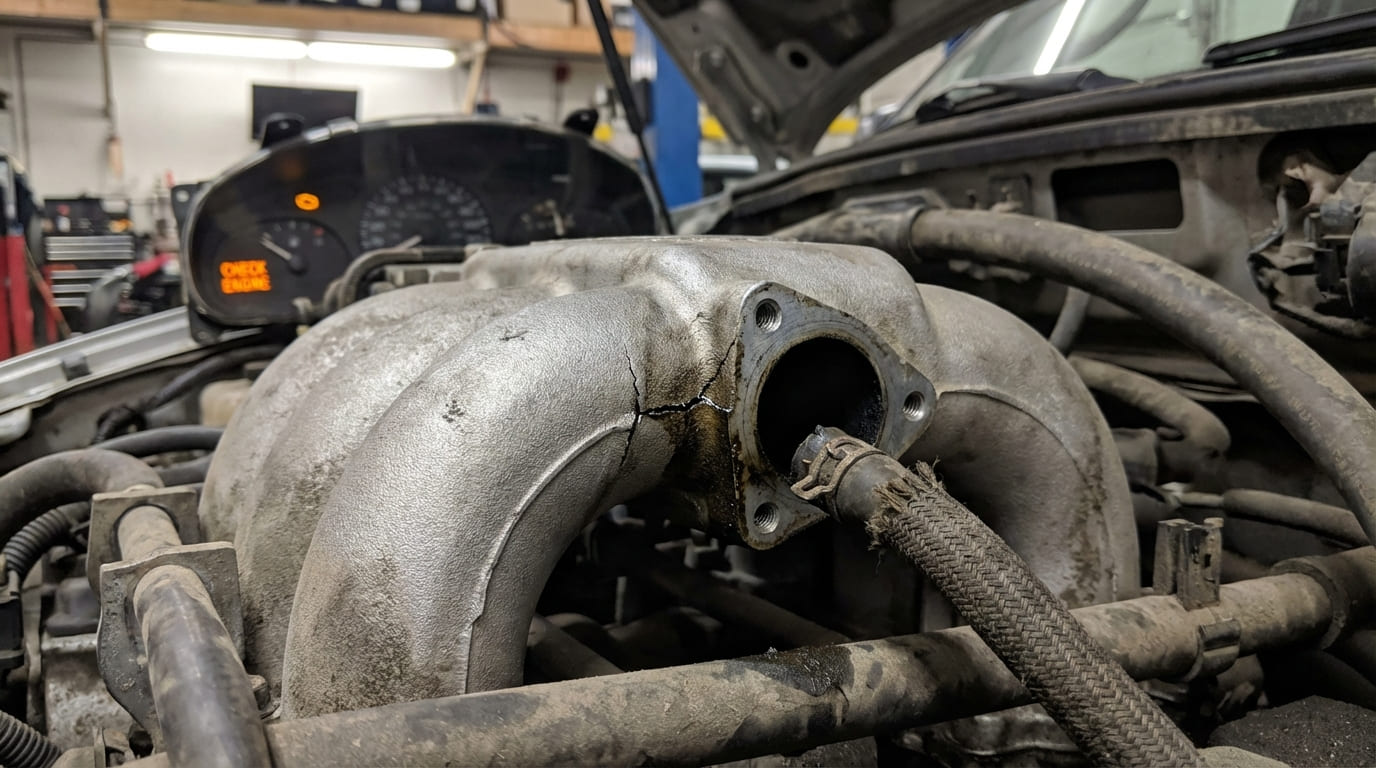
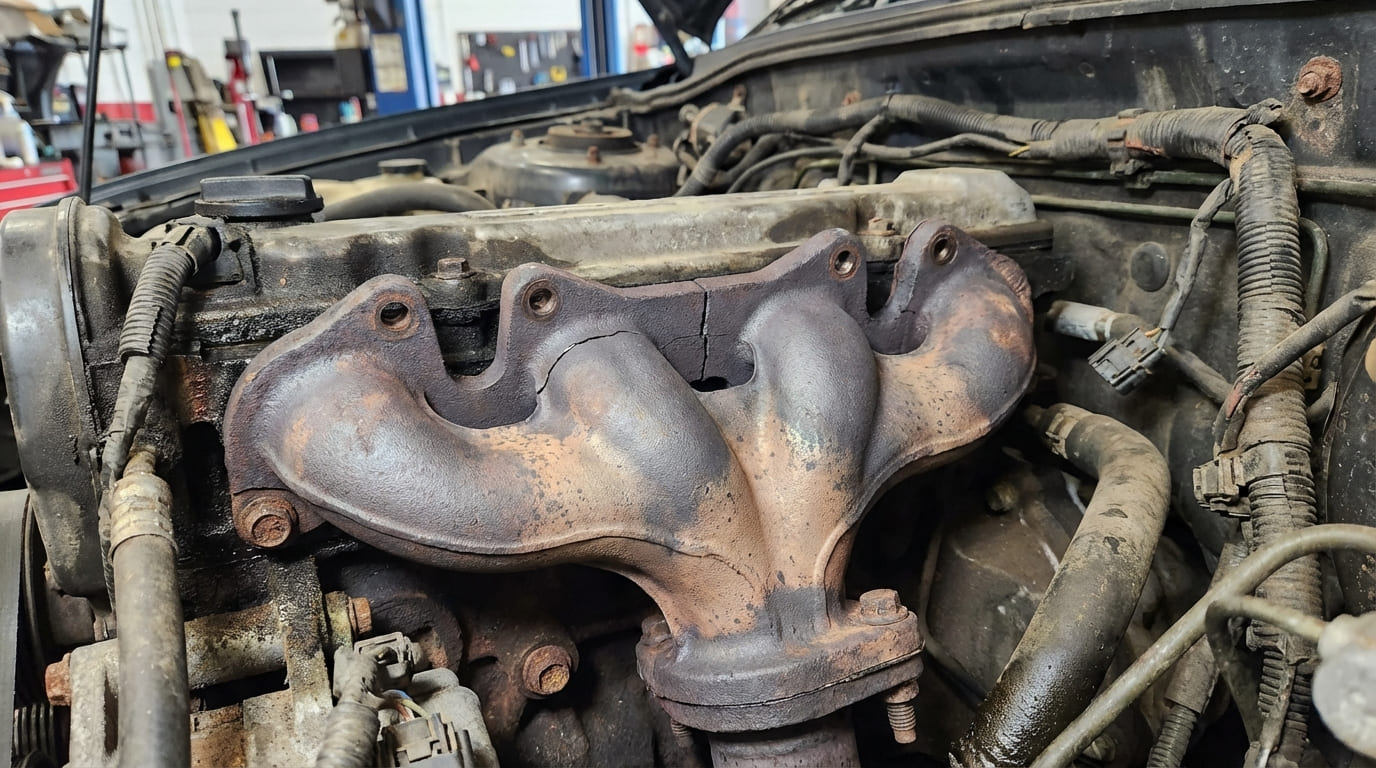
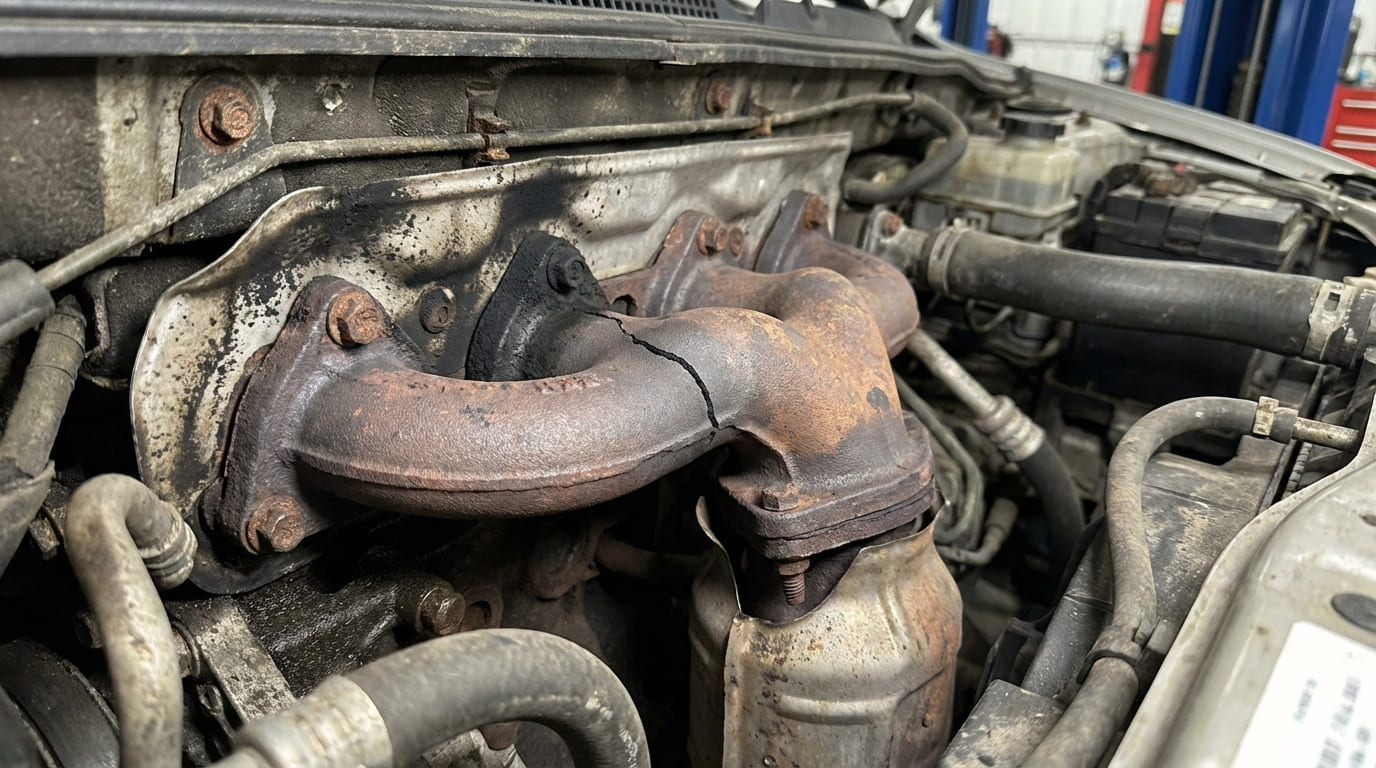
Some cracks are obvious: jagged splits across a runner or flange. Others are hairline fractures only visible after cleaning and close inspection. Cracks often start at casting risers, bolt holes, or oxygen sensor bungs where stress concentrates.
For suspected hairline cracks:
- Clean the area with degreaser and a wire brush.
- Apply liquid dye penetrant, let it dwell per instructions (usually 10–15 minutes).
- Wipe clean, then apply developer.
- Look for a clear line indicating the crack.
Cast iron manifolds are brittle and prone to rapid crack propagation. Stainless steel lasts longer but can still crack under extreme thermal cycling.
Discoloration and Heat Tinting
Rainbow-colored oxidation or unusually bright blue/straw-yellow discoloration on the manifold surface signals chronic overheating from an exhaust leak. Escaping gases superheat the surrounding metal, accelerating oxidation.
This is especially useful on stainless manifolds that don’t hold soot well. If you see heat tinting but no soot, suspect a small, high-velocity leak.
Performance and Diagnostic Trouble Codes (DTCs)
Modern engines rely on precise oxygen sensor readings. A crack upstream of the upstream O2 sensor can fool the ECU into thinking the engine is running lean—triggering misleading codes and performance issues.
Lean Codes (P0171/P0174) and Fuel Trim Behavior
These codes are common with exhaust leaks. Fresh air entering through a crack downstream of the combustion chamber but upstream of the O2 sensor causes the sensor to read lean. The ECU responds by adding fuel, leading to:
- Rich fuel trims despite a “lean” code
- Poor fuel economy
- Dull throttle response
Check live data:
- Look for high short-term fuel trim (STFT) and long-term fuel trim (LTFT) values—especially if both are above +15%.
- Monitor upstream O2 sensor voltage. A leak often causes rapid, wide swings or a sensor stuck below 0.45V.
I chased a P0303 misfire for days on a V6 before realizing the #3 runner had a crack. The O2 sensor saw lean, the ECU dumped fuel, and the cylinder flooded. Always cross-reference misfire codes with fuel trim and O2 data.
Catalyst Efficiency Codes (P0420/P0430)
These codes can stem from a cracked manifold. Unmetered air entering upstream alters exhaust chemistry, making the catalytic converter appear inefficient. But don’t replace the cat yet—fix the leak first.
Root causes to rule out:
- Exhaust leak before the upstream O2 sensor
- Engine misfires
- Oil or coolant contamination
How to Confirm the Diagnosis
Guessing costs time and money. Use these proven methods to confirm a cracked manifold with confidence.
Smoke Test: The Gold Standard
This is the most reliable way to find exhaust leaks.
- Remove the upstream O2 sensor or use a bung adapter.
- Insert a smoke machine nozzle and seal the tailpipe with a rubber plug.
- Pressurize the system and watch for smoke escaping from cracks or flanges.
Best done on a cold engine—cracks are open and easier to spot. Note: Heavy carbon buildup inside the manifold may restrict smoke flow, leading to false negatives.
Pressure Test (Shop-Only Method)
In a professional setting, apply 5–10 psi of regulated shop air through the exhaust inlet (after removing the O2 sensor).
- Spray soapy water over suspect areas—bubbles form at leak points.
- Never exceed 10 psi—risk of warping thin castings or damaging sensors.
- Ensure no one is near the open end before pressurizing.
Cold Start Observation
Start the engine cold and watch for:
- Pulsing puffs of exhaust gas at the manifold
- Shimmering heat waves indicating high-velocity leaks
- Ticking noise correlating with a visible leak point
Use a mirror to inspect tight areas. Gasket leaks typically leave soot between the head and flange. Cracks in the casting show soot radiating from the body—this distinction prevents unnecessary gasket replacements.
Repair vs. Replace: Cost and Practicality
Can you repair a cracked manifold? Sometimes—but it’s rarely worth it.
| Repair Option | Cost Range | Viability | Notes |
|---|---|---|---|
| Weld repair (cast iron) | $150–$300 | Low | High risk of re-cracking due to thermal stress. Requires pre/post-heat treatment. |
| Steel epoxy patch | $20–$50 | Very Low | Temporary fix only. Fails under sustained heat and pressure. |
| Replace with OEM manifold | $250–$600 + $200–$400 labor | High | Best long-term solution. Includes new gaskets and hardware. |
| Aftermarket manifold | $120–$300 + labor | Moderate | Verify material quality. Some crack within a year. |
In my shop, we don’t weld exhaust manifolds anymore. The labor to remove, pre-heat, weld, and reinstall often exceeds the cost of a new unit—and the repair rarely lasts. Replacement is faster, safer, and more reliable.
Best Practices for Replacement
Getting it right the first time saves comebacks and broken bolts.
- ✅ Clean bolt threads with a tap and blow out debris—dirty threads cause uneven torque.
- ✅ Use new manifold gaskets. Apply high-temp anti-seize only to bolt threads and holes—never the sealing surface.
- ✅ Torque bolts in the factory-specified sequence and in 2–3 passes. Most leaks come from improper tightening.
- ⚠️ Never reuse old manifold bolts—they stretch and weaken over time.
- ⚠️ Avoid overtightening. It warps flanges and can crack the manifold or damage the cylinder head.
- ⚠️ Inspect and reinstall heat shields. Missing shields increase underhood temps by 50°F+, accelerating future cracking.
Common Crack Locations and Why They Happen
From years of teardowns, I’ve seen patterns:
- Runner junctions to the collector—thermal stress concentration
- Flange bolt holes—vibration and uneven clamping
- Oxygen sensor bungs—damage from cross-threading during sensor replacement
- Thin wall sections—especially in older cast iron manifolds
Turbocharged engines and high-output applications increase risk. Stainless steel resists cracking better than cast iron but isn’t immune.
Diagnostic Comparison Table
| Symptom | Most Likely Cause | Less Common But Possible Causes | Diagnostic Confidence Level |
|---|---|---|---|
| Cold-start ticking that fades | Cracked manifold or loose bolts | Valve train noise, heat shield rattle | High (with proper localization) |
| P0171/P0174 codes | Exhaust leak upstream of O2 sensor | Vacuum leak, weak fuel pump, clogged injectors | Moderate (requires cross-verification) |
| Soot on manifold casting | Crack in manifold body | Failed gasket, warped flange | High (if soot originates from casting) |
| Cabin exhaust odor | Exhaust leak near firewall + body corrosion | Faulty HVAC seal, rear exhaust leak with backpressure | High (if CO detected) |
| P0420 code | Contaminated or overheated catalytic converter | Upstream exhaust leak, misfire, oil consumption | Moderate (needs root cause analysis) |
No single symptom confirms a cracked manifold. The key is combining methods: listen, inspect, test with smoke or pressure, and verify with live data. What works on a four-cylinder economy car may not apply to a high-performance V8—always consult the service manual for torque specs and repair procedures.