Oxygen sensors are critical to engine performance, fuel economy, and emissions. As a master mechanic, I see O2 sensor issues daily—often misdiagnosed. This guide cuts the theory and gives you what you need: how they work, how to test them, when to replace, and how to avoid costly mistakes.
What Oxygen Sensors Actually Do
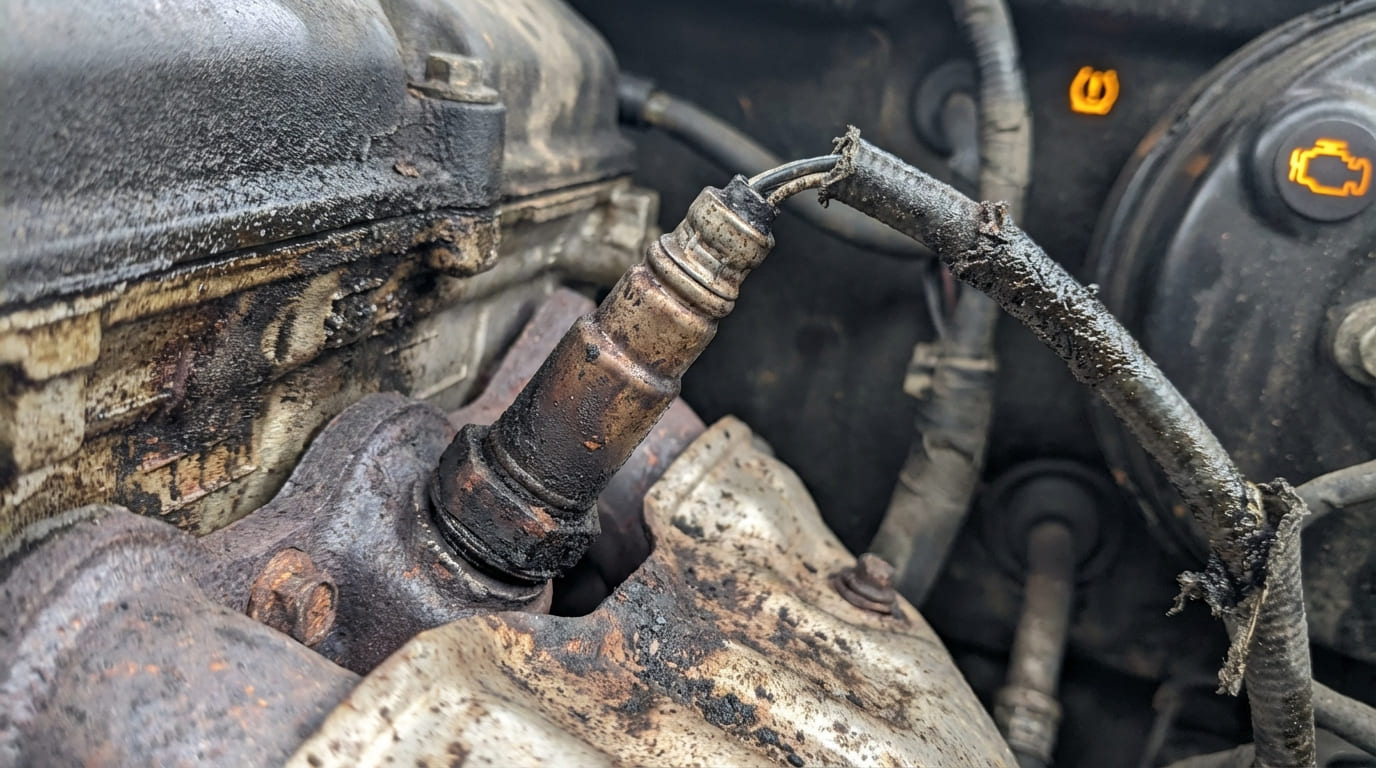
The O2 sensor’s job is simple: measure unburned oxygen in the exhaust and tell the engine computer (ECM) if the air-fuel mixture is too rich or too lean. This feedback allows the ECM to adjust fuel delivery in real time—keeping the engine running efficiently and emissions low.
There are two main types: upstream (pre-cat) and downstream (post-cat). The upstream sensor controls fuel trim. The downstream sensor monitors catalytic converter efficiency. Confusing their roles leads to wrong repairs.
How to Diagnose O2 Sensor Problems
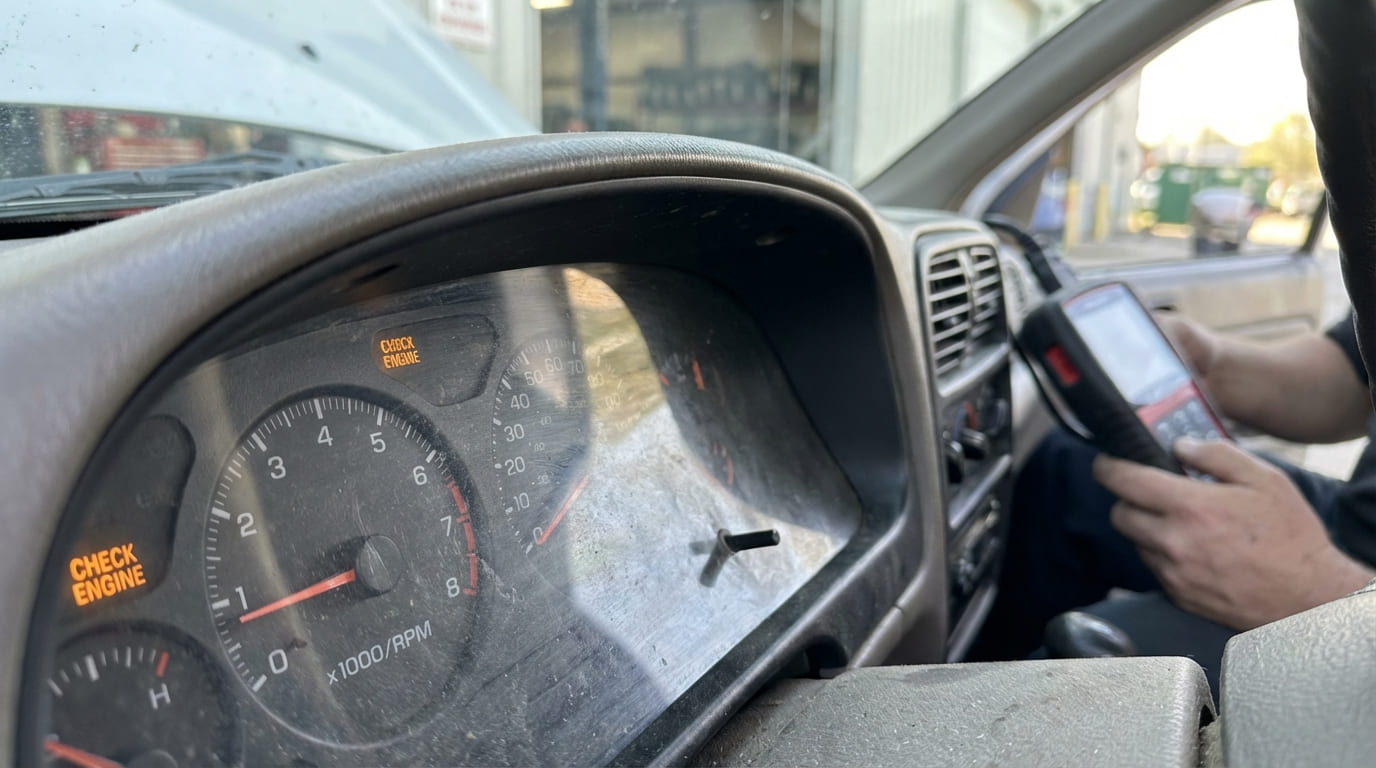
Never replace an O2 sensor based on a Check Engine Light (CEL) alone. Many issues mimic sensor failure. Use live data and basic tests to confirm.
Tools You Need
- OBD2 scan tool with live data and graphing
- Digital multimeter (DMM)
- Oxygen sensor socket (with wire relief)
- Factory service manual (for specs)
Step-by-Step Diagnostic Checks
1. Check Fuel Trims (STFT and LTFT)
With the engine at operating temperature and in closed-loop, observe fuel trims:
- Normal: LTFT within ±10%
- Concerning: LTFT consistently above +15% or below -15%
High positive LTFT suggests a lean condition. But don’t assume it’s the sensor—check for vacuum leaks, low fuel pressure, or MAF contamination first.
2. Graph Upstream O2 Sensor Voltage (Narrowband)
On a healthy system:
- Voltage swings between 0.1V (lean) and 0.9V (rich)
- Crosses 0.45V at least 8–12 times in 10 seconds at 2500 RPM
Slow or flat response means the sensor is lazy or dead. Contamination (oil, coolant, silicone) is a common cause.
3. Test Wideband Sensor (Lambda Reading)
Modern vehicles use wideband sensors. Look for:
- Lambda = 1.00 ± 0.02 at idle and light load
- Pump current within ±7mA (if available)
Stable lambda with high trims may point to a different issue—like a faulty MAF or fuel system.
4. Inspect Downstream Sensor Stability
This sensor should be stable—not oscillating. On a healthy system:
- Voltage hovers between 0.6V and 0.8V
- Minimal fluctuation
If it mimics the upstream sensor, the catalytic converter may be failing—or there’s an exhaust leak feeding false oxygen.
5. Test Heater Circuit
Most O2 sensor codes (like P0135) are heater-related. Test:
- Heater resistance: 3–15 ohms cold (check manual for exact spec)
- Power and ground at the sensor connector with key on
No power? Check fuses, relays, and ECM control. Open ground? Could be a failed ECM driver.
In my shop, we always test the heater circuit before replacing a sensor. I’ve saved customers hundreds by finding a blown fuse or corroded connector instead of a $120 sensor.
When to Replace vs. When to Look Deeper
Replacing an O2 sensor is common—but often unnecessary. Use this logic:
| Symptom | Most Likely Cause | Diagnostic Action |
|---|---|---|
| High fuel consumption, negative STFT | Stuck-rich upstream sensor | Graph signal; check for contamination |
| P0171/P0174 (system too lean) | Vacuum leak or low fuel pressure | Smoke test intake; check fuel pressure |
| P0420 (catalyst efficiency) | Exhaust leak or oil consumption | Inspect manifold gaskets; check for blue smoke |
| Slow warm-up, no closed-loop | Heater circuit failure | Test resistance, power, and ground |
A 2014 Toyota Camry came in with P0135 and poor cold driveability. Two aftermarket sensors already replaced. I tested heater resistance—fine. Backprobed ECM: no ground signal. Root cause? Failed ECM driver. Lesson: Diagnose the circuit, not just the part.
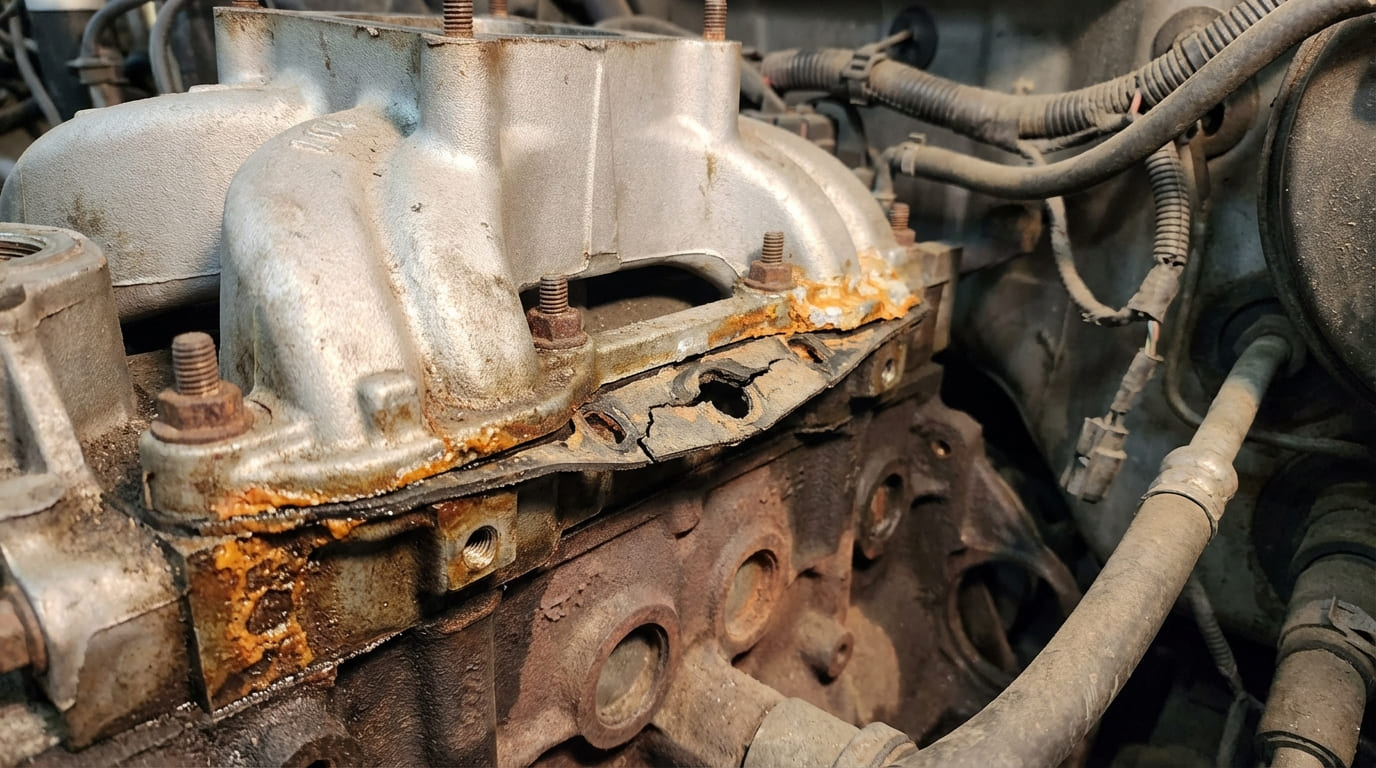
A Subaru had P0420 after a new catalytic converter. Downstream sensor was active. Found a cracked donut gasket sucking in oxygen. Lesson: Exhaust leaks upstream of the downstream sensor can mimic cat failure. Always inspect the entire system.
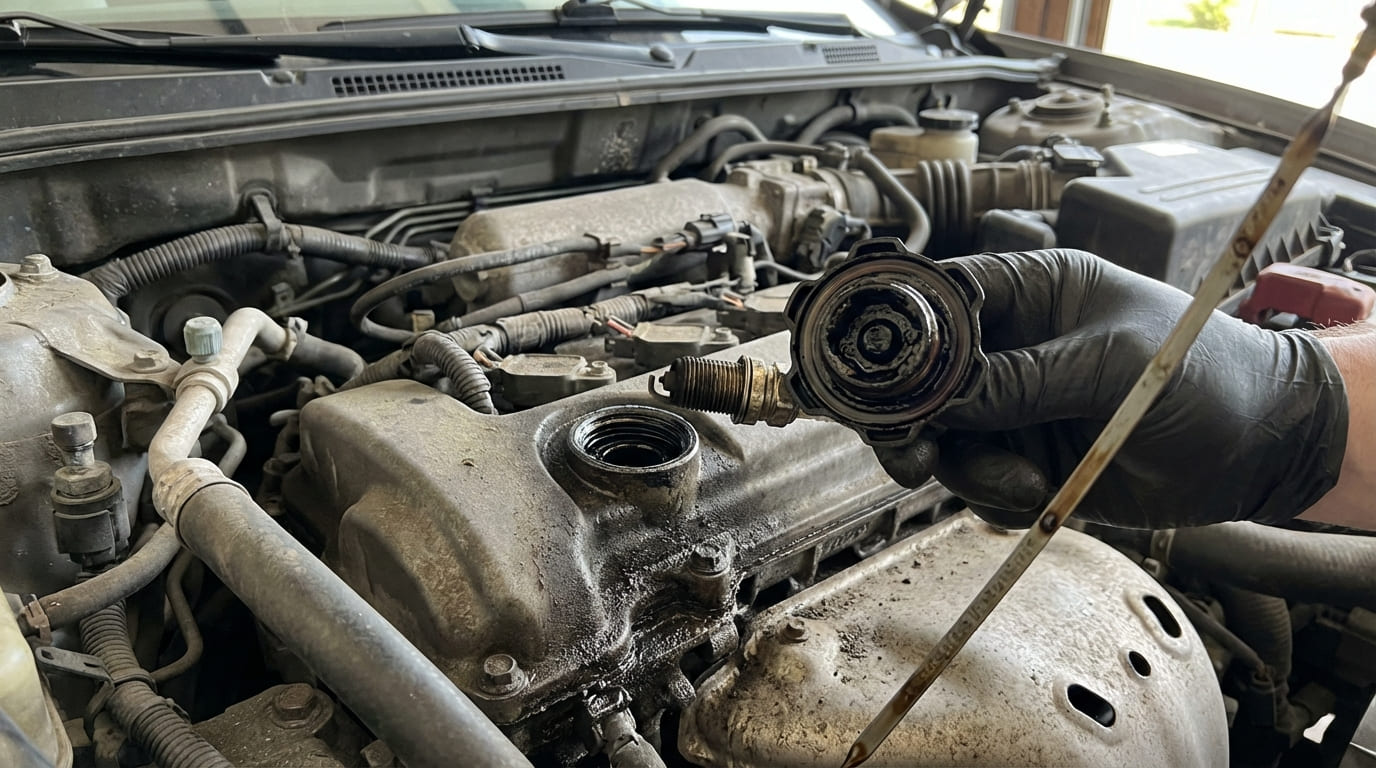
A Ford F-150 had high LTFT and a stuck-rich upstream sensor. Replaced sensor—problem returned. Discovered oil consumption from worn valve seals. Silicone from old sealant had contaminated the sensor. Lesson: Fix the contamination source, not just the symptom.
Replacement: Best Practices
O2 sensors are sealed units—no repair, only replacement. But installation matters.
- ✅ Do: Clean threads with an 18mm x 1.5 bottoming tap (or correct size). Prevents galling and ensures accurate torque.
- ✅ Do: Apply anti-seize—sparingly—only to the threads. Never on the tip. Some sensors come pre-lubed—check instructions.
- ✅ Do: Use a sensor socket with wire relief. Prevents harness damage and future faults.
- ⚠️ Avoid: Reusing torque-to-yield mounting bolts. They stretch and lose clamping force.
- ⚠️ Avoid: Touching the sensor tip. Skin oils can poison the sensing element, especially on widebands.
- ⚠️ Avoid: Swapping sensor types. A narrowband won’t work in a wideband circuit. Match the exact type, connector, and thread pitch.
Cost & Value Considerations
Aftermarket vs. OEM: Aftermarket sensors can save $30–$80, but some lack proper calibration—especially widebands. On Toyotas and Hondas, OEM is often worth the price. On older GMs, quality aftermarket is usually fine.
Price Range:
- Narrowband: $25–$60
- Wideband: $80–$250
- Professional installation: $100–$200 (due to labor access)
If the sensor is hard to reach (like bank 1 sensor 1 on many V6 engines), consider professional help. Labor can take 1–2 hours.
Final Advice: Diagnose, Don’t Guess
In 20 years, I’ve learned this: O2 sensor issues are rarely just about the sensor. They’re symptoms of deeper problems—vacuum leaks, fuel issues, exhaust leaks, or mechanical wear. Replace based on data, not codes. Use live graphing. Test circuits. And always consult the factory manual.
Your best tool isn’t a socket wrench—it’s your scan tool. Verify before you replace.