In my two decades as a shop foreman, I’ve seen more than a few engines come through the bay with timing-related issues—some subtle, some catastrophic. One of the most misunderstood components in the timing system is the tensioner. It’s not just a spring pushing on a chain; it’s a critical part of maintaining engine precision over thousands of miles. Let me walk you through what it actually does, how to diagnose problems, and what to do when it fails.
What the Timing Chain Tensioner Actually Does
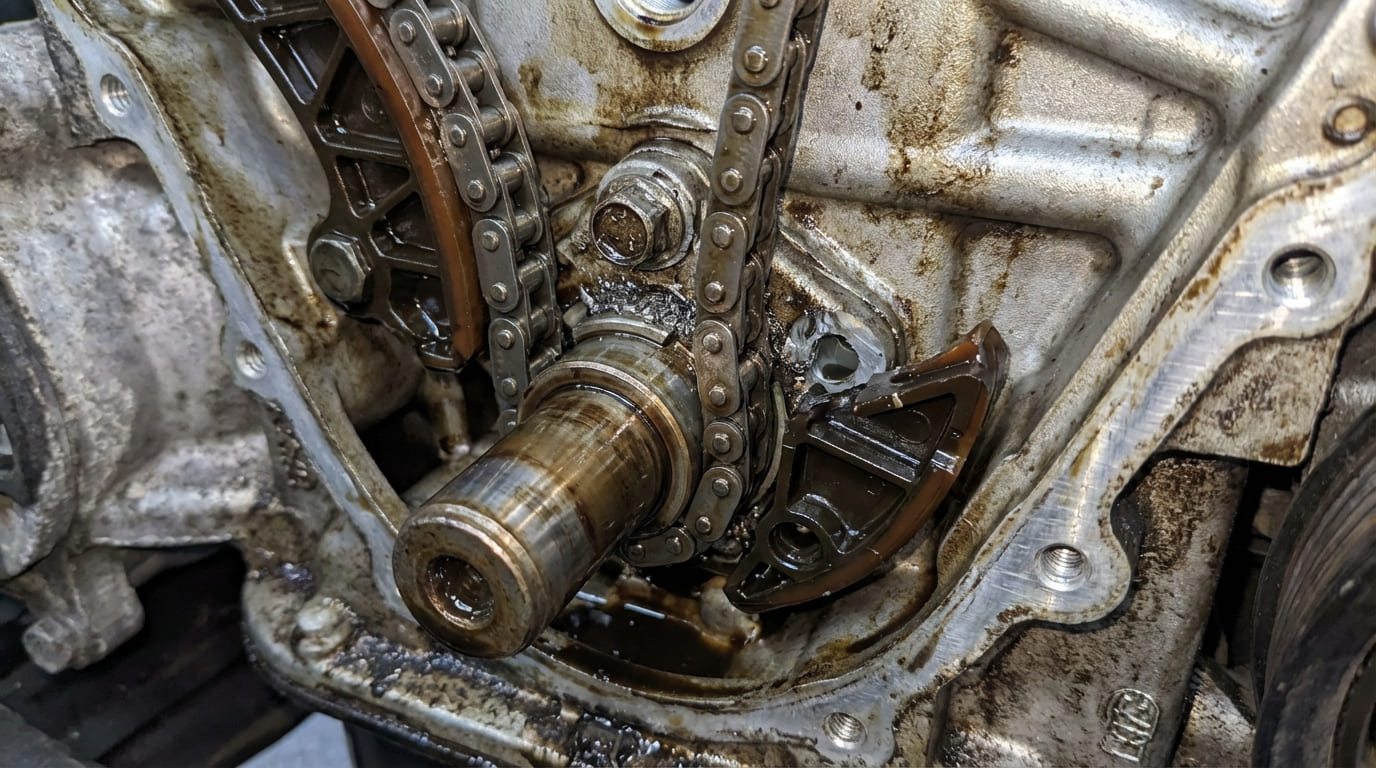
The timing chain keeps the camshaft and crankshaft synchronized so valves open and close at the right time. The tensioner’s job is to keep that chain tight and running smoothly. Without it, the chain could slap, rattle, or even jump teeth—especially as it wears or the engine heats up and cools down. Here’s what it handles in real-world driving:
Maintain proper chain tension and prevent slack
A loose chain can bounce, rattle, or skip. The tensioner applies constant pressure to keep the chain taut between the crank and cam sprockets. Most modern engines allow slight deflection—usually 1/4 to 1/2 inch at the longest span—but beyond that, timing accuracy suffers. If you hear a rhythmic tapping from the front of the engine, especially at idle or low RPM, slack could be the culprit.
Compensate for chain wear, stretch, and temperature changes
Timing chains don’t stretch like rubber, but metal links wear at the pins and rollers. Over 150,000 miles, this wear can add up to 0.5%–1% elongation—enough to throw off valve timing. The tensioner automatically takes up that slack. It also adapts as the engine expands and contracts with heat. Aluminum blocks grow more than steel chains, so the tensioner must adjust dynamically to maintain contact.
Dampen vibration and prevent harmonic resonance
At certain RPMs, chains can vibrate like a guitar string. This oscillation leads to noise and, over time, fatigue failure. A good tensioner—paired with intact guides—absorbs these vibrations. On engines with known rattle issues (like some V6 designs), upgrading to an OEM-spec tensioner with better damping can eliminate NVH (noise, vibration, harshness) problems.
Ensure precise cam-to-crank synchronization
Modern engines rely on exact valve timing for power, fuel economy, and emissions. Even a 2–3-degree timing error can trigger misfires or knock sensors. The tensioner supports this precision by keeping the chain engaged firmly on the sprockets. If the chain bounces or skips—even momentarily—engine performance suffers.
How Hydraulic Tensioners Work (Most Common Type)
Most modern engines use hydraulic tensioners powered by engine oil. These aren’t simple springs—they’re precision oil-filled actuators.
Oil pressure drives the plunger
The tensioner connects to an oil gallery. When the engine runs, oil pressure pushes a plunger outward, maintaining chain tension. The force increases with RPM. Low oil pressure can mimic a failed tensioner, so always check oil pressure before condemning the part.
Check valve traps oil when engine is off
This small valve keeps oil in the tensioner bore after shutdown. Without it, the plunger would retract, leaving slack in the chain on cold start—when oil is thickest and pressure builds slowly. A failed check valve is a common cause of “cold rattle” that disappears after 5–10 seconds.
Spring provides backup tension
A spring inside the tensioner provides initial tension before oil pressure builds. Even if the hydraulic side fails, the spring often keeps the chain running—though noisily. This is why some engines still run after a tensioner issue, but with a noticeable rattle.
Oil passages can clog—inspect during replacement
The oil feed hole to the tensioner is small and prone to sludge or debris. I’ve seen engines with brand-new tensioners fail in weeks because the oil gallery was 80% blocked. Always flush the passage with solvent and a small brush when replacing the tensioner.
Some have a ratchet to prevent retraction
High-end designs (like on some BMW and GM engines) include a mechanical ratchet that locks the plunger in place if oil pressure drops. This prevents sudden slack. But these ratchets can wear out over time, allowing gradual retraction and increased chain play.
Mechanical Tensioners: Spring-Loaded and Oil-Independent
Older or performance engines often use mechanical tensioners. These rely on a strong spring and ratchet system instead of oil pressure.
Spring applies constant force
A coil or leaf spring pushes the plunger outward. The preload is set at the factory and usually isn’t adjustable. These are more durable in high-RPM or track applications where oil pressure fluctuates.
Ratchet extends as chain wears
As the chain stretches, the plunger moves out in small increments and locks in place. This one-way design maintains tension over time. But if the ratchet teeth wear or the spring weakens, the system can’t keep up.
No reliance on oil pressure
This makes mechanical tensioners more predictable in extreme conditions. But they’re not immune to failure—contamination or poor lubrication can still seize the plunger.
Manual adjustment on some vintage engines
A few classic engines require manual tensioning during assembly. Always consult the factory manual. I’ve seen mechanics forget to remove the locking pin after installation, which leads to instant chain destruction on startup.
What Happens When the Tensioner Fails
A failing tensioner doesn’t always kill the engine right away—but it can lead to serious damage if ignored.
Noise: Rattle or slap at startup or under load
A metallic tapping from the front of the engine—especially worse on cold start—is a red flag. It often fades as oil pressure builds. But don’t assume it’s the tensioner. Worn guides or a stretched chain can cause similar noise. Use a stethoscope or chassis ear to pinpoint the source near the timing cover.
Performance issues: Rough idle, hesitation, power loss
If the chain bounces, cam timing drifts. The PCM may try to compensate using VVT (variable valve timing), but only up to a point. Once the slack exceeds the system’s ability to correct, you’ll feel misfires, surging, or poor throttle response.
Check Engine Light and DTCs
Critical codes like P0016 (Crank/Cam Position Correlation) often point to timing chain issues. But don’t jump to conclusions. A failing VVT phaser, sensor problem, or even a cracked reluctor wheel can trigger the same code. Always verify mechanical timing before replacing parts.
Catastrophic Failures: When to Worry
Chain jumps teeth—especially on interference engines
If the chain skips even one tooth, valve timing is off. On interference engines (most modern ones), this can bend valves, damage pistons, and require a full rebuild. If you suspect a skip, **do not keep driving**. Remove the timing cover and verify alignment with factory marks.
Chain breaks due to excessive slack
Rare, but possible. A failed tensioner can let the chain slap hard enough to rub through the timing cover or snap under load. This kills the engine instantly. At high RPM, the damage is usually catastrophic.
How the Tensioner Works With Other Components
The tensioner doesn’t work alone. It’s part of a system. If one part fails, the others suffer.
- Timing chain guides: The tensioner pushes the chain against these plastic or metal rails. Worn guides increase chain movement, forcing the tensioner to work harder. Always replace guides when replacing the tensioner.
- Sprockets: Chipped or worn teeth cause uneven chain motion, leading to tensioner bounce and noise. Inspect sprockets for hooking or rounding.
- Chain stretch: The tensioner can only compensate so much. Once stretch exceeds its travel range, you’ll have slack no matter how good the tensioner is. Measure chain stretch with a ruler or dedicated tool.
How to Diagnose a Bad Tensioner
Don’t guess—test. Here’s how to confirm a tensioner issue:
Listen and isolate the noise
Use a mechanic’s stethoscope or electronic chassis ear. Place it on the front timing cover. A hydraulic tensioner rattle is usually loudest on cold start and fades in seconds. A constant rattle points more to worn guides or chain stretch.
Check oil pressure
For hydraulic types, low oil pressure mimics failure. Connect a mechanical gauge to the main oil gallery. Typical specs: 10 psi at idle, 40–60 psi at 2,000 RPM. If pressure is low, fix the oil pump or pickup before replacing the tensioner.
Scan for cam/crank correlation
Use a scan tool with graphing to compare CKP and CMP waveforms. Look for jitter or phase shifts beyond 2–3 degrees. But remember—VVT systems cause normal movement during actuation. Compare to known-good patterns.
Inspect the plunger (if accessible)
Some engines let you see the tensioner plunger through the oil filler neck or a service plug. If it’s fully extended or not moving, that’s a sign of wear or failure. But full disassembly is often needed for a definitive check.
Repair vs Replace: Cost and Practical Advice
Replacing a tensioner isn’t cheap—it usually requires removing the timing cover, which means labor-intensive work. Here’s what you need to know:
| Part | Cost (Part Only) | Typical Labor Hours |
|---|---|---|
| OEM Tensioner | $80–$150 | 4–8 hours |
| Aftermarket Tensioner | $40–$90 | $400–$800 |
| Full Timing Kit (chain, tensioner, guides) | $150–$300 | Same as above |
Bottom line: If you’re opening the timing cover, replace the whole kit. Chains, guides, and tensioners wear together. Replacing just the tensioner may save $100 now but could cost you a rebuild later.
In my shop, we always replace the entire timing kit when the tensioner is out. The labor is the same, and the risk of a comeback is too high. Spend the extra $150 now to avoid a $3,000 engine job later.
Best Practices for Replacement
- ✅ Use OEM or OEM-equivalent parts. I’ve tested aftermarket tensioners that failed within 50,000 miles due to poor check valves or weak springs.
- ✅ Clean oil galleries thoroughly. Use a small brush and solvent to clear debris from the oil feed hole. Sludge kills hydraulic tensioners fast.
- ✅ Prime the oil system before startup. Spin the oil pump with a drill or prime the engine to fill the tensioner. This prevents dry startup and rattle.
- ⚠️ Never reuse old guides or chains. Even if they look okay, they’re worn. System-wide failure is common.
- ⚠️ Don’t over-tighten timing cover bolts. Distortion can bind the tensioner plunger or damage the seal.
- ⚠️ Always use timing locking tools. Many engines require cam and crank locks to prevent timing walk during service.
Failure Mode Comparison: What the Symptom Really Means
| Symptom | Most Likely Cause | Less Common Causes | Diagnostic Priority |
|---|---|---|---|
| Cold-start rattle, fades in 5–10 sec | Hydraulic tensioner check valve failure | Low oil viscosity, clogged oil gallery, worn chain | High – check oil pressure first |
| Constant rattle, RPM-dependent | Worn chain guides or excessive chain stretch | Failing tensioner plunger, misaligned sprocket | Medium – inspect visually if possible |
| Engine misfires + P0016 code | Chain skip due to tensioner failure | Failed VVT phaser, sensor issue, timing misalignment | High – verify mechanical timing |
| Engine won’t start after timing work | Timing misalignment during reassembly | Tensioner not seated, broken chain, locked phaser | Critical – do not crank repeatedly |
Real-World Case Studies from the Shop
Situation: 2012 Ford F-150 5.0L with cold-start rattle lasting 15 seconds. Owner replaced tensioner twice with aftermarket units.
Discovery: Oil pressure was fine. Timing cover removal showed the tensioner barely extended. Chain had 0.8% stretch—beyond the aftermarket unit’s travel range.
Lesson: Not all tensioners are equal. Even if it fits, the travel and damping must match OEM specs. Replace the full kit when chain stretch is present.
Situation: 2008 Honda Accord 2.4L with P0017 code and rough idle. Timing chain and tensioner already replaced, but code returned in three weeks.
Discovery: High oil consumption. Teardown revealed a scored tensioner bore from sludge. Root cause: worn valve seals and blow-by creating sludge.
Lesson: Tensioner failure can be a symptom, not the cause. Fix oil quality and engine health first.
Situation: 2015 Chevrolet Silverado 5.3L, no noise, but persistent P0340 code. Cam sensor replaced twice.
Discovery: Scope showed erratic cam signal. Tensioner was collapsed, chain had 3/8” vertical play. Chain hadn’t jumped, but vibration disrupted the sensor.
Lesson: Timing issues aren’t just about skipped teeth. Even minor chain oscillation can corrupt sensor data—especially in VVT systems.
Timing chain tensioners are silent sentinels—working constantly, often unnoticed, until they can’t keep up. When diagnosing timing issues, don’t assume the tensioner is the culprit. Check oil pressure, inspect guides, and verify mechanical timing. And always use factory service data—what works for a Toyota V6 may not apply to a Chrysler Pentastar. Replace the whole system, not just the part that failed, and you’ll save time, money, and headaches down the road.