In my 20+ years in the shop, timing chain tensioner issues have become increasingly common—especially with modern engines designed for longer service intervals and tighter packaging. I’ve seen countless misdiagnoses where mechanics replaced sensors or performed tune-ups, only to miss the real culprit: a failing tensioner. This guide cuts through the noise and gives you the practical, step-by-step insight needed to accurately diagnose and address a failing timing chain tensioner before catastrophic engine damage occurs.
How a Timing Chain Tensioner Works (Minimal Theory, Maximum Relevance)
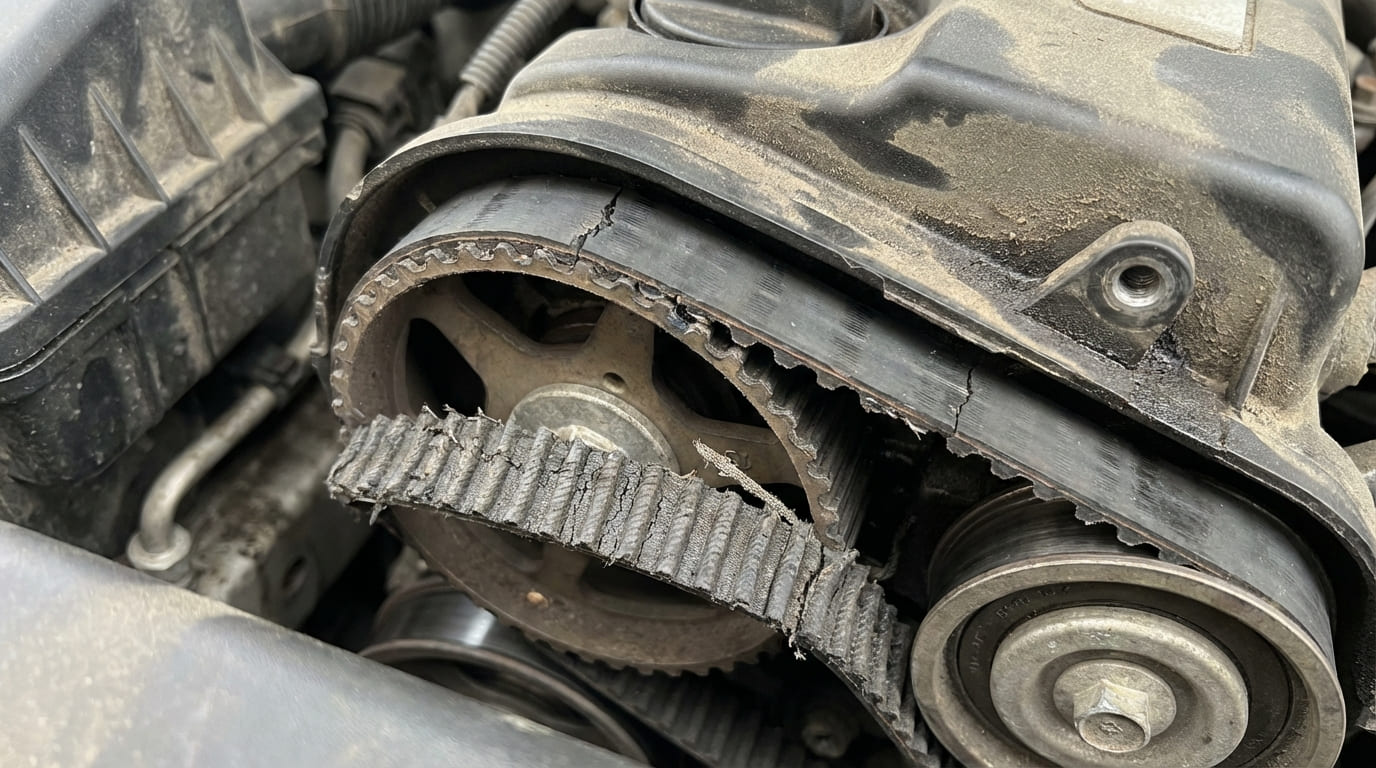
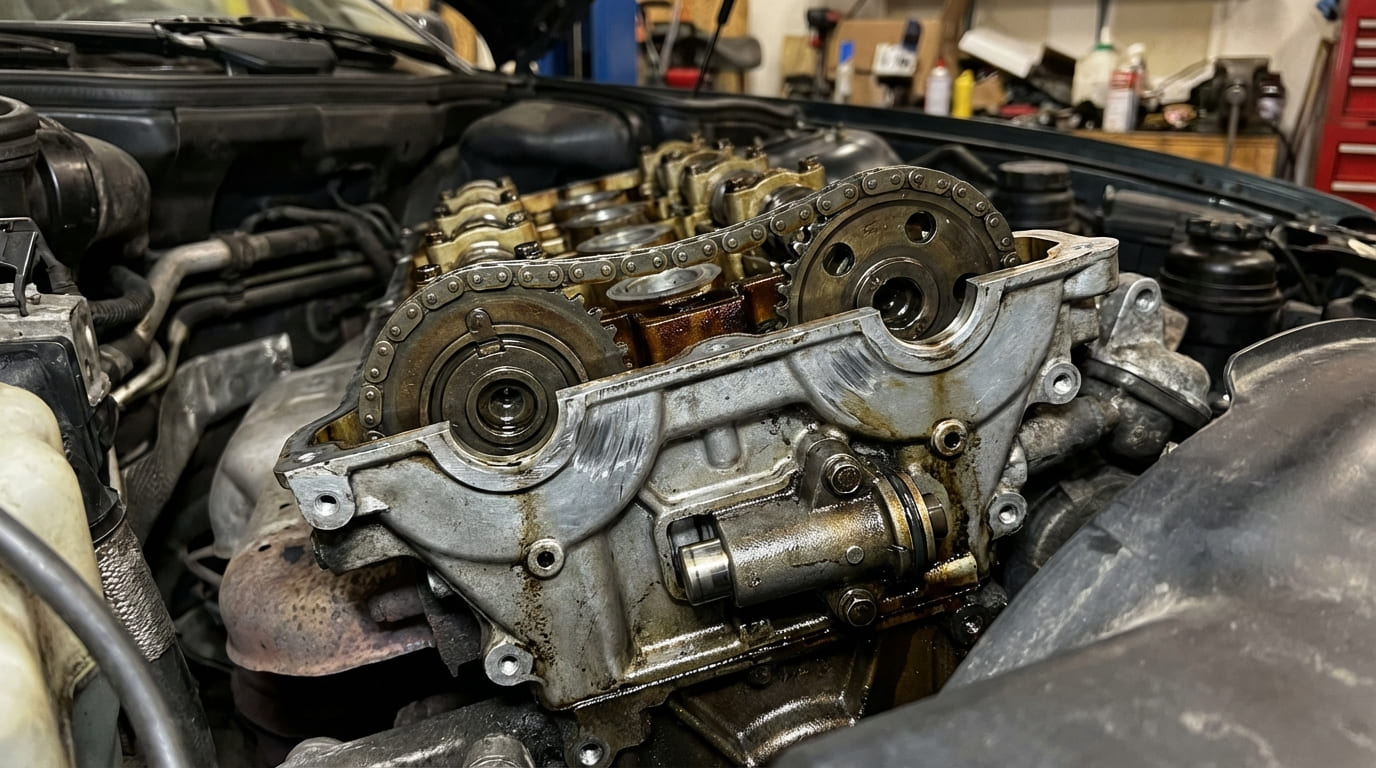
The timing chain keeps the camshaft(s) synchronized with the crankshaft. The tensioner’s job is to remove slack from the chain by applying constant pressure—either hydraulically (oil pressure) or mechanically (spring-loaded). When it fails, the chain can slap, rattle, or even jump timing, leading to poor performance or engine failure. Unlike a timing belt, chains are meant to last the life of the engine—but only if the tensioner and guides are functioning properly.
Key Symptoms and How to Diagnose Them
1. Rattle or Clatter from the Front of the Engine
This is the most common symptom I encounter. The noise typically comes from the timing cover area and is most noticeable at cold startup, lasting a few seconds before disappearing as oil pressure builds.
How to Check:
- Use a mechanic’s stethoscope or long screwdriver against your ear to pinpoint the noise. Place it on the timing cover, cylinder head near cam sprockets, and oil pan rail.
- If the rattle fades within 3–5 seconds after startup, suspect a hydraulic tensioner that’s bleeding down overnight.
- If the noise persists or worsens with RPM, the chain may have significant slack.
- Remove the serpentine belt and restart the engine. If the noise remains, it’s internal—not an accessory like the alternator or AC compressor.
In my shop, we always rule out oil pressure first. A failing oil pump or clogged pickup screen can mimic tensioner noise because the hydraulic unit isn’t getting enough oil to function. Never skip this check.
2. Persistent Ticking or Tapping Noise
Sometimes the tensioner doesn’t fail completely but starts to “chatter” due to internal wear or debris blocking oil flow. This creates a rhythmic, metallic tapping that may increase as the engine warms and oil thins.
How to Check:
- Compare the sound to a lifter tick: HLA (hydraulic lash adjuster) noise is higher-pitched and usually goes away within 30 seconds of startup.
- Check oil pressure with a mechanical gauge at the sender port. Expect 10–15 psi at idle and 40–60 psi at 2,000 RPM on most engines. Low pressure = poor tensioner function.
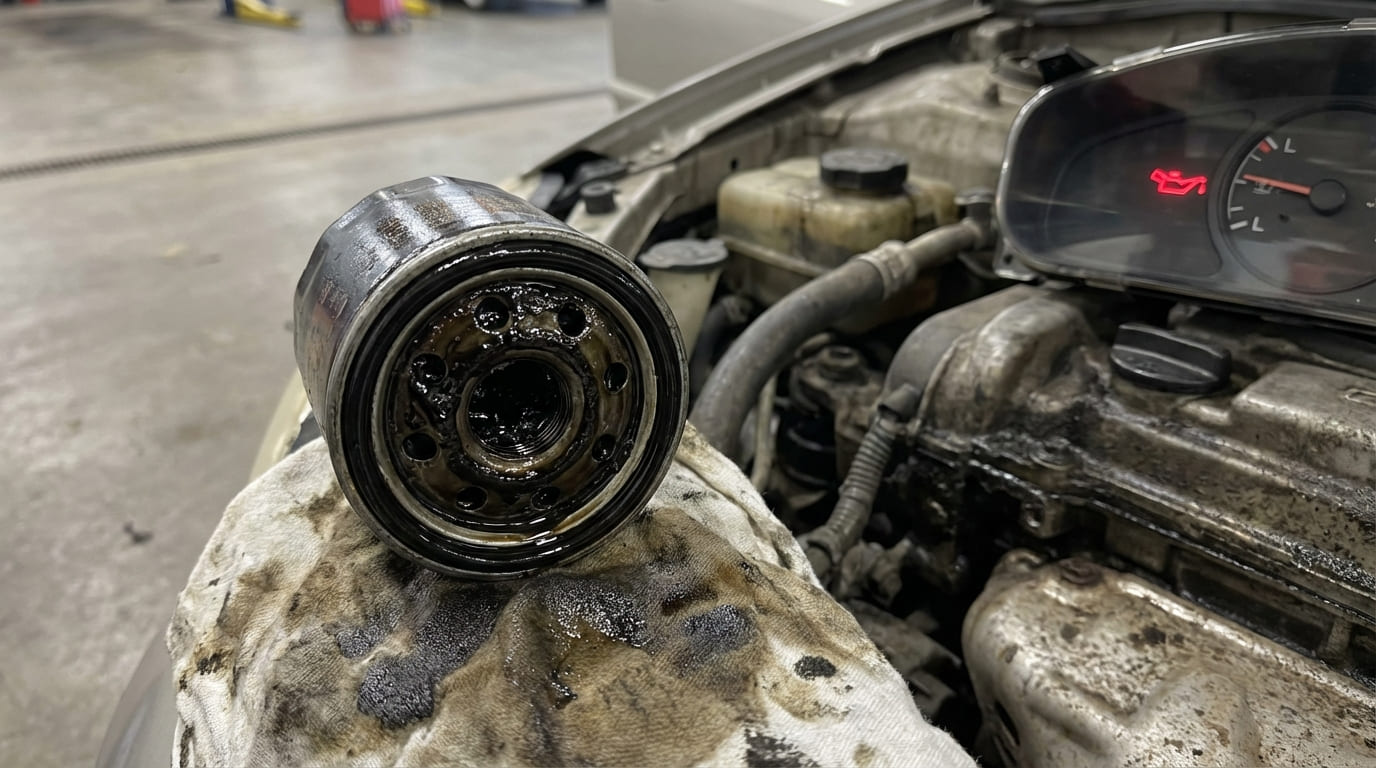
- Inspect oil condition. Sludge, metal particles, or incorrect viscosity (especially ultra-low 0W-16 oils in older engines) can impair tensioner operation.
3. Check Engine Light with Camshaft Timing Codes
Modern ECUs monitor cam and crank position constantly. Even minor timing deviations trigger diagnostic trouble codes (DTCs).
Common Codes:
- P0016, P0017: Crankshaft/Camshaft Timing Misalignment (Bank 1)
- P0018, P0019: Same for Bank 2
- P0011, P0021: Camshaft Timing Over-Advanced
- P0012, P0022: Camshaft Timing Over-Retarded
- P0300–P0308: Random or Cylinder-Specific Misfires (secondary to timing errors)
How to Check:
- Use an OBD2 scanner with live data capability. Monitor “Camshaft Position vs. Crankshaft Position” or “Cam/Crank Offset” PIDs.
- Deviations beyond ±5 degrees (varies by manufacturer) indicate mechanical timing issues.
- Check freeze frame data: Was the code set at startup? Under load? Repeated P0016 at cold start strongly suggests tensioner bleed-down.
- Don’t assume it’s the tensioner—also test VVT solenoids for clogging and verify oil flow.
I’ve had customers replace VVT solenoids three times before we found the real issue: a clogged oil passage feeding the tensioner. Always clean oil galleries during repair—especially on high-mileage engines.
4. Rough Idle, Misfires, or Power Loss
When the chain jumps even slightly, valve timing is thrown off. This disrupts combustion, leading to rough idle, hesitation, or reduced power—especially under load.
How to Check:
- Monitor long-term fuel trims (LTFT). Values above +10% suggest the ECU is adding fuel to compensate for inefficient combustion—common with timing issues.
- Check ignition timing advance. Erratic or fluctuating values can point to sensor confusion from timing drift.
- Rule out simpler causes first: vacuum leaks, dirty throttle body, failed coils, or clogged injectors. But if those are ruled out and cam/crank correlation is off, suspect chain slack.
Advanced Diagnostics: When to Look Deeper
Visual Inspection for Chain Slack
This is the gold standard—but it’s not for beginners. Removing the timing cover is labor-intensive and requires precision reassembly.
How to Check:
- Remove spark plugs to reduce compression and rotate the crankshaft by hand.
- Use a borescope through the oil filler neck or cam cover if possible. Otherwise, remove the timing cover.
- Observe chain movement between the cam and crank sprockets. More than 5–10 mm of vertical deflection on the longest run indicates excessive slack.
- Look for signs of chain riding up on sprocket teeth—this means it’s one vibration away from jumping time.
In my experience, if the chain has visible slack, the tensioner is not the only problem. Replace the entire kit: chain, tensioner, guides, and sprockets. Reusing old components is a gamble you’ll likely lose.
Oil Analysis: Supportive, Not Definitive
While not a standalone test, oil analysis can provide supporting evidence.
How to Use It:
- Send a sample to a lab. Look for elevated iron (chain/sprocket wear), aluminum (guide wear), or polymer (plastic guide debris).
- High iron levels don’t confirm a bad tensioner—but they do suggest accelerated wear in the timing system.
- Use results to justify teardown, not avoid it. I’ve seen clean oil reports on engines with failed tensioners and vice versa.
Repair vs. Replace: Cost and Viability
Timing chain tensioner replacement is not a cheap fix. Labor is intensive—typically 4–8 hours depending on engine design. Here’s what to expect:
| Component | Part Cost | Notes |
|---|---|---|
| Timing Chain Kit (chain, tensioner, guides) | $120–$300 | OEM kits cost more but include updated parts. Worth it on known problem engines. |
| Labor (4–8 hours) | $600–$1,200 | Varies by region and shop. Dealership rates are higher but often more experienced. |
| Additional (gaskets, seals, TTY bolts) | $50–$100 | Always replace TTY bolts and critical seals. |
Repair Logic: If you’re hearing noise or seeing codes, the system is already failing. A temporary fix won’t last. On high-mileage engines (150k+ miles), replacing the entire timing system is often more cost-effective than chasing partial repairs.
In my shop, we never replace just the tensioner. If one guide is worn, the others are close behind. The labor is the same—do it once, do it right.
Best Practices: Do’s and Don’ts
- ✅ Do clean oil passages and tensioner bore with solvent and compressed air. Sludge is a leading cause of tensioner failure.
- ✅ Do replace the timing chain, tensioner, guides, and sprockets as a set. It’s cheaper than a comeback.
- ✅ Do use the correct oil viscosity. Some tensioners require 5W-30 or higher—check your manual. Avoid ultra-low viscosity oils unless specified.
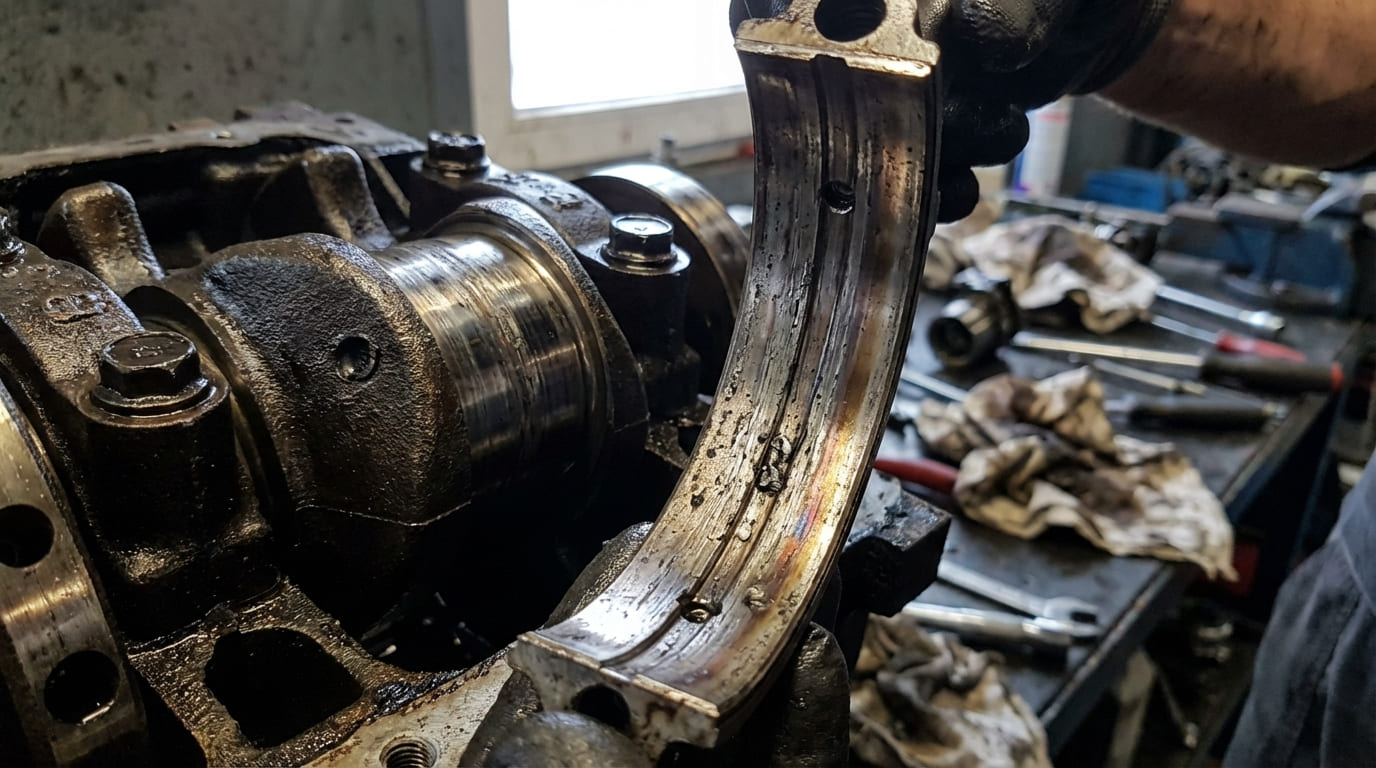
- ⚠️ Don’t reuse torque-to-yield (TTY) bolts. They stretch during installation and lose clamping force. Reusing them risks head gasket or main cap failure.
- ⚠️ Don’t skip the oil change after repair. Old oil contains debris that can clog the new tensioner’s oil feed.
- ⚠️ Don’t assume timing marks are enough. On some engines, the cam sprocket can index incorrectly even if the mark lines up. Use a degree wheel for critical applications.
Diagnostic Decision Table: What to Suspect and What to Check First
| Symptom | Most Likely Causes | Less Common but Possible | Diagnostic Priority |
|---|---|---|---|
| Front-end rattle at startup | Failing hydraulic tensioner, low oil pressure | Loose crank pulley, broken harmonic balancer | High – check oil pressure and listen with stethoscope |
| Cam-crank correlation code (P0016) | Chain slack due to worn tensioner or guides | Stretched chain, faulty VVT solenoid, ECM issue | High – verify with live data and visual inspection |
| Rough idle with misfires | Intermittent timing jump from slack chain | Vacuum leak, ignition coil failure, clogged injector | Medium – rule out simpler causes first |
| Check engine light with VVT codes | Clogged VVT solenoid, low oil pressure | Worn tensioner, damaged phaser | Medium – inspect oil condition and solenoid flow |
Real-World Case Studies: Lessons from the Bay
Situation: 2012 V6 sedan with startup rattle gone in 5 seconds. Previous shop replaced serpentine belt and tensioner—no fix.
Diagnosis: Stethoscope confirmed timing cover noise. Oil pressure was good. Upon teardown, chain was tight—but a cracked plastic guide was rattling against the chain.
Lesson: Noise location matters, but the source isn’t always the tensioner. Inspect all contact points: guides, rails, and covers.
Situation: Turbo 4-cylinder with P0016 and rough idle. Tensioner replaced a year prior.
Diagnosis: Oil analysis showed high iron. Teardown revealed stretched chain and worn guides. Root cause: wrong oil viscosity (0W-16 instead of 5W-30) led to poor tensioner pressure.
Lesson: Even a new tensioner can’t compensate for wrong oil. Always follow factory specs.
Situation: High-mileage pickup with ticking noise and P0300. Plugs and coils replaced—no change.
Diagnosis: Fuel trims at +18%. Live data showed 8-degree cam timing fluctuation. Tensioner piston was stuck with sludge.
Lesson: Misfires aren’t always ignition or fuel. Always check cam-crank correlation when symptoms are vague.
Diagnosing a failing timing chain tensioner isn’t about one noise or one code—it’s about connecting the dots. Combine sound, scan data, oil condition, and physical inspection. And always consult the factory service manual for torque specs, timing procedures, and wear limits. What’s normal on one engine could be a death sentence on another.