Flushing a radiator internally is a critical maintenance task when coolant flow is restricted by scale, sludge, or corrosion. Done correctly, it restores heat transfer and prevents overheating. Done poorly, it can erode aluminum cores or spread contamination. This guide walks you through the complete process—from diagnosis to verification—with real-world diagnostics, tool specifics, and pro tips from the shop floor.
Diagnose First: Is a Flush Needed?
Don’t flush blindly. Many overheating issues stem from external causes like failed thermostats, air pockets, or collapsed hoses. Confirm internal restriction before proceeding.
How to Check for Internal Flow Restriction
Use an infrared thermometer on the radiator’s inlet and outlet tanks when the engine reaches operating temperature and the thermostat is fully open. A normal temperature difference (delta-T) is 10–20°F (5–11°C). A delta-T over 30°F indicates poor flow, likely due to internal blockage.
Supplement this with a visual inspection of the coolant:
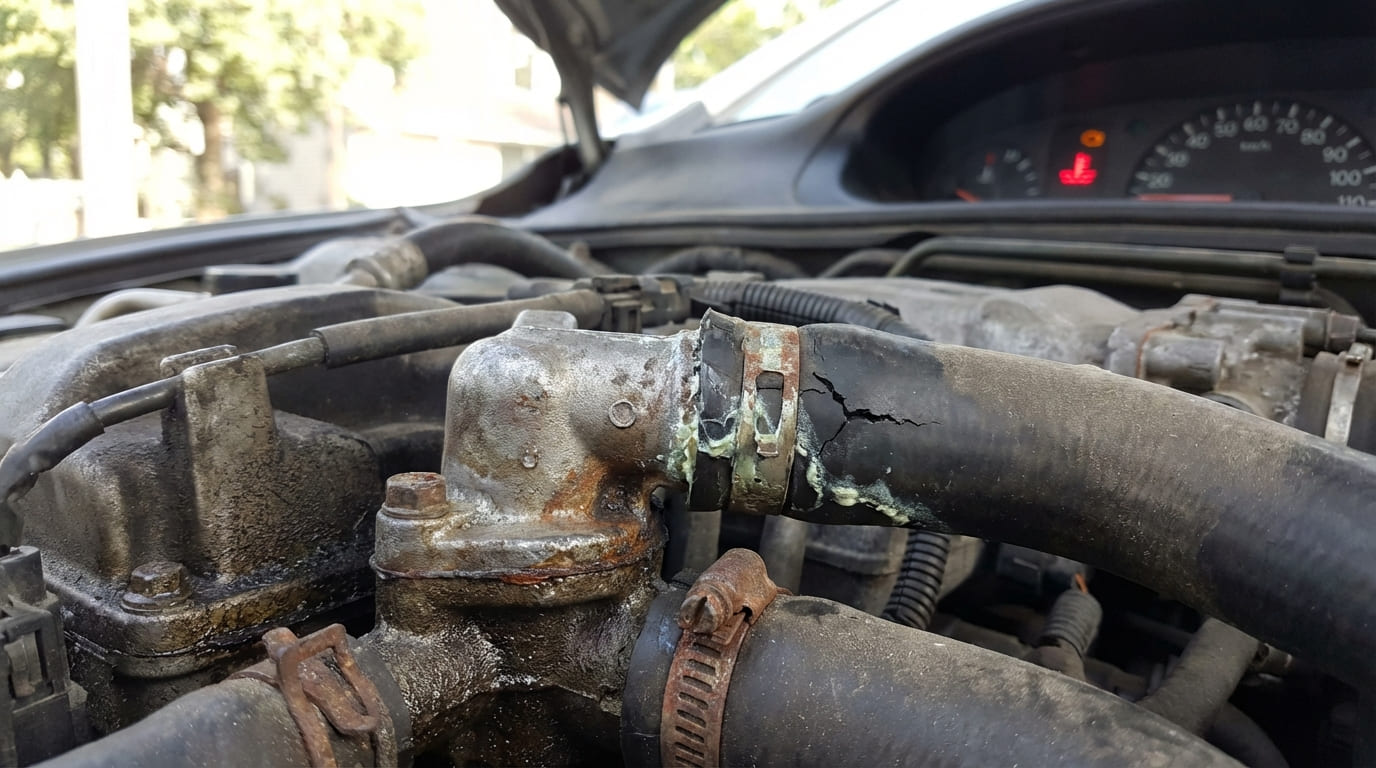
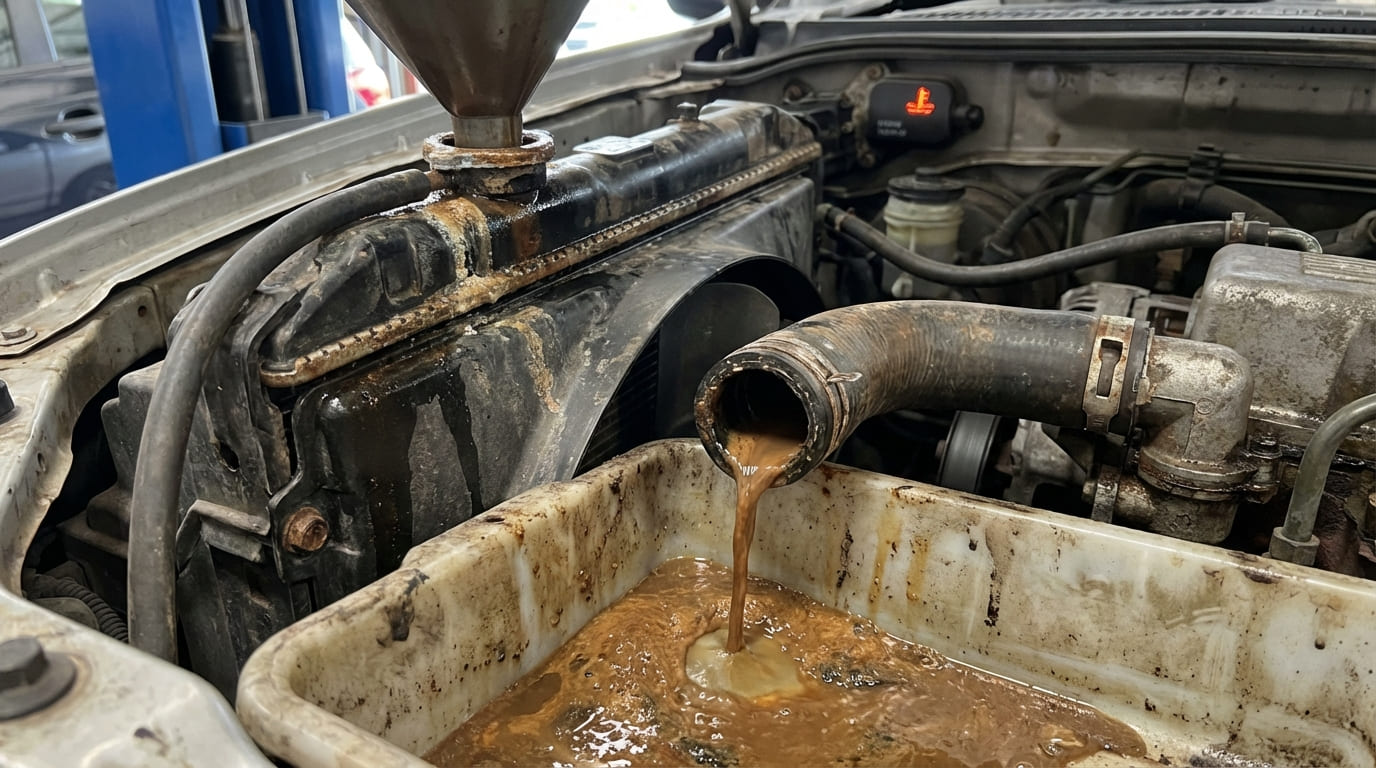
- Rust flakes or sediment suggest corrosion and overdue maintenance
- Gel-like sludge may indicate coolant incompatibility (e.g., mixing OAT and IAT)
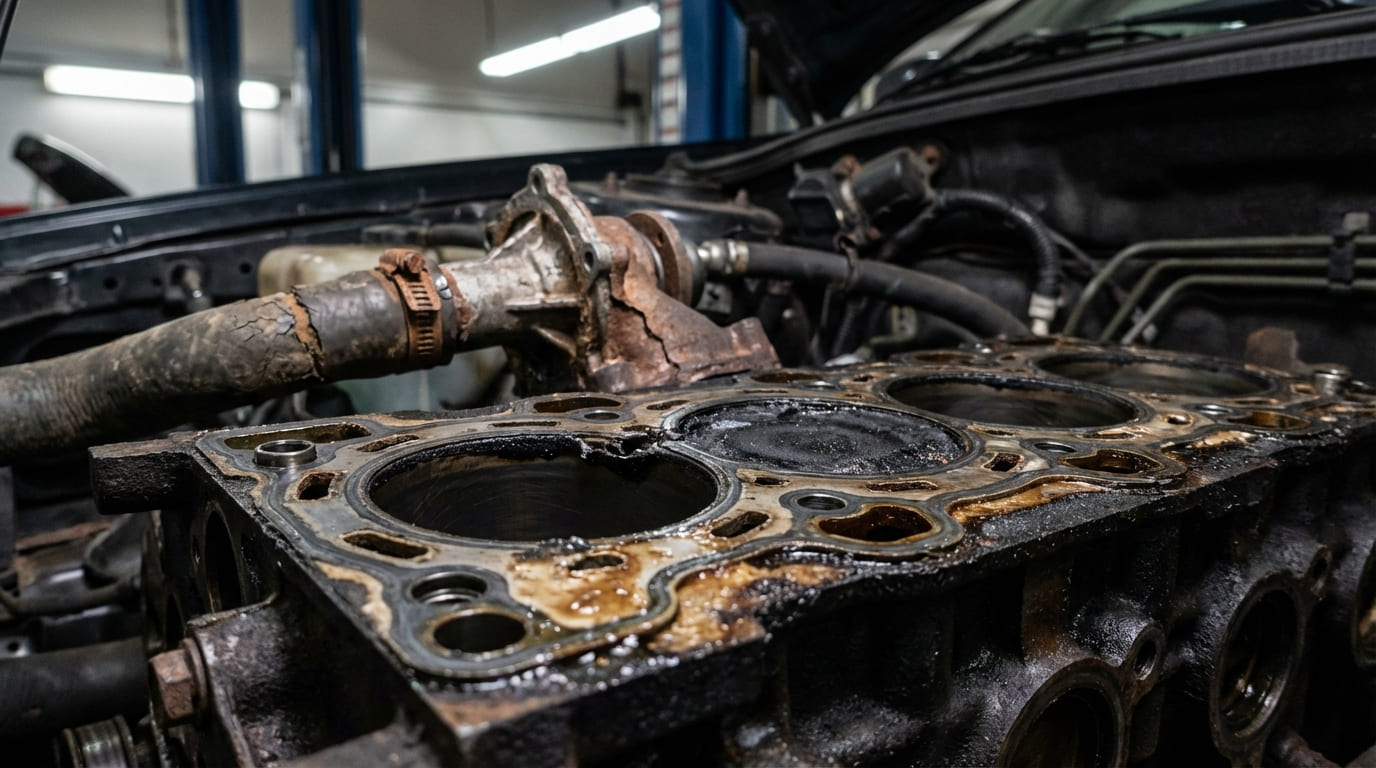
- Oily residue or milky appearance points to head gasket or transmission cooler failure—do not flush in these cases
Test coolant concentration with a refractometer. Over 60% glycol thickens flow; under 40% risks boil-over and corrosion. Ideal pH is 8.0–10.5. Below 7.0 means acidic, corrosive coolant that’s eaten protective additives.
In my shop, we always pressure-test the system before any flush. A 15 psi hold for 15 minutes with less than 2 psi drop is acceptable. If pressure drops, fix leaks first—flushing a leaking system wastes chemicals and risks contaminating repaired areas.
When to Flush vs. Replace
Flushing works best on early-stage scale in cast iron or copper radiators. Modern aluminum radiators are more vulnerable to erosion and less responsive to chemical cleaning.
| Symptom | Probable Cause | Flush Likely to Help? | Notes |
|---|---|---|---|
| High radiator delta-T, no heat | Internal scale or sludge | Yes, if caught early | More effective on cast iron than aluminum |
| Overheating, oil in coolant | Head gasket or transmission cooler leak | No | Flushing spreads contamination; repair leak first |
| Slow warm-up, poor cabin heat | Air pocket or stuck thermostat | Unlikely | Verify thermostat operation before flushing |
| Rust-colored coolant, low pH | Exhausted coolant, system corrosion | Moderate | Flush may clean, but heater core or radiator may already be damaged |
Situation: A 2008 Camry came in with overheating. Owner flushed twice—no improvement.
Discovery: Radiator was clean. The lower hose collapsed under suction, restricting flow.
Lesson: Flow issues aren’t always inside the radiator. Always test hose integrity under vacuum.
Required Tools and Materials
Using the right tools ensures a complete, safe flush without damaging components.
- Drain pan (2-gallon minimum)
- Garden hose with pressure-regulated nozzle (max 40 PSI)
- Flush chemical: alkaline for sludge, mild acid for hard water scale
- Distilled water (5+ gallons—critical for final rinse)
- Funnel
- Torque wrench (for drain plugs and clamps)
- Hose clamp pliers (especially for spring clamps)
- pH test strips (to confirm neutral rinse water)
- Safety glasses and chemical-resistant gloves (nitrile or neoprene)
Cost note: A full flush kit (chemical, distilled water, pH strips) runs $20–$40. Professional flush service: $100–$180. DIY saves money but requires time and precision.
In my shop, we never reuse old hose clamps. Spring and worm-drive types lose tension after removal. A $2 clamp isn’t worth a $100 coolant leak.
Step-by-Step Internal Flush Procedure
Engine Cooldown and Preparation
Wait until engine temperature drops below 100°F (38°C). Never open a pressurized system. Park on level ground and use jack stands if lifting. Coolant expands when hot—draining too early causes spillage and burns.
Drain the Coolant
Place the drain pan under the radiator. If a drain cock is present, open it fully. Many modern vehicles (especially Asian models) lack one or have fragile plastic plugs. If no drain, disconnect the lower radiator hose over the pan.
Remove coolant from the reservoir too. Label and store old coolant separately—mixing types (OAT, IAT, HOAT) causes gel formation.
Initial Water Flush
Disconnect the upper radiator hose. Insert a garden hose into the inlet. Flush from top to bottom—gravity aids debris removal. Use moderate pressure (under 40 PSI). Run for 5–10 minutes or until outflow runs clear.
If chunks of rust or sludge appear, repeat until flow is clean. This step removes loose contaminants before chemical treatment.
Apply Chemical Flush
Reconnect the upper hose. Fill the system with the appropriate flush solution:
- Alkaline flush: for organic sludge or oil residue
- Mild acid flush: for mineral scale (use only if system is aluminum-safe)
Run the engine at idle for 10–15 minutes with the heater on max to circulate the chemical. Never exceed the manufacturer’s dwell time—overexposure can etch aluminum.
In my shop, we avoid aggressive acid flushes on aluminum radiators. One over-soaked core cost us a $300 replacement. When in doubt, use a biodegradable alkaline flush and extend dwell time.
Rinse Thoroughly
Drain the chemical solution completely. Refill with distilled water and repeat the flush cycle. Continue until outflow is clear and pH tests between 6.5 and 7.5. Tap water contains minerals that contribute to future scale—always finish with distilled.
This step is non-negotiable. Residual acid or alkali destroys water pumps, seals, and thermostats.
Reassemble the System
Reconnect hoses, ensuring they’re fully seated. Replace old clamps. Torque drain plugs to spec—many are plastic and strip easily. Over-tightening cracks housings; under-tightening leaks.
Refill and Bleed the System
Air pockets cause localized overheating and erratic temperature readings. Proper refill technique is essential.
- Use OEM-specified coolant. Mixing types can cause chemical incompatibility.
- Fill slowly to minimize air entrainment.
- Open bleed screws (if equipped) until coolant flows bubble-free.
- Run engine with heater on max until thermostat opens. Let it cool and recheck level.
Some European and Asian models (e.g., BMW, Toyota hybrids) require vacuum filling for complete air removal. Without it, trapped air causes overheating despite a perfect flush.
A European sedan came in with overheating after a flush. Scanned ECT showed erratic spikes. No air came out during burping—until we used a vacuum filler. Removed nearly a quart of trapped air from the head. Moral: know your engine’s design. Some just won’t burp.
Post-Flush Verification
Don’t assume success after refilling. Verify performance under real conditions.
- Inspect for leaks after a full heat cycle (engine fully warmed, then cooled).
- Scan ECT sensor data—live readings are more accurate than dash gauges.
- Recheck radiator delta-T with an IR gun. A drop from 30°F to 15°F confirms restored flow.
- Test coolant concentration and pH after the system cycles.
- Confirm strong cabin heat—weak output may mean air in the heater core or residual blockage.
Situation: Truck with milky coolant. Assumed head gasket.
Discovery: No hydrocarbons in coolant. Flush revealed a cracked intake manifold leaking coolant into the plenum.
Lesson: Not all white exhaust steam is a head gasket. Check intake manifolds—especially on aluminum V6 engines.
Best Practices Summary
- ✅ Clean drain plug threads with a tap and blow out with compressed air—debris prevents sealing
- ✅ Always use distilled water for final rinse and coolant mixing
- ✅ Label and separate old coolant for proper recycling
- ⚠️ Never exceed 40 PSI during flushing—high pressure damages tubes and fins
- ⚠️ Never skip the pH test after chemical flush—residual acid destroys bearings and seals
- ⚠️ Never reuse old hose clamps—they lose tension and leak
A radiator flush can extend system life, but it’s not a cure-all. Diagnose first, flush only when appropriate, and always verify results. Consult your vehicle’s service manual for torque specs, coolant types, and bleeding procedures—what works on a pickup may ruin a performance import.