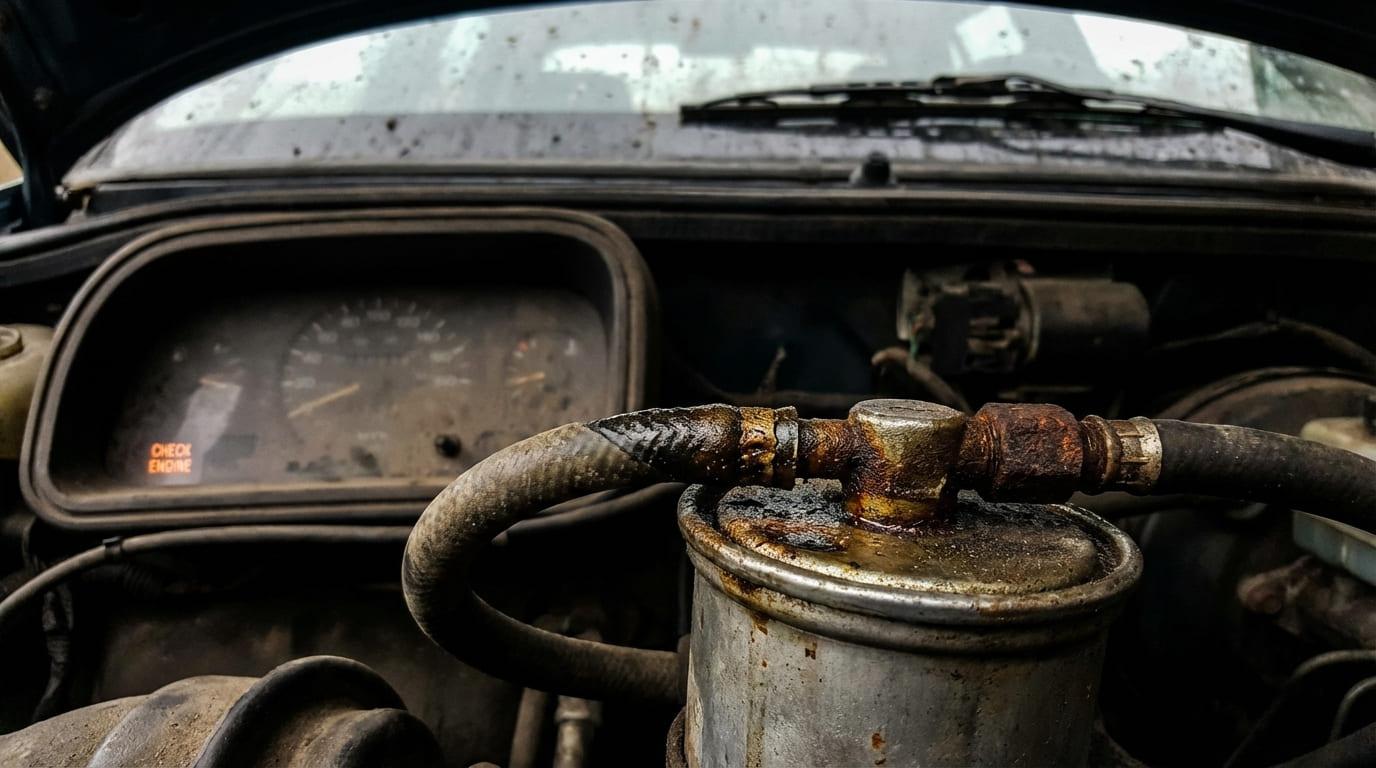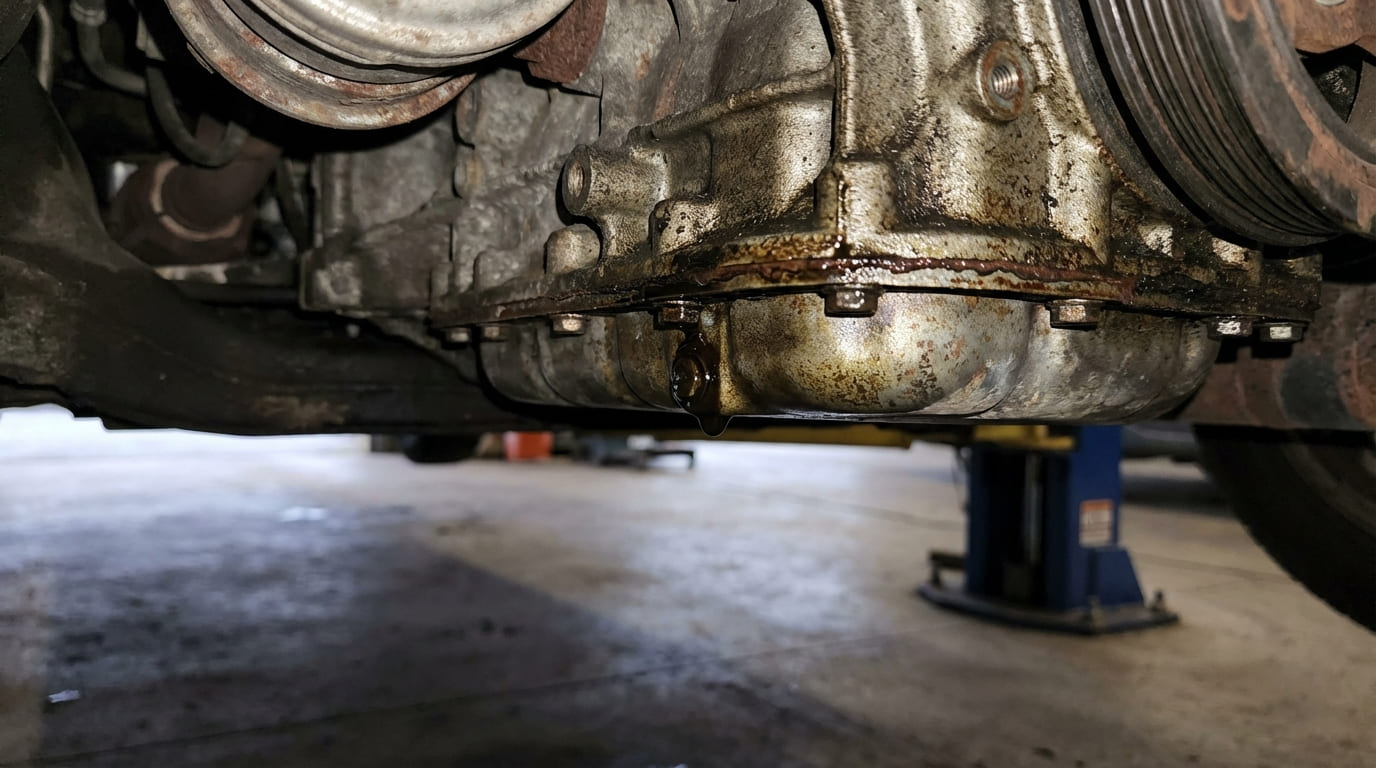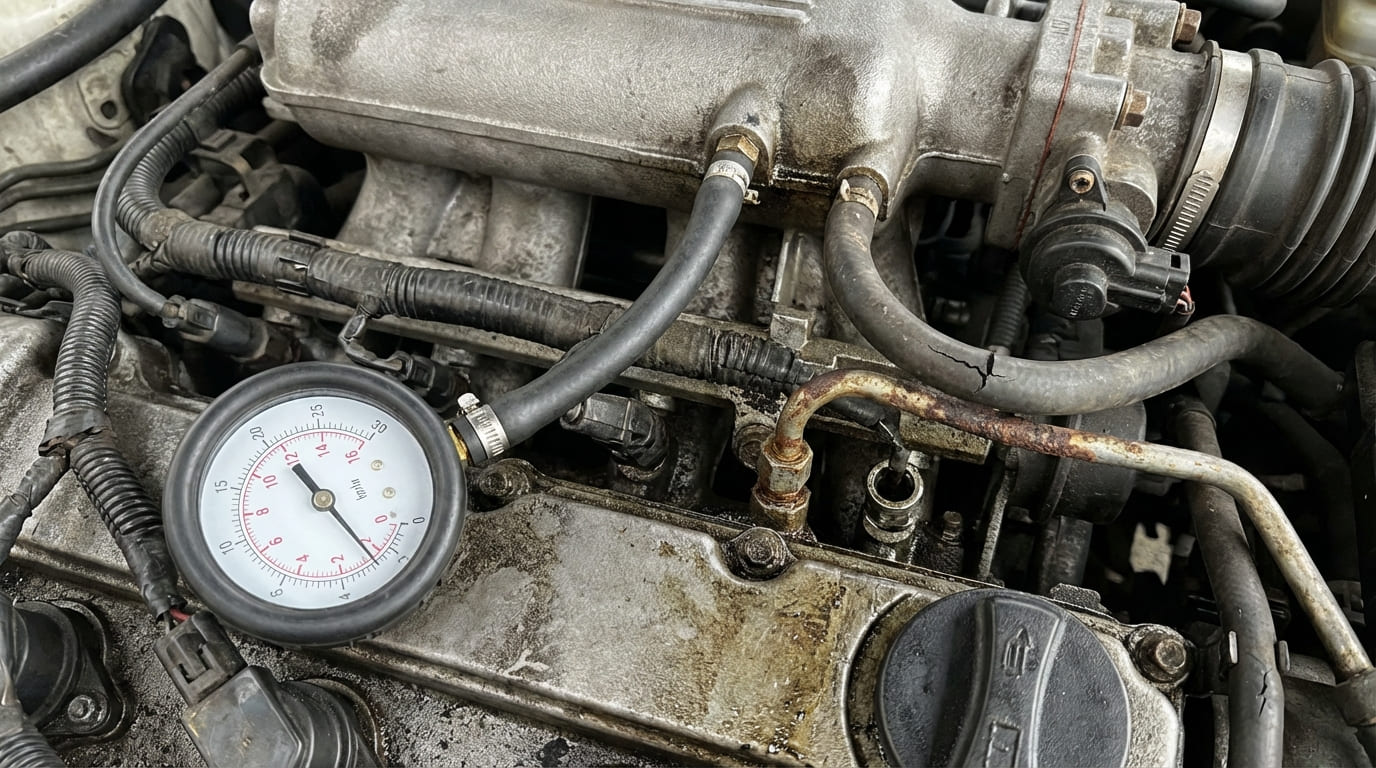
Over two decades in the shop, I’ve seen fuel pressure testing become both simpler and more complex. Simpler because modern vehicles often have test ports; more complex because returnless systems, integrated modules, and sealed pumps change the diagnostic game. What hasn’t changed is the need for methodical testing and cautious interpretation. Below is how I approach fuel pressure diagnostics—step by step, with room for the variables that real-world vehicles throw at us.
Safety Precautions Before Fuel System Testing
Fuel is volatile, and pressure adds risk. I make it a habit to walk through safety with every tech—even experienced ones—because complacency causes fires.
Fuel System Depressurization and Safety Setup
Depressurizing the fuel system correctly prevents fuel spray during gauge connection. Always follow the OEM method, but here are the three most common approaches:
- Method 1: Remove the fuel pump relay and crank the engine until it stalls. This burns off residual pressure. Works well on older return-style systems.
- Method 2: Use a scan tool to disable the fuel pump, then cycle the ignition. No cranking needed. Preferred for modern vehicles with returnless systems.
- Method 3: Carefully loosen a fuel line with a wrench and absorb fuel with a shop towel. Use only when no test port exists and adapters are unavailable. High risk—avoid if possible.
Safety gear is non-negotiable. Wear safety glasses and nitrile gloves over chemical-resistant gloves. Fuel contact can cause skin irritation and increase fire risk from sparks.
Keep a Class B or ABC fire extinguisher within arm’s reach—never across the shop. I’ve seen fuel spray ignite on hot exhaust manifolds during live testing. Immediate access prevents disaster.
Let the engine cool for 15–20 minutes before starting. Hot fuel vaporizes easily, increasing pressure and risk of vapor lock, which skews readings and creates dangerous conditions.
Required Tools and Equipment
Using the wrong tools leads to leaks, inaccurate readings, or damage. Invest in the right kit.
- Fuel pressure gauge with Schrader, inline, and banjo adapters (universal kits cost $80–$150)
- Absorbent pads or shop towels (keep a roll nearby)
- Scan tool capable of disabling the fuel pump and reading fuel trim or duty cycle ($150–$400 depending on brand)
- Multimeter for checking voltage and amperage at the pump
In my shop, we never use tire pressure gauges or improvised fittings. A $10 adapter kit is cheaper than a fire or a misdiagnosis. Always use OEM-specified adapters when possible.
Connecting the Fuel Pressure Gauge
Locating and Connecting to the Test Port
Most modern vehicles have a Schrader valve on the fuel rail—looks like a tire valve. Remove the cap, clean the area with a rag, and attach the gauge. Dirt can cause false leaks or damage seals.
If no test port exists, find an inline section between the fuel filter and rail. Use a vehicle-specific adapter kit. Avoid plastic lines or quick-connects—they can crack under pressure.
Hand-tighten the gauge first, then snug with a wrench. Over-tightening strips aluminum fittings. After connection, visually inspect all joints before powering the system.
I always clean Schrader valve threads with a small wire brush. Debris is a common cause of slow leaks that mimic check valve failure.
Fuel Pressure Testing Procedures and Interpretation
Key On, Engine Off (KOEO) Test
This checks the pump’s ability to prime the system.
- Turn the key to ON (do not start). Listen for the fuel pump running 2–3 seconds.
- Record peak pressure. Returnless systems typically show 55–65 psi; return-style systems may be lower. Always confirm with factory specs.
- If pressure is low or drops immediately, suspect a failed check valve, leaking injector, or electrical issue.
Engine Running (KOER) Test
Checks if the system sustains pressure under normal operation.
- Start the engine. Watch for a stable reading. Fluctuations suggest a failing pump or wiring problem.
- Typical idle pressure: 35–55 psi for return systems, higher for returnless. Check OEM spec.
- If pressure sags under load, the pump may not keep up, even if idle pressure looks good.
Residual Pressure Test
Reveals hidden leaks after shutdown.
- Shut off the engine and monitor pressure for 10–30 minutes.
- Pressure should hold at least 80% of KOEO pressure after 5 minutes. Minor drops are normal due to rail expansion.
- Rapid drop? Likely causes: leaking injector, failed check valve, or external leak.
Load Test
Essential for diagnosing hesitation or stumbles under acceleration.
- Secure the gauge and drive the vehicle safely or use a dyno.
- Watch for pressure dips. A 5–10 psi drop may be normal; 15+ psi indicates a weak pump or restriction.
- On returnless systems, use a scan tool to verify pump duty cycle increases under load.
Never skip the residual test. I’ve seen pumps pass running tests but fail on restart due to a bad check valve. That’s a come-back waiting to happen.
Best Practices and Common Mistakes
- ✅ Clean Schrader valve threads before attaching the gauge.
- ✅ Use Teflon tape on adapter threads—sparingly. Excess tape can break off and clog injectors.
- ✅ Record all readings. Even a 2 psi difference can indicate a developing issue.
- ⚠️ Don’t assume low pressure means a bad fuel pump. A clogged inlet strainer inside the tank is a frequent culprit—especially on older vehicles with dirty fuel.
- ⚠️ Always test electrical supply before replacing the pump. Voltage drop at the connector can mimic pump failure.
- ⚠️ Don’t replace injectors based on residual drop alone. Confirm leaks with a drip test off the rail.
Common Fuel Pressure Issues and Probable Causes
| Test Condition | Observed Symptom | Most Likely Causes (in order of likelihood) |
|---|---|---|
| KOEO | No pressure buildup | Blown fuse, failed fuel pump relay, open circuit to pump, severely clogged inlet strainer |
| KOEO | Pressure builds then drops fast | Faulty pump check valve, leaking injector, leaking pressure regulator (return-type) |
| KOER | Pressure low at idle | Clogged fuel filter, weak pump, restricted pickup in tank, low system voltage |
| KOER | Pressure fluctuates | Intermittent electrical connection, air in fuel line, cavitating pump (due to low fuel level or kinked line) |
| Residual | Rapid drop after shutdown | Leaking injector(s), failed check valve, leaking regulator diaphragm, external fuel leak |
| Under Load | Pressure drops significantly | Worn fuel pump, clogged fuel filter, restricted fuel line, inadequate tank venting |
Real-World Diagnostics: Case Studies
Situation: 2012 Ford F-150 with 3.7L V6. Hard start when hot, occasional no-crank. KOEO pressure hit 62 psi, dropped to 40 in 30 seconds.
Initial Assumption: Leaking injector or failed check valve in fuel pump.
Discovery: No drips at injectors. Pump tested fine. Scan tool revealed erratic ground signal from fuel pump driver module (FPDM). Replaced FPDM—residual pressure held.
Lesson: On returnless systems, control modules can mimic mechanical failure. Always check command signals before pulling the tank.
Situation: 2008 Honda Accord. Low idle pressure, fluctuating gauge. Customer replaced pump twice.
Initial Assumption: Faulty aftermarket pump or clogged filter.
Discovery: Voltage at pump was only 10.2V. Found corroded ground in trunk harness. Cleaned and re-terminated—pressure stabilized at 48 psi.
Lesson: Fuel pump performance depends on clean power and ground. Test voltage and amperage first. A weak pump is often a symptom, not the cause.
Situation: 2005 BMW 330i. No-start, no fuel pressure. Fuse and relay good.
Initial Assumption: Dead fuel pump.
Discovery: Scan tool showed no enable signal from DME. Immobilizer fault—key fob battery was dead. Replaced battery, system started immediately.
Lesson: Modern vehicles won’t activate the fuel pump without a security handshake. Always check for enable signals before assuming hardware failure.
Next Steps Based on Test Results
Low Fuel Pressure
Start with electrical checks. Measure voltage at the pump connector during prime. A drop of 2 volts or more indicates high resistance. Perform a current draw test—a worn pump often pulls excessive amperage. Also, inspect the inlet strainer inside the tank. I’ve seen clean-looking pumps fail due to a sock clogged with rust or debris.
High Fuel Pressure (Return-Type Systems Only)
Most often caused by a kinked return line or a regulator stuck closed. Disconnect the vacuum line from the regulator—if pressure doesn’t rise, the diaphragm may be ruptured. Blow through the return line to check for blockages.
Rapid Residual Pressure Drop
Leaking injectors are common, but not the only cause. To test injectors, remove the fuel rail (with connectors attached) and crank the engine. Look for drips at the nozzle tips. Also, check the vacuum line to the regulator—if it’s wet with fuel, the diaphragm is likely blown.
Verifying the Repair
After any repair, repeat all tests: KOEO, KOER, residual, and load. Pressure must meet OEM specs across all phases. Clear any stored DTCs and monitor fuel trims with a scan tool. Long-term fuel trim over +15% at idle—even with good pressure—can indicate a lingering supply issue.
Remember: fuel pressure specs are vehicle-specific. A 2006 Silverado may require 55 psi; a 2010 Camry runs fine at 42. Always consult the OEM service manual. What I see in my shop can guide you—but the factory data is the final word.