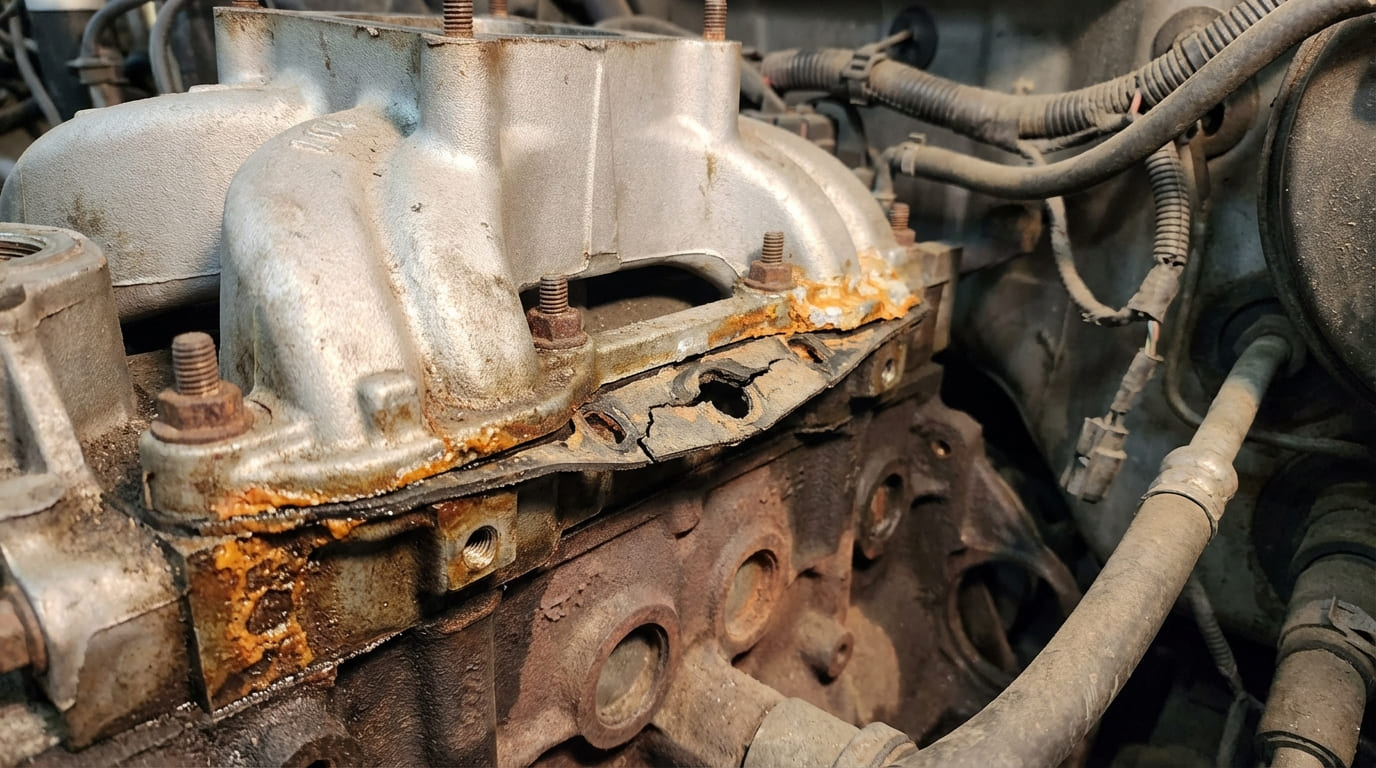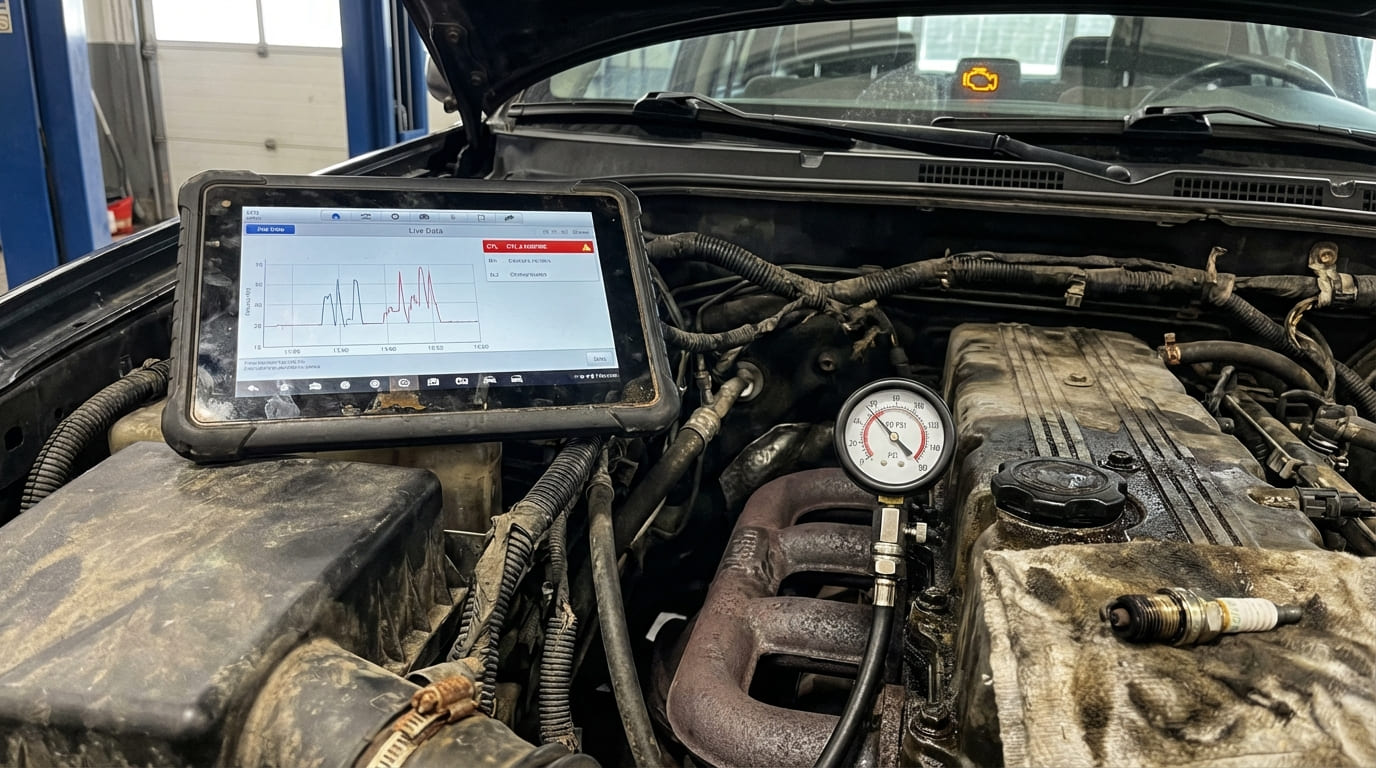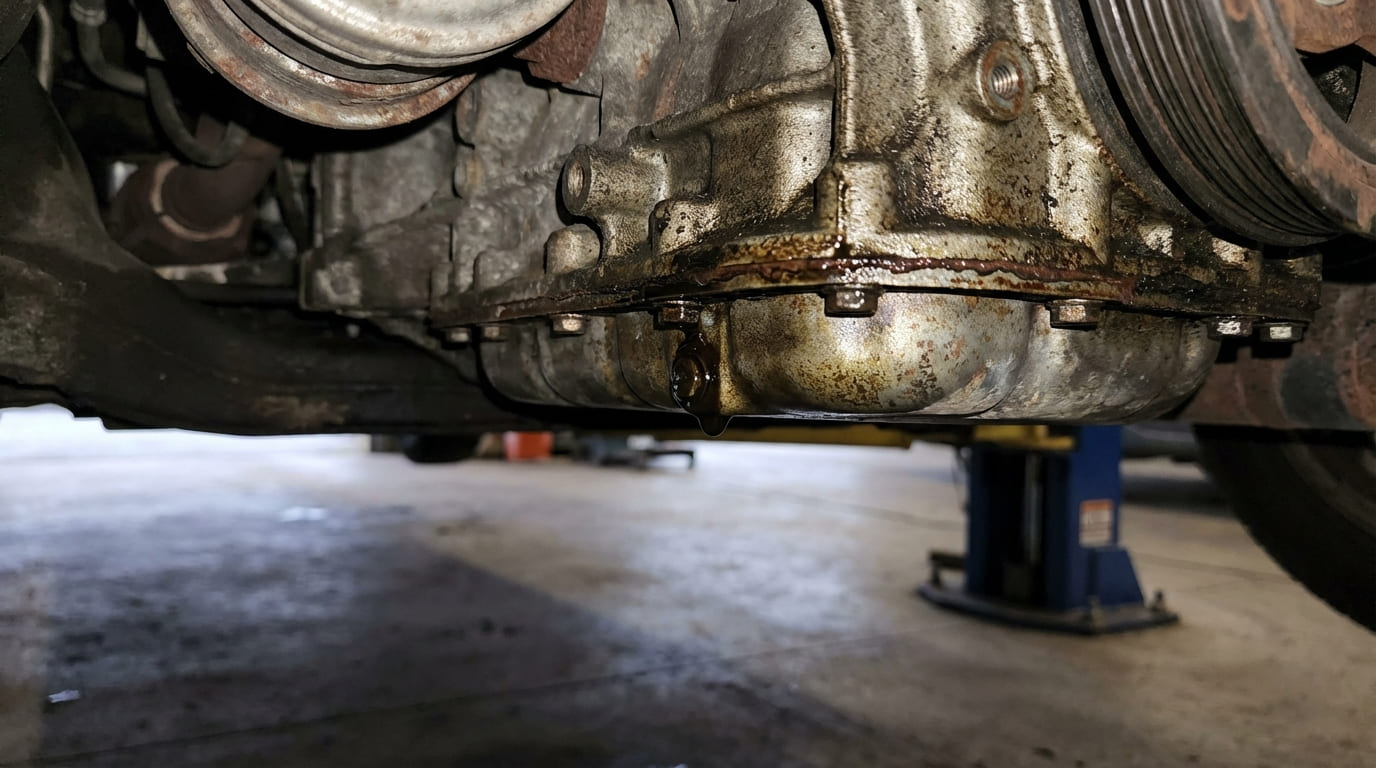
Oil pooling under the engine triggers immediate concern, and many assume the oil pan gasket is to blame. But in my 20 years as a master mechanic and shop foreman, I’ve found that misdiagnosis is common. Oil migrates—it runs down, gets flung rearward by airflow, and collects at the lowest point. That drip under the pan may not be coming from the pan at all. This guide cuts through the noise with a proven diagnostic workflow, repair insights, and real-world lessons that save time, money, and repeat jobs.
How to Accurately Find the Real Leak Source
Before removing a single bolt, confirm where the oil is actually escaping. Jumping to conclusions leads to wasted labor and recurring leaks. Follow this four-step process to isolate the true origin.
Cleaning and Preparation
You can’t diagnose a dirty engine. Oil residue masks the source and creates false trails.
- Tools needed: Automotive degreaser, garden sprayer or low-pressure washer, compressed air
- Procedure: Spray degreaser on the oil pan, engine block seams, valve covers, timing cover, and transmission bellhousing. Let it soak per label instructions. Rinse gently—high pressure can force water into bearings or sensors. Dry thoroughly with compressed air.
- Pro tip: Repeat if necessary. Chronic leaks leave deep residue; a second cleaning after a short drive can reveal fresh seepage.
Visual Inspection and Flow Analysis
With a clean, dry engine, trace the oil trail upward. Gravity and airflow dictate the path—oil flows down and backward.
- Tools needed: Bright LED flashlight, extendable inspection mirror, borescope (for tight spaces)
- Method: Start at the drip point and follow the wet trail upward. Look for beading, wicking along seams, or spray patterns.
- Key insight: The highest point of fresh, wet oil is likely the source. A dry oil pan rail with oil at the front corner? Suspect the front main seal. Oil tracking down from the valve cover? That’s not a pan leak.
UV Dye Test for Confirmation
When visual inspection isn’t enough, use UV dye to make the leak obvious.
- Tools needed: UV fluorescent dye kit, UV light, yellow safety glasses
- Procedure: Add dye to engine oil. Run engine at operating temperature for 15–30 minutes. For intermittent leaks, take a 10–15 mile drive.
- Verification: In a dark area, scan with UV light. Glowing oil reveals the exact path and origin. This test has saved me from replacing pans that weren’t leaking.
Check Crankcase Pressure
Excessive pressure forces oil past good seals, mimicking gasket failure.
- Tool: Manometer or crankcase pressure tester
- Procedure: Remove dipstick or oil cap, attach tester. Measure pressure at idle and 2,500 RPM with PCV system intact.
- Specs: Most engines should show -1 to +1 inH₂O. Over +2 inH₂O indicates PCV restriction.
- Implication: A clogged PCV valve or hose can cause oil leaks at multiple seals—even if they’re intact. Fix the pressure issue first.
In my shop, we always run a pressure test on any chronic or recurring oil leak. I’ve seen brand-new gaskets fail in weeks because the PCV system was ignored. Pressure is the silent killer of seals.
Confirmed Oil Pan Gasket Leak: Causes and Repairs
If the leak is truly at the pan rail, these are the four most common causes—and how to fix them right the first time.
Gasket Degradation and Age
Heat cycles and oil chemistry break down gasket material over time.
- Symptoms: Hardened, cracked, or shrunken gasket; RTV failure on composite designs
- Common in: Engines over 10 years old or those using non-OEM oil with aggressive detergents
- Repair: Replace with OEM-specified gasket. Some require dry install; others need RTV at corners or oil galleries. Follow factory torque specs and pattern—usually center outward in stages.
Improper Installation
This is the #1 cause of comebacks—even from experienced techs.
- Root causes: Overtorquing (crushes gasket), undertorquing (leaves gaps), reusing TTY bolts, dirty mating surfaces
- Diagnosis: Uneven compression, bolts that spin too easily, visible gaps after torquing
- Fix: Clean surfaces with plastic scraper and brake cleaner. Never use a wire brush—it gouges aluminum. Replace TTY bolts. Torque in three stages: 50%, 75%, then 100% of spec.
Oil Pan Damage
Physical damage prevents a proper seal.
- Causes: Road debris, improper jacking, overtightened drain plug
- Diagnosis: Use a straight edge on the pan flange. Any gap over 0.003″ indicates warpage. Check for cracks near mounting ears.
- Repair: Replacement is best. Some aluminum pans can be TIG welded, but warpage often returns. Cost: $80–$250 for pan, $300–$600 labor.
Block or Pan Surface Imperfections
Even minor flaws can break the seal.
- Causes: Old RTV chunks, gouges from chisels, corrosion, casting flash
- Diagnosis: Run a fingernail across the surface. If you feel a ridge or divot, it’s a problem. Use a straight edge and feeler gauge—flatness should be within 0.002″.
- Repair: For minor flaws, use anaerobic sealant like Permatex Ultra Black. Deep damage requires block decking at a machine shop—$200–$400.
Other Common Sources of Bottom-End Oil Drips
Many leaks mimic an oil pan gasket failure. Use this table to differentiate.
| Suspected Leak Area | Most Likely Cause | Less Common but Possible | Diagnostic Clue |
|---|---|---|---|
| Front of engine, near crank pulley | Front crankshaft seal | Timing cover gasket, balancer seepage | Oil flung in radial pattern; check behind pulley |
| Transmission bellhousing | Rear main seal | Transmission input shaft seal, oil pan rear corner | Drip centered at engine centerline, not off to one side |
| Sides of engine block | Valve cover gasket leak | Camshaft seals, head gasket (external oilway) | Oil tracks down from valve cover rail; clean and recheck |
| Below oil filter | Filter housing gasket or oil filter not seated | Oil pressure sensor, adapter O-ring | Leak appears immediately after oil change |
| General under-engine seepage | Excessive crankcase pressure (PCV issue) | Multiple degraded seals | Pressure test shows > +2 inH₂O at idle |
Best Practices: What to Do and What to Avoid
These steps separate a lasting repair from a temporary fix.
- ✅ Clean mating surfaces properly: Use a plastic scraper and brake cleaner. Metal debris or old RTV can cause leaks.
- ✅ Torque to spec: Use a calibrated torque wrench. Follow OEM sequence—usually center outward in a spiral.
- ✅ Apply RTV only where specified: Too much can break off and clog oil passages. Common spots: corners, oil gallery holes.
- ⚠️ Never reuse TTY bolts: These stretch during installation. Reusing them reduces clamping force by up to 30%.
- ⚠️ Don’t over-tighten the drain plug: Typical spec is 20–30 ft-lbs. Over-torquing strips aluminum and warps the pan rail.
- ⚠️ Don’t skip the PCV test: Chronic or recurring leaks often stem from pressure issues, not gaskets.
Situation: A 2012 Honda Accord came in with oil pooling under the front of the engine. The owner had replaced the oil pan gasket twice with no success.
Discovery: After cleaning and UV dye, the leak traced to the front timing cover. The front crank seal was seeping, and oil ran down the pan rail.
Lesson: Just because oil drips from the pan doesn’t mean the pan gasket is bad. Always verify the source before disassembly.
Situation: A 5.7L Toyota Tundra started leaking after an oil change. The filter was tight, but oil seeped from the base.
Discovery: The old filter gasket had stuck to the housing. The new filter was compressed against two gaskets, creating a gap.
Lesson: Always inspect the filter mounting surface after removal. A stuck gasket is a common post-oil-change leak.
Situation: A 2008 Ford Fusion had recurring oil pan seepage. Each gasket lasted only 6–8 months.
Discovery: Crankcase pressure test showed +4 inH₂O. The PCV valve was clogged. After replacement, the pan stayed dry for over two years.
Lesson: Persistent gasket leaks are often a symptom of system pressure. Fix the root cause, not just the symptom.
Oil leaks aren’t just about gaskets—they’re about system health, precision, and disciplined diagnosis. Whether you’re a DIYer or a pro, skipping steps leads to repeat work. Always consult the factory service manual for torque specs, gasket type, and sealant requirements. What works on a GM V8 won’t necessarily work on a Subaru boxer or Ford EcoBoost. When in doubt, test first, disassemble second.