In my two decades turning wrenches in independent shops and dealerships, few topics generate as much confusion as oil consumption. I’ve seen customers shrug it off as “normal,” while others panic at the first sign of a quart low. The reality, like most things under the hood, isn’t black and white. Let’s break it down with the kind of nuance you won’t find in a forum flame war.
Is 1 Quart per 1,000 Miles Normal?
For most modern gasoline engines, consuming more than a quart every 1,000 miles signals a problem. Manufacturers typically design engines to use less than a quart over 3,000 to 5,000 miles. While some high-mileage or performance engines may tolerate slightly higher usage, crossing the 1-quart-per-1,000-mile threshold usually means it’s time to investigate.
Exceptions exist — certain BMW, Audi, and Subaru turbocharged engines have factory-allowed consumption up to 1 quart per 1,200 miles. But even then, a sudden increase is a red flag. Always check your model-specific service manual or technical bulletin before accepting high consumption as “normal.”
How to Accurately Measure Oil Consumption
Before assuming your engine burns oil, verify the issue with a controlled test. Guessing leads to wasted money and misdiagnoses.
- Warm the engine fully and park on level ground. Wait 5–10 minutes for oil to settle.
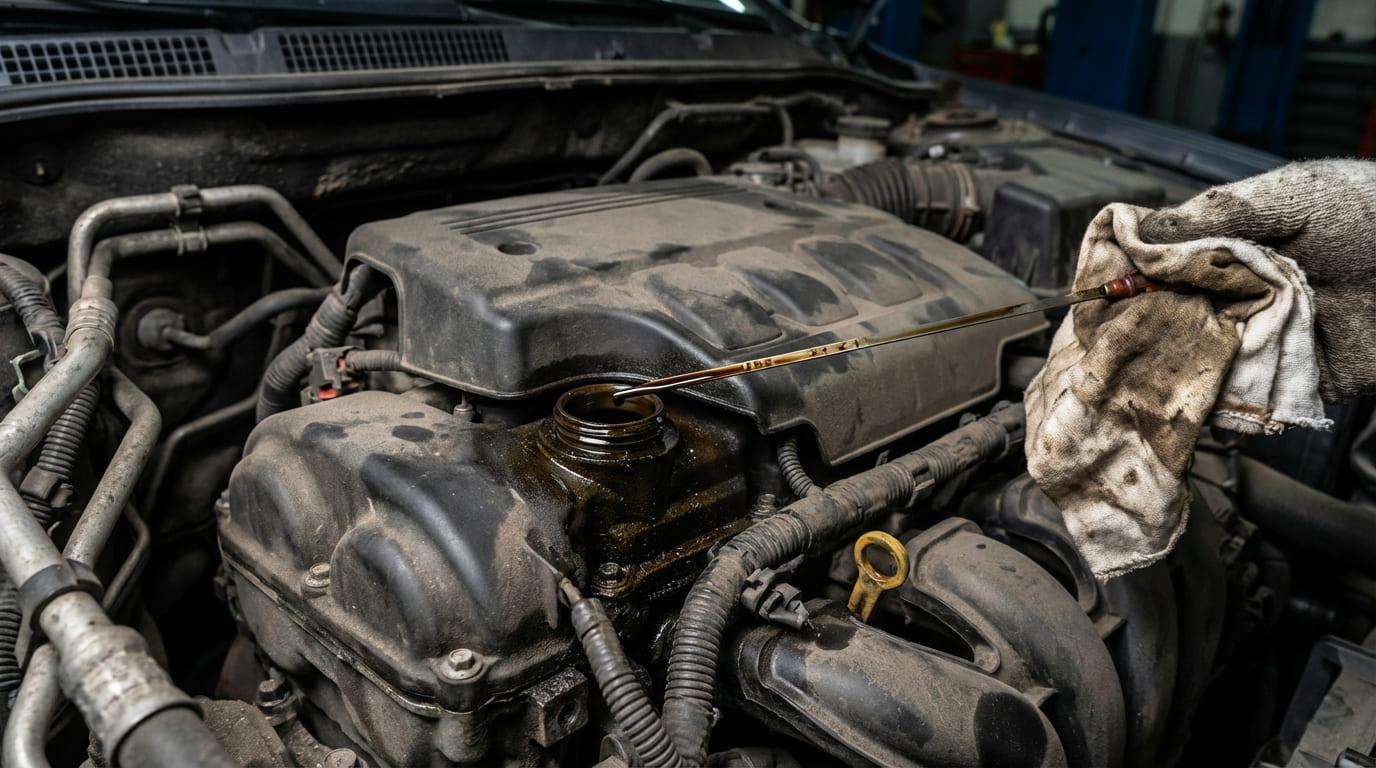
- Top off to the exact full mark on the dipstick. Record the odometer reading and date.
- Drive under normal conditions — mix of highway and city. Avoid short trips.
- Check oil every 250–500 miles. Add oil in precise amounts (e.g., 0.5 quarts) and log each addition.
- Calculate: (Total quarts added) ÷ (Miles driven) × 1,000 = quarts per 1,000 miles.
Run this test over 1,500–2,000 miles. One quart over 1,100 miles? Possibly acceptable for some engines. One quart over 800 miles? That’s excessive and needs diagnosis.
Diagnostic Pathways for High Oil Consumption
Rule Out External Leaks First
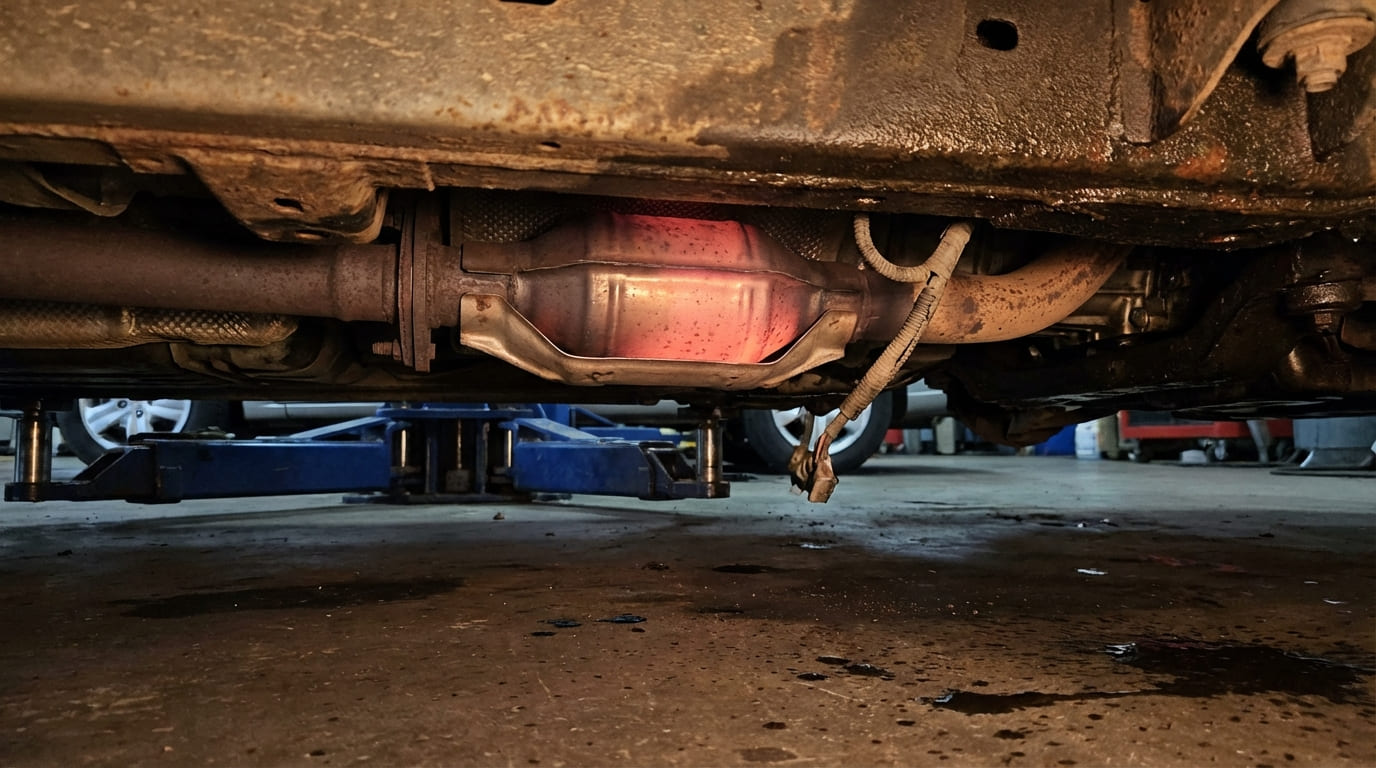
Not all oil loss is internal consumption. Many cases are simple leaks dripping onto the ground or burning off hot exhaust components.
Perform a thorough visual inspection. Common leak points: valve cover gasket, oil pan seal, rear main seal, and oil filter housing. Use a UV dye and black light for tiny seepage. For hidden leaks, pressurize the crankcase with a smoke or block tester at 5–8 psi — any hissing indicates a leak. Never exceed 10 psi to avoid damaging seals.
In my shop, we always clean the engine first. You can’t diagnose a leak on a sludged-up block. A steam clean reveals even the faintest seepage paths.
Check the PCV System
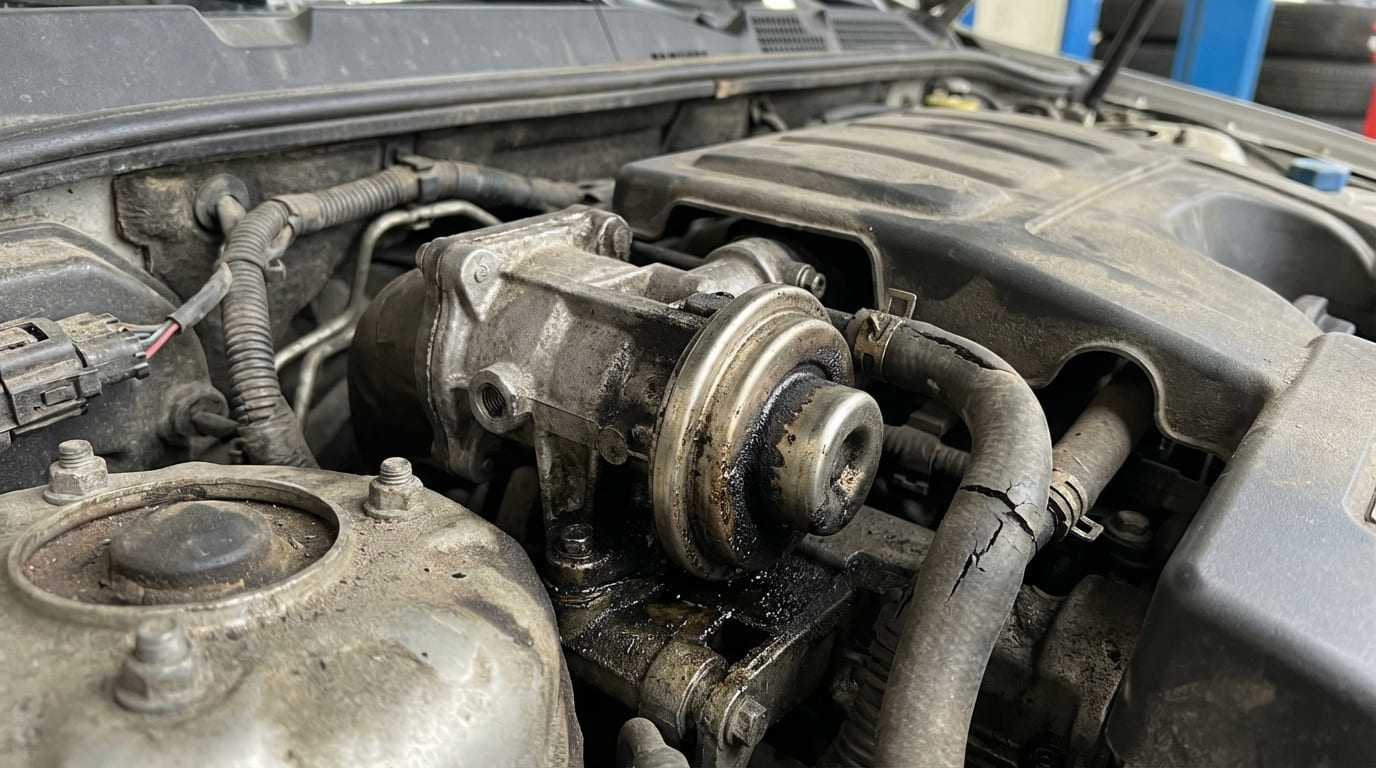
A clogged PCV valve or failed oil separator causes excessive crankcase pressure, forcing oil into the intake. This mimics internal engine wear but is often a $50 fix.
Inspect the PCV valve for gumming or sticking. Shake it — if it doesn’t rattle, replace it. Check hoses for collapse or oil pooling. Use a manometer on the oil fill cap: over +1.5 kPa at idle indicates restriction. Oil in the intake manifold? That’s a telltale sign of PCV or separator failure.
I once saved a customer $3,800 by replacing a $120 PCV separator on a Ford EcoBoost. The blue smoke disappeared. Always test the simple stuff first.
Inspect Valve Stem Seals
Blue smoke at cold startup or after deceleration points to worn valve stem seals. Oil drips down the guides when the engine is off.
Use a borescope through the spark plug hole to check for oil pooling on valve stems or carbon buildup. If seals are hardened or cracked, replacement is needed. On many engines, this requires removing the cylinder head.
Test Piston Rings and Cylinder Wear
Blue smoke under acceleration? That’s classic ring or cylinder wear.
Perform a dry compression test first. Then do a wet test — add 1–2 teaspoons of oil to the cylinder and retest. If compression jumps more than 20 psi, the rings are likely worn. A leak-down test is even better: over 20% leakage with air heard in the oil fill cap means rings are bypassing.
Borescope the cylinders to check for scoring, glazing, or broken ring lands. Some modern engines (e.g., Ford EcoBoost, Subaru FA/FB) have thin liners that can’t be honed — damage may require a short block.
Inspect Turbocharger Seals
On turbocharged engines, oil in the intercooler pipes or compressor housing suggests a failing turbo seal.
Check for shaft play: more than 0.005” radial movement means rebuild or replace. But even turbos with minimal play can leak due to clogged drain lines or crankcase pressure. Borescope the compressor housing if oil is present. Also inspect the turbo oil feed and return lines — kinks or collapses restrict flow and cause leaks.
Diagnostic Decision Table
| Symptom | Most Likely Causes | Less Common But Possible | Diagnostic Next Step |
|---|---|---|---|
| Blue smoke on cold start | Worn valve stem seals | PCV system sucking oil, turbo seal (if equipped) | Borescope valve stems, inspect PCV flow |
| Blue smoke under acceleration | Worn piston rings, cylinder scoring | Blown head gasket (rare), turbo failure | Wet compression test, leak-down test |
| Oil puddle under engine | Valve cover gasket, oil pan leak | Rear main seal, front crank seal | Visual inspection, UV dye test |
| Oil in intake manifold | Failed PCV system, bad oil separator | Cracked turbo hose, valve stem seals (severe) | Check PCV valve, inspect turbo inlet |
Repair vs Replace: Cost and Viability
Internal engine repairs are expensive. Here’s a realistic breakdown:
| Repair | Typical Cost (Parts + Labor) | Viability |
|---|---|---|
| PCV system repair | $100–$300 | High — always try first |
| Valve stem seal replacement | $800–$1,500 | Medium — requires head removal |
| Piston ring replacement (short block) | $2,500–$5,000 | Low — only if engine is otherwise healthy |
| Turbocharger replacement | $1,200–$2,800 | Medium — verify cause first |
If your car has high mileage and other issues, a full engine rebuild may not be worth it. Consider replacement with a used or remanufactured long block — often more cost-effective and reliable.
Best Practices: What to Do and Avoid
- ✅ Recommended: Clean oil drain-back holes in the cylinder head during any valve cover job. Clogged holes mimic PCV failure.
- ✅ Recommended: Use a torque wrench and follow OEM sequence when installing covers or pans. Over-torquing distorts gaskets and causes leaks.
- ✅ Recommended: Clean bolt threads with a bottoming tap. Oil or old sealer in threads throws off torque values.
- ⚠️ Avoid: Replacing PCV valves without checking the entire system. A new valve won’t fix a clogged separator or collapsed hose.
- ⚠️ Avoid: Switching to high-viscosity oil as a first fix. It might slow consumption but can harm VVT systems and increase cold-start wear.
- ⚠️ Avoid: Assuming turbo oil leaks mean the turbo is bad. Often it’s a clogged drain line or crankcase pressure issue.
Situation: A 2009 Subaru Outback with 140,000 miles burned a quart every 700 miles. The owner replaced valve stem seals with a “performance” set — no improvement.
Discovery: Leak-down test showed air escaping into the crankcase. Borescope revealed glazed cylinders and low compression. Rings were worn due to past low oil levels.
Nuanced Lesson Learned: Replacing seals won’t fix worn rings. Misdiagnosis led to wasted money. Always test comprehensively before disassembly.
Situation: A 2016 Ford F-150 3.5L EcoBoost burning oil, blue smoke on startup. Previous shop quoted $4,000 for engine replacement.
Discovery: Intake was soaked. PCV valve stuck open, air-oil separator failed. Replaced separator and cleaned intake — consumption dropped to 1 quart per 2,800 miles.
Nuanced Lesson Learned: PCV issues are common on turbocharged direct-injection engines. Rule out the breather system before assuming internal damage.
Situation: A BMW 335i owner accepted 1 quart per 900 miles as “normal” for two years.
Discovery: Turbo compressor housing coated in oil. Crankcase vent hose collapsed under vacuum. Replaced hose and oil feed line — consumption normalized.
Nuanced Lesson Learned: Gradual failures become “normal” to owners. Regular system checks catch slow-developing issues early.
Temporary Measures and Realistic Expectations
High-mileage oil may help slightly by swelling dried seals, but it can increase sludge in neglected engines. Thicker oil (e.g., 5W-40) might reduce seepage — but only if the manufacturer allows it. On engines with VVT or tight tolerances, wrong viscosity can cause timing chain wear or rattle.
If you’re managing consumption temporarily, check oil every 1,000 miles. Mark your calendar. Low oil won’t trigger a warning until it’s dangerously low — by then, damage may already be done.
Verifying the Fix
After any repair, repeat the oil consumption test using the same driving pattern and oil type. Most engines should consume less than 1 quart per 3,000 miles post-repair. If consumption remains high, the root cause wasn’t addressed.
Acceptable oil use varies by engine. The goal isn’t zero — it’s knowing what’s normal for your specific engine and catching changes early. Always refer to the factory service manual for torque specs, tolerances, and approved procedures. What works on one engine may destroy another.