Yes, some radiator leaks can be repaired—but not all. The feasibility depends on the location, severity, and type of radiator. Plastic/aluminum radiators common on modern vehicles behave differently than older brass/copper units. This guide cuts through the noise to give you a clear, practical roadmap for diagnosing and addressing radiator leaks, whether you’re tackling it yourself or deciding when to call a pro.
How to Diagnose a Radiator Leak
Step 1: Visual Inspection (Cold Engine)
Always start with a cold, depressurized engine to avoid burns and get accurate results. Look for:
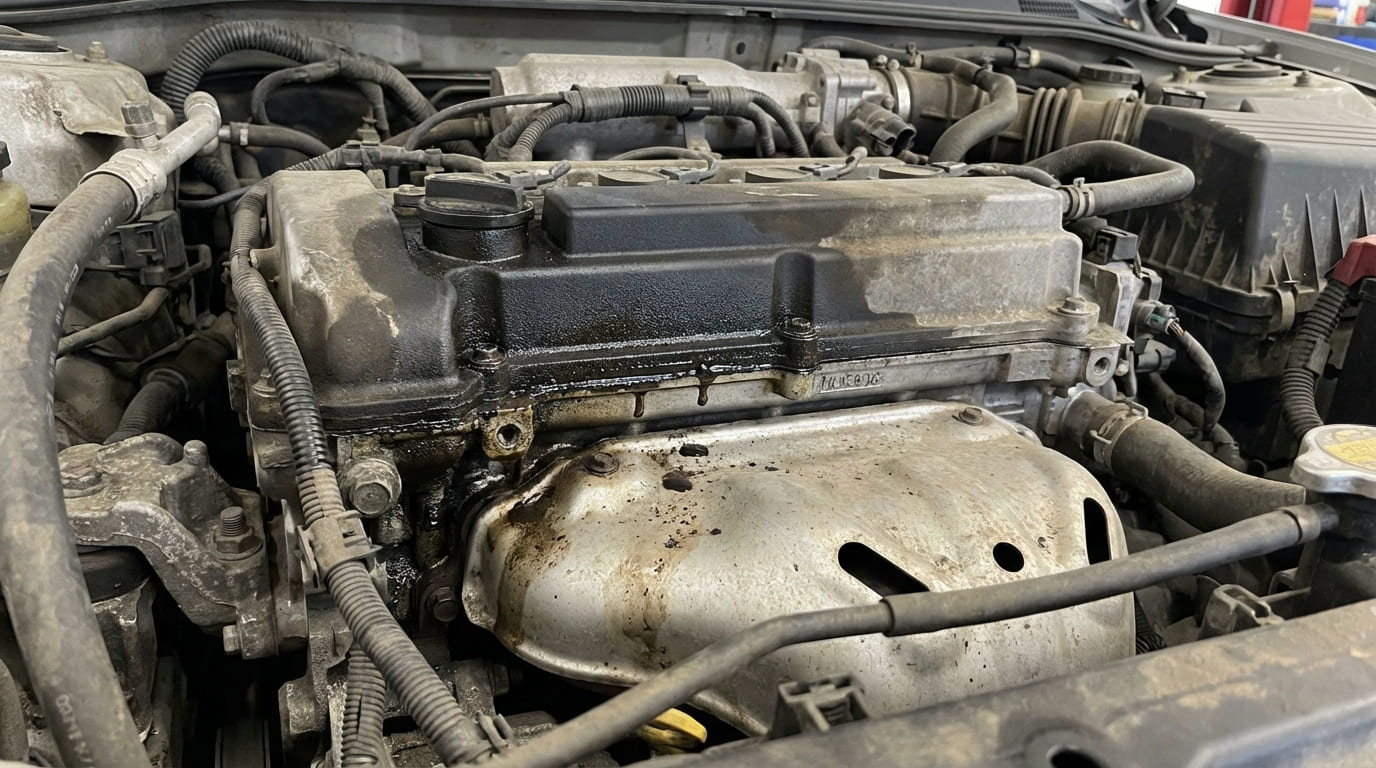
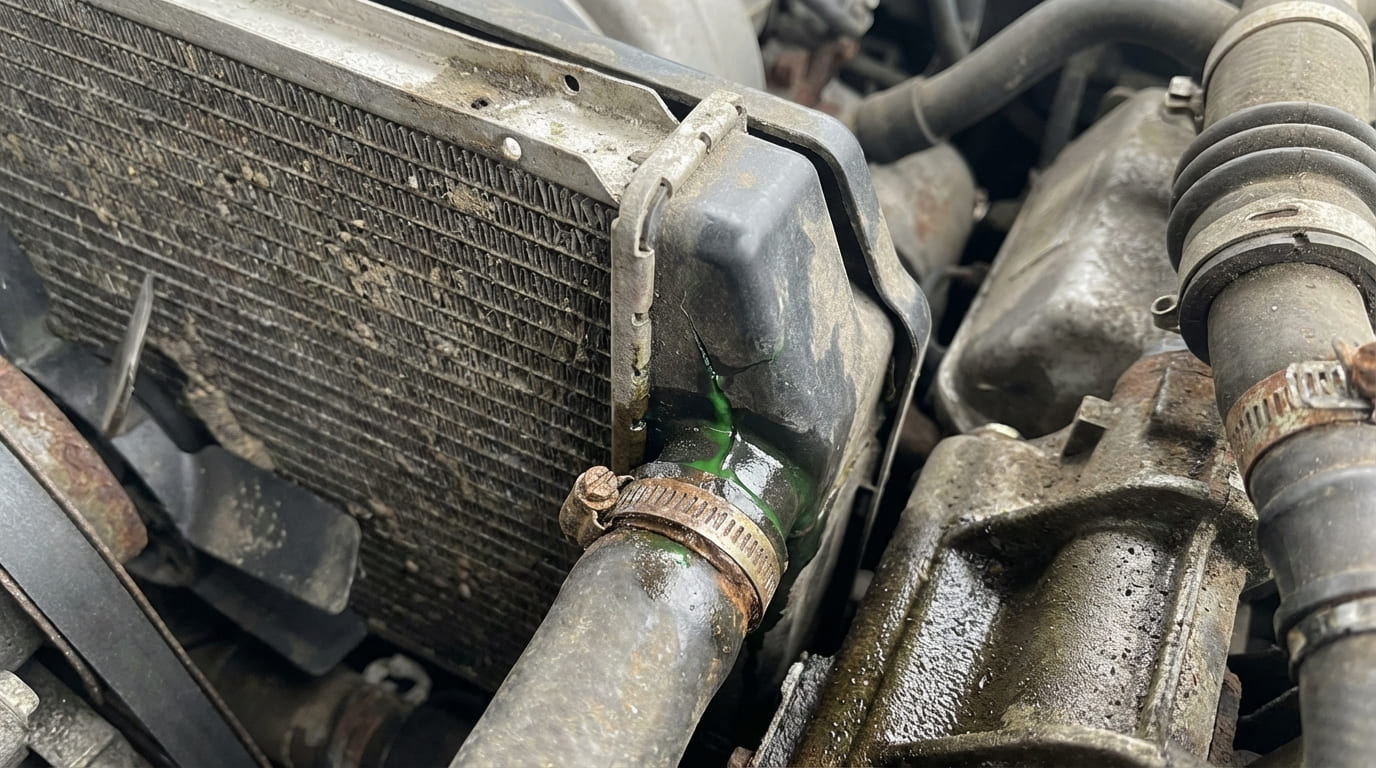
- Coolant stains or crusty deposits on the radiator—common colors are green, orange, or yellow depending on coolant type.
- Cracks in plastic end tanks, especially near seams or mounting points.
- Pinholes or bulges in the aluminum core.
- Wetness at hose connections, petcocks, or transmission cooler lines.
Dried residue suggests a slow, chronic leak. Fresh drips or steam while running mean active leakage.
Step 2: Perform a Cooling System Pressure Test
Visual clues can be misleading. A pressure test confirms leaks under real-world conditions.
Attach a cooling system pressure tester (e.g., Stant 12270 or Mityvac MV4560) to the radiator or coolant reservoir cap opening. Pump to the pressure specified on the cap—usually 15–18 psi. Hold for 15–30 minutes.
If pressure drops more than 2 psi, there’s a leak. Watch for bubbling or weeping at joints, seams, or fins. If you can’t see it, use UV dye.
Step 3: Use UV Dye for Hidden Leaks
Add OEM-approved UV dye to the coolant, run the engine to operating temperature, then scan with a UV light and yellow glasses. This reveals micro-leaks around gaskets, crimps, or core tubes that aren’t visible otherwise.
In my shop, we always pressure test before disassembling anything. I’ve seen dozens of “radiator leaks” turn out to be water pump weep holes or heater hose connections. Save time and parts—test first.
Can Your Radiator Leak Be Repaired? Here’s the Breakdown
Not all leaks are created equal. Below is a practical guide to what can be fixed, how, and whether it’s worth it.
| Leak Type | Repair Option | Cost Range | Reliability |
|---|---|---|---|
| Pinhole in aluminum core | DIY epoxy patch | $10–$30 | Moderate – works if prep is perfect and location is accessible |
| Plastic end tank crimp leak | Pro re-crimping or replacement | $150–$400 | Low – high chance of recurrence |
| Solder joint leak (brass radiator) | Professional soldering | $80–$150 | High – if done correctly |
| Cracked plastic tank | Replacement only | $200–$600 | None – structural failure |
| Internal transmission cooler leak | Replacement only | $300–$700 | None – risk of fluid cross-contamination |
DIY-Friendly: Small Pinhole in Aluminum Core
If the hole is less than 1 mm and not near a fin bundle or mounting point, a DIY epoxy fix may work.
Steps:
- Drain coolant below the leak level.
- Clean the area with brake cleaner.
- Sand lightly with 180–220 grit paper for adhesion.
- Apply high-temp epoxy like J-B Weld HighHeat or Permatex Steel Weld.
- Cure fully (12–24 hours) before repressurizing.
Re-test with a pressure check. If it holds, monitor closely for the first few weeks.
I’ve used epoxy patches successfully on trail rigs and older daily drivers—but I always carry extra coolant. Think of it as a controlled delay, not a permanent fix.
Pro-Only: Plastic End Tank Crimp Leak
These leaks happen where the plastic tank meets the aluminum core. Thermal cycling weakens the crimp over time.
Some shops re-crimp using specialized tools, but the plastic often lacks elasticity after years of heat exposure. Even if it holds initially, failure is likely.
Bottom line: Replacement is usually the smarter long-term choice.
Pro-Only: Brass/Copper Radiator Solder Joint Failure
Older radiators with copper cores and brass tanks can often be repaired by soldering or low-temp brazing.
The radiator must be removed, flushed, and cleaned. A skilled tech applies heat carefully to avoid warping fins or creating new stress cracks.
This repair is cost-effective and reliable when done right—especially on classic cars where OEM replacements are scarce.
Non-Repairable: Structural Damage or Severe Corrosion
If you see multiple leaks, collapsed fins, cracked tanks, or honeycombing (pitting in aluminum tubes), the radiator is beyond saving.
Other red flags:
- Broken mounting brackets
- Warped filler neck
- Mixed coolant and transmission fluid (milky residue)
- Electrolysis damage from improper grounding or mixed coolants
In these cases, repair costs exceed replacement value. Buy new or quality remanufactured.
I once spent two hours trying to re-solder a vintage radiator—only to find the mounting flange was bent, causing constant stress. Fixed the frame, new radiator sealed perfectly. Always check the big picture: alignment, mounts, and chassis condition matter.
Stop Leak Products: Emergency Fix Only
Stop leak additives (e.g., sodium silicate or fiber-based) can temporarily seal tiny pinholes by depositing material at the leak site.
But they come with serious risks:
- Clogging heater cores, thermostat housings, or water pump seals
- Ineffectiveness on cracks larger than 1 mm
- No fix for root causes like corrosion or vibration
Use only to get home or to a shop. Flush the entire system immediately after.
A customer used stop leak on a small core leak. It “worked” for a week—then clogged the heater core and overheated the engine. Result? Blown head gasket. $1,800 repair instead of a $250 radiator. Don’t gamble.
After Repair: Verification Steps
No repair is complete without verification. Follow these steps:
- Reassemble with fresh coolant and OEM-mix specifications.
- Pressure test the system to cap rating for 30 minutes.
- Run engine to operating temperature and check for leaks under fan load.
- Monitor temperature gauge over several drive cycles.
- Verify heater performance and coolant level stability.
- Bleed air pockets per manufacturer procedure—many modern engines trap air, causing false overheating.
Best Practices
- ✅ Clean bolt threads with a tap before reassembly—ensures accurate torque and prevents false stretch.
- ✅ Replace hoses, clamps, and radiator cap when installing a new unit—old parts are failure points.
- ✅ Use deionized water and correct coolant type (OAT, HOAT, IAT)—mixing causes gel or corrosion.
- ⚠️ Never reuse torque-to-yield (TTY) bolts unless specified.
- ⚠️ Avoid over-tightening plastic components—can crack tanks or collapse hoses.
The sealing surface on the radiator neck is just as important as the cap. I’ve seen warped necks defeat new caps every time. Check flatness with a straightedge—replace if bent.