In my shop, I see a lot of frustration around oxygen sensor repairs—sometimes over the cost, but more often because the root cause wasn’t properly diagnosed. Let’s break down what you’re actually paying for, based on real-world jobs I’ve handled across decades and makes.
Cost Breakdown: Parts and Labor
Replacing an oxygen sensor isn’t just about the part. The total cost depends on the type of sensor, your vehicle, and where you get it done. Here’s what you’ll actually pay.
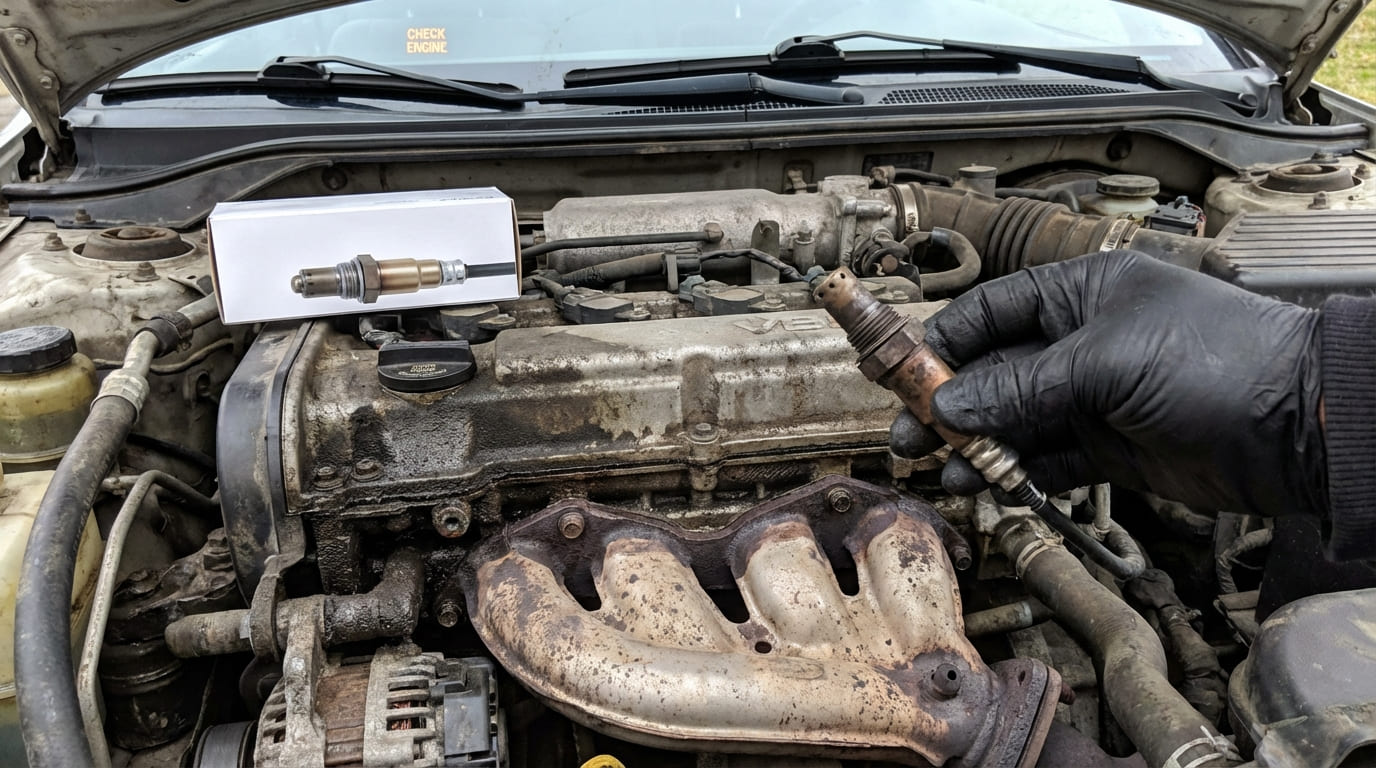
Parts Cost
The price of the sensor itself varies widely. Always match the type and location to your engine’s requirements.
| Sensor Type | Cost Range | Common Applications |
|---|---|---|
| Narrowband Zirconia | $30 – $150 | Older or base-model vehicles, downstream sensors |
| Wideband (Air-Fuel Ratio) | $80 – $250 | Modern direct-injection, turbocharged, upstream sensors |
OEM sensors cost 20–50% more than quality aftermarket equivalents but often last longer. I recommend Denso, Bosch, or NTK—these are actual OEM suppliers. Avoid no-name universal-fit sensors; I’ve seen them fail in under a year due to poor heating elements or slow response times.
Labor Cost
Labor depends on accessibility and shop rates. The same job can cost very different amounts depending on your location and vehicle.
| Factor | Details |
|---|---|
| Time per sensor | 0.5 – 2.0 hours |
| Labor rate | $75 – $200/hour |
| Total labor cost | $40 – $400 per sensor |
Front sensors on front-wheel-drive four-cylinders take 30 minutes. Rear sensors on V6/V8 AWD models—especially under the catalytic converter—can take nearly two hours due to exhaust or drivetrain interference.
Total Replacement Cost
| Service Type | Total Cost Range |
|---|---|
| Professional (parts + labor) | $150 – $550 per sensor |
| DIY (parts only) | $30 – $250 per sensor |
The high end usually involves wideband sensors in hard-to-reach locations at dealerships or European specialists. DIY saves money but requires the right tools and confidence working under the car.
Key Factors That Affect Cost
Location and Number of Sensors
Most vehicles have 2 to 4 oxygen sensors; some performance models have up to 6. Each adds to the total cost.
- Upstream (Sensor 1): Monitors air/fuel ratio in real time. Usually wideband, more expensive, and more prone to failure due to raw exhaust exposure.
- Downstream (Sensor 2): Monitors catalytic converter efficiency. Usually narrowband, less expensive, and fails less often—typically due to heater circuit issues.
Replacing all four sensors on a V6 can easily exceed $1,000 at a dealership.
Vehicle Make and Model
Access is everything. On some vehicles, sensors are exposed and easy. On others, you’ll need to drop the exhaust or move the driveshaft.
For example:
- Subaru boxer engines often require engine mount loosening to reach rear sensors.
- Ford V8 trucks may need driveshaft clearance.
- BMW and Mercedes use proprietary sensors with unique connectors or heater circuits—replacing them with generic units can trigger false codes.
In my shop, we always check the service manual before quoting. A simple sensor job on a Toyota Camry might take 20 minutes. The same job on a BMW X5? Two hours with special tools. That difference drives the cost.
Shop Type and Labor Rates
| Shop Type | Labor Rate | Pros | Cons |
|---|---|---|---|
| Independent Mechanic | $75 – $120/hour | Fair pricing, ASE-certified techs common | May lack factory software for sensor calibration |
| Dealership | $120 – $200/hour | Factory tools, proper ECU calibration, OEM parts | Most expensive option |
| Mobile Mechanic | $90 – $150/hour | Convenience, home service | Tool limitations; may skip diagnostics |
How to Diagnose a Bad Oxygen Sensor
Don’t replace a sensor just because of a check engine light. Many issues mimic sensor failure. Here’s how to confirm the problem.
Check for Diagnostic Trouble Codes (DTCs)
Common codes:
- P0130–P0167: O2 sensor circuit issues (not always a bad sensor).
- P0135/P0037: Heater circuit faults—could be fuse, relay, or wiring.
- P0420/P0430: Often blamed on downstream sensor, but usually means catalytic converter failure—especially if upstream sensors are healthy.
I’ve saved customers hundreds by finding a blown fuse instead of replacing a “bad” sensor. Always check power and ground at the connector before buying parts.
Use Live Data (OBD2 Scanner Required)
Real-time data tells the real story:
- Upstream narrowband: Should cycle 1–5 times per second at idle. Slow or flat = aging sensor.
- Downstream: Should be stable (~0.7V). If it mimics upstream, the catalytic converter is likely failing.
- Wideband: Monitor lambda. Should stay near 1.0 at cruise and respond smoothly. Erratic jumps = sensor failure.
- Fuel trims: Long-term trims over +10% or under -10% suggest bad data—but could also be vacuum leaks or MAF issues.
Visual and Electrical Checks
Do these before replacing:
- Inspect wiring for chafing, especially near hot exhaust parts.
- Check connector for corrosion or brittleness.
- Look at sensor tip: white crust = coolant leak; black soot = rich condition or oil burning.
- Test heater circuit with a multimeter: 2–10 ohms is normal. Open circuit = bad heater.
If the sensor tip is contaminated, replacing it without fixing the root cause—like a head gasket or PCV issue—means you’ll be doing it again in six months.
DIY: Is It Worth It?
Swapping a sensor is doable if you have basic tools and safe access. But know the risks.
Required Tools
- Oxygen sensor socket (7/8″ or 22mm with wire cutout)
- 1/2″ drive ratchet and extension (breaker bar for stuck sensors)
- Torque wrench (30–45 ft-lbs typical)
- Nickel-based anti-seize (on threads only)
- Wire brush (for cleaning exhaust threads)
- Safety glasses and gloves
Never use a standard deep socket. It will crush the wire. Always use a sensor socket with a relief slot.
Common DIY Pitfalls
- Seized sensors: After 100k miles, thermal cycling can weld the sensor in place. Use penetrating oil and heat if needed. Forcing it can break the exhaust manifold.
- Stripped threads: If the sensor breaks, you may need a helicoil—especially on aluminum manifolds. Improper installation can lead to leaks or future failures.
- Damaged connectors: Old plastic connectors can crumble. Carry a pigtail harness ($15–$30) in case you need to splice.
What Happens If You Delay Replacement?
Driving with a bad sensor might seem fine short-term, but it causes long-term damage.
- Fuel economy: Can drop 20–40%. I’ve seen V6 sedans go from 32 to 21 mpg.
- Failed emissions: Check engine light disables OBD2 monitors, making smog tests impossible.
- Catalytic converter damage: A rich mixture overheats the converter. Replacement costs $800–$2,500+.
- Poor performance: Hesitation, rough idle, misfires due to incorrect fuel trims.
Fixing a $200 sensor now can save you a $2,000 catalytic converter later. It’s not just about passing inspection—it’s about protecting your engine.
What to Do: Recommended vs. Avoid
- ✅ Use OEM or OEM-equivalent sensors (Denso, Bosch, NTK).
- ✅ Clean exhaust threads before installing a new sensor.
- ✅ Apply nickel anti-seize on threads only—never on the sensing tip.
- ⚠️ Don’t reuse torque-to-yield exhaust bolts—they can fail.
- ⚠️ Don’t use a standard socket—pinched wires cause shorts.
- ⚠️ Don’t assume the code means a bad sensor—check wiring, fuses, and exhaust leaks first.
Real-World Diagnostic Scenarios
| Symptom | Most Likely Cause | Less Common But Possible |
|---|---|---|
| P0130 (Circuit Malfunction) | Frayed wiring or poor connector contact | Internal sensor failure, ECU driver issue |
| P0135 (Heater Circuit) | Open heater element or blown fuse | Bad ground, relay failure, damaged harness |
| Slow O2 response in live data | Aging sensor, contamination | Exhaust leak upstream, MAF inaccuracy |
| P0420 with good upstream O2 data | Catalytic converter degradation | Exhaust leak post-cat, faulty downstream sensor |
| Rich fuel trim (+15%) across loads | Failing O2 sensor biased low | Vacuum leak, low fuel pressure, faulty MAF |
A 2012 Honda Accord came in with P0135 and poor cold starts. The customer replaced the sensor twice. I found a corroded ground under the fender. Fixed the ground, reused the original sensor—problem solved. Moral: diagnose the circuit, not just the part.
A 2008 Subaru had P0037 return after sensor replacement. I traced it to a cracked solder joint in the fuse box. Vibration from AWD caused an intermittent power feed. Always consider hidden electrical issues.
A customer assumed a flatlined O2 sensor was dead. I found a cracked exhaust manifold gasket letting in air. Replaced the gasket—sensor worked fine. Exhaust leaks upstream can mimic sensor failure.
Oxygen sensor issues aren’t always what they seem. Always verify the problem with live data and circuit testing. Replace only when necessary, use quality parts, and consider long-term consequences. When in doubt, consult the factory service manual—specs and procedures vary more than you’d expect.